My urge to visit Bohey Dulang Island started with a photo seven years ago. “Nice painting!” I praised a big drawing of islands hanging in the office of my friend. “Actually it’s a PHOTO taken in Sabah,” he replied. I was stunned. The islands look so surreal, such place doesn’t even seem exist. After some lookup in local bookstore, I found that it is the photo of Tun Sakaran Marine Park (or Semporna Islands Park) taken by Michael Patrick Wong.
Pic: aerial photo of Tun Sakaran Park by Michael Patrick Wong

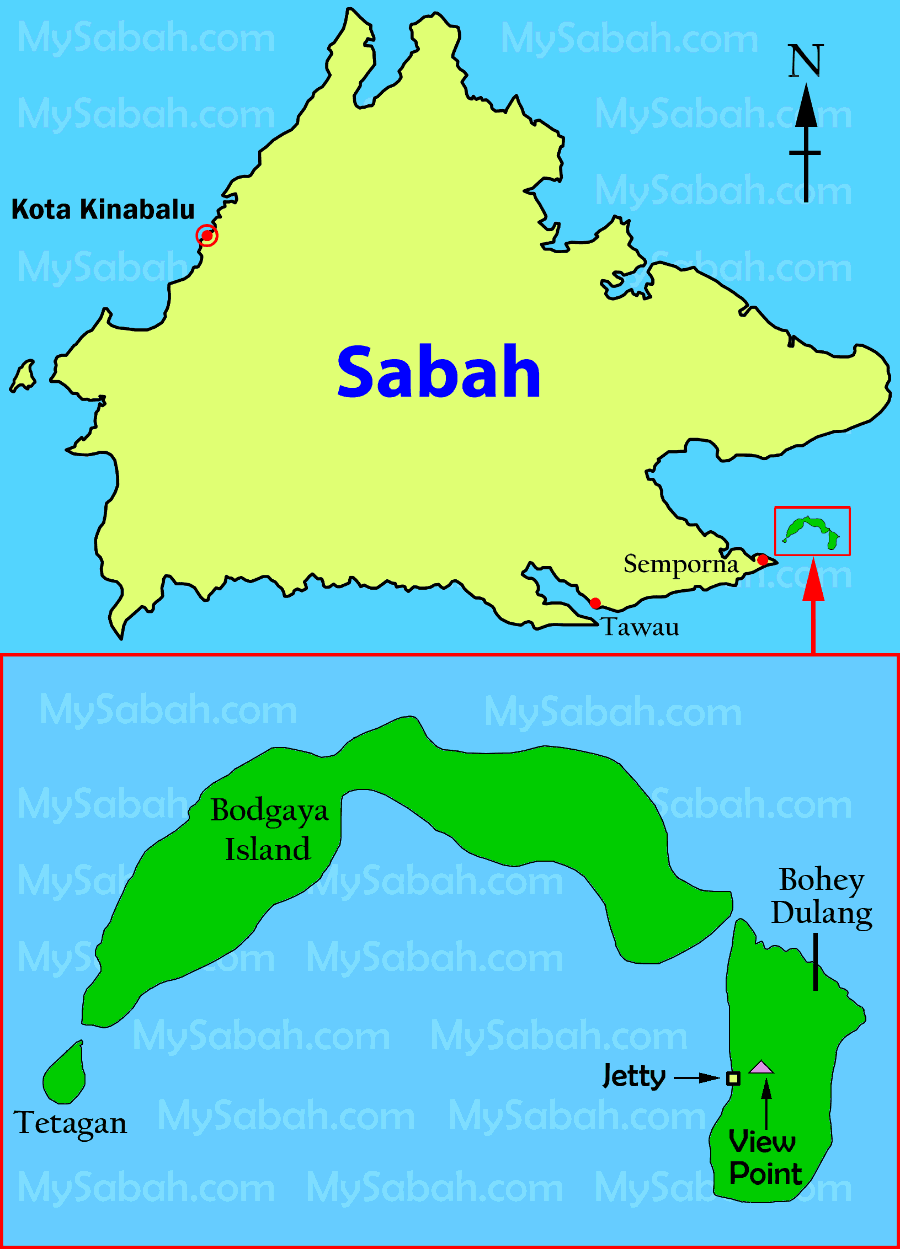
Tun Sakaran Marine Park (TSMP) is located off Semporna at east coast of Sabah and comprises of eight islands – Bohey Dulang, Bodgaya, Tetagan, Sebangkat, Selakan, Maiga, Sibuan and Mantabuan, covering a total land and sea areas of 350 km?.
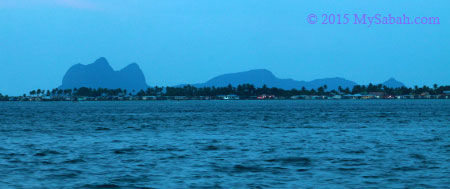
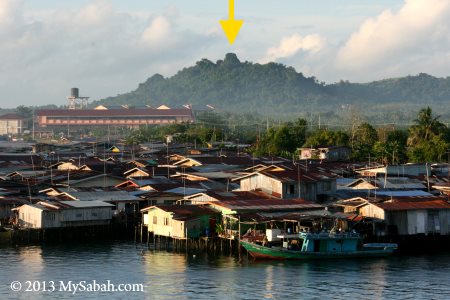
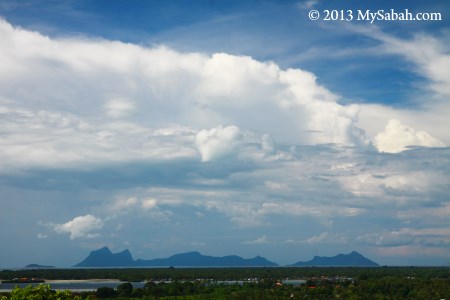
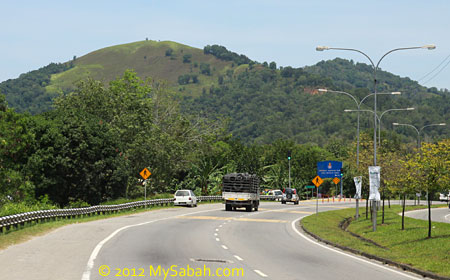
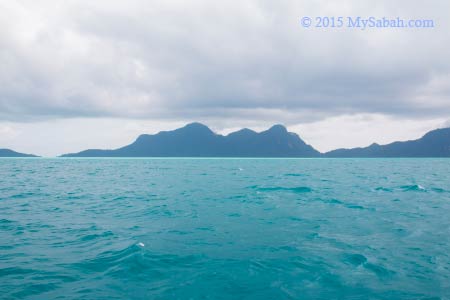
Pic: view of Tun Sakaran Marine Park from Semporna town. Locals call it Sleeping Old Man and I guess you can see why.

TSMP is the largest marine park in Sabah (but will be superseded by 1-million-hectare Tun Mustapha Marine Park soon). I was also told that you can get a fascinating view of TSMP (they call it one of the most beautiful views of Sabah) from the peak of Bohey Dulang Island.
Below is the location map of TSMP. You also can see it in Google Map:
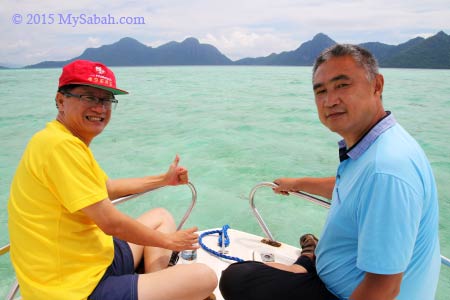
Every now and then I contacted some travel agents for a trip to this park, but they all wanted me to charter the whole boat (for nearly a thousand bucks) if I traveled solo, so the plan was held indefinitely until last month Edward from Borneo Star Cruise texted me, “bro, I’ll visit Bohey Dulang tomorrow. You want to join?” Of course I was more than happy to tag along!
About Bohey Dulang Island
Bohey Dulang (or Boheydulong, Bohaydulong) is the second largest island (size: 313 hectares) of TSMP and about 23 Km away from Semporna. Legend says there lives a beautiful princess named Salamia from Bum-Bum Island. Her family hid her on Bohey Dulang, to avoid a forced marriage by a notorious Sultan from the southern Philippines.
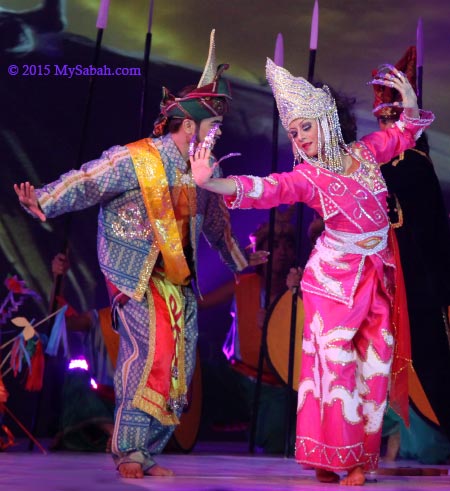
Pic: drama about Princess Salamia in Sabah Fest 2010.

However, she vanished a few days later and believed to be hidden by the spirits of this island and turned into a fairy. Even nowadays, local people say they can hear Princess Salamia singing and her dog barking during the night of full moon. Occasionally, she is seen walking around the island.
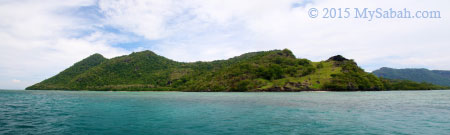
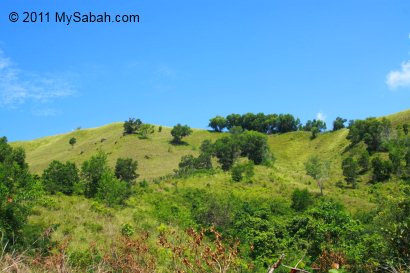
Pic: Bohey Dulang Island

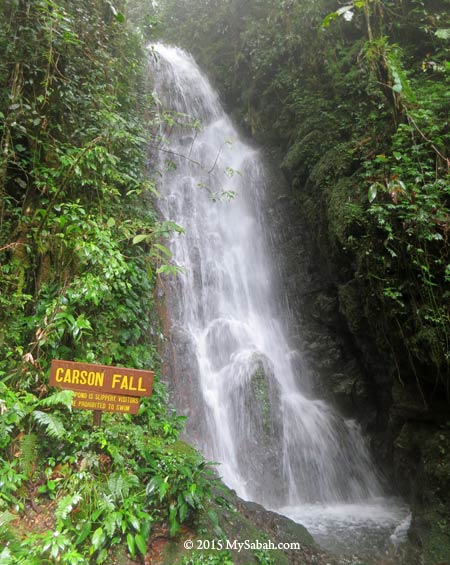
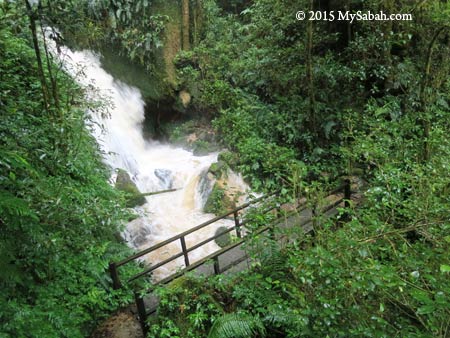
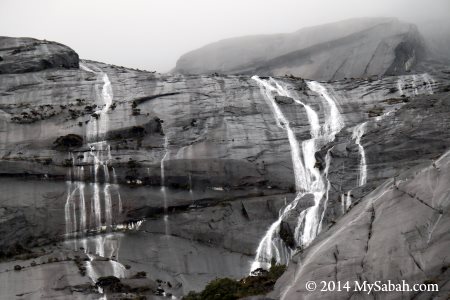
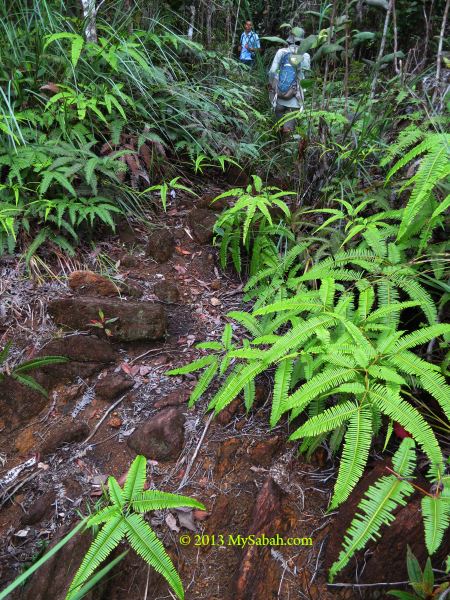
The name Bohey Dulang is derived from bohi (bohey) meaning water and dulang meaning pools or depressions in Bajau language. This may refer to series of oval rock pools, roughly 2-3 m across, along the small waterfalls and main freshwater stream on the eastern side of the island.
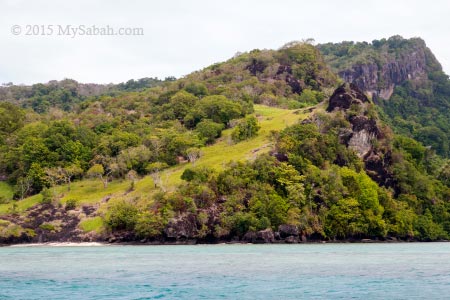
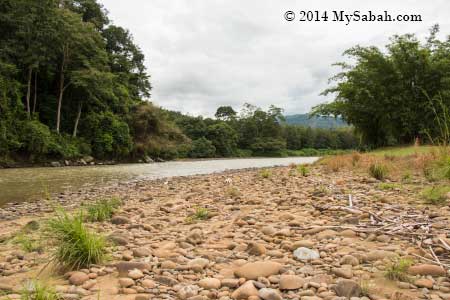
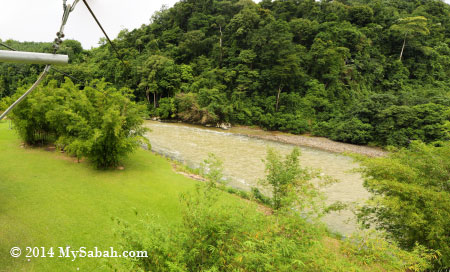
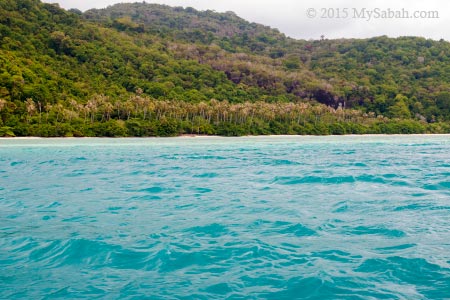
Pic: East side of Bohey Dulang Island

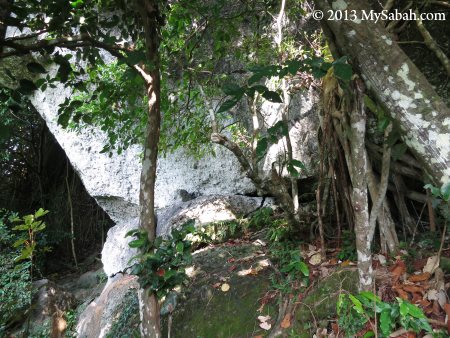
People say these pools are a source of drinking water for Princess Salamia. A document reports a large cave (40 M high and over 20 M long) is situated on the east side of this island too. Could it be the home of Princess Salamia? I wonder.
Day Trip to Bohey Dulang
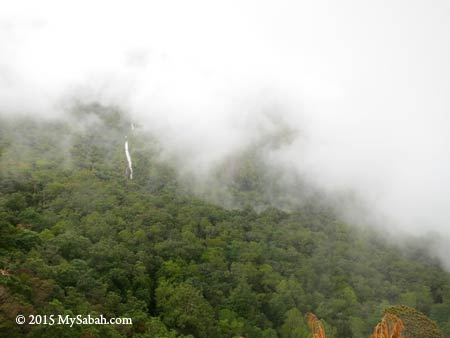
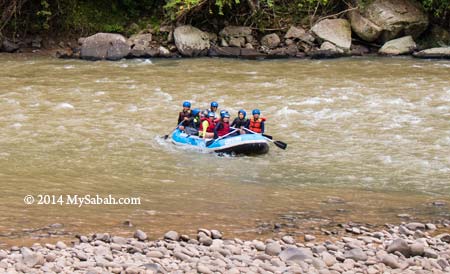
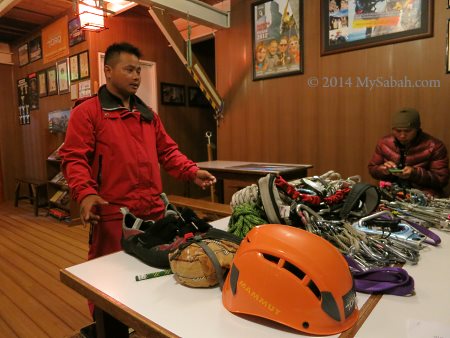
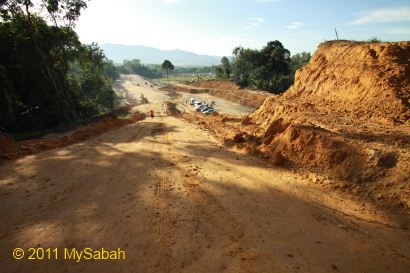
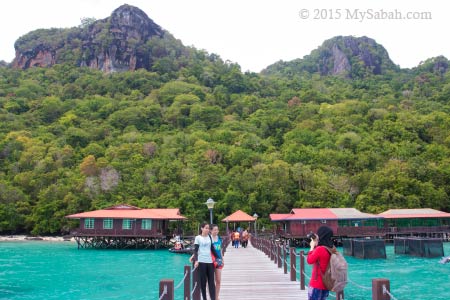
Ok, back to my tour. Edward and I were taking a boat from Semporna town around 11am. The weather was good and we approached TSMP in 15 minutes. The Best Time to visit Bohey Dulang are from February to April (the dry months). If you visit during wetter months like July, August, December and January, your trip would have higher chance of being spoiled by heavy rainstorm of monsoon seasons, or not, depending on your luck. The park would close the climbing trail if the weather doesn’t seem good (even if it’s cloudy and no rain).
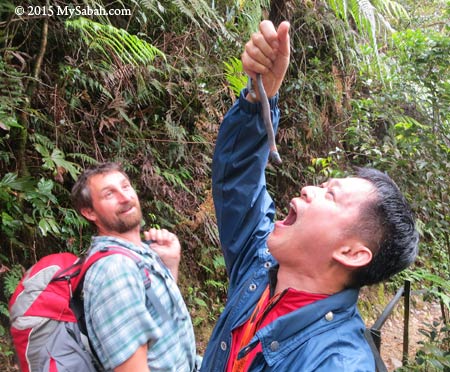
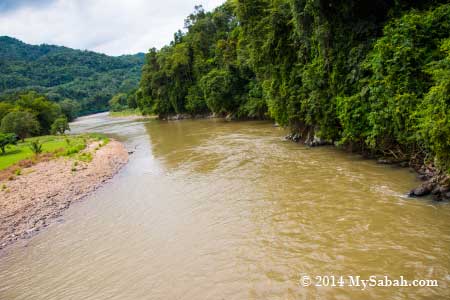
Our boatman showed us a “secret passage” where we could see dozen of sea turtles. We cruised slowly on the sea near TSMP. It was low tide and the water was crystal clear. We could see large area of corals and white sand under the ocean.
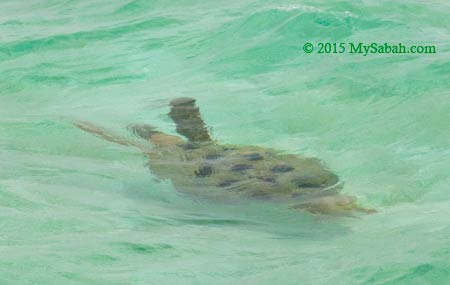
Then we did see over 10 sea turtles passed by our catamaran one by one. Gee… though turtles look heavy and clumsy, they swim as fast as a torpedo in the water. I totally fall in love with the beautiful nature and romantic legend of this island.

You may ask, “this magical destination should have become very famous for a long time. Why it only rises as a new attraction in recent years?” Good question. In 1963, Bohey Dulang was leased to Kaya Pearl Company to establish the first pearl cultivation center in Malaysia. The island was heavily guarded by armed personnel and stranger was strictly forbidden to enter the island. That’s why Bohey Dulang is nicknamed as the Pearl Island or Treasure Island.
Then the pearl farm was closed in 1993. In 2004, Bohey Dulang, with seven other islands, is gazetted as ?Tun Sakaran Marine Park? (TSMP) by the Sabah Government. As a national park and by word of mouth, it gains more exposure and now it receives hundred of tourists every day.
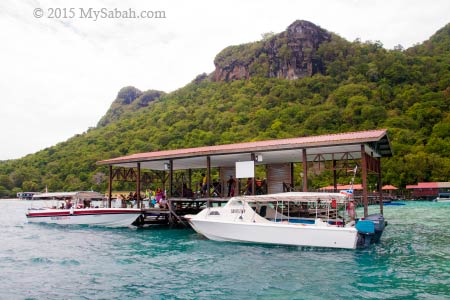
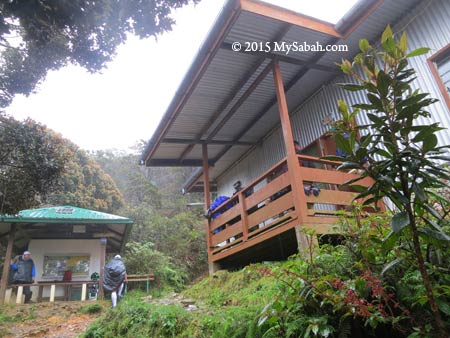
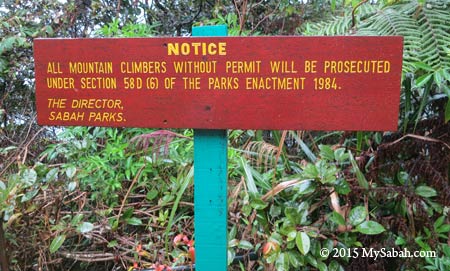
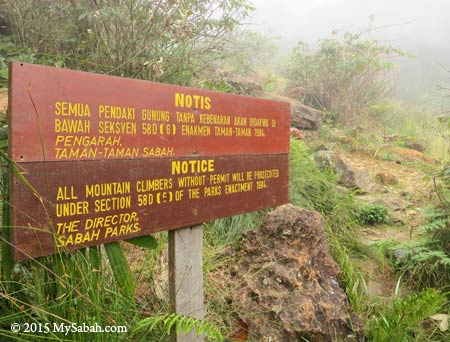
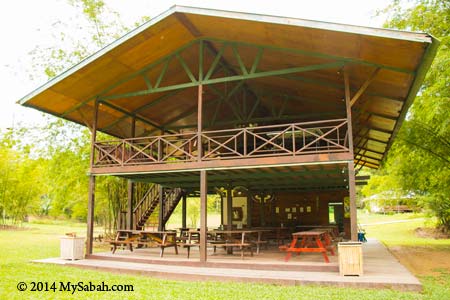
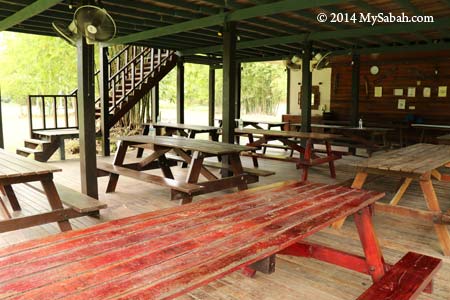
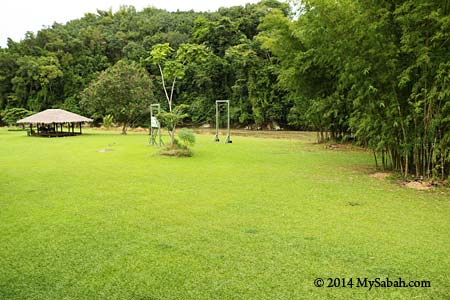
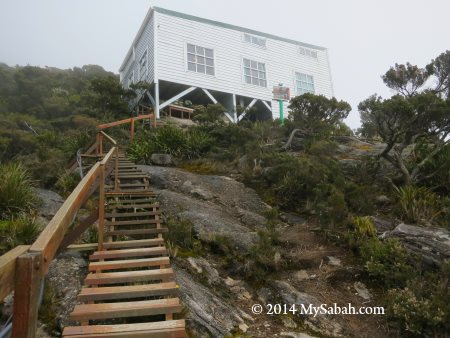
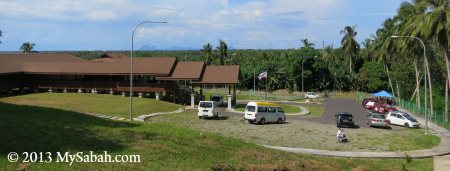
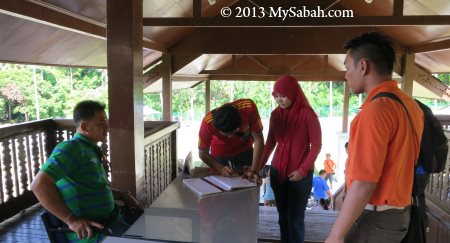
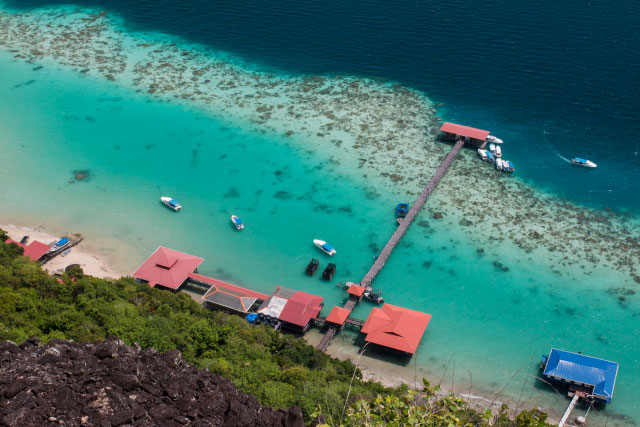
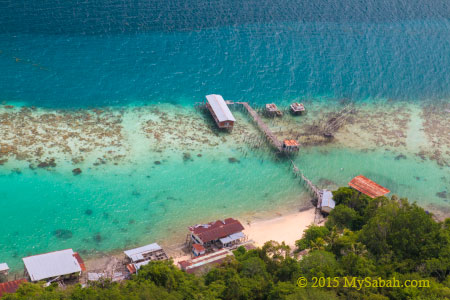
TSMP is managed by Sabah Parks and they have an office and giant clam nursery on Bohey Dulang. Visitors are required to get a permit from them before entering the island. I hope they will make it a public park soon, so tourists only require to buy ticket to enter. Furthermore, Bohey Dulang needs more tourism amenities such as restaurant, watersport center and resort.
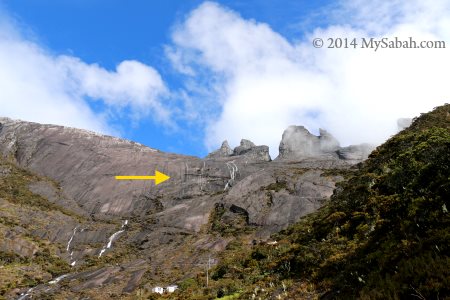
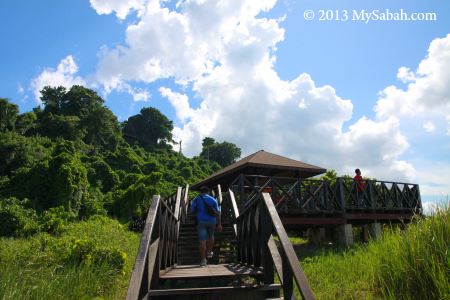
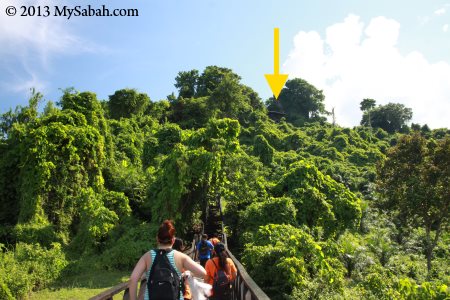
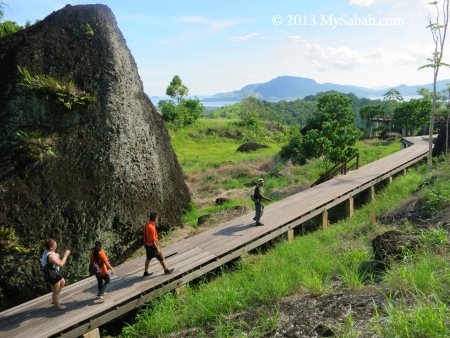
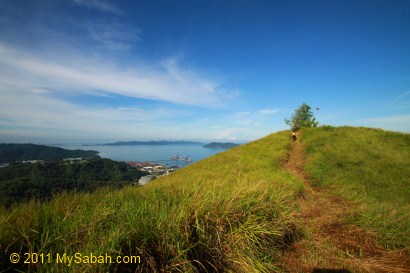
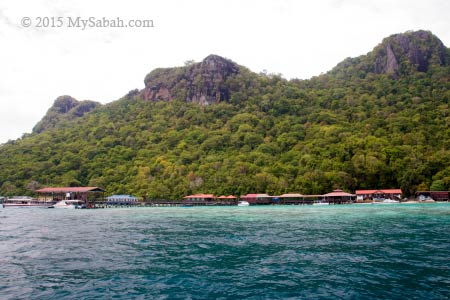
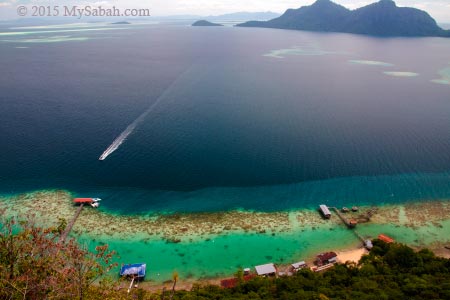
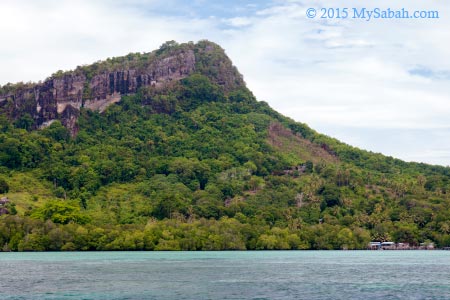
From the jetty, you can see the peak (at left in photo above) that is used as the view point for scenery of TSMP.
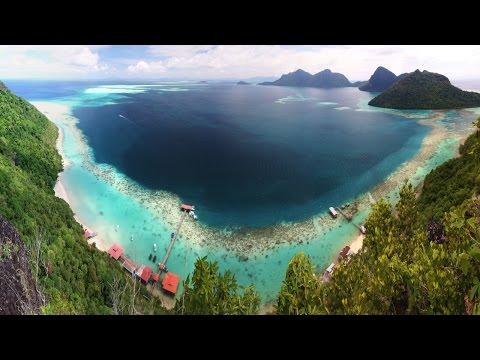
For a fast overview of Bohey Dulang, you may watch the short video below:
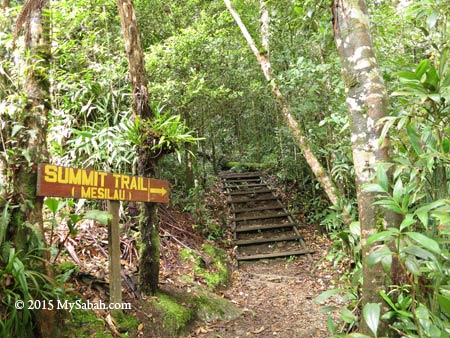
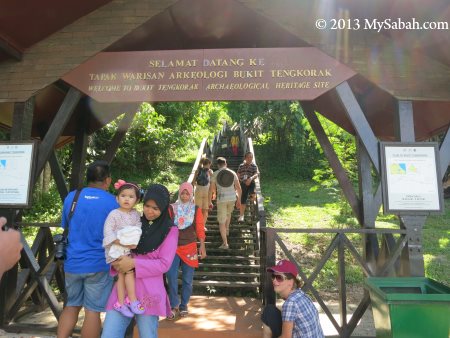
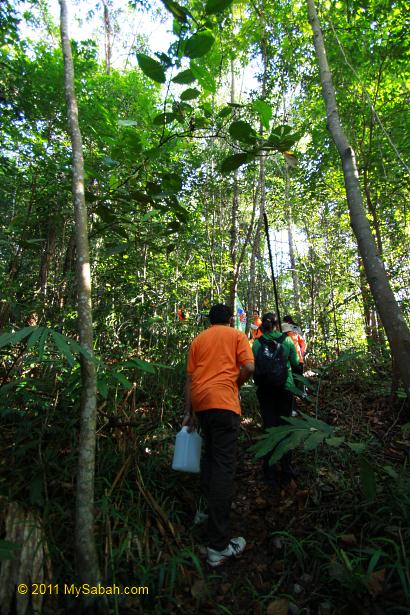
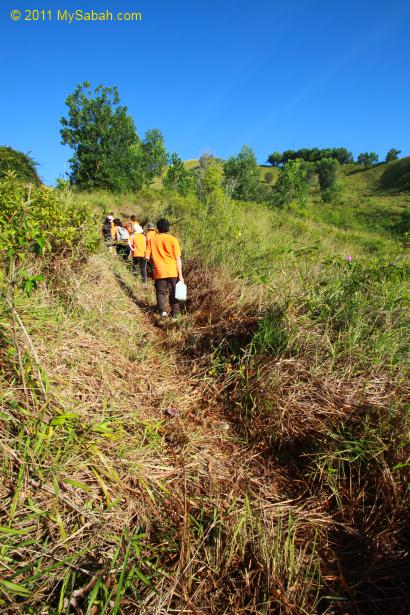
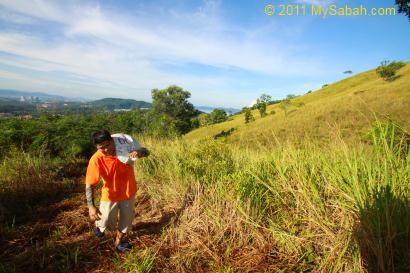
Hiking to the peak
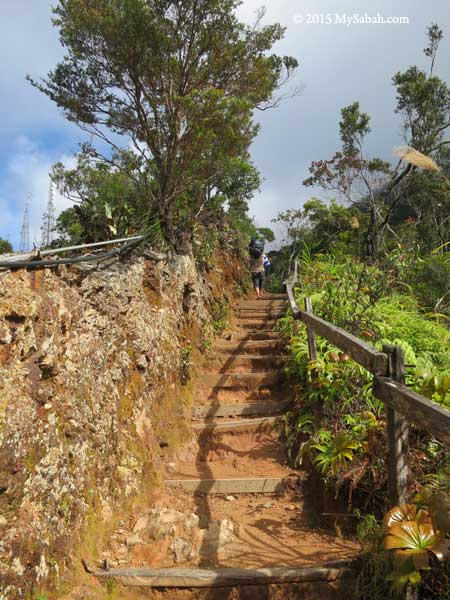
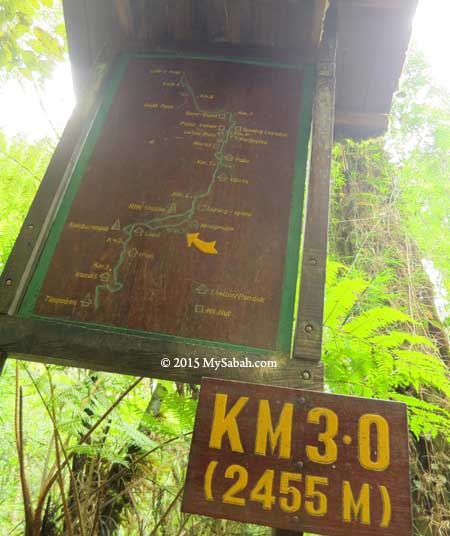
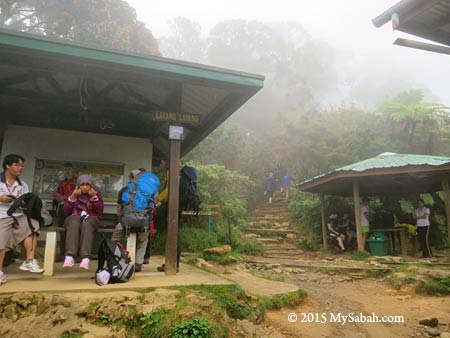
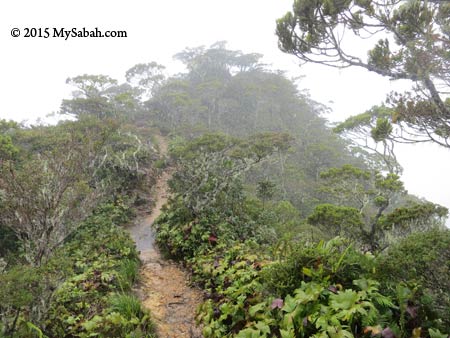
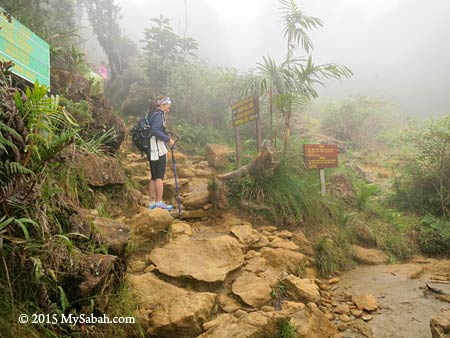
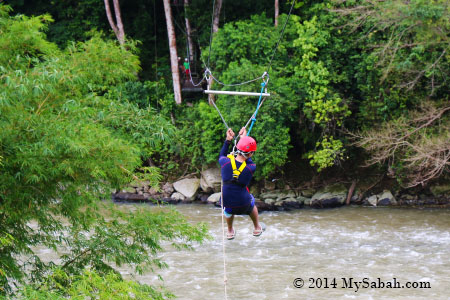
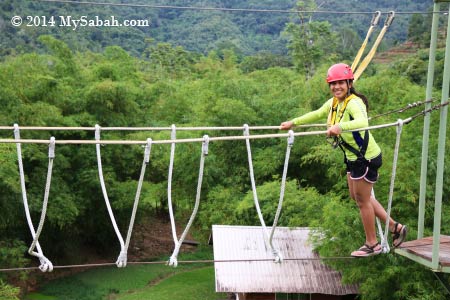
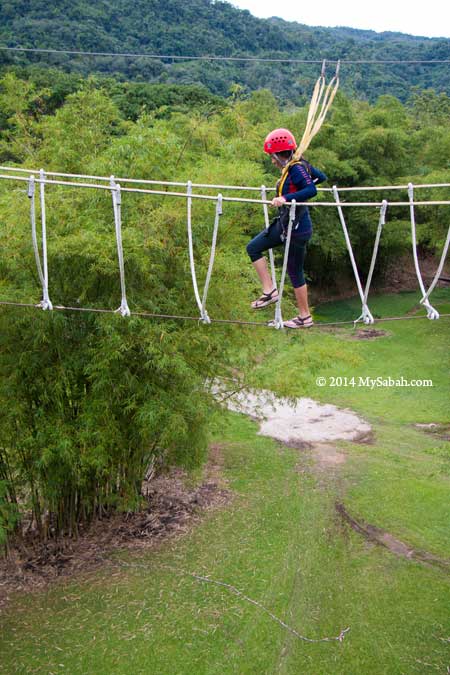
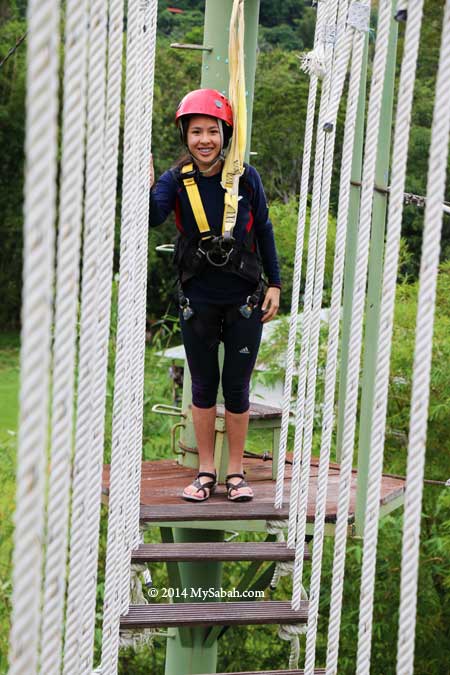
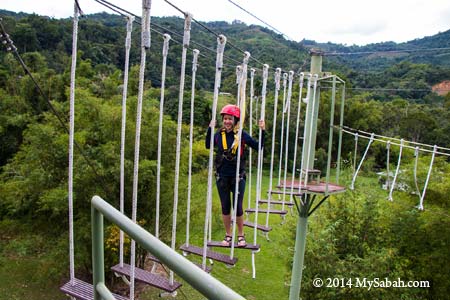
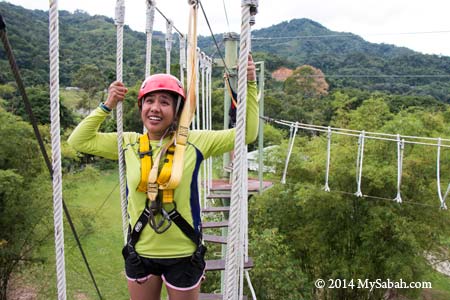
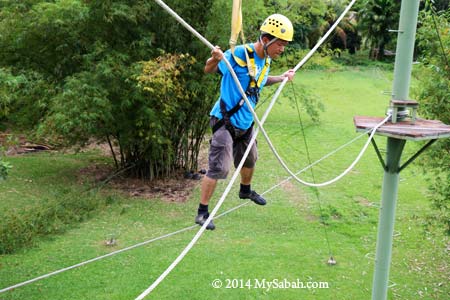
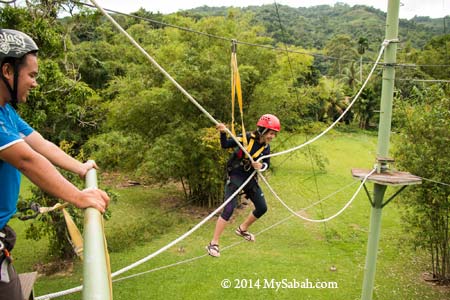
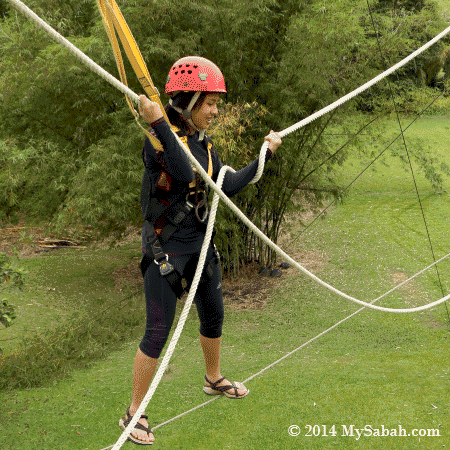
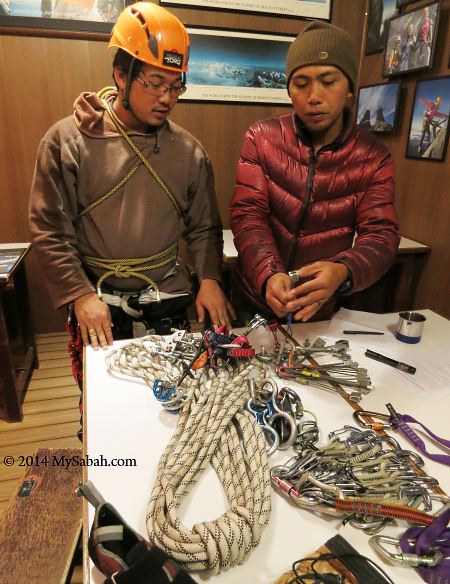
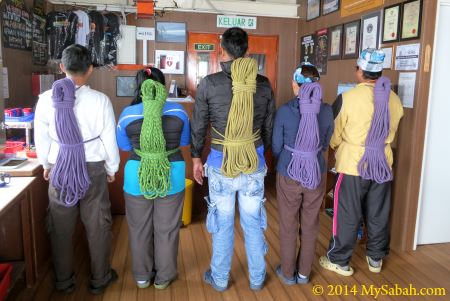
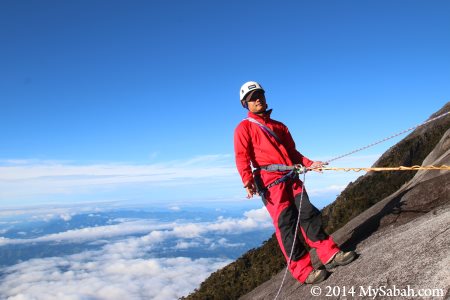
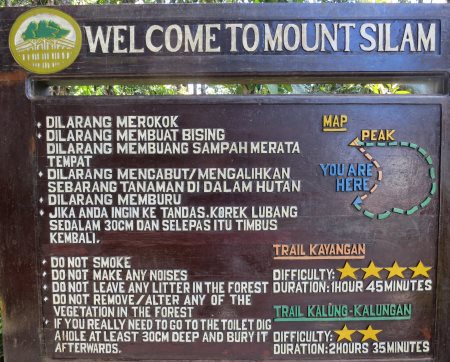
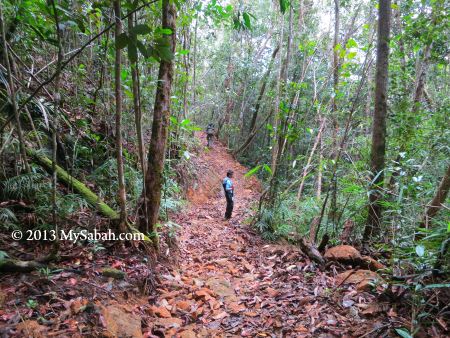
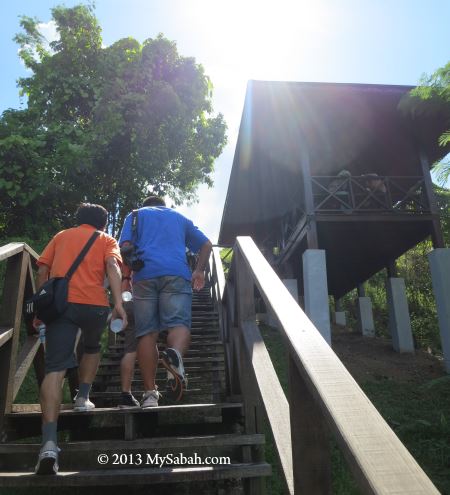
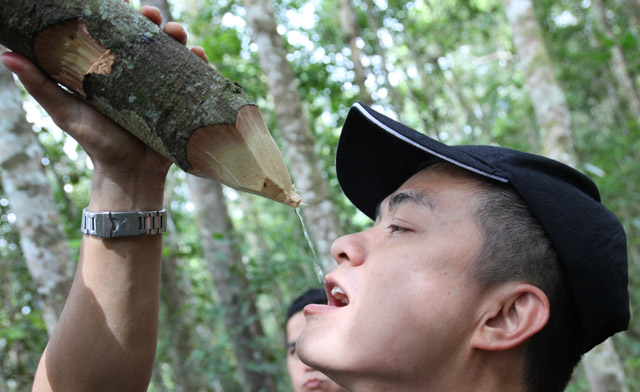
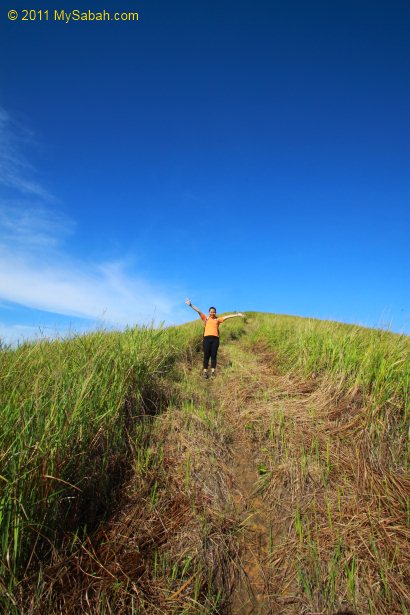
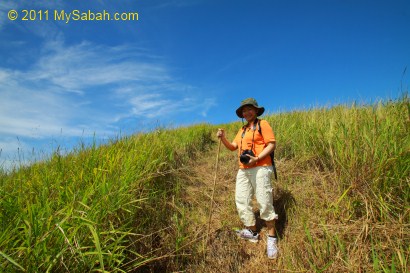
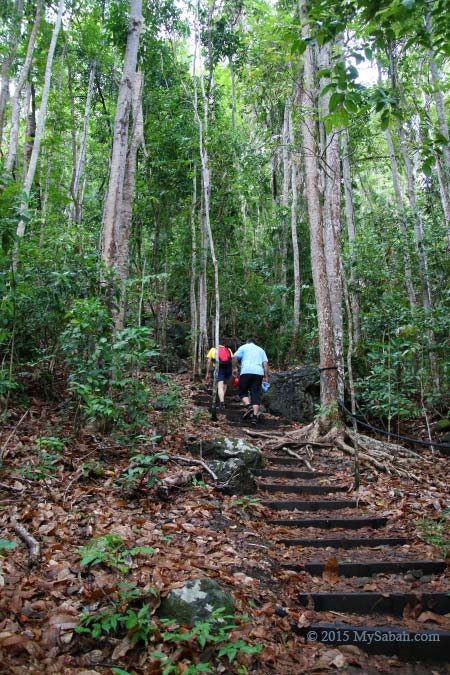
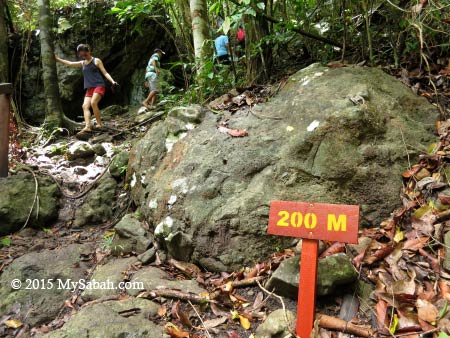
You need to ascend a 800-Meter nature trail to reach the peak with a height of 353 Meters, which normally takes 40 minutes. The climb can be a bit challenging after rain, because some steep areas will become slippery and muddy. Do wear proper walking shoe, I strongly advise against flip-flop. The park will make it compulsory to rent a pair of hiking shoes from them for RM5, if you don’t wear the proper shoes. It’s warm and humid in the forest and hot on the peak, so please bring some drinking water.
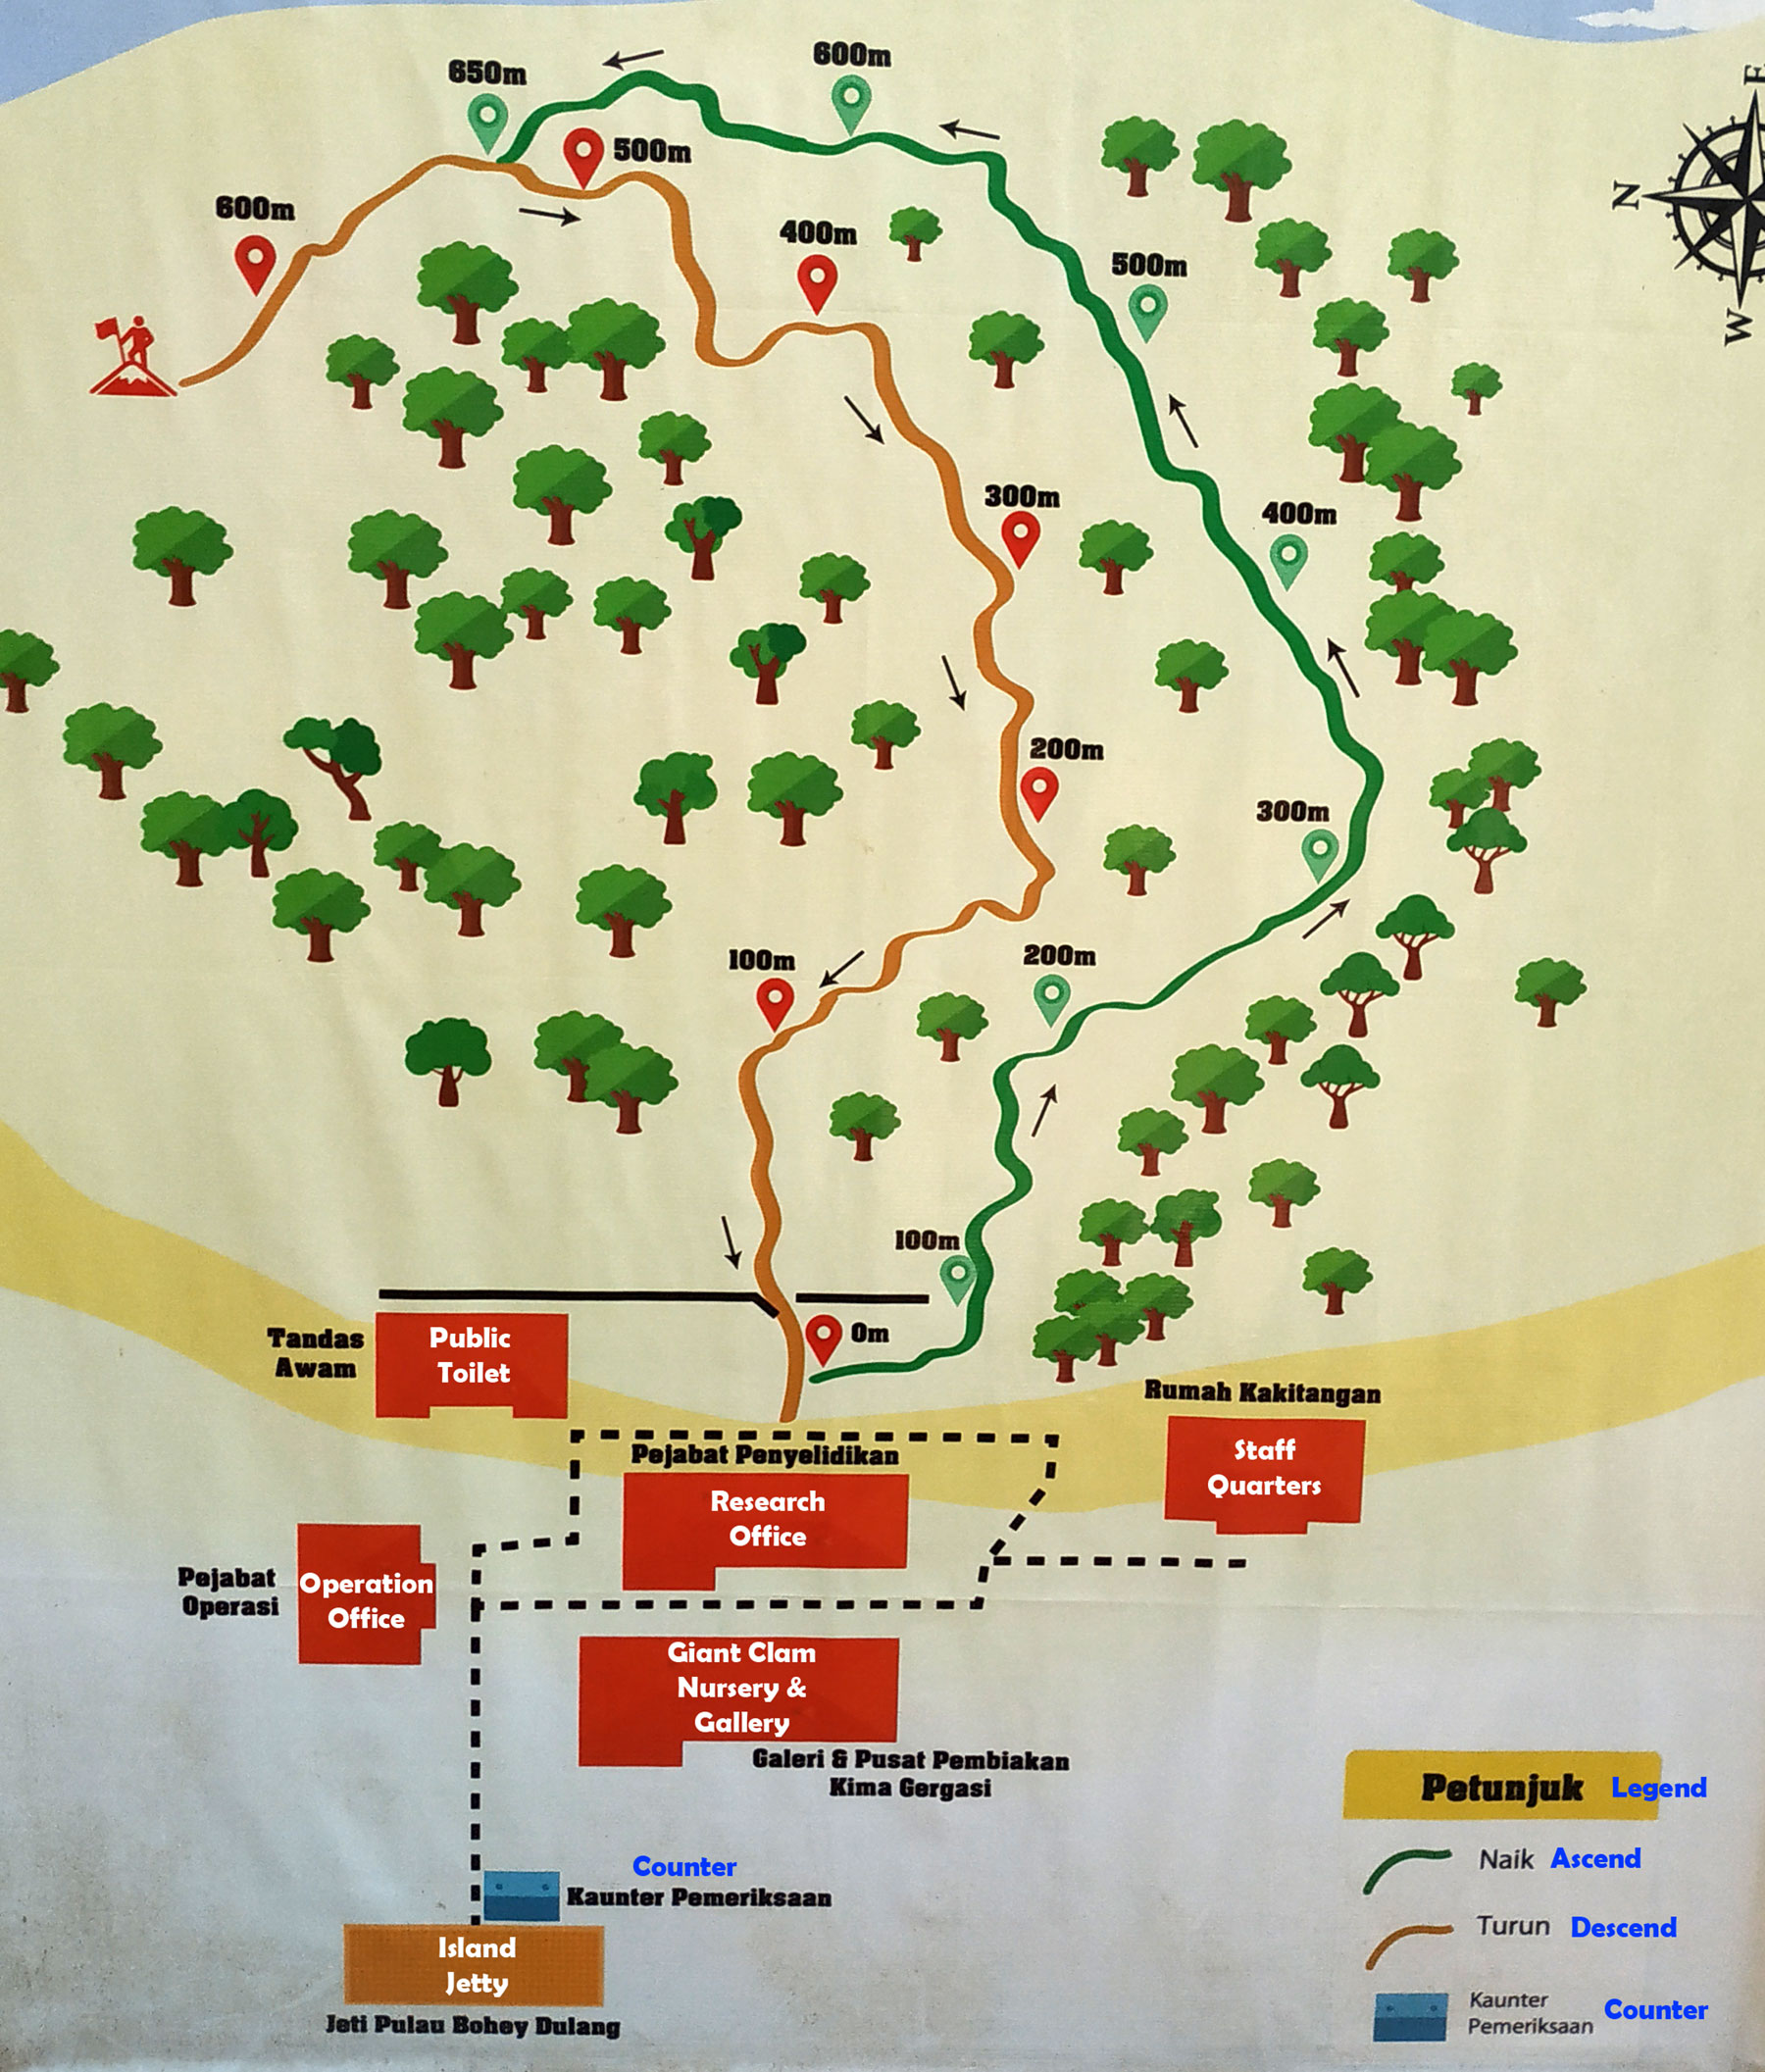
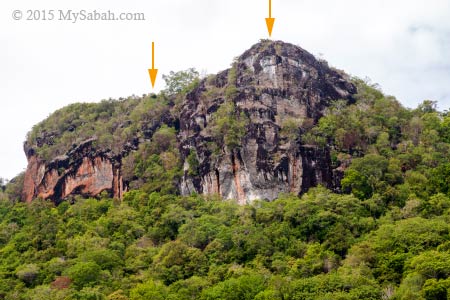
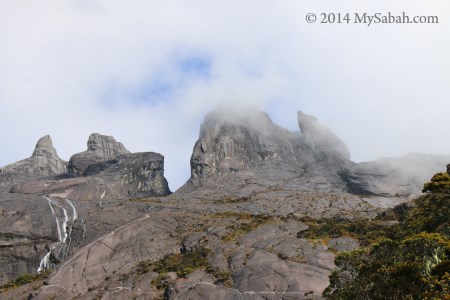
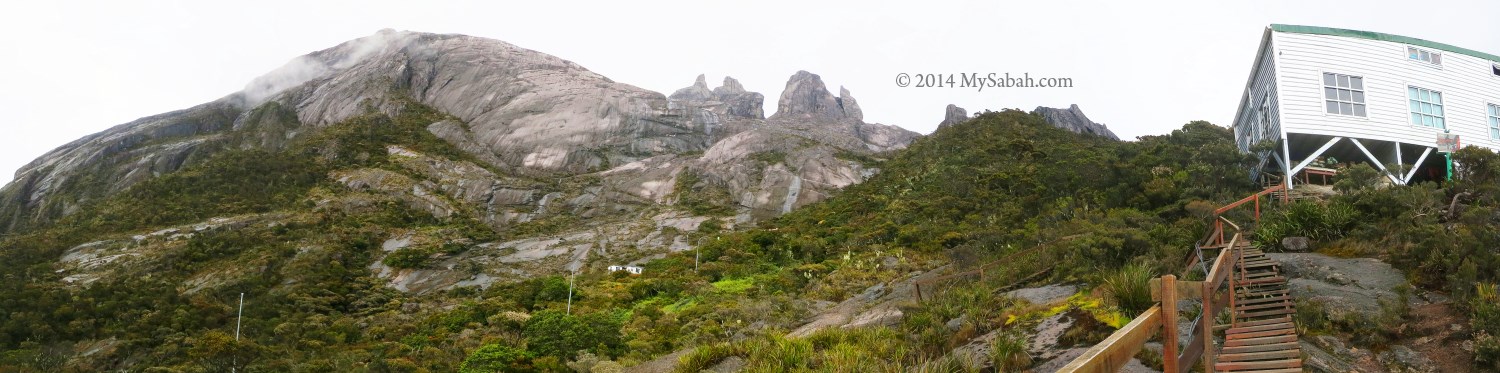
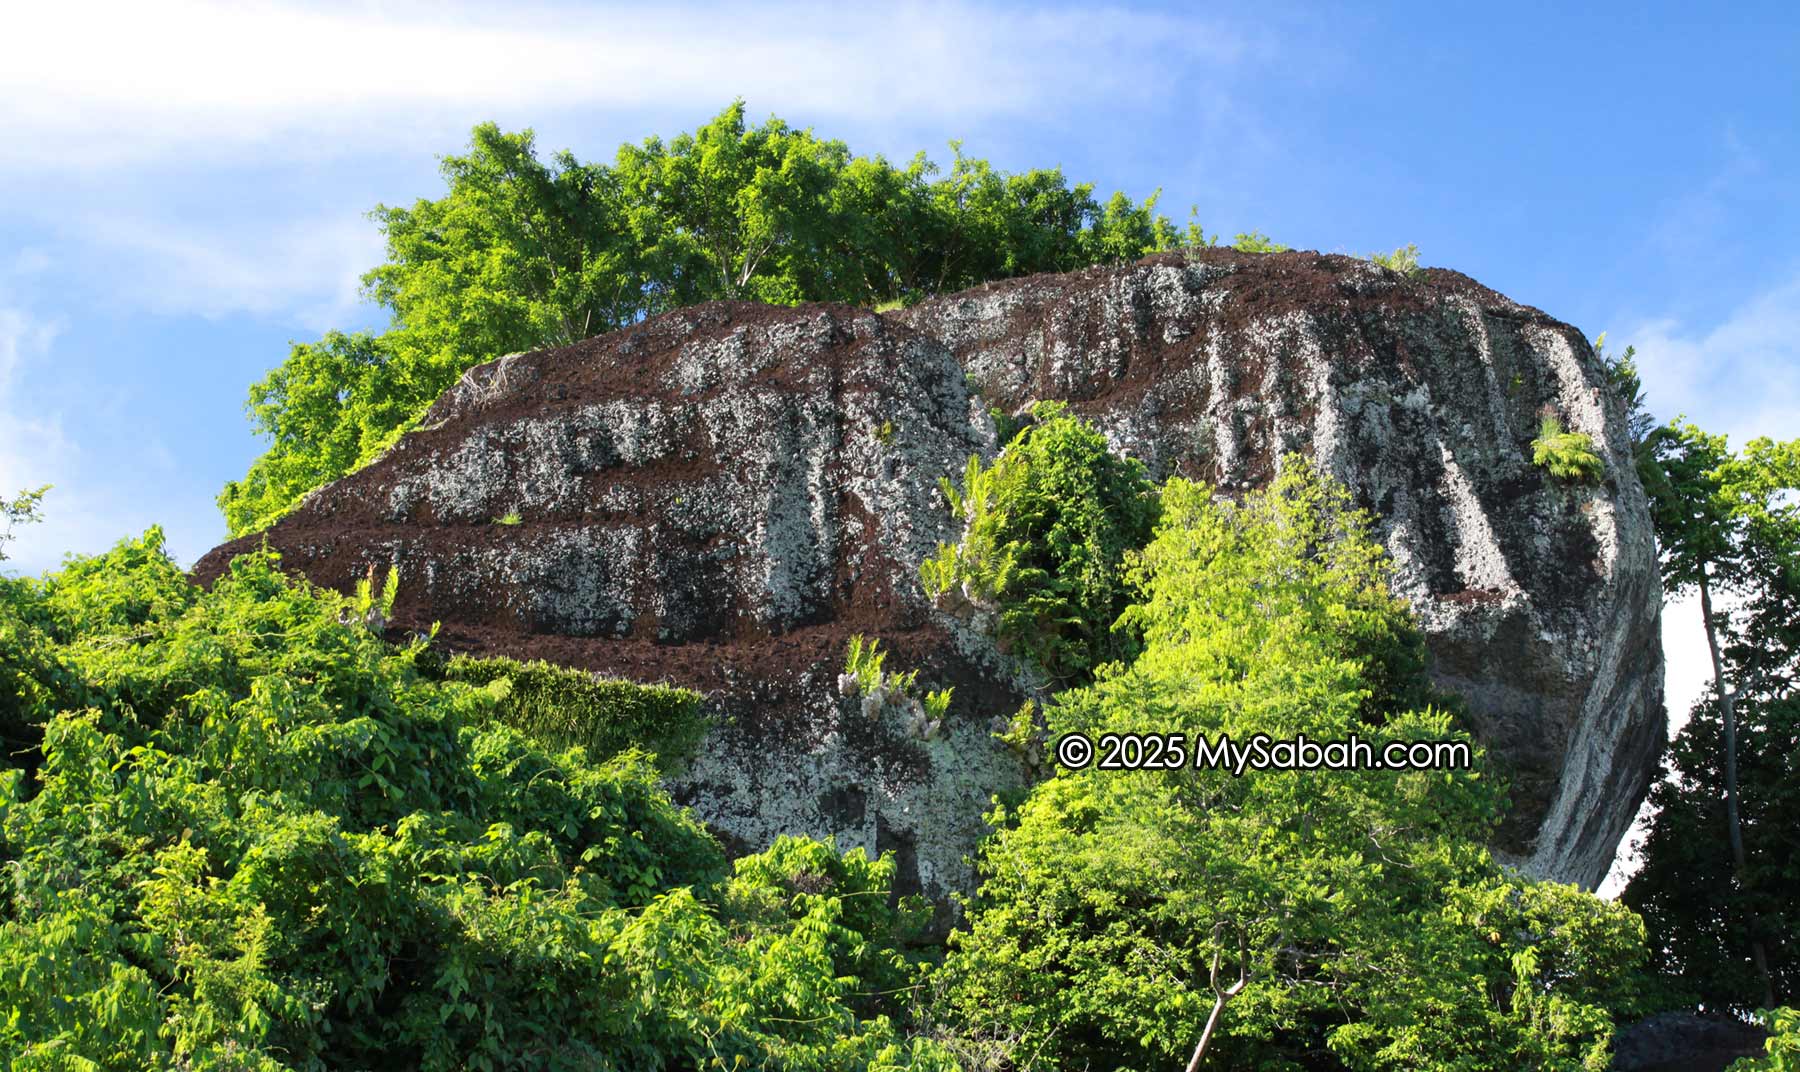
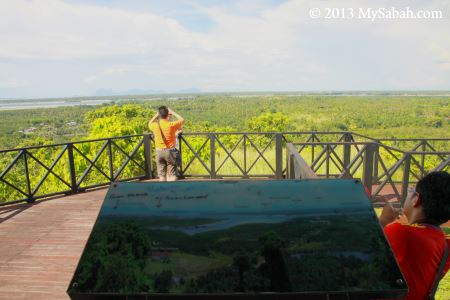
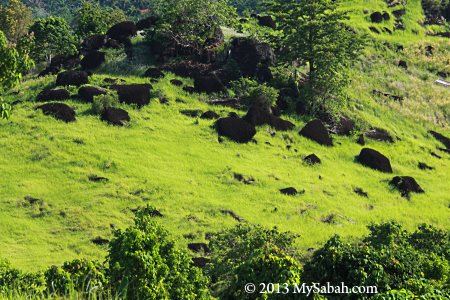
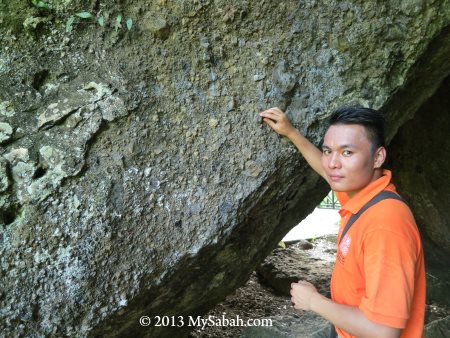
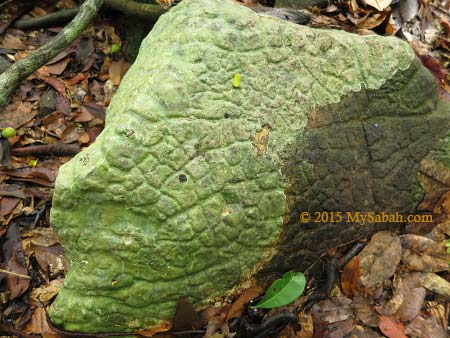
Pic: the view points on the peak. The trail will lead you to the one at right, you can walk 20 Meters to the view point at the left for better sight. The dark grey rocks that form the high cliffs and large shore outcrops are mainly volcanic rocks of late Tertiary (Pliocene) and Quaternary periods. It’s unique because Semporna peninsula is the only place in Sabah where you can see these rocks.
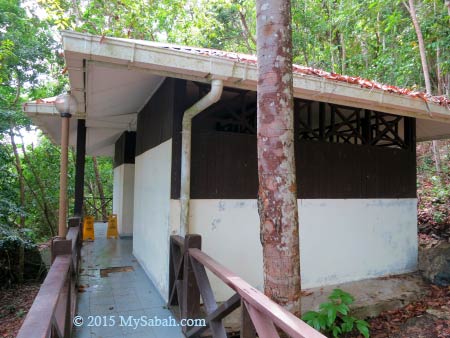
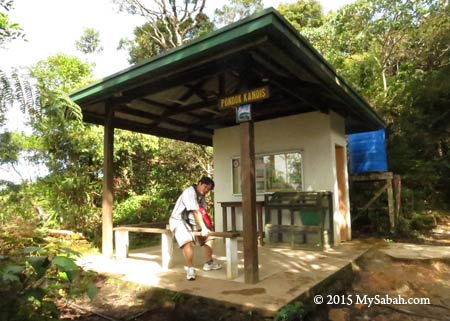
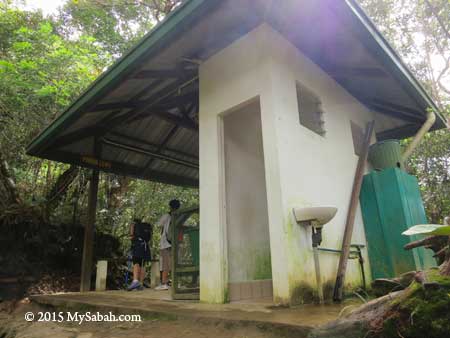
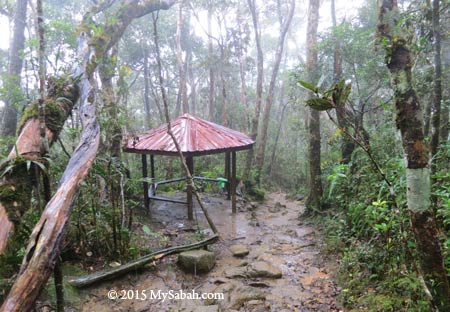
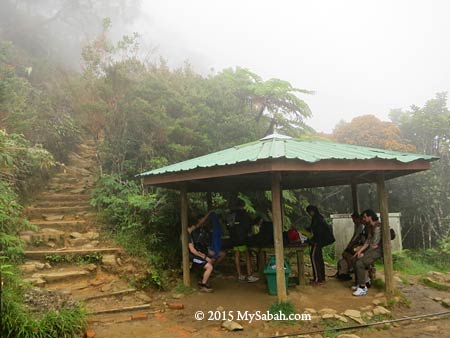
There is a small toilet at the beginning of the trail. It is not so clean and well-maintained, but usable.

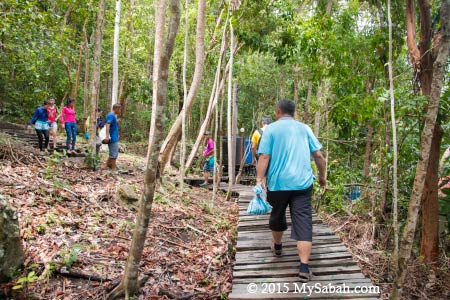
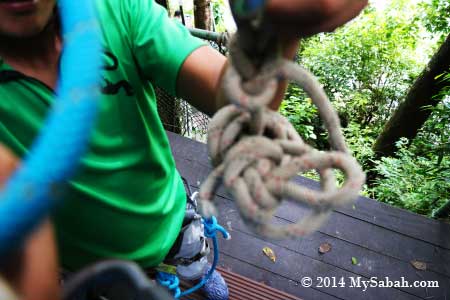
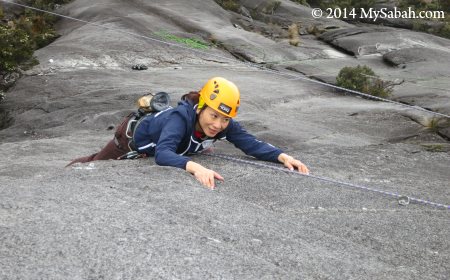
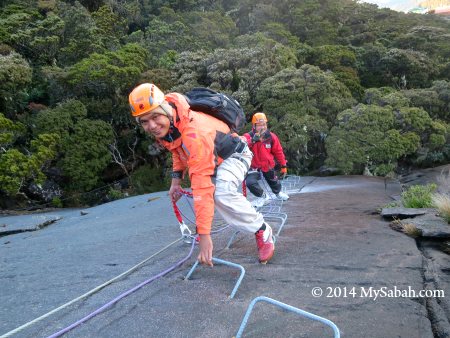
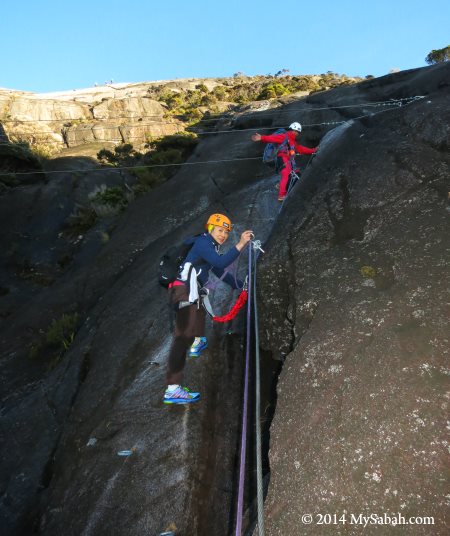
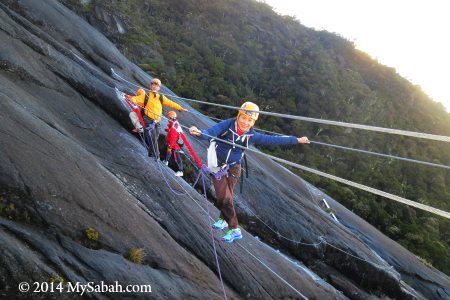
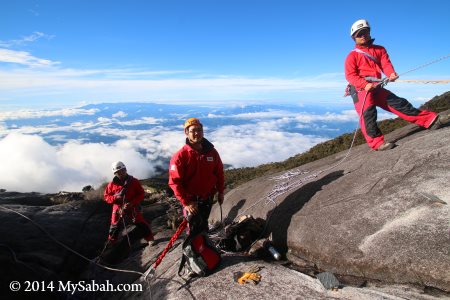
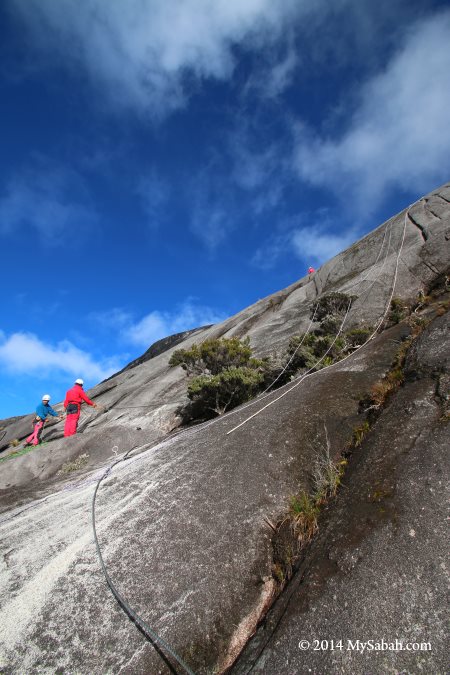
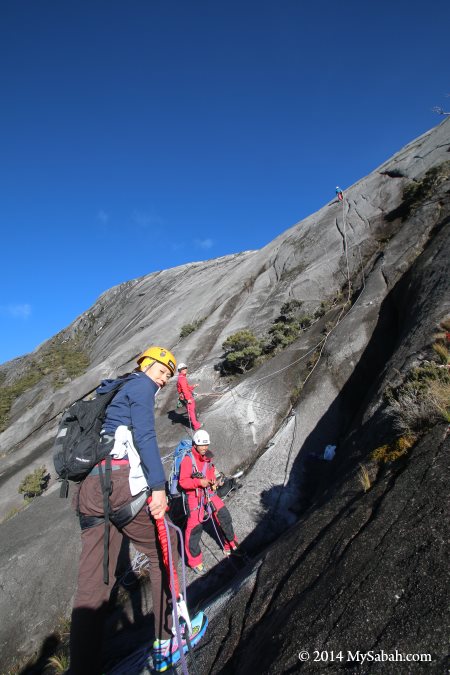
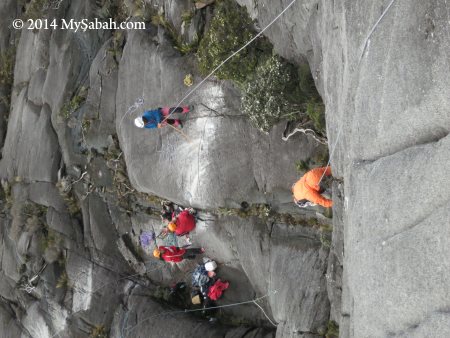
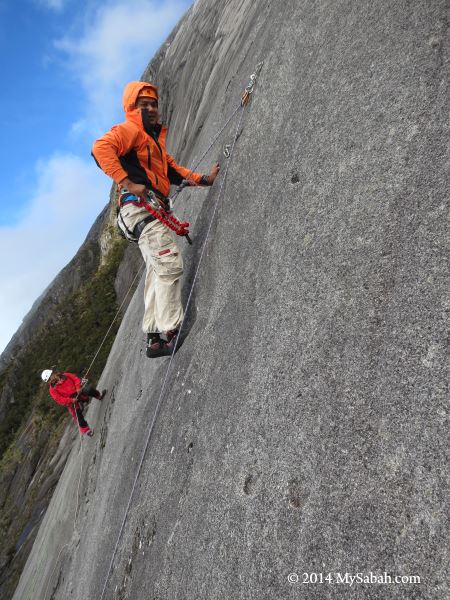
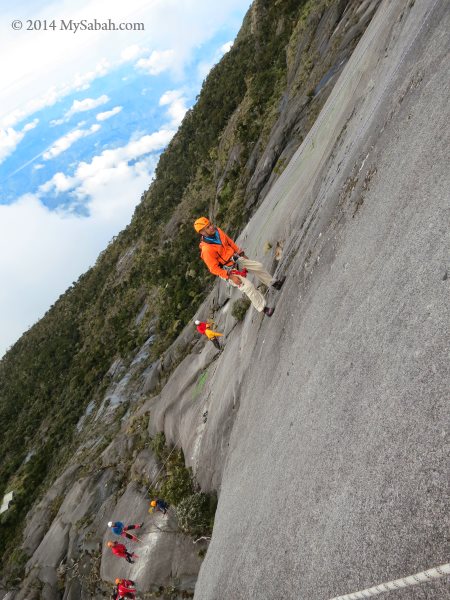
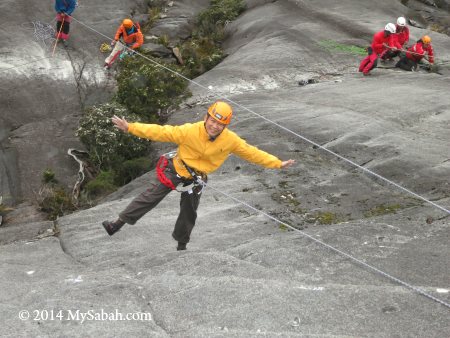
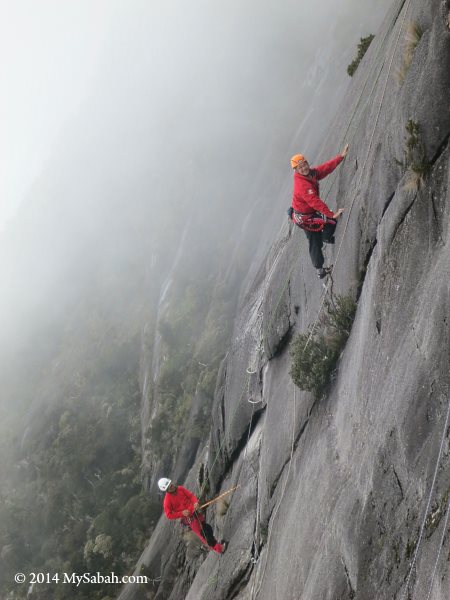
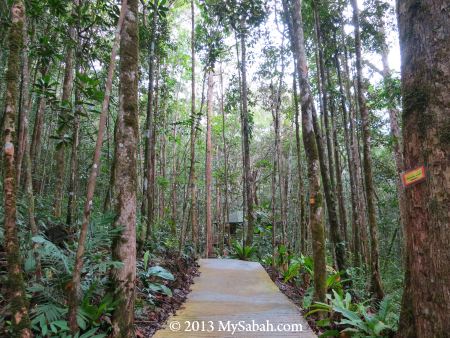
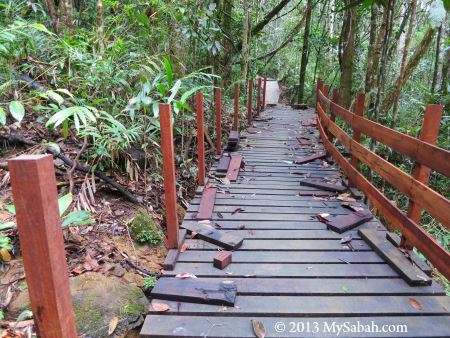
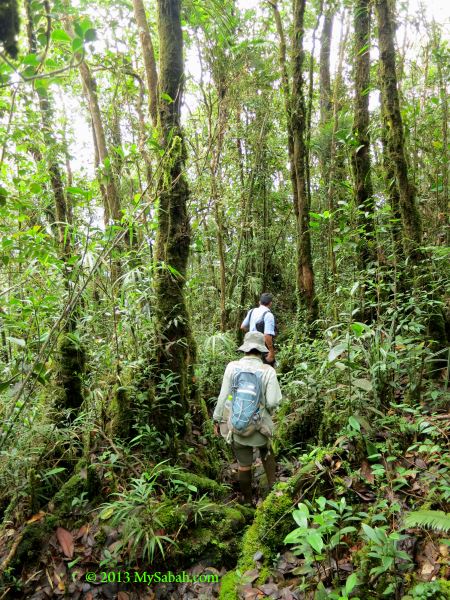
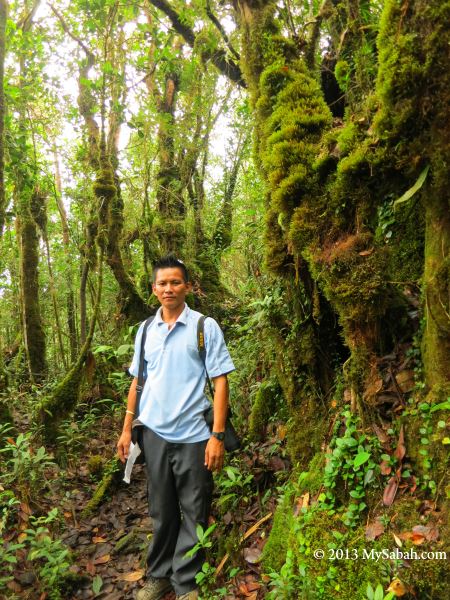
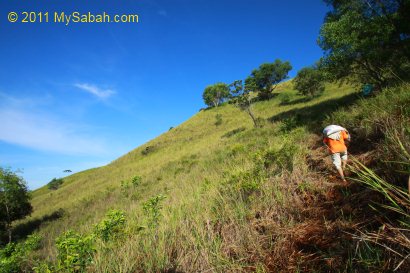
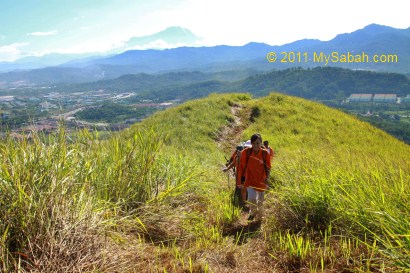
Limited supports such as boardwalk, handrails, ropes, stairway and plank path are available to make your climb easier, but you will walk on soil and rocky path most of the time and busy grabbing the small trees along the trail for support. For safety, a Sabah Parks guide will escort you on the way. Just go slow and everyone can make it quite easily.

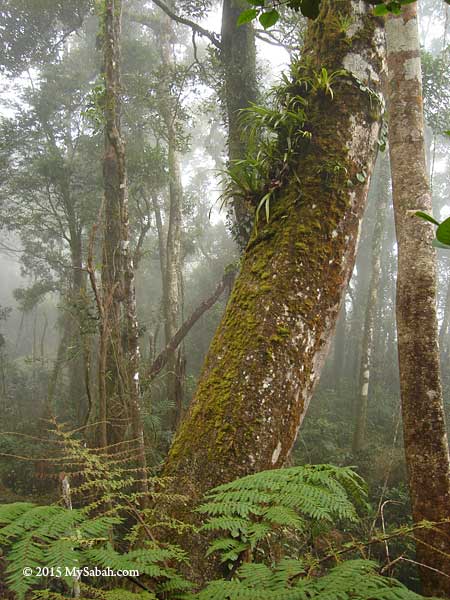
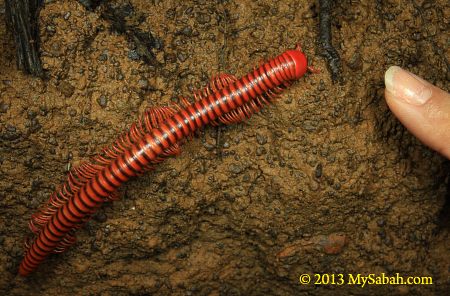
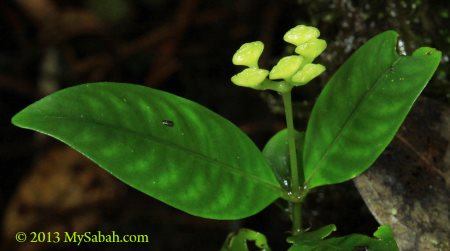
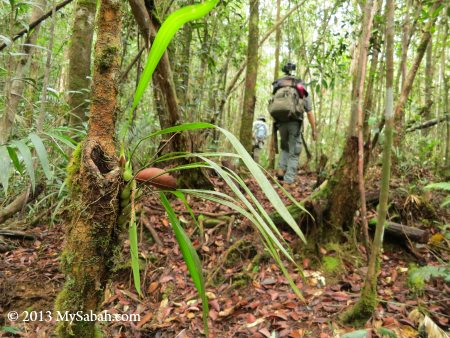
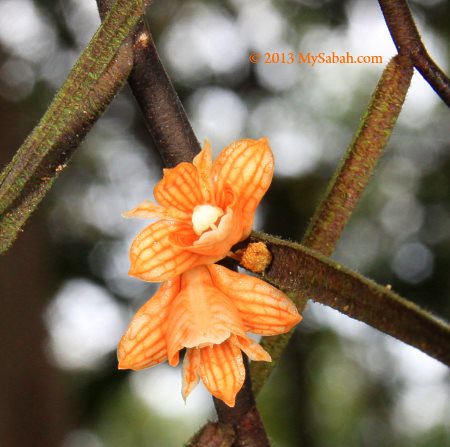
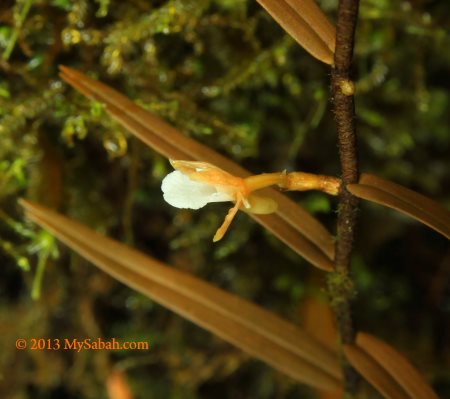
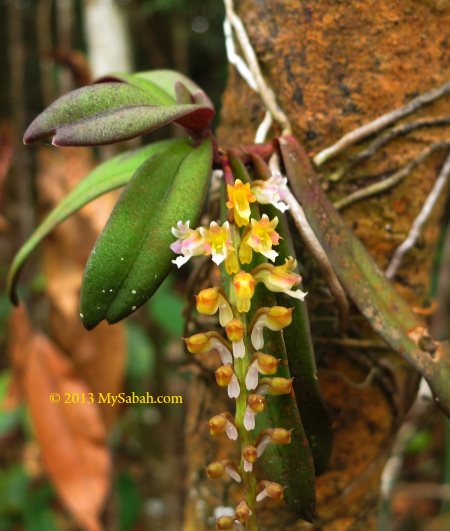
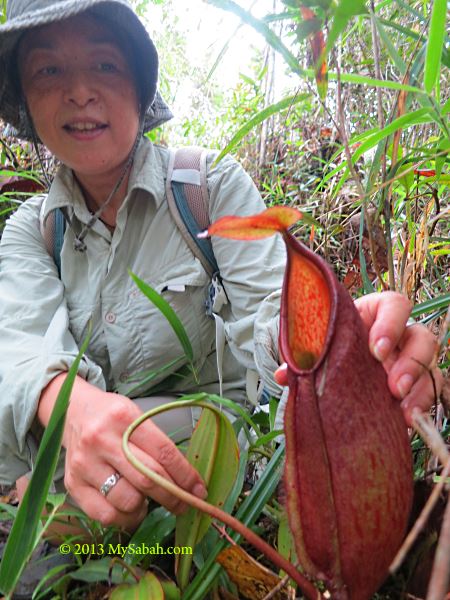
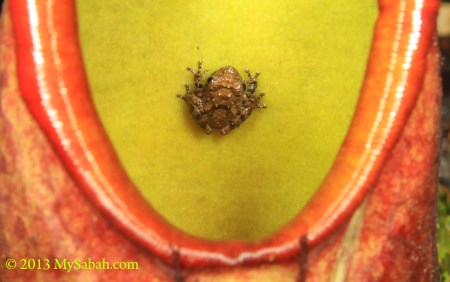
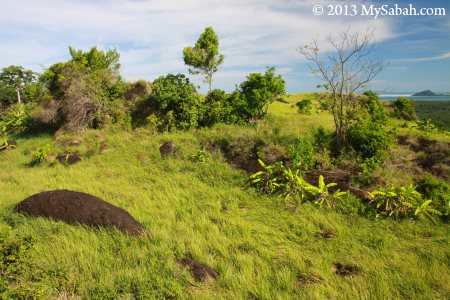
Like other islands in TSMP, Bohey Dulang has one of the most unique and unusual plant communities in Borneo, especially coastal forest and scrub vegetation. Some plant species here are regional endemic to Semporna islands and Philippines, and not found in other locations of Borneo, for example, rare Paraboea leopoldii on cliff faces, Dracaena multiflora monocot, palm-like Cycas rumphii, cactus-like succulent Euphorbia lacei and trichoglottis geminata, a rare epiphytic orchid grows on volcanic rock.
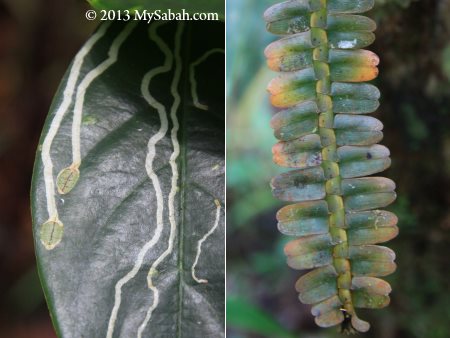
I was looking for Selaginella tamariscina, a small plant of 4-5 cm high like a miniature tree fern. Its leafy distal branches curls inwards under hot sunlight but flattened during rain. This cute plant is a new record to Borneo, and it grows on exposed to partially shaded, gently sloping rockfaces of this island.

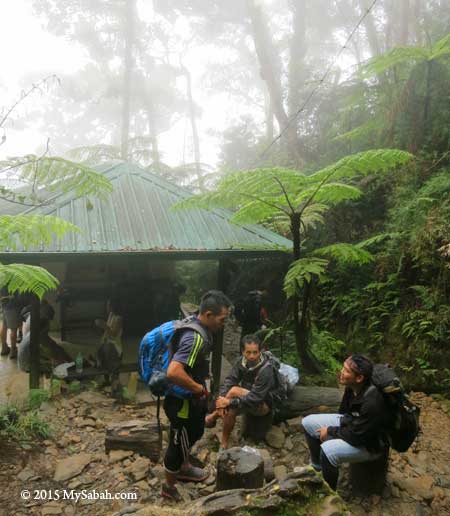
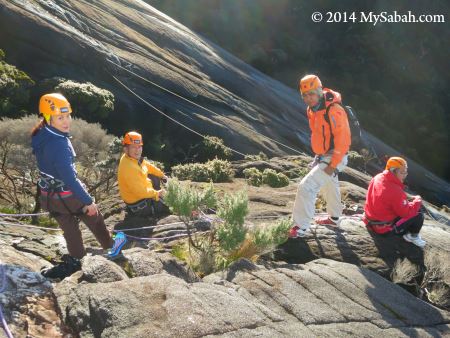
We saw probably nearly a hundred tourists on the way down. They looked tired but really happy. Some even encouraged us, “move on, you are close!”, “it’s awesome up there!”, “it is worth the effort.” A rain earlier turned part of the trail into creeks. Many tourists took off their flip-flop and descended barefooted, when their shoes were too slippery to hold their feet. I sweated a lot but the soothing sea breeze prevented me from overheat.
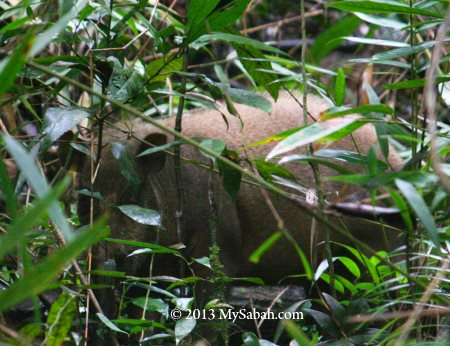
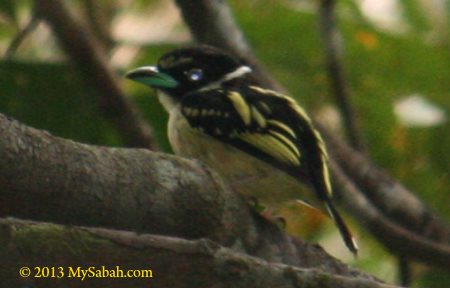
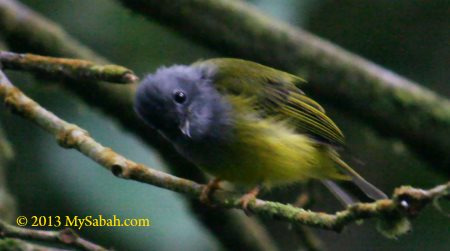
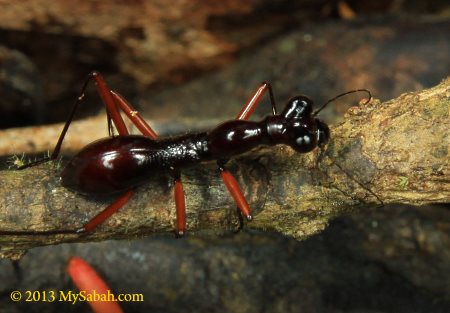
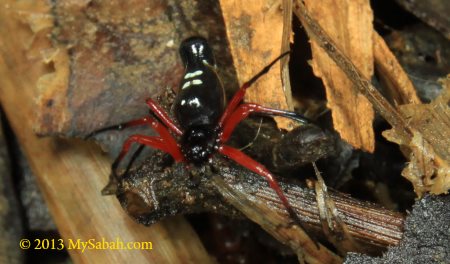
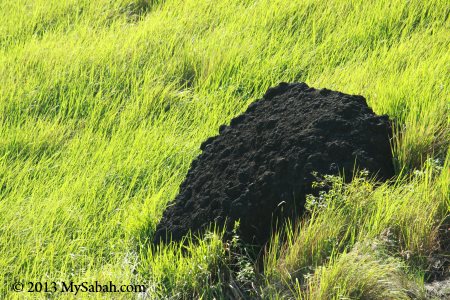
Wildlife such as long-tailed macaque and otter also live on this island but not in great number. A total of 48 bird species comprising mainly resident birds have been recorded around Bohey Dulang. The notable bird species are Metallic Pigeon (Columba vitiensis), Nicobar Pigeon (Caloenas nicobarica), Tabon Scrubfowl and Pied Hornbill. I saw more mosquitoes than other animals though. The good news is – there is no leech.
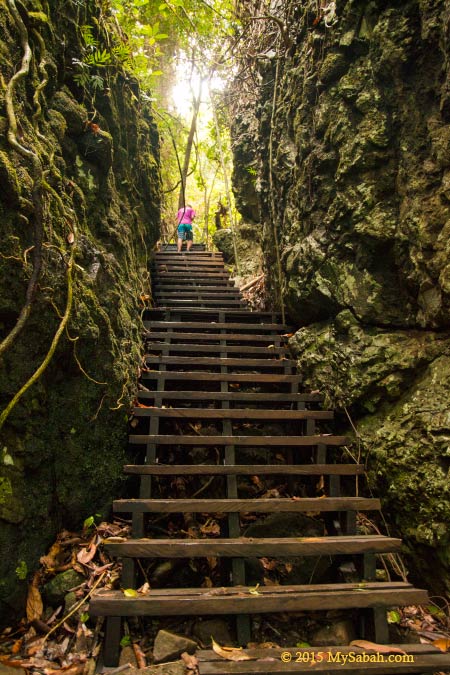
Pic: They call this ladder between boulders “Stairway to Heaven.” You should feel joyful when you reach here. Not because you will go to heaven, the peak is only a very short walk away now.
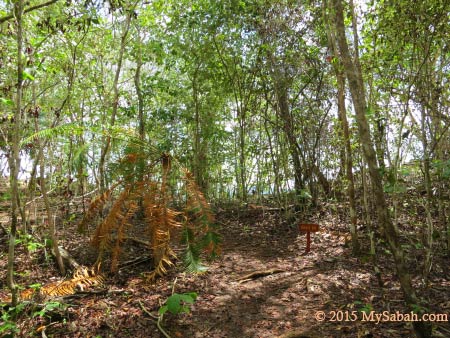
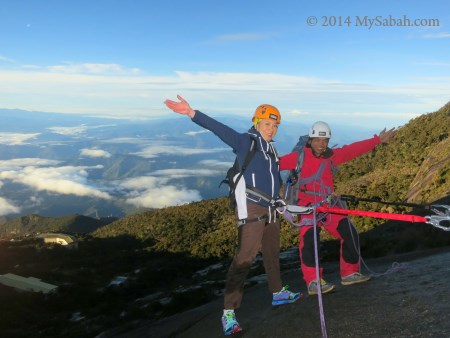
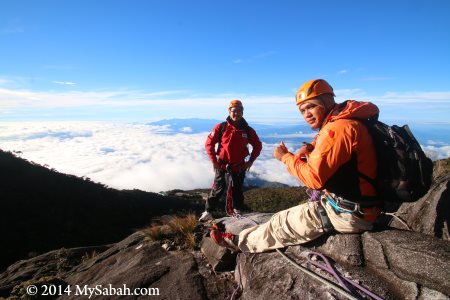
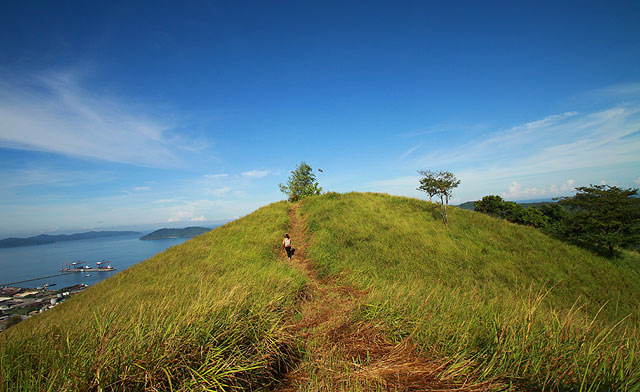
Finally I came to a flat ground and saw the light in front. I could tell the amazing scenery was waiting for me outside the dense bushes.
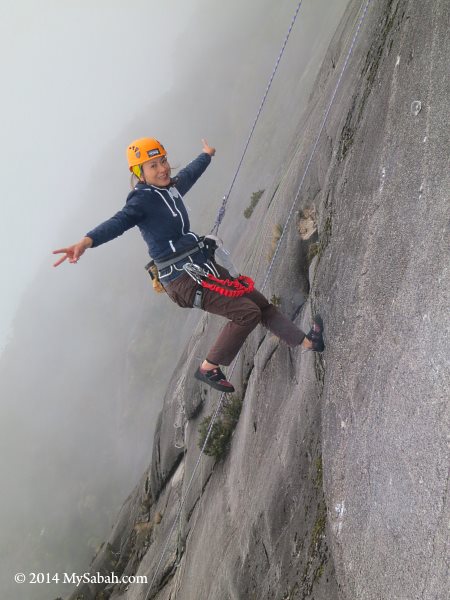
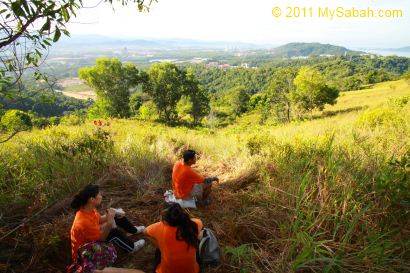
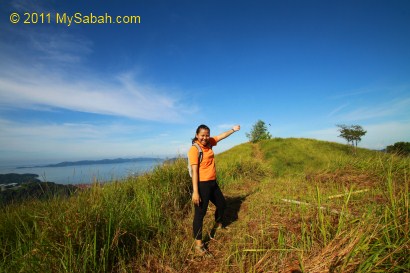
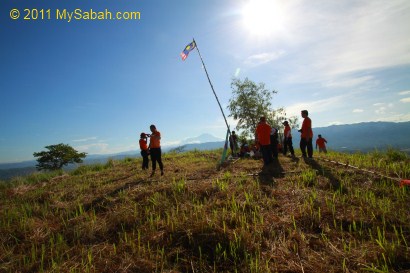
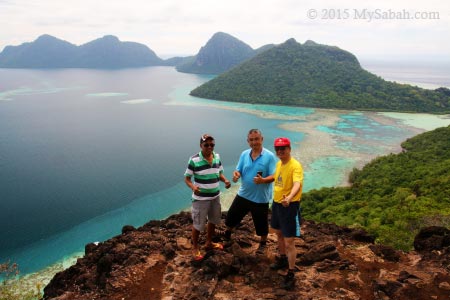
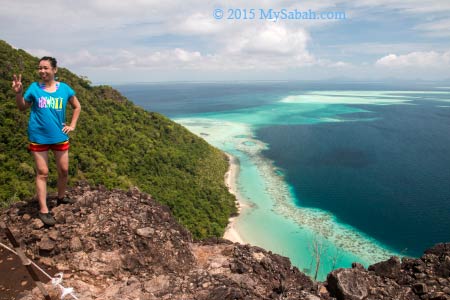
Hooray…!!! After a taxing climb, it’s time to enjoy the wonderful view and stay as long as you want.
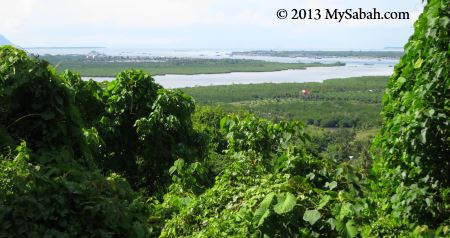
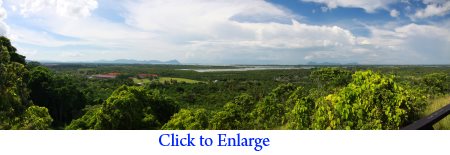
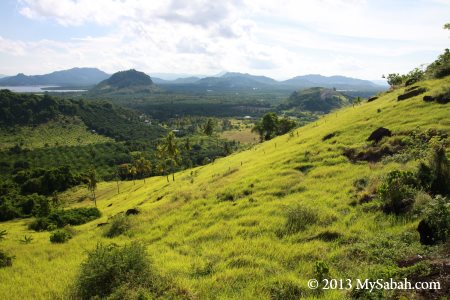
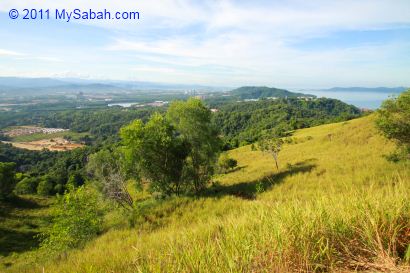
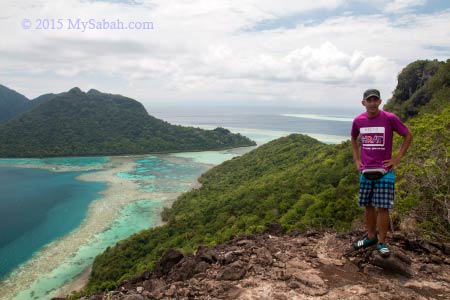
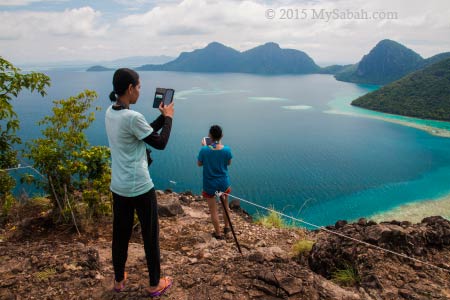
The Most Beautiful Seaview of Sabah
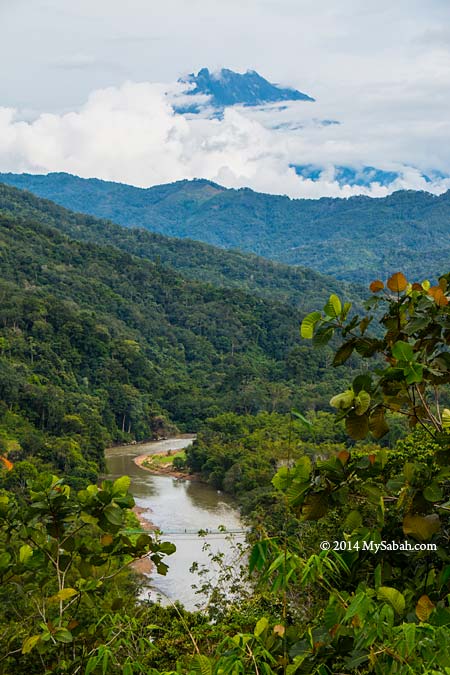
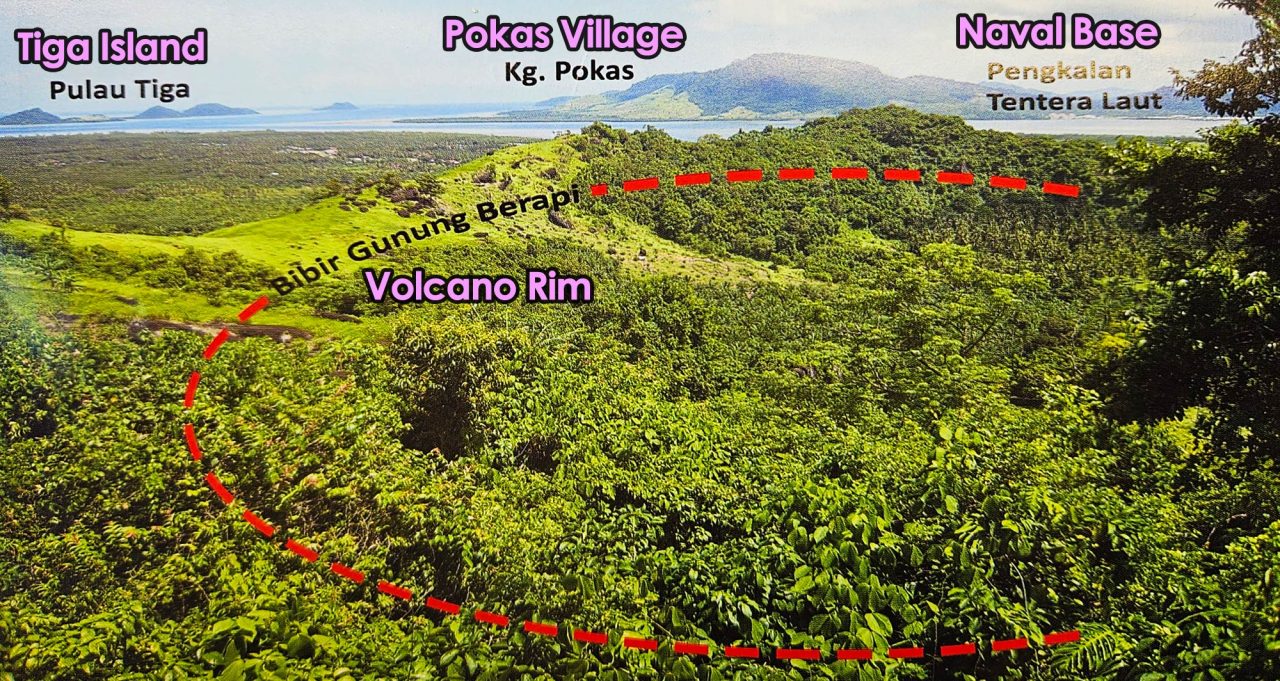
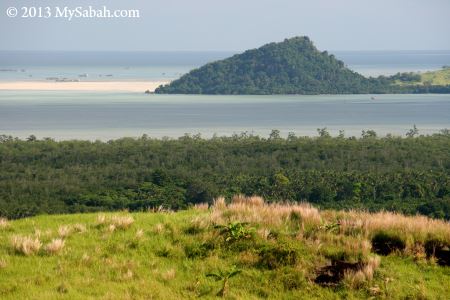
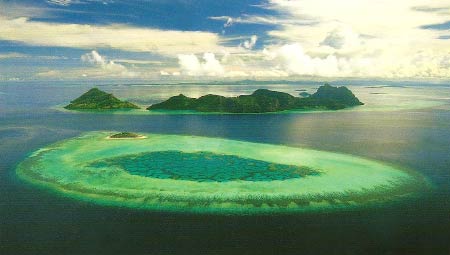
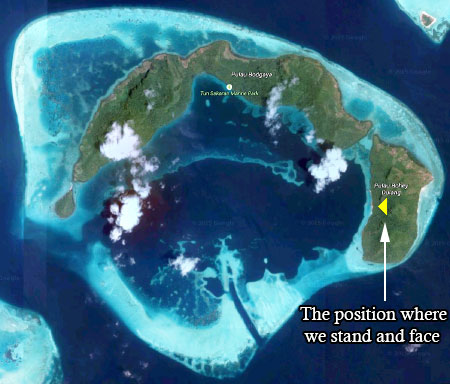
On top of Bohey Dulang, you can have a bird-eye view of the sapphire-colored Bodgaya Lagoon embraced by emerald forest of three central islands (Bodgaya, Bohey Dulang and Tetagan), the only islands in Sabah made of volcanic rock and part of the Sulu volcanic chain. In fact, the lagoon, which is about 6.5 Km across, is a crater of an ancient volcano erupted 2.5 million years ago.
The central islands are the remnants of a Quaternary volcanic crater rim. Part of the “rim” is dissected and inundated by the sea but you can see it from its curved reef formation. I was standing on top of an extinct volcano. You may look at the satellite photo below for a clearer view of the rim.


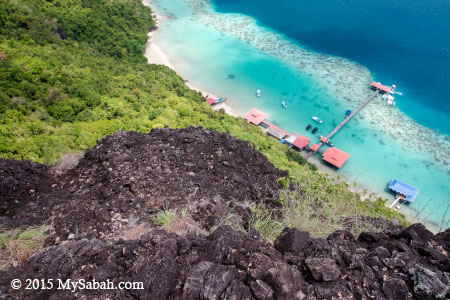
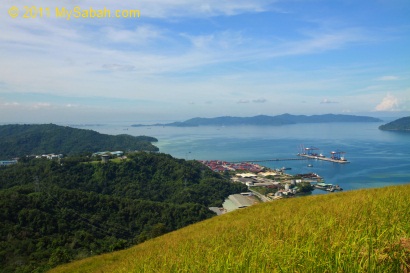
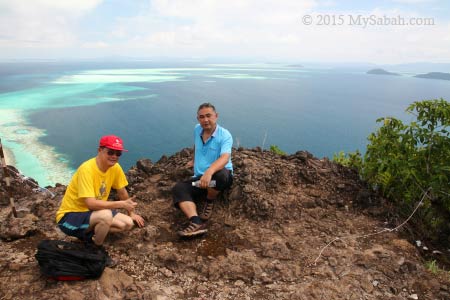
Pic: I could see our boat at the jetty. All boats look like tiny toy from a height of over 260 Meters. The highest point of Bohey Dulang is 353 Meters and situated further south. They might open a new trail to there in future.
Pic: abandoned pearl farm
It’s noon time and most tourists have descended. The rest of us were happy to take hundred of photos. They didn’t build any fence, so be careful when you stand on the uneven surface of the cliffs.
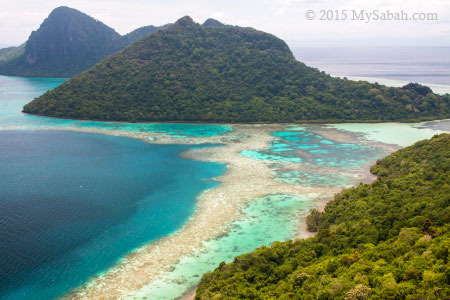
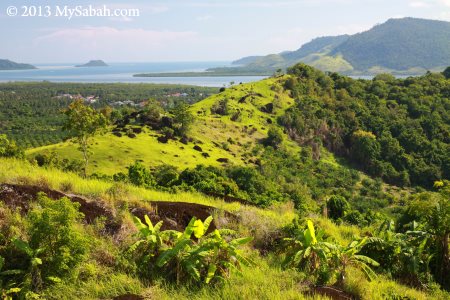
Pic: To your right you can see the 120-Meter long channel between Bodgaya Island and Bohey Dulang. Bodgaya means “impressive mountain” in Bajau language, and it’s the largest island (795 ha) in TSMP and about 8 Km long. You also can see its highest peak, Mt Bodgaya, which is 455 Meters high.
If you say Bohey Dulang has the most beautiful sea view in Sabah, those who had been there won’t argue with you. You may forget many things in life over time, but you will always remember the breathtaking seascape of Bohey Dulang.
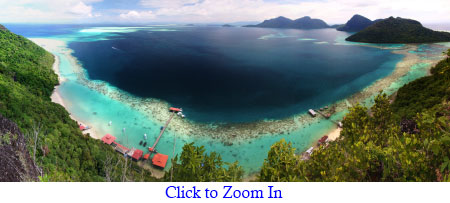
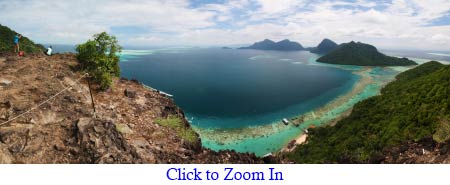
For the best view, you need to walk another 20 Meters to your right for second view point, which offers a truly panoramic view (like photo above). You would miss this spot if nobody tells you. This is the favorite spot of landscape photographers to capture the circular shape of the lagoon and “50 shades of blue” colors.

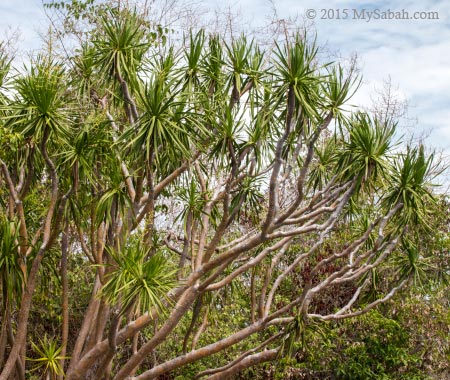
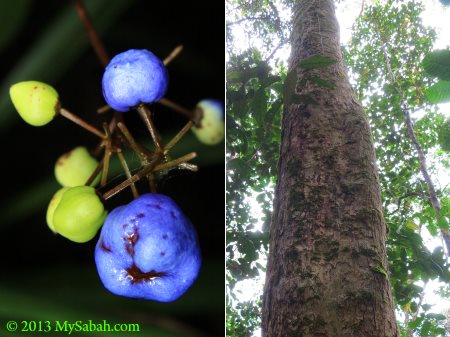
The volcanic rocks and mixture of Bornean and Philippines flora make this park looks a bit “exotic” even to Malaysians. Like the yacca-like Dracaena multiflora in photo above. It is common in summit scrub here but do you know that it’s only found in Philippines and Semporna Islands Park?

It’s hard to say goodbye to Princess Salamia and her lovely islands in Celebes Sea, which can match the beauty of Caribbean Sea.
How to get there
A day trip to Bohey Dulang is possible even if you stay in Kota Kinabalu City (KK). Just take a 50-min morning flight from KK to Tawau City, upon arrival get a 1-hour land transport to Semporna town, then the park is only 20 minutes away by boat. The earliest flight to Tawau departs at 7:25am, and last flight back to KK is at 7:45pm. Both direct routes are served by Malaysia Airlines and available every day. You may use Google Flight to check out the latest prices and other flight alternatives. Please note you need a permit from Sabah Parks prior to visit the island.
Starting on 1 Feb 2016, visitor will need to pay for entrance ticket to this island (which they call Conservation Fee):
Ticket Rates (in MYR Malaysian Ringgit)
| Conservation Fee (to Tun Sakaran Marine Park) | Adult | Below 18 | Below 12 | 60 & Above |
| Malaysian | RM8 | RM5 | Free | Free |
| Non-Malaysian | RM20 | RM12 | RM12 | RM20 |
| Climbing Fee (Bohey Dulang) | Adult | Below 18 | Below 12 | 60 & Above |
| Malaysian | RM20 | RM10 | Free | Free |
| Non-Malaysian | RM50 | RM30 | RM30 | RM50 |
Please feel free to contact Borneo Star Cruise for more info:
E-mail: info@borneostarcruise.com
Phone (24×7): +60 17-820 7911 (also reachable by Text, WhatsApp, Viber, LINE)
Facebook: Borneo-Starcruise-Sdn-Bhd
Other Activities
Besides sightseeing at Bohey Dulang, there are a few other activities you can do around Tun Sakaran Marine Park (TSMP).
1. Visit Giant Clam Nursery
Due to overfishing, giant clams are highly endangered. TSMP is a refuge for seven species of giant clams (Tridacnidae and Hippopusporcellanus species).
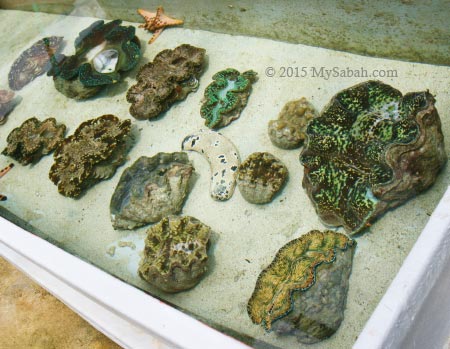
Sabah Parks has a giant clam nursery and hatchery center on Bohey Dulang, where they breed and propagate giant clams inside and outside the Park. The display and settlement tank area, which houses a few species of giant clam (may not open to public and tourists). It’s possible to arrange an educational tour to visit their lab and research center.

2. Snorkeling & Diving
TSMP is located in Coral Triangle (a.k.a. Amazon of the Sea), which supports one of the richest marine ecological zones in Malaysia. 528 species of coral reef fish are found in the park, much more than Sipadan Island (409), Redang (209) and Tioman (233). Teeming with over 320 species of hard and soft corals, and variety of sea creatures such as eagle rays, barracuda, turtles and nudibranchs, this park is getting well-known as a scuba diving and snorkeling site.
Mantabuan Island has the best concentration of corals and marine lives. Sibuan Island is featured as one of the 101 Best Beaches of Malaysia. Therefore, both islands are the favorite picks of travel agents to impress their guests.
3. Photography
You are wrong if you think that TSMP is only about nature. Many world-renowned photographers have visited this park for human interest shots here and won some international awards. Around the islands, there are about 10 villages of Bajau Laut (a.k.a. Sea Gypsies) people living either in temporary shacks or in their boats. They maintain very traditional lifestyles and possibly the only nomadic seafarers left in the world.
Most of them are fishermen in hardcore poverty. However, when their primitive houses, nude children and pristine sea are being framed into a photo, its visual impact is so overwhelming and so out of this world (though it’s a sad reality). Whenever I drop by Semporna, I never fail to see a few boatloads of photographers heading to TSMP.
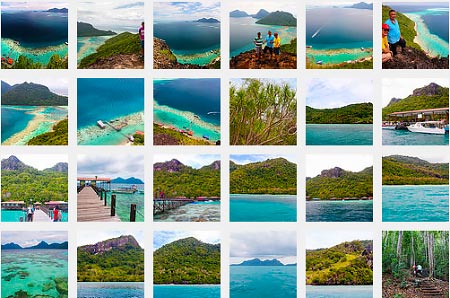
More Photos
For more photos, you may check out my photo album.

References
- New records of Bornean plants from the Semporna Islands off Sabah’s east coast, KM. Wong et al., Sandakania 13 (1999): page 31-40
- The landscape, vegetation and botany of the Semporna Islands off Sabah, Borneo, KM. Wong et al., Sandakania 13 (1999): page 41-65
- Semporna Islands Darwin Project (2001 Jan). Management Plan for the Semporna Islands Park
Photos taken in Semporna, Sabah, Malaysia Borneo