A family is having a hard time to plan a holiday trip at a destination that makes everyone happy.
Grandfather: “I want to learn some local history and legend.”
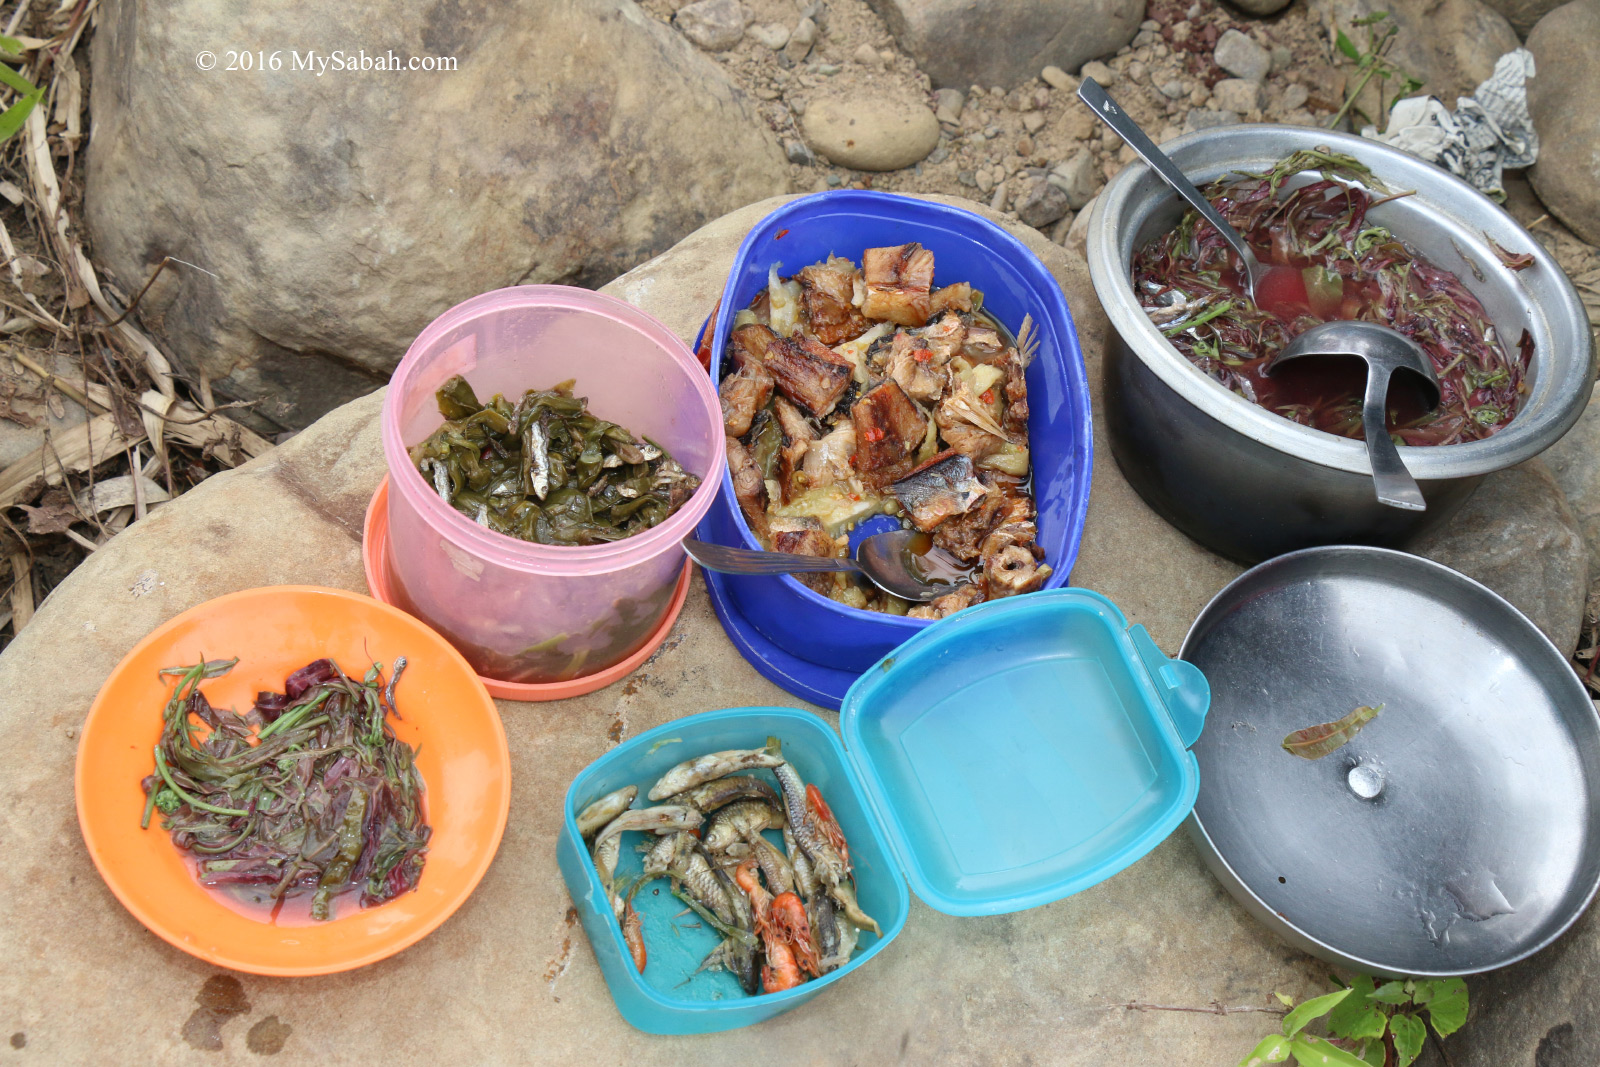
Mother: “How about a BBQ feast?”
Father: “Let’s climb a mountain.”
Son: “Camping and jungle trekking will be fun!”
Daughter: “I love swimming in river.”
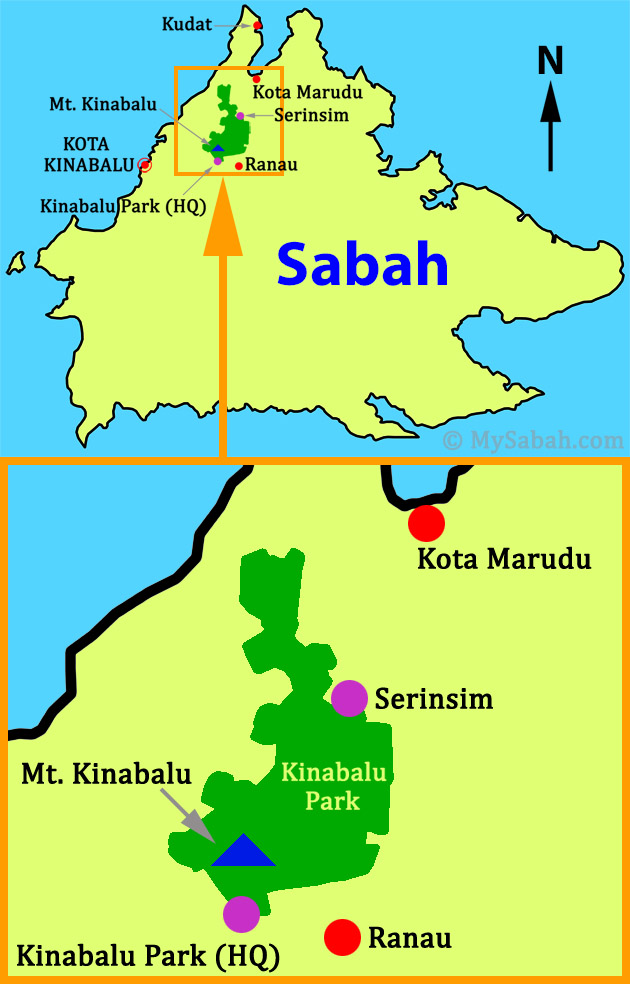
Finally they decide to visit Serinsim (or Sorinsim) in Kota Marudu, which has all these. There is no second place in Sabah where we can find river, waterfall, forest, cave, mountain and historical site in one park.
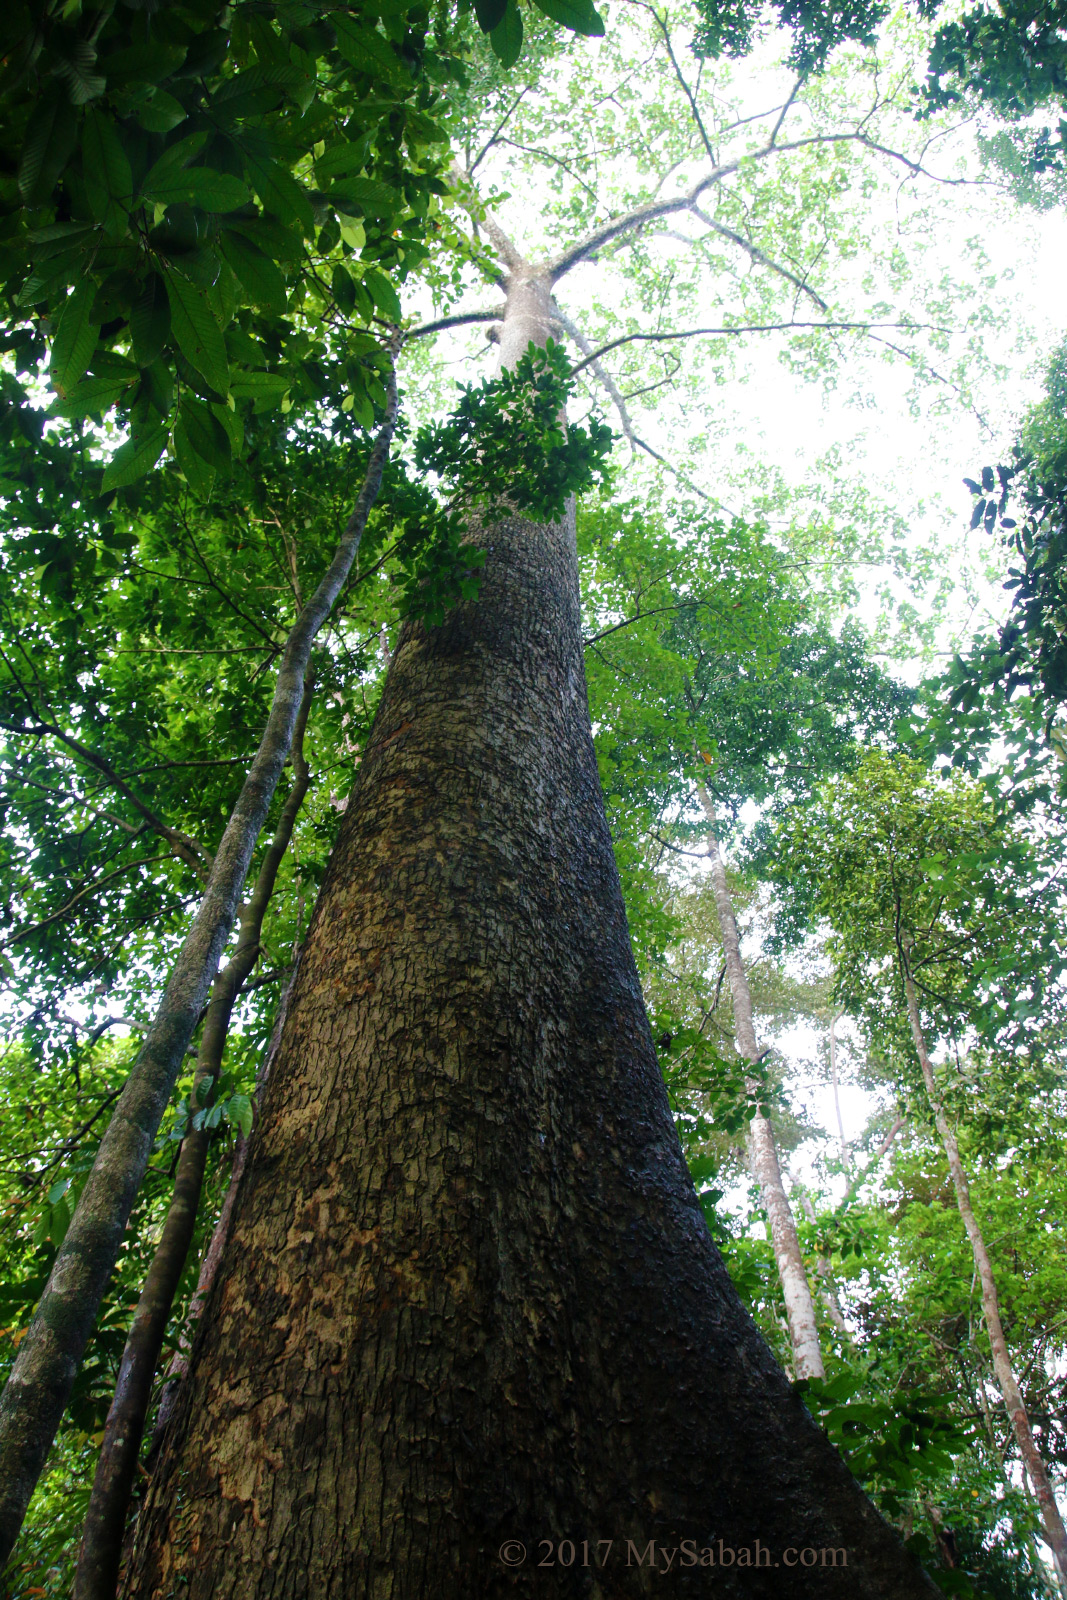
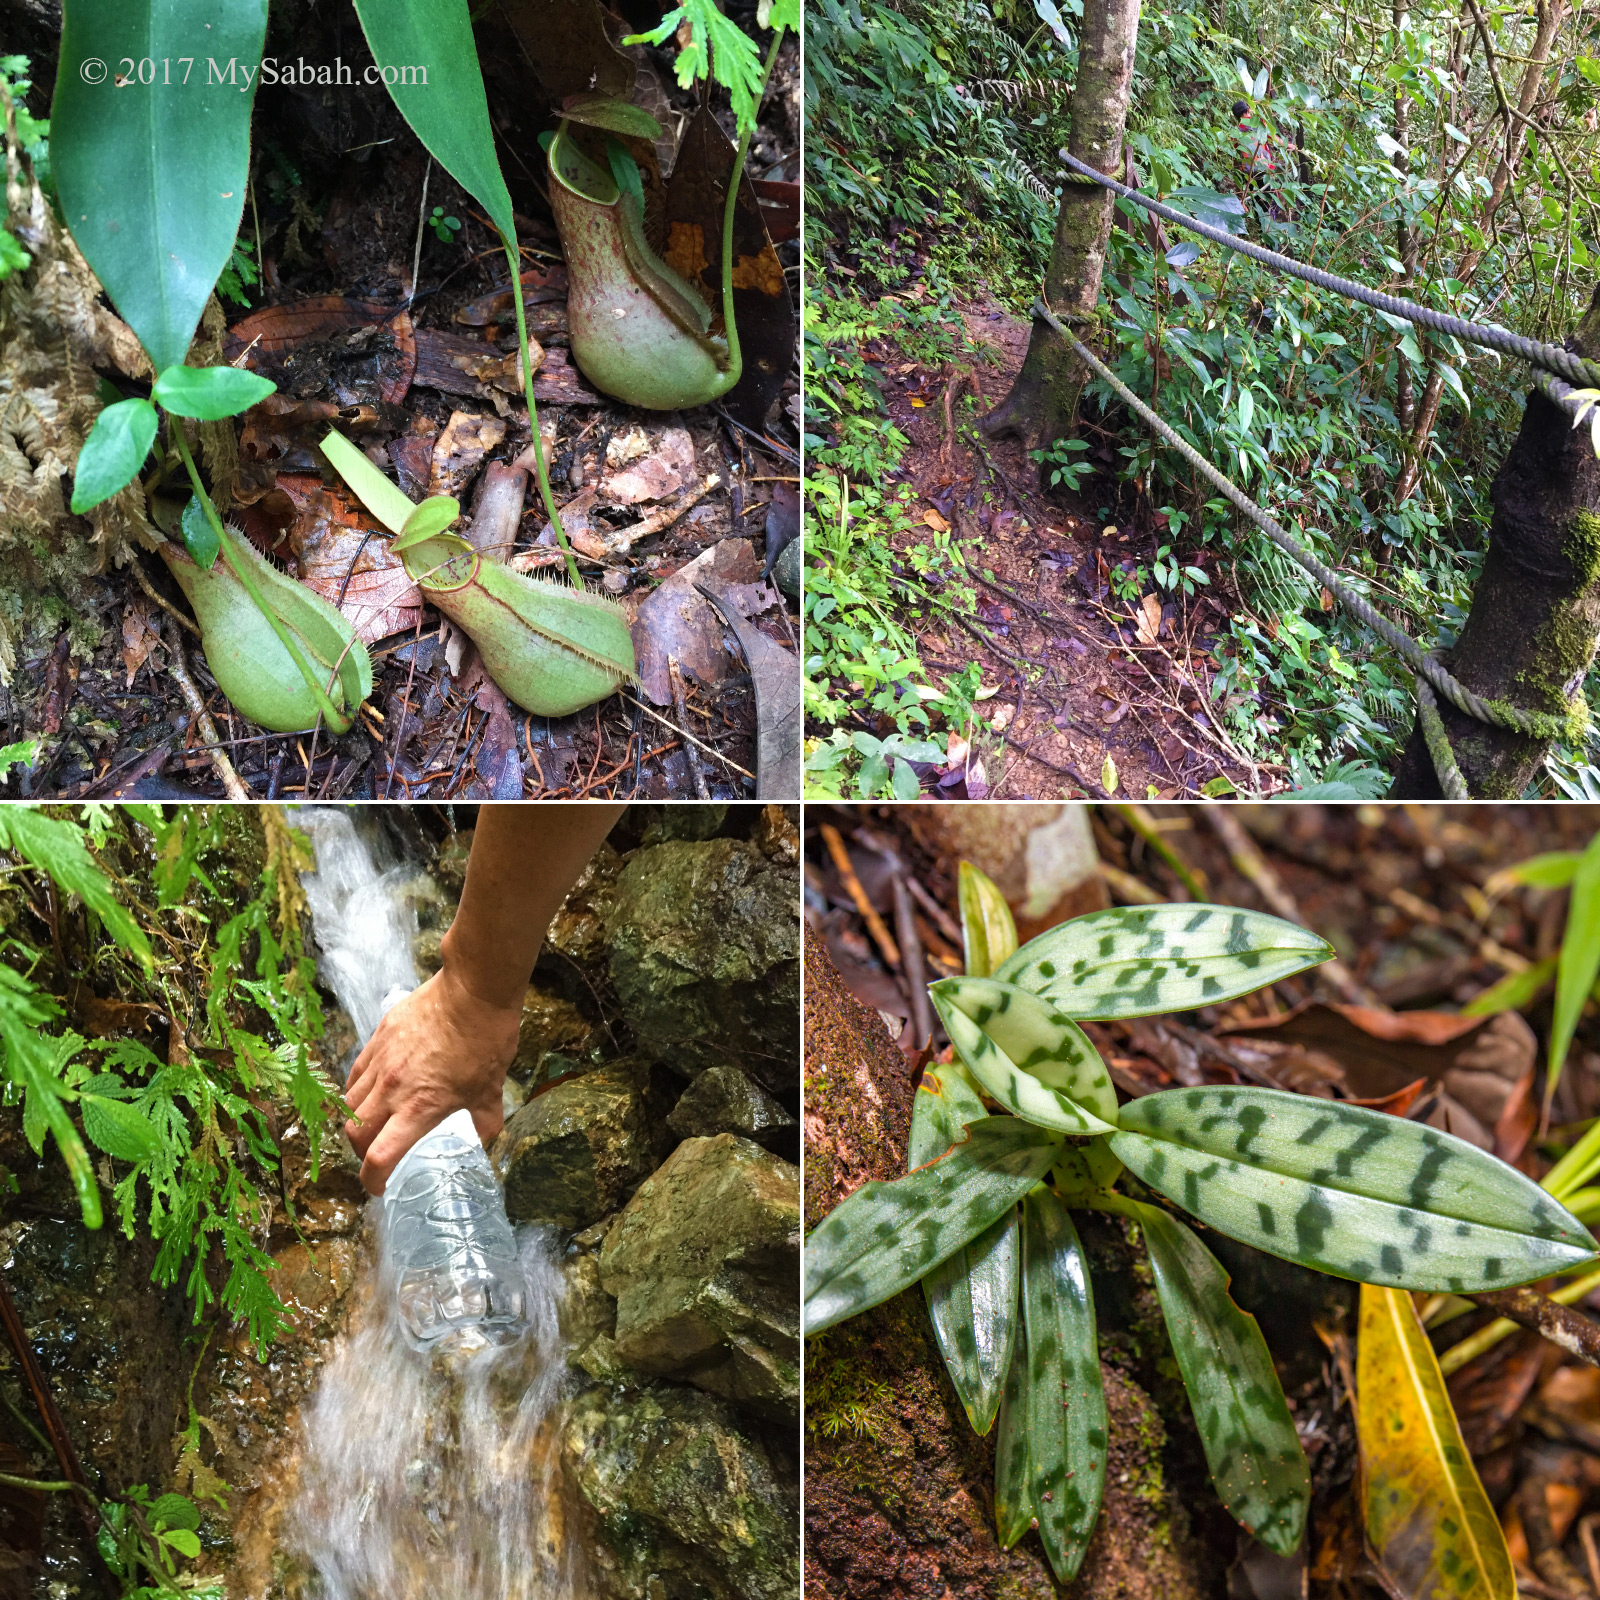
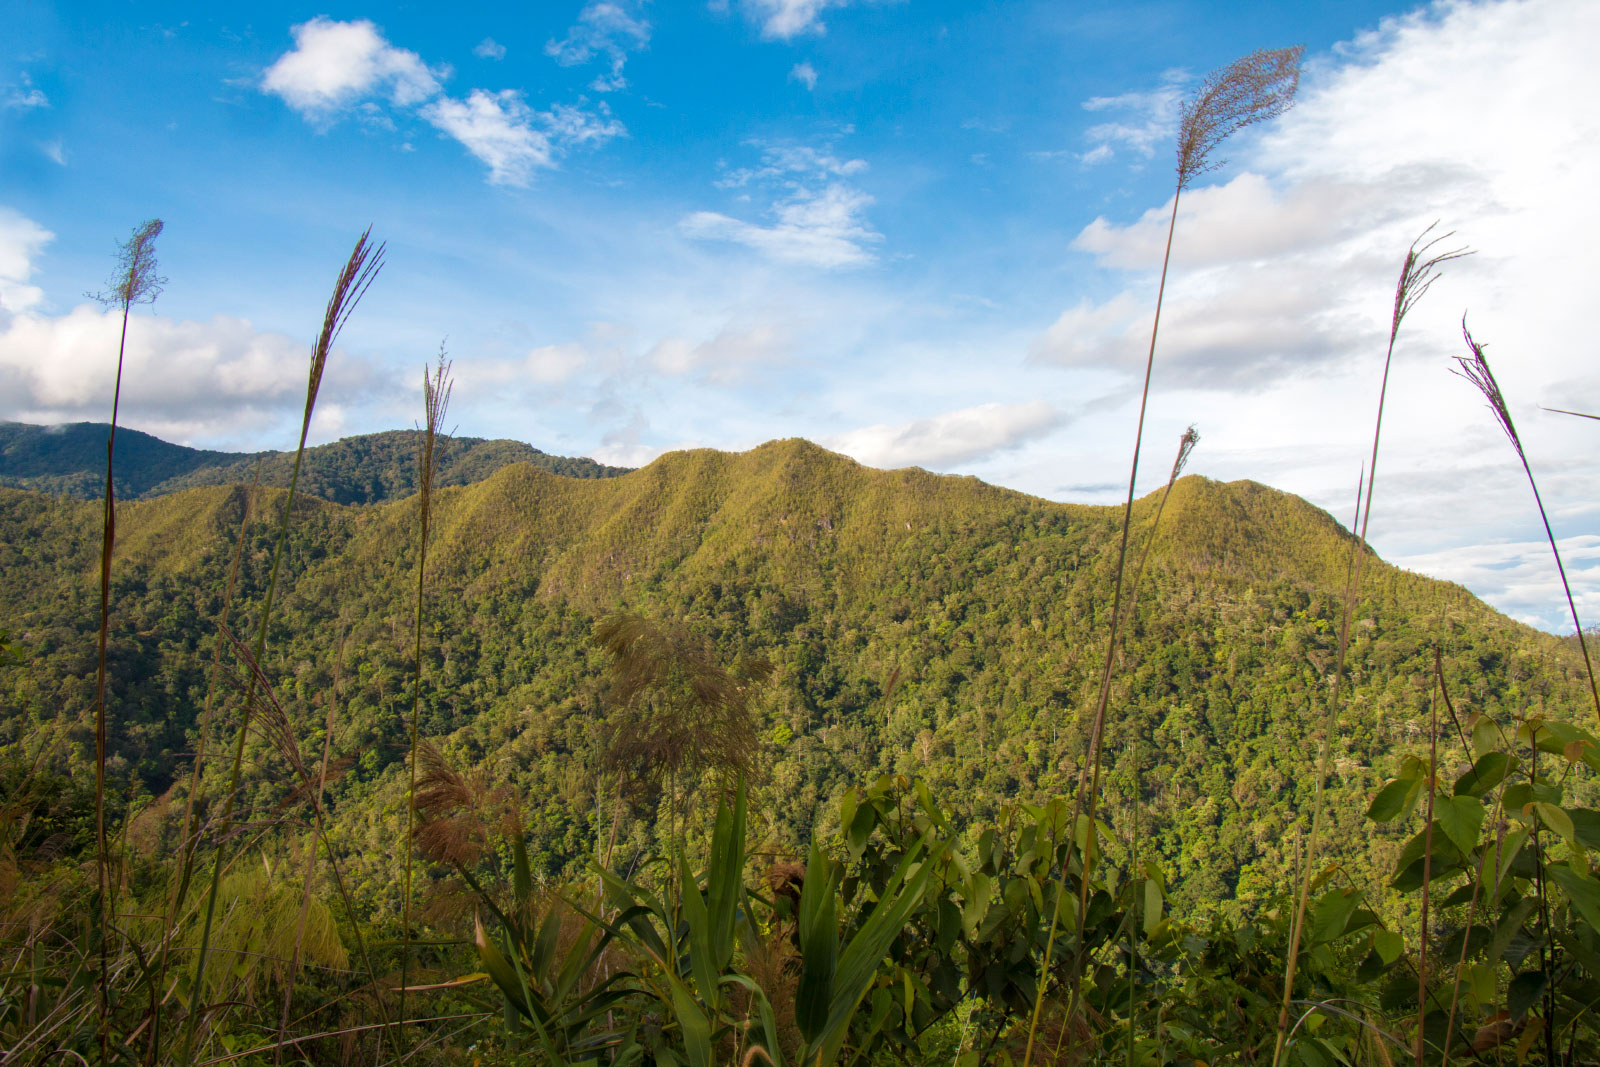
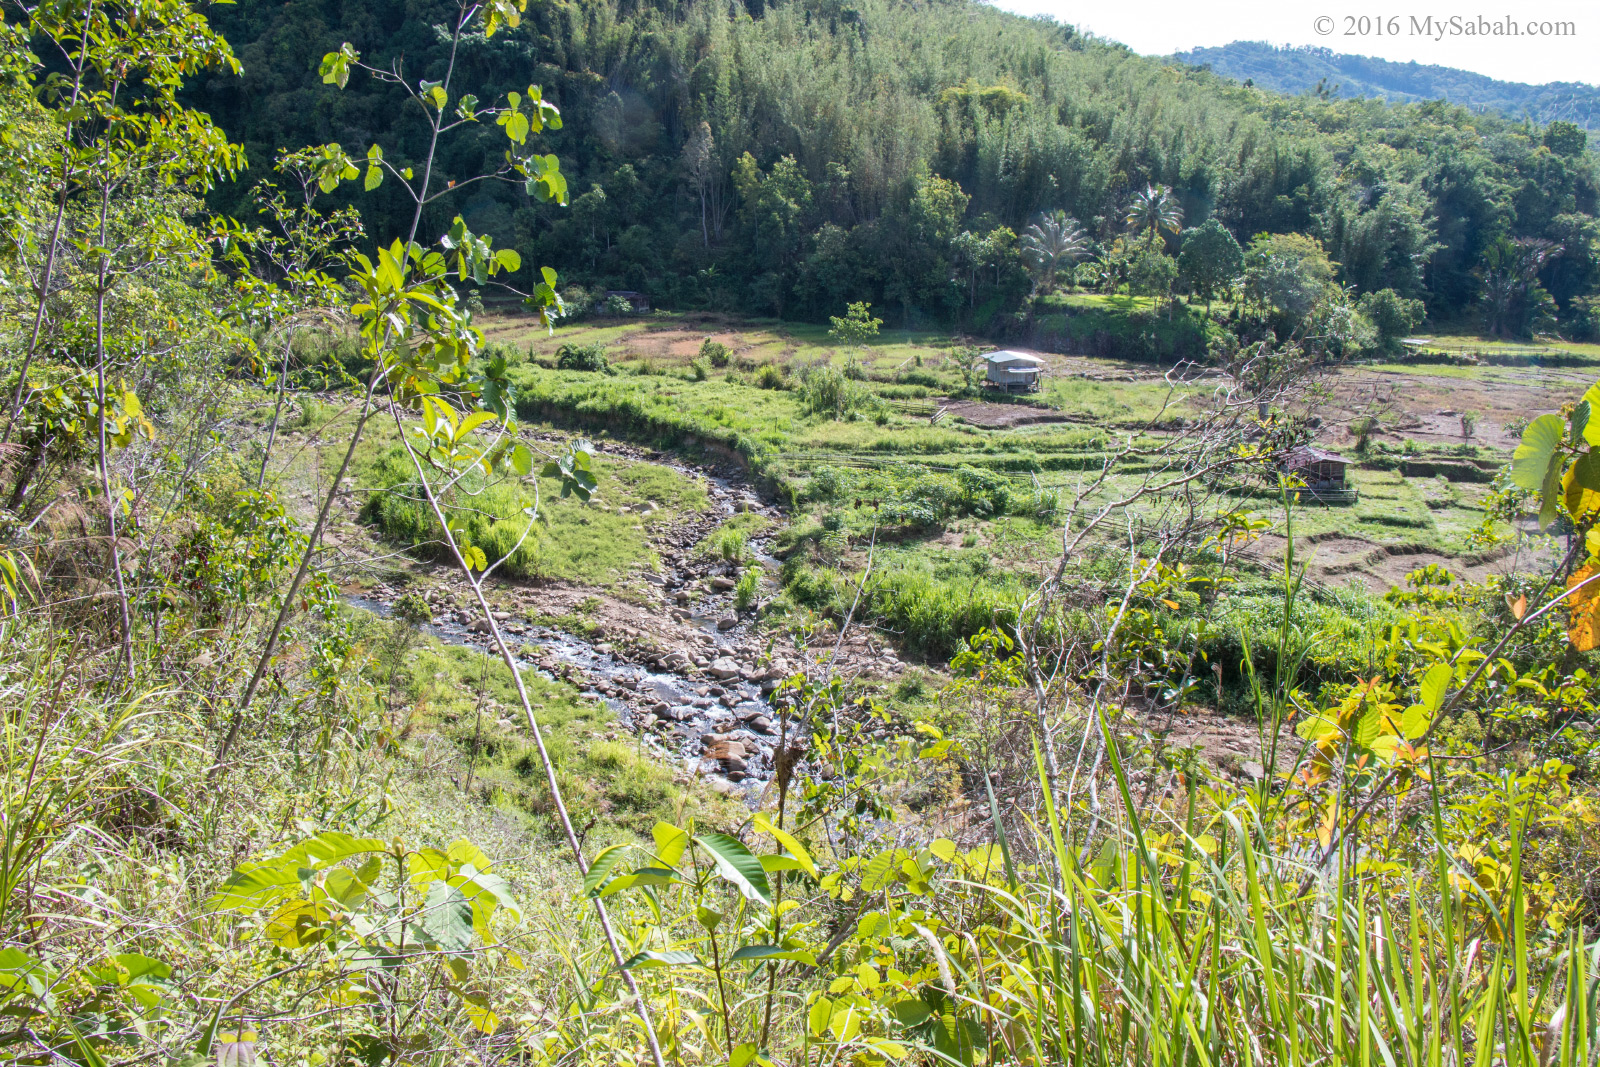
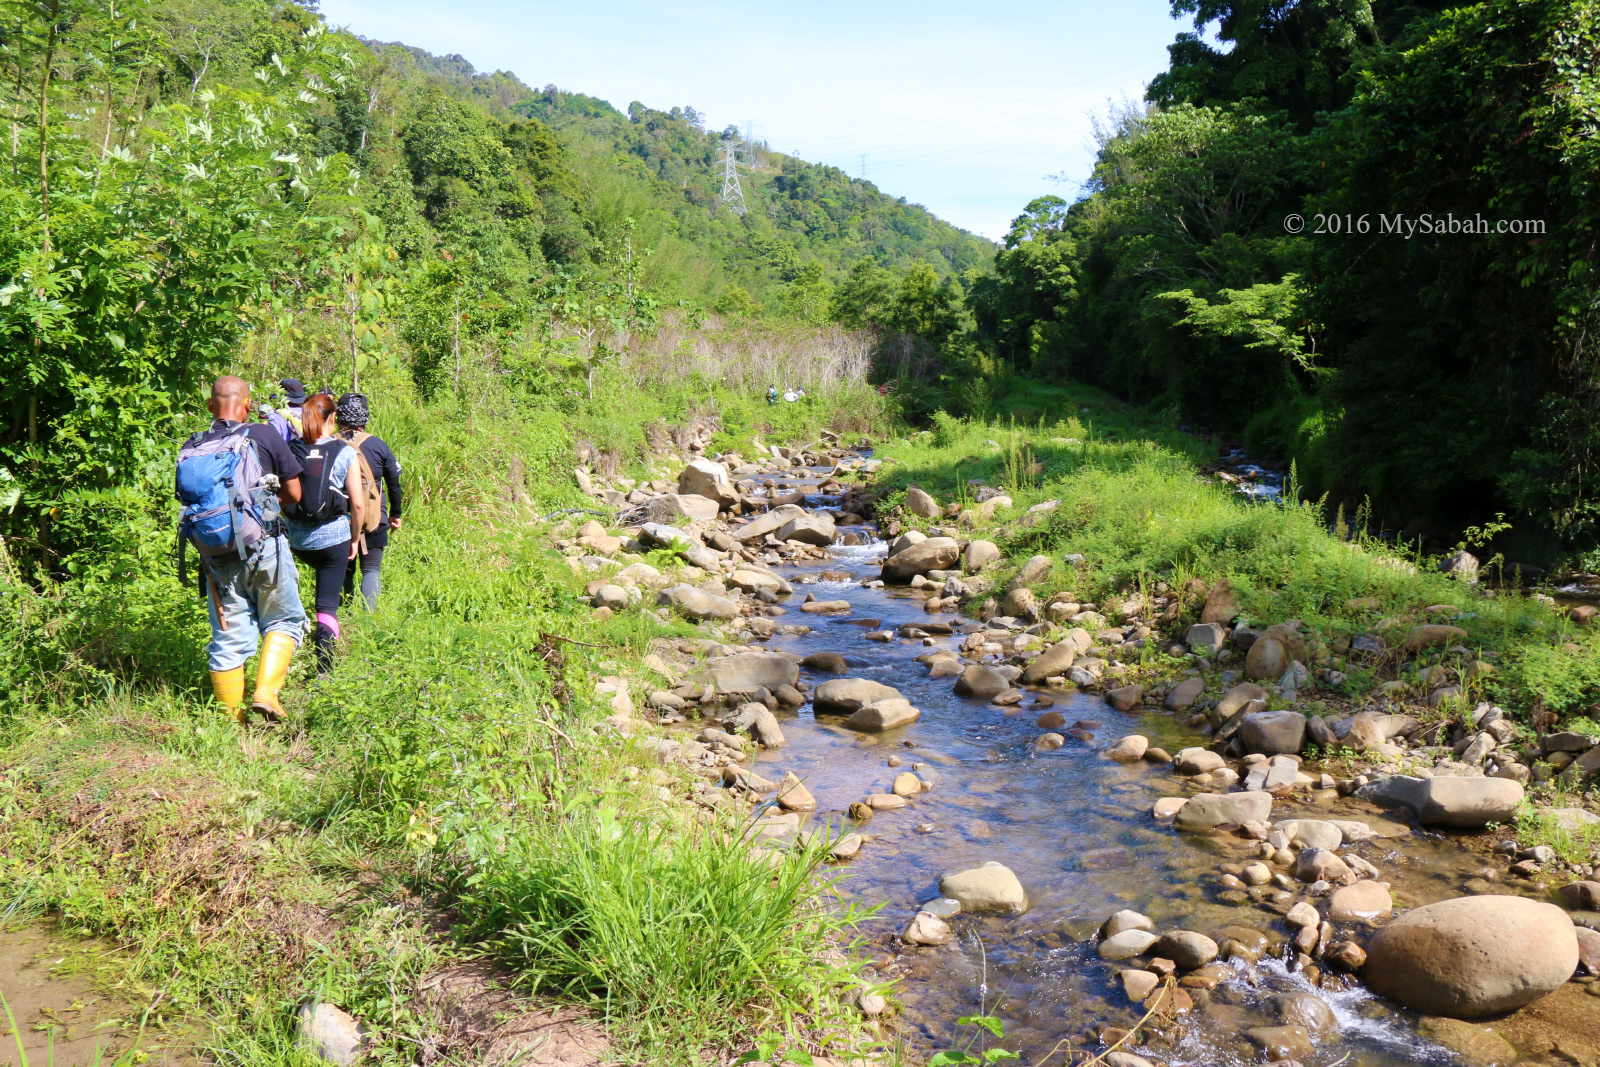
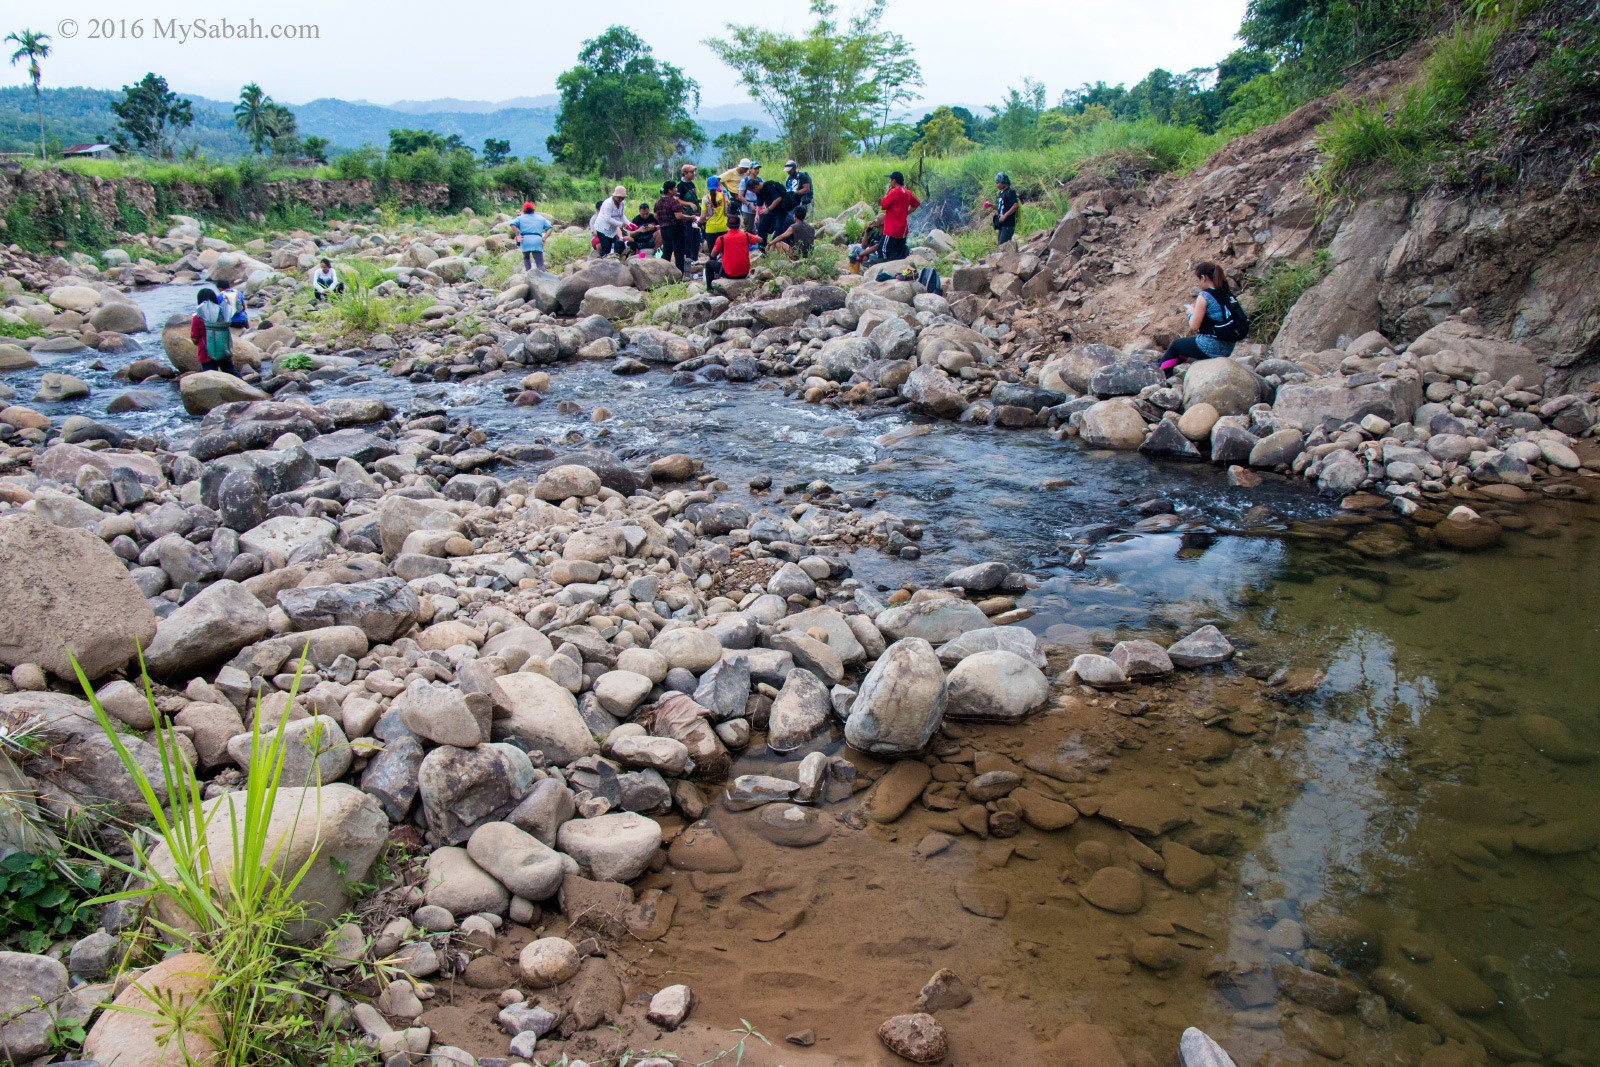
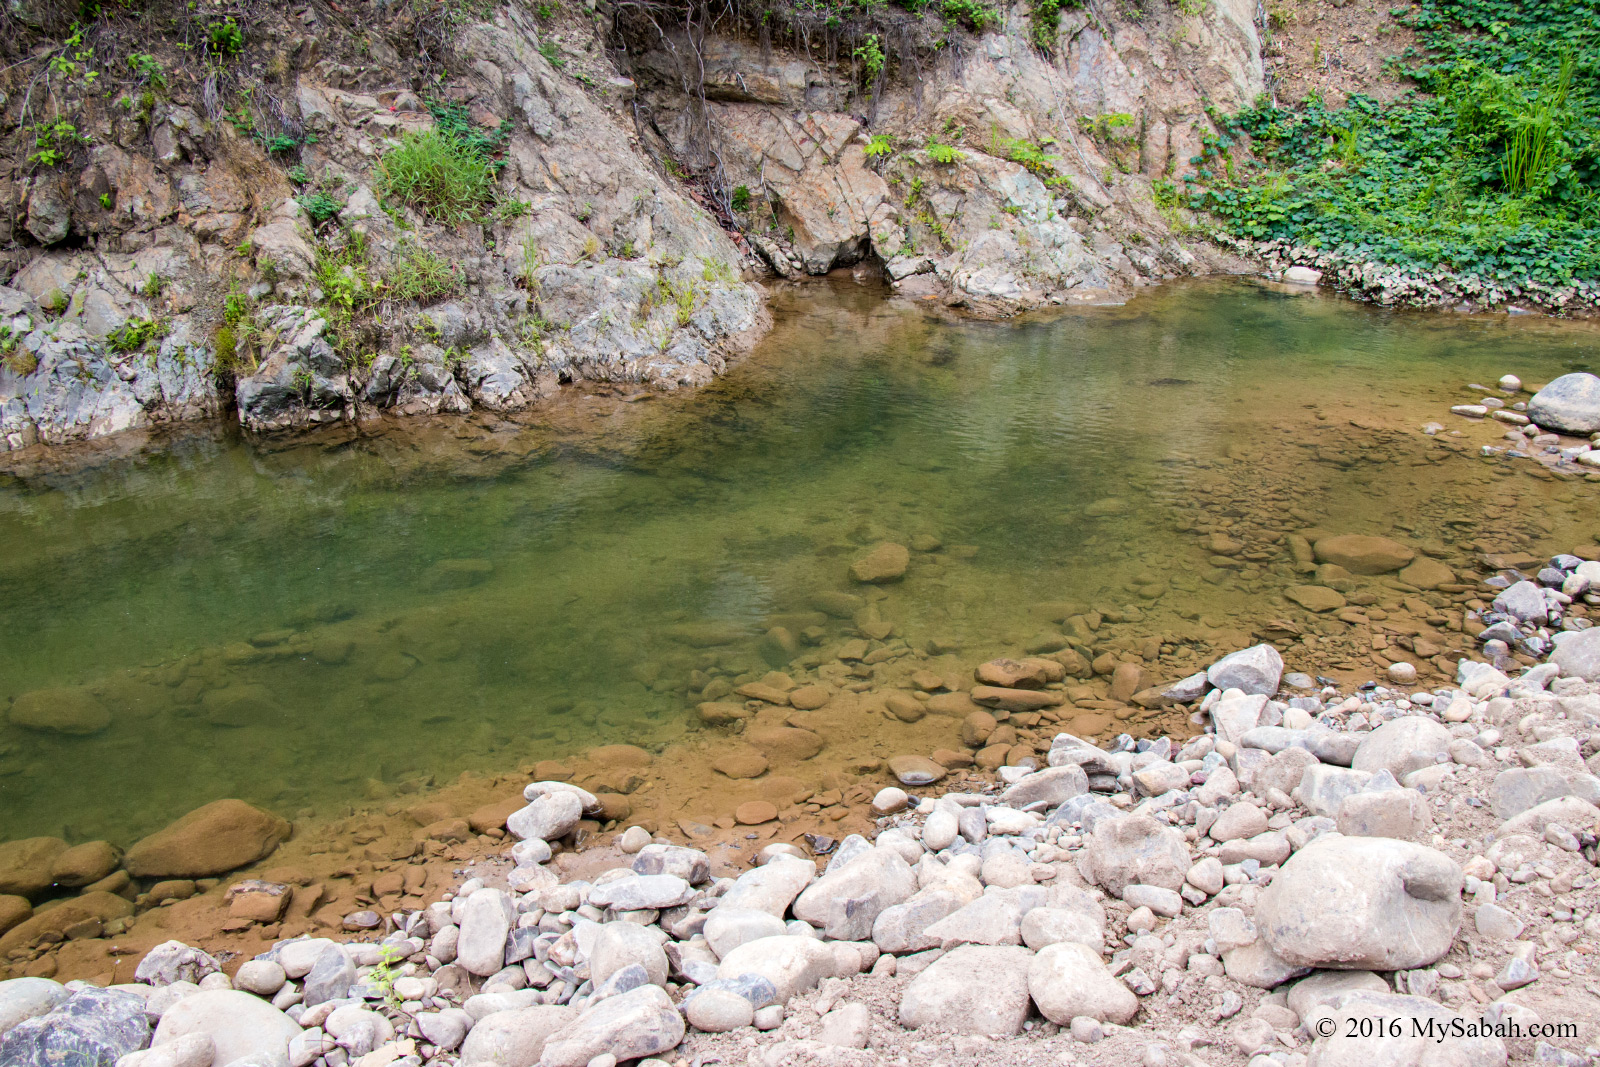
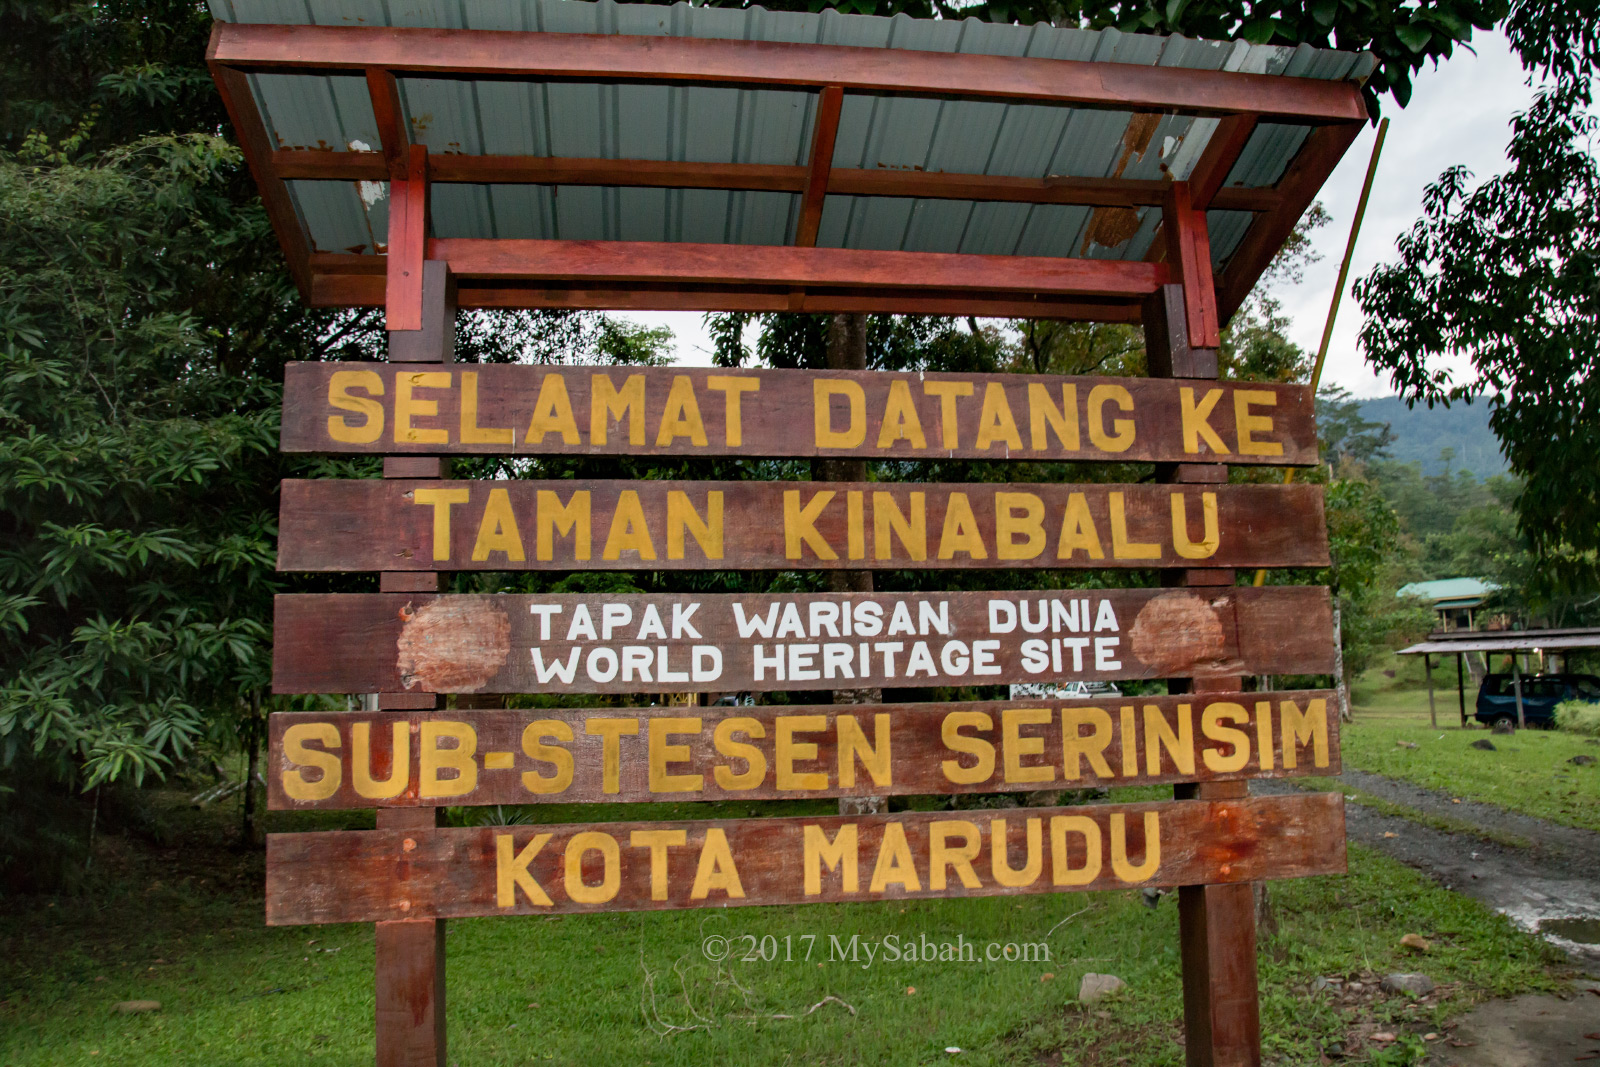
Serinsim is a substation in northern part of Kinabalu Park, the first UNESCO World Heritage Site of Malaysia. Lies between the Serinsim and Kanarom rivers, the river of Serinsim is straight from the undisturbed rainforest and mountain, so its water is crystal clear and almost as good as Spritzer.
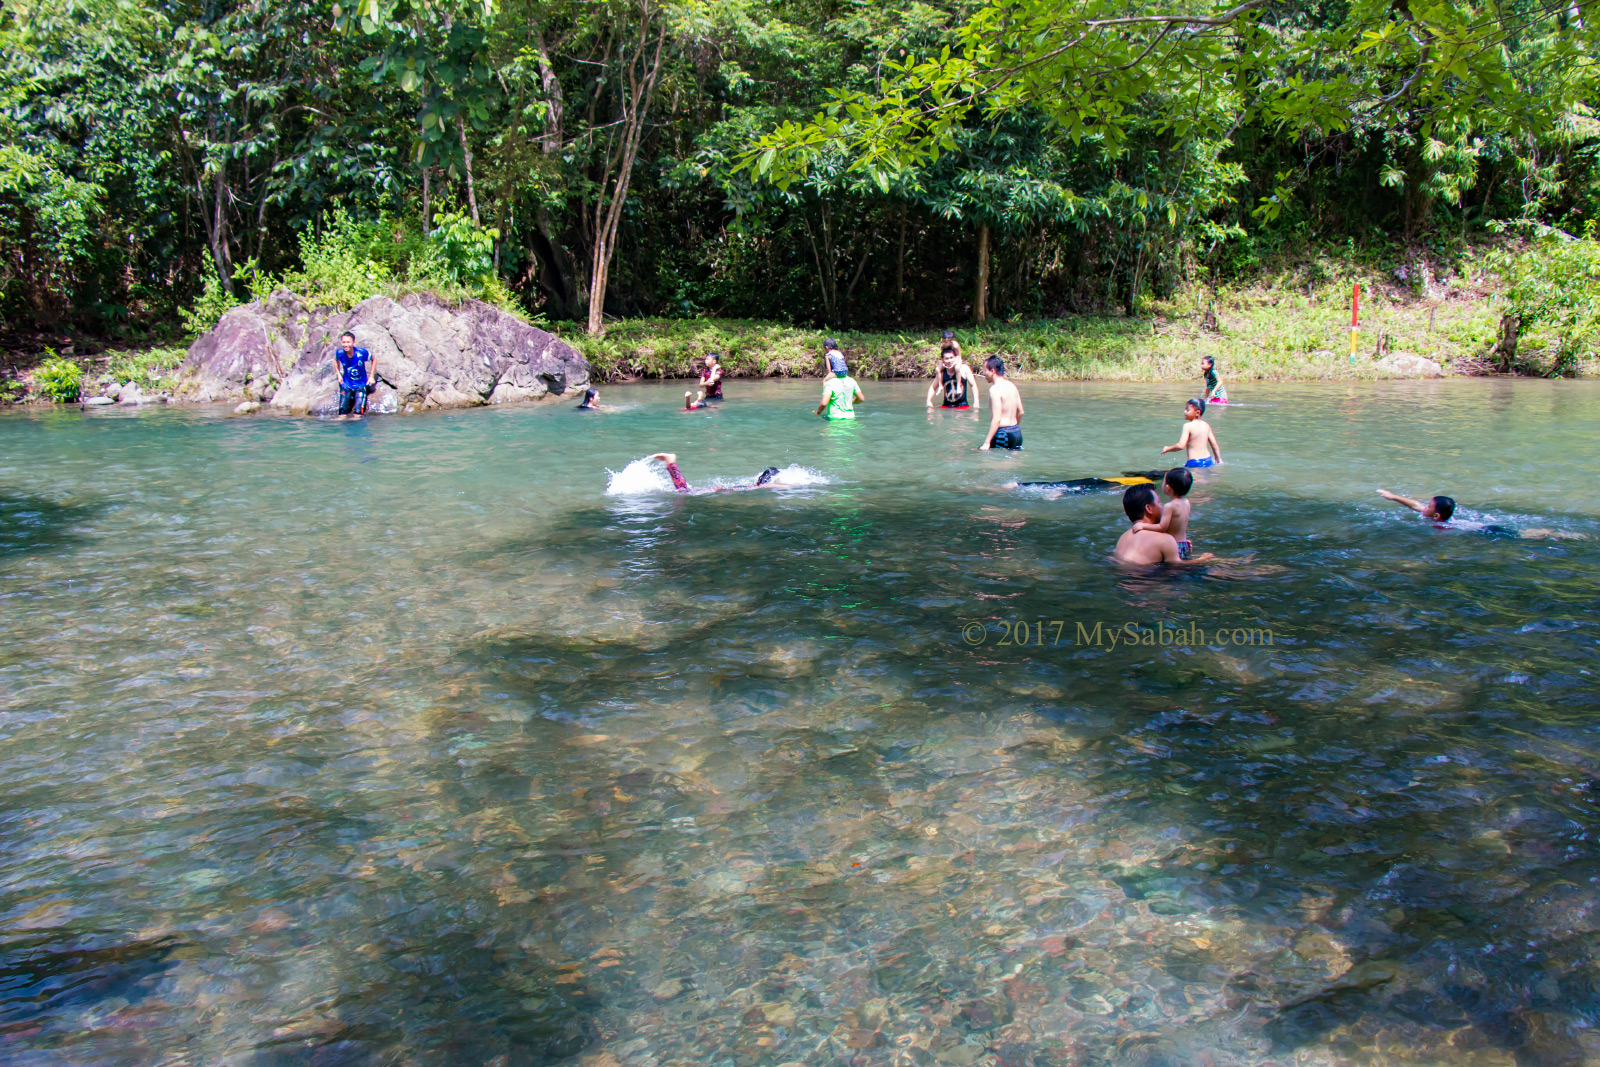
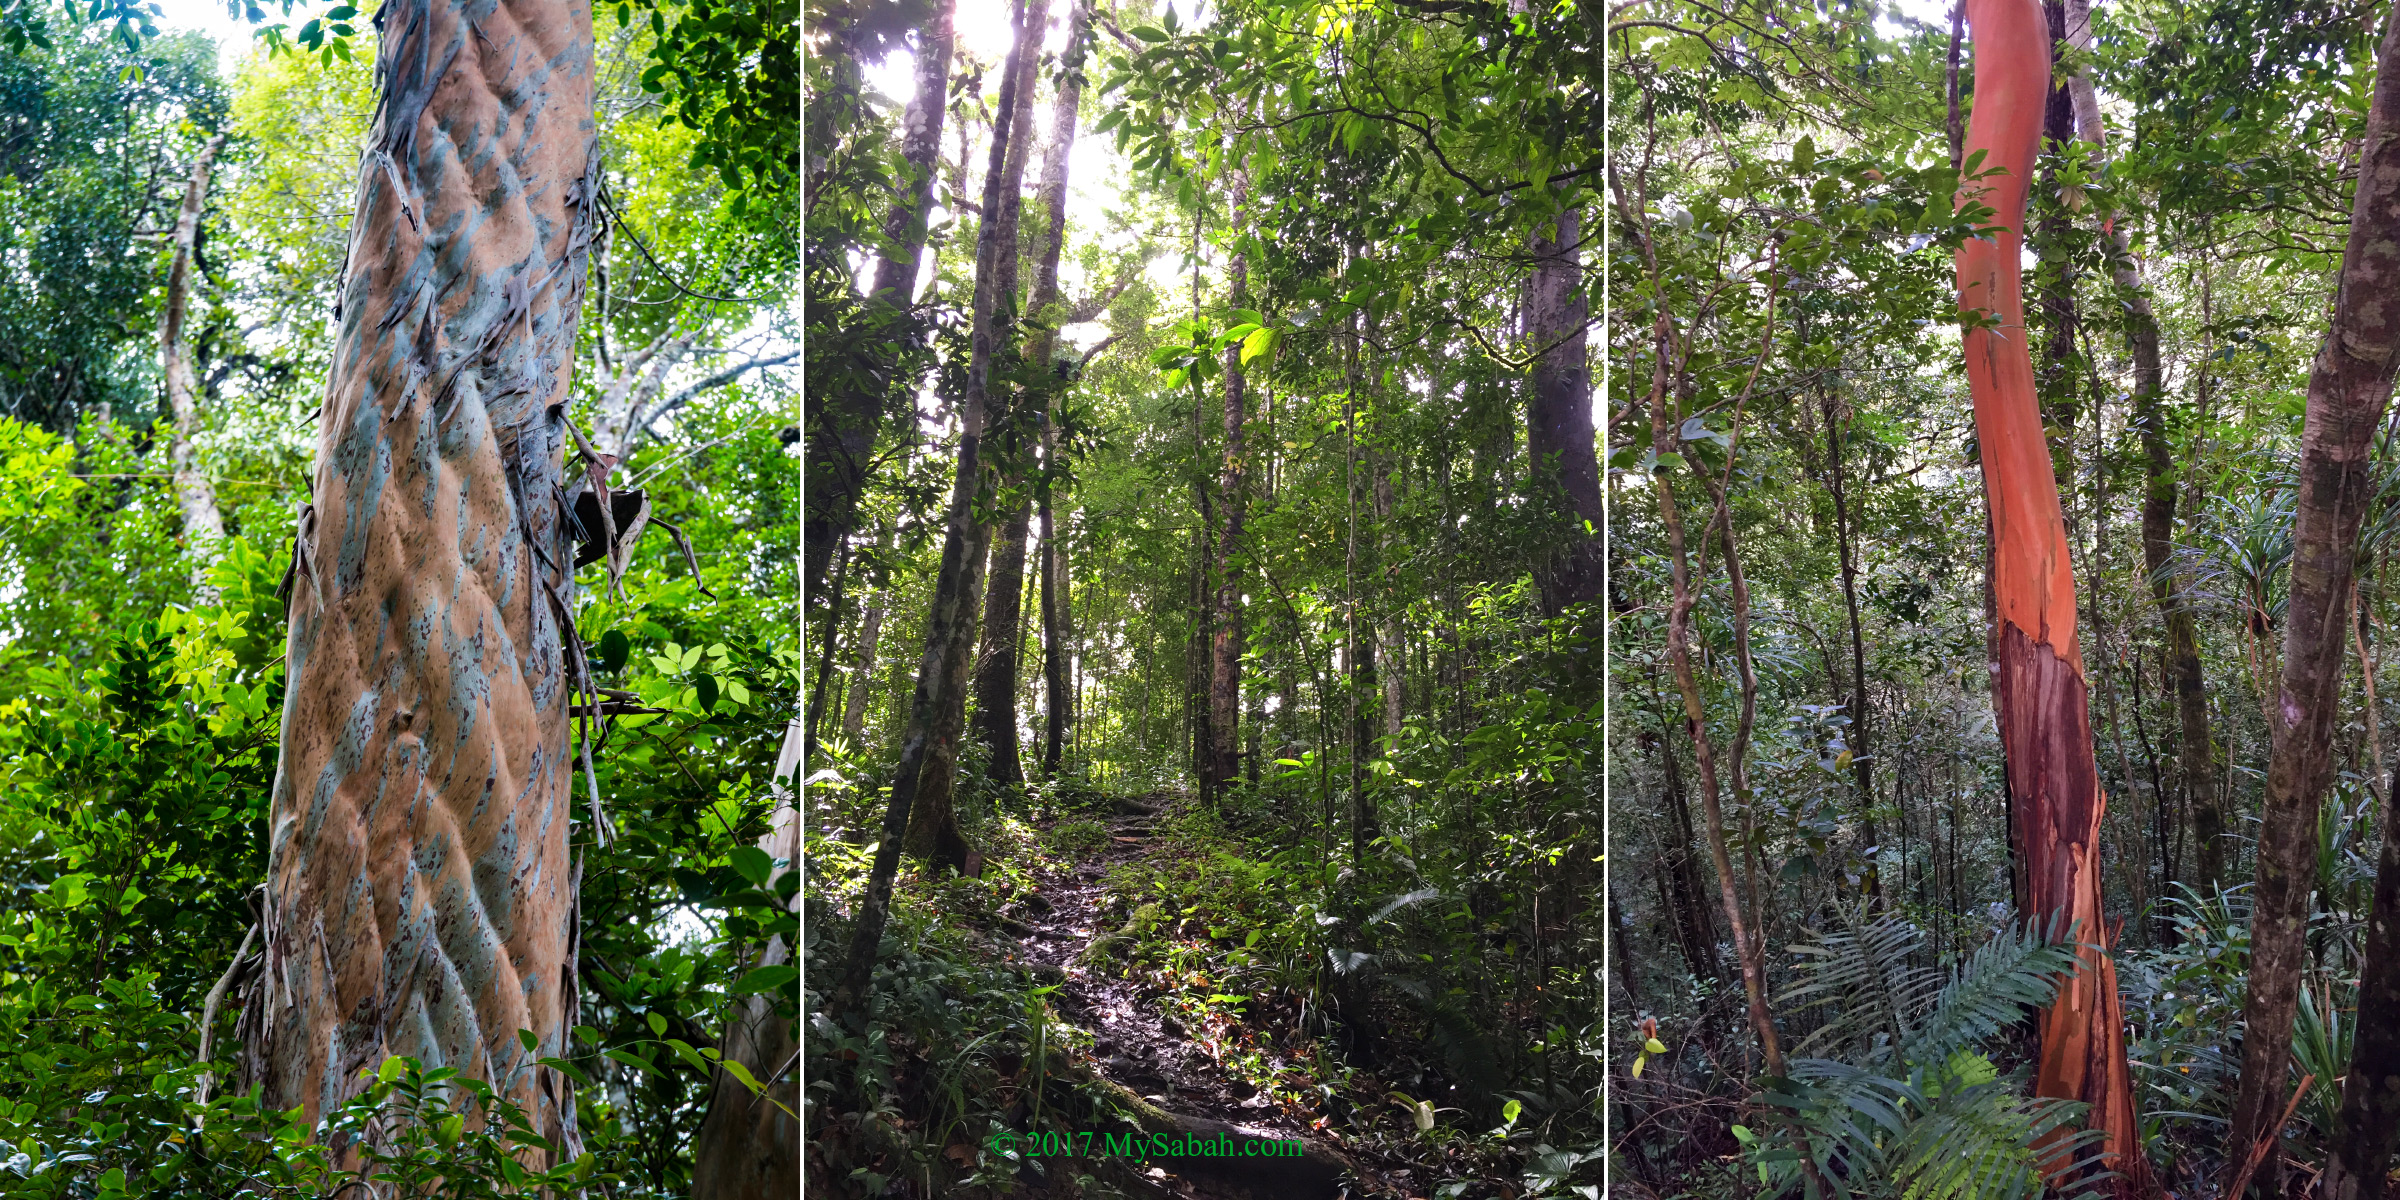
You may be familiar with the mountainous zone in Kinabalu Park HQ in Kundasang highland. Serinsim is at opposite side of HQ, which is dominated by lowland rainforest, shows different face of Kinabalu Park. Most locals only come here to enjoy the cooling river, without knowing that Serinsim has the following special attractions:
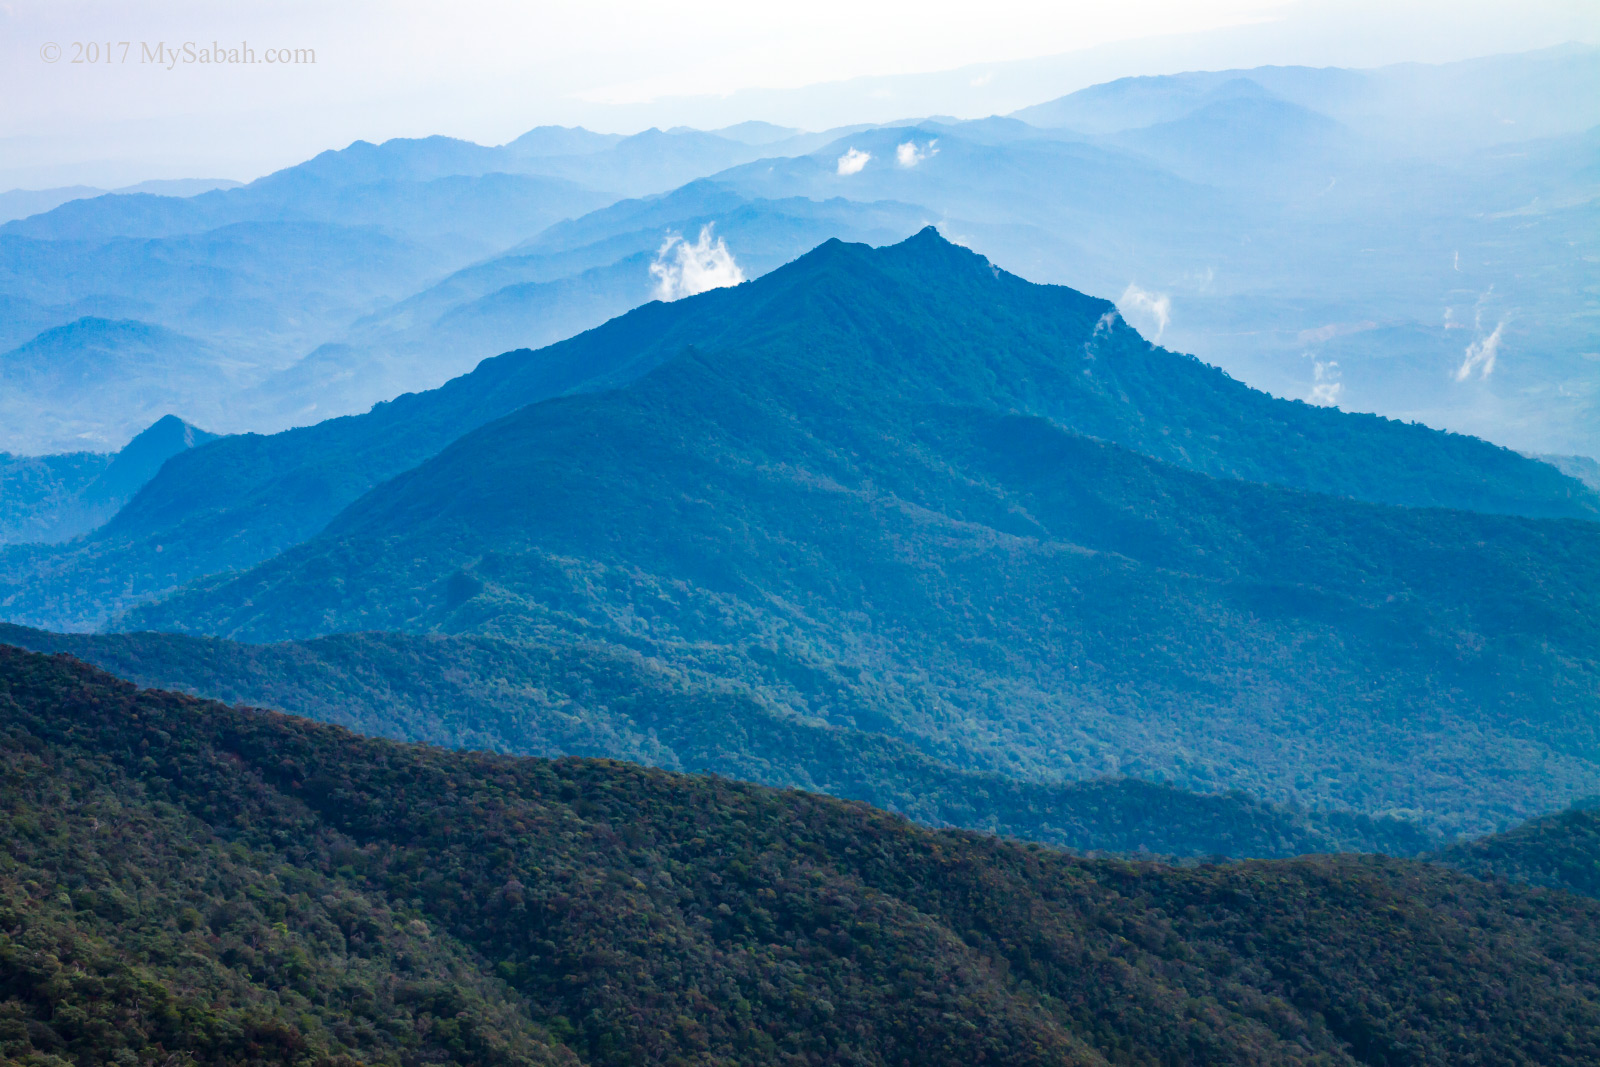
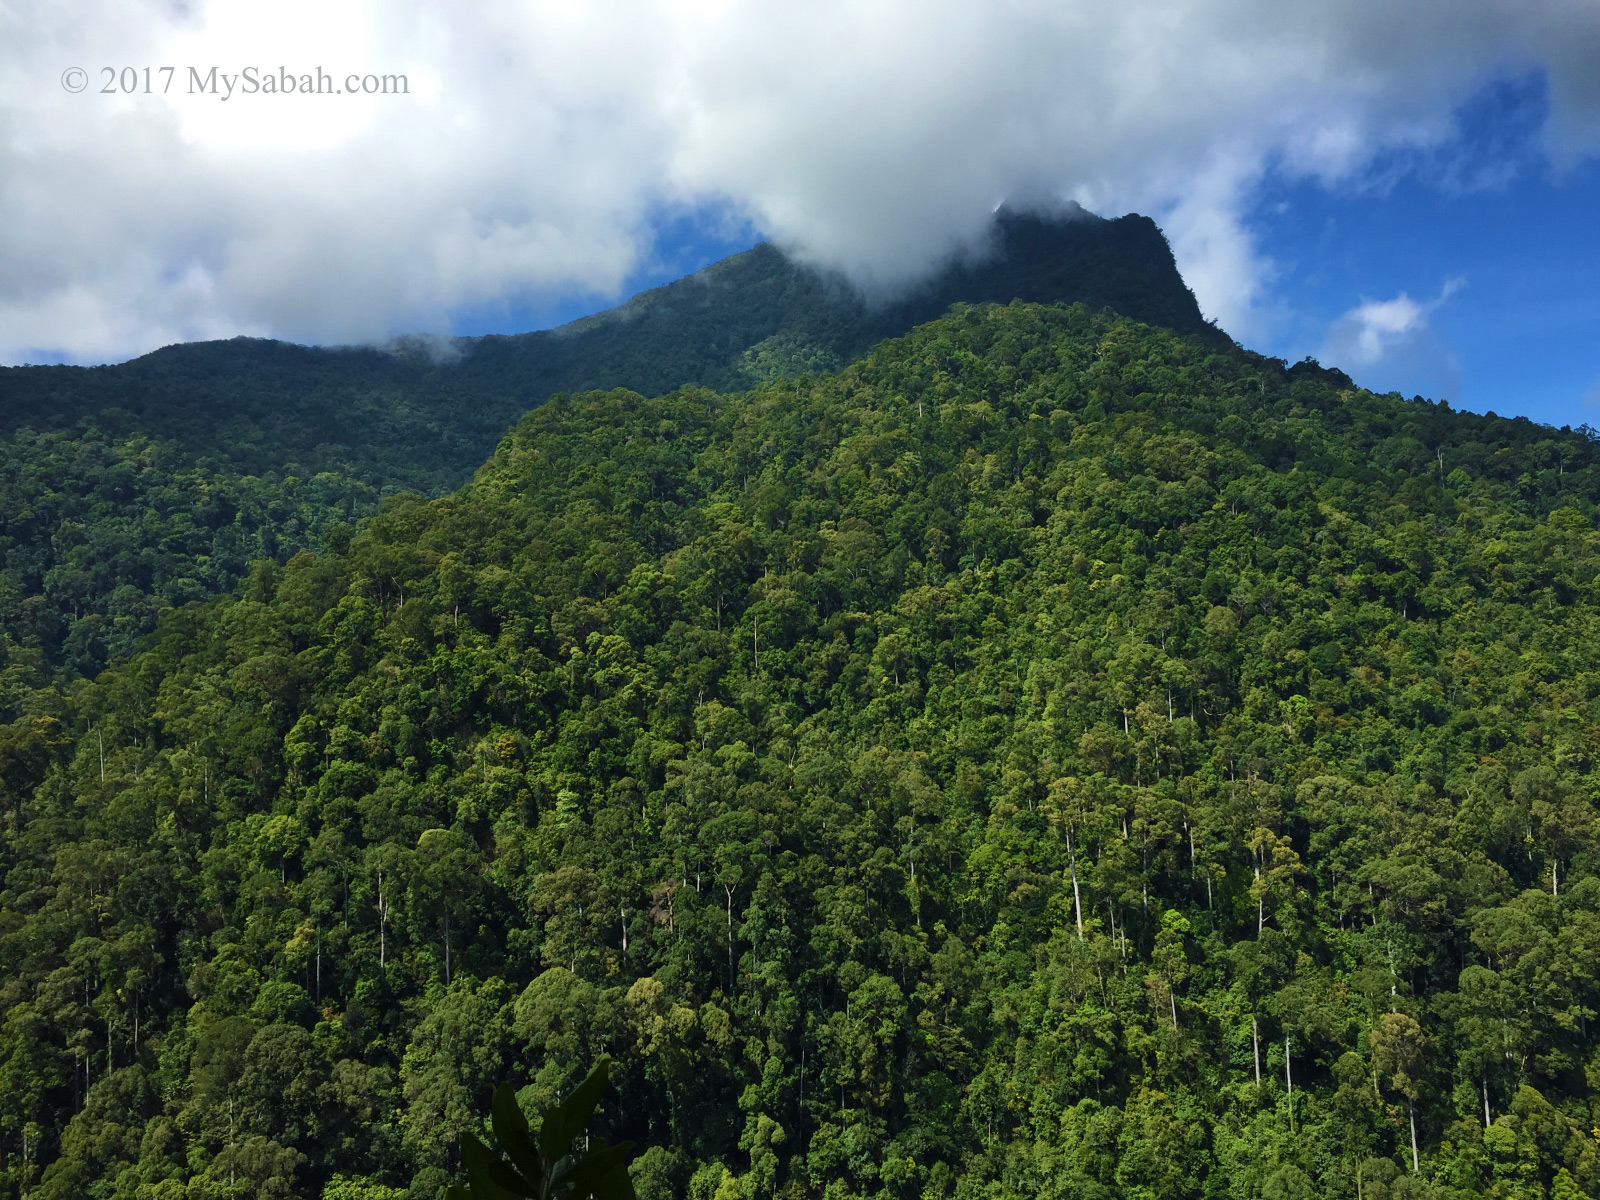
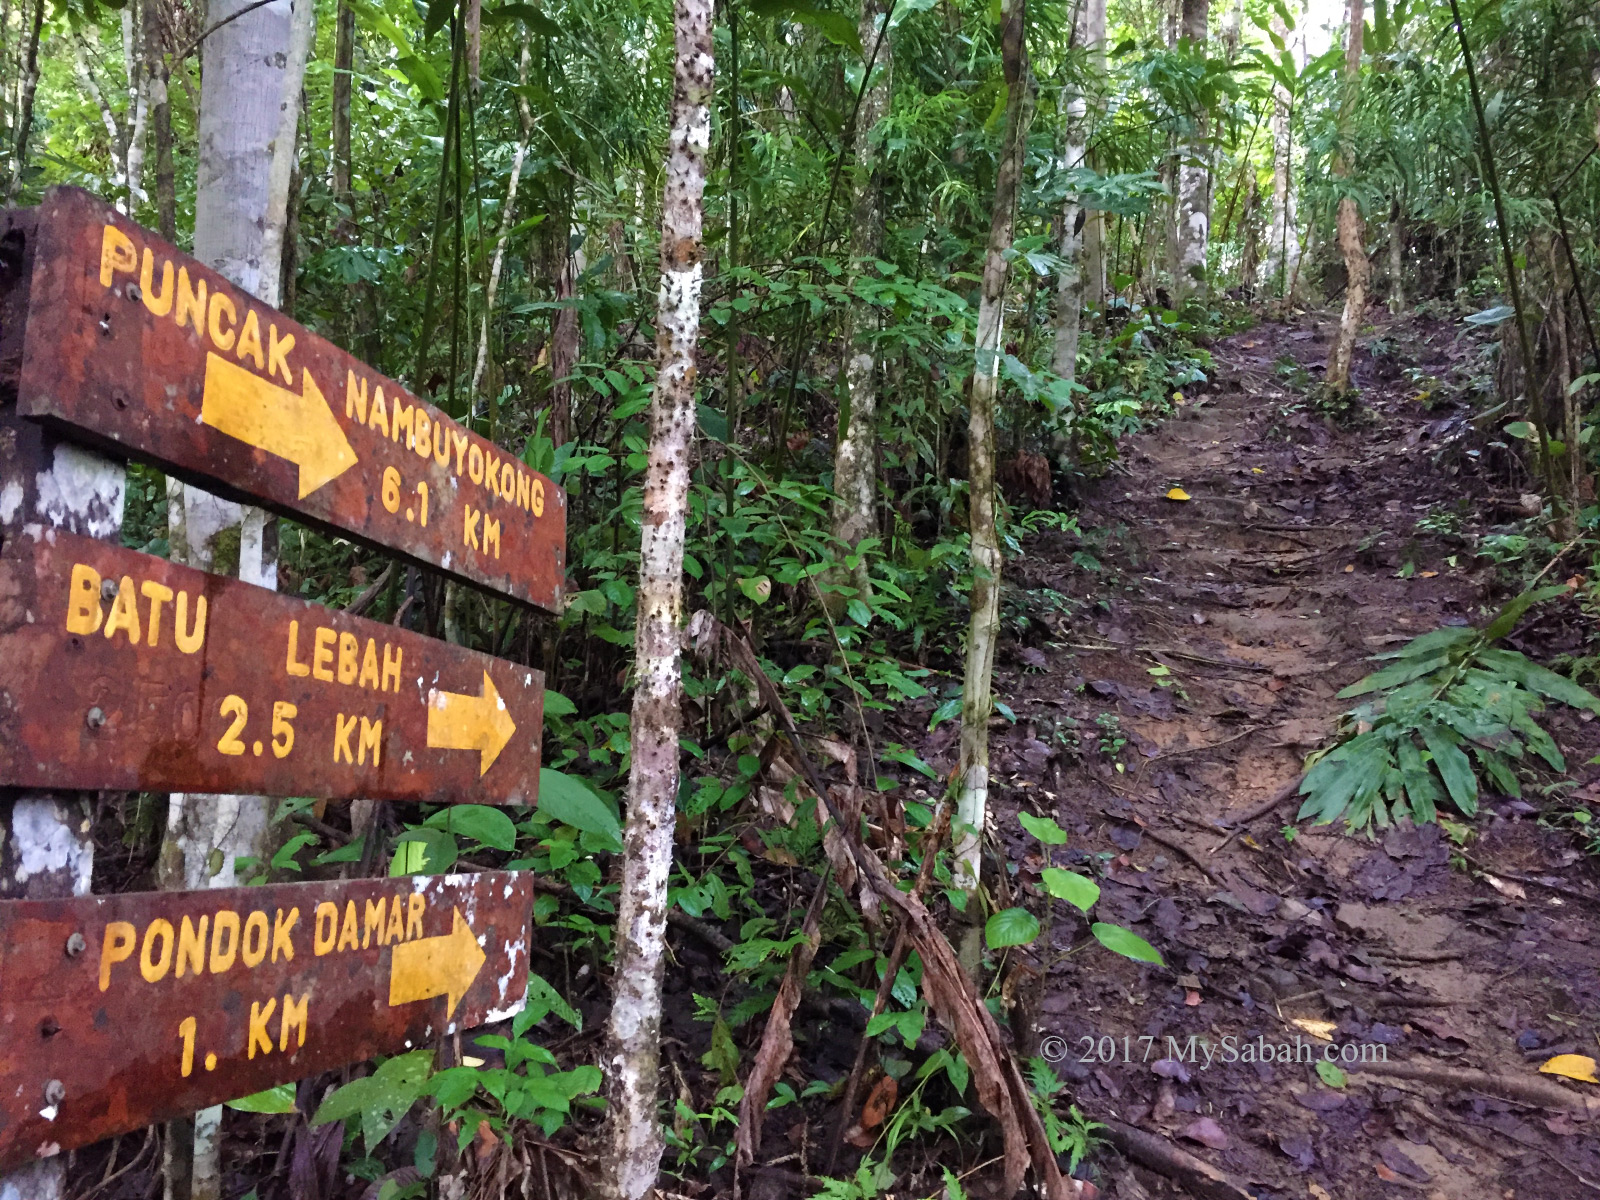
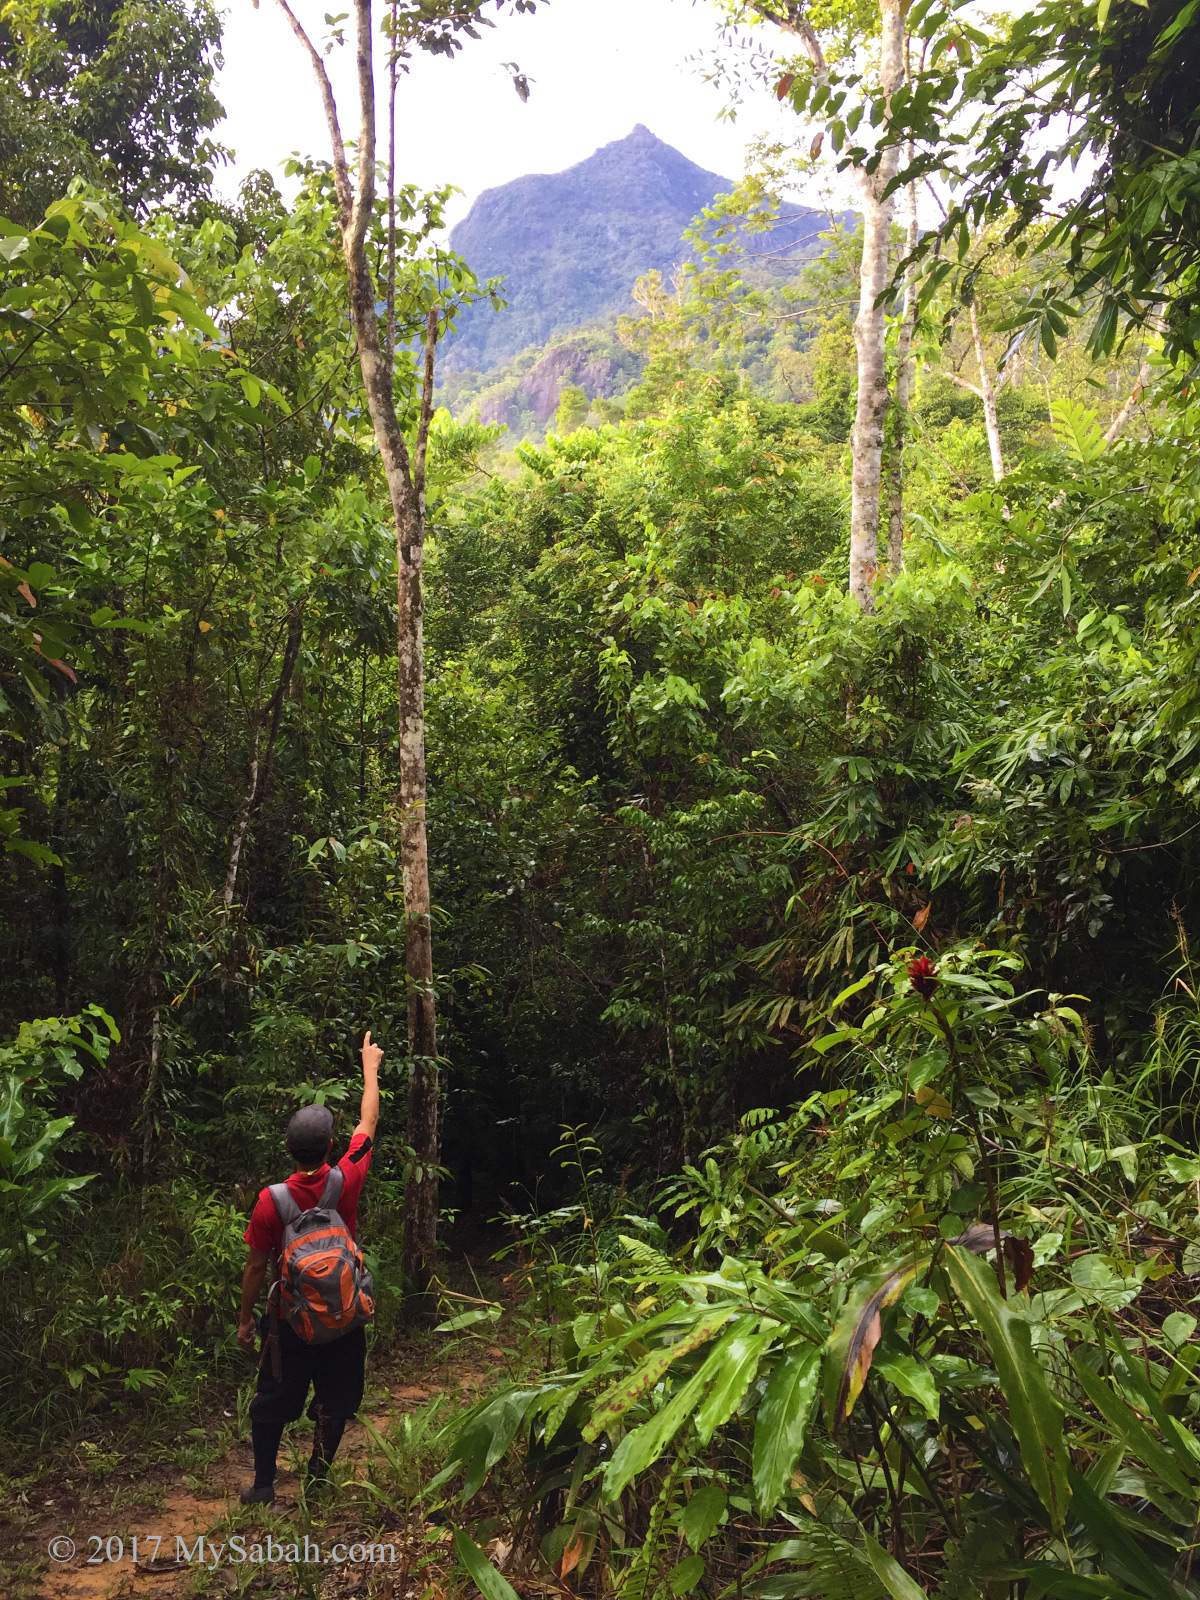
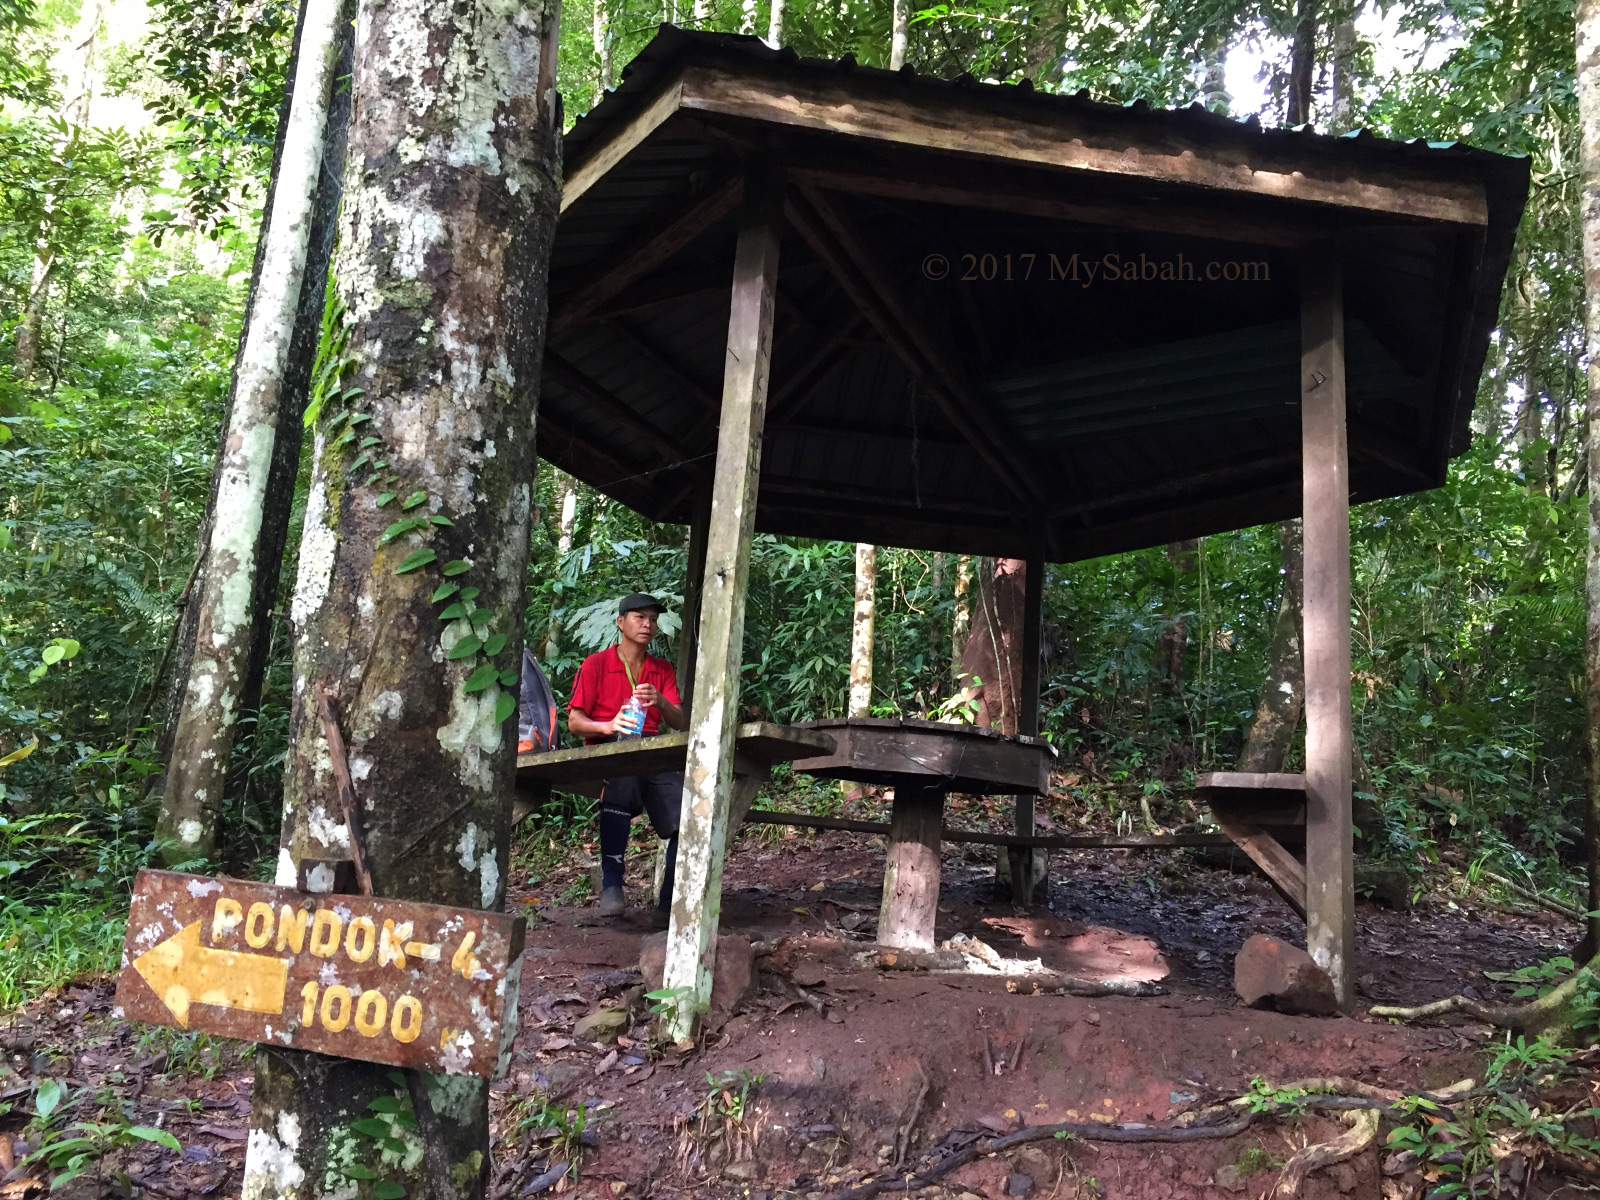
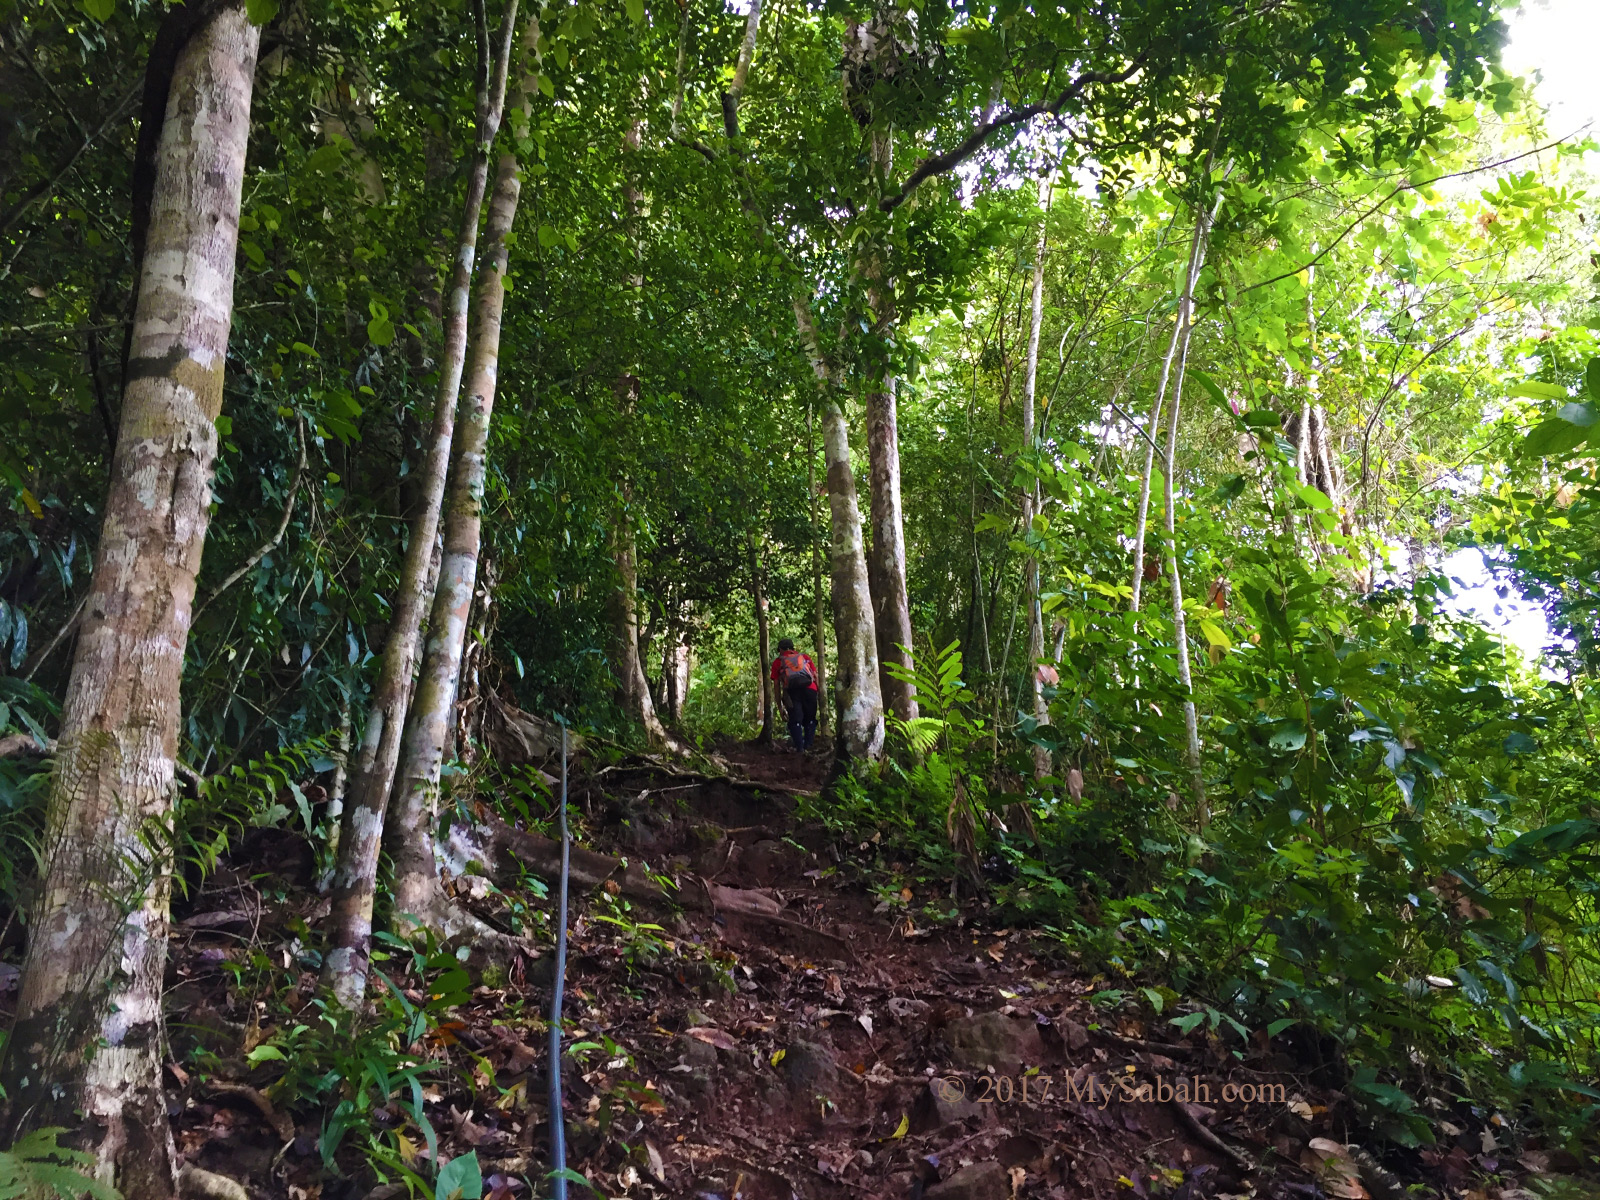
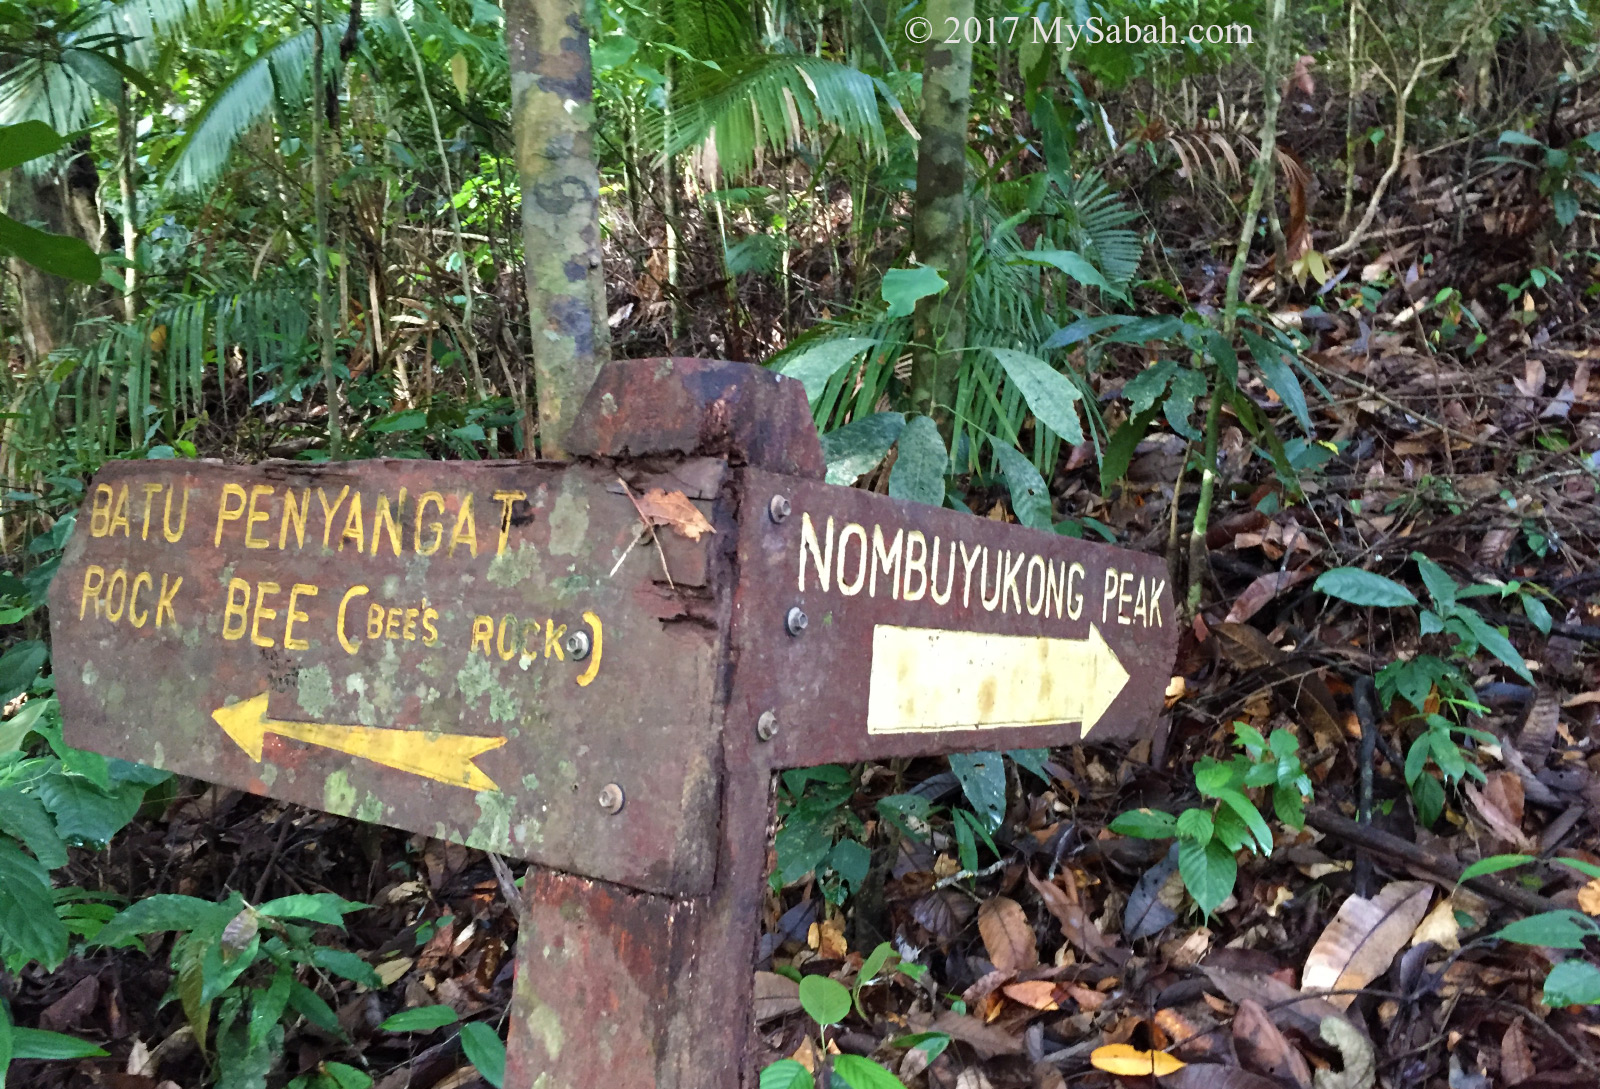
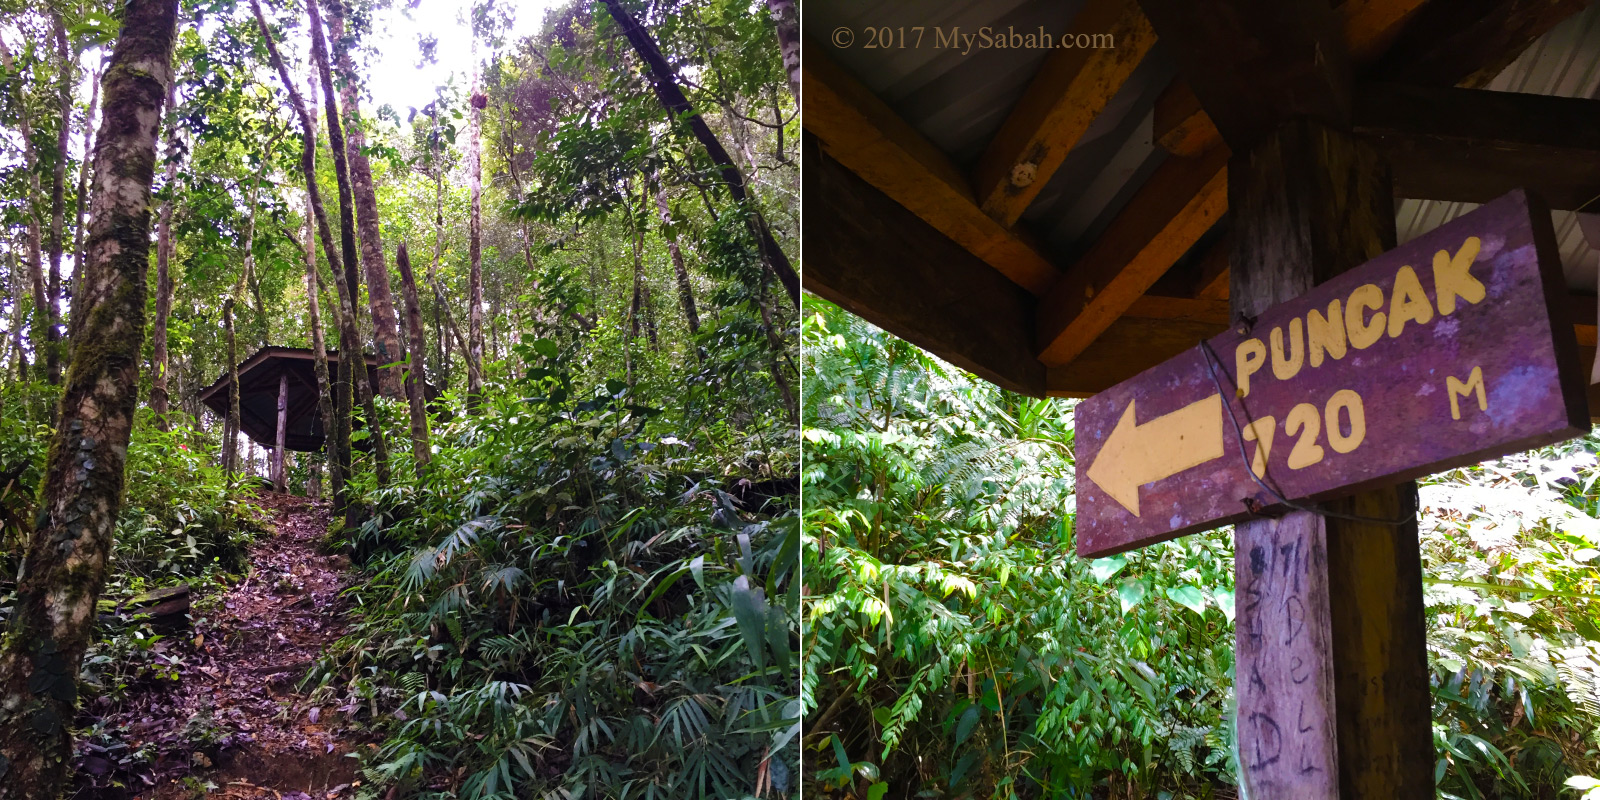
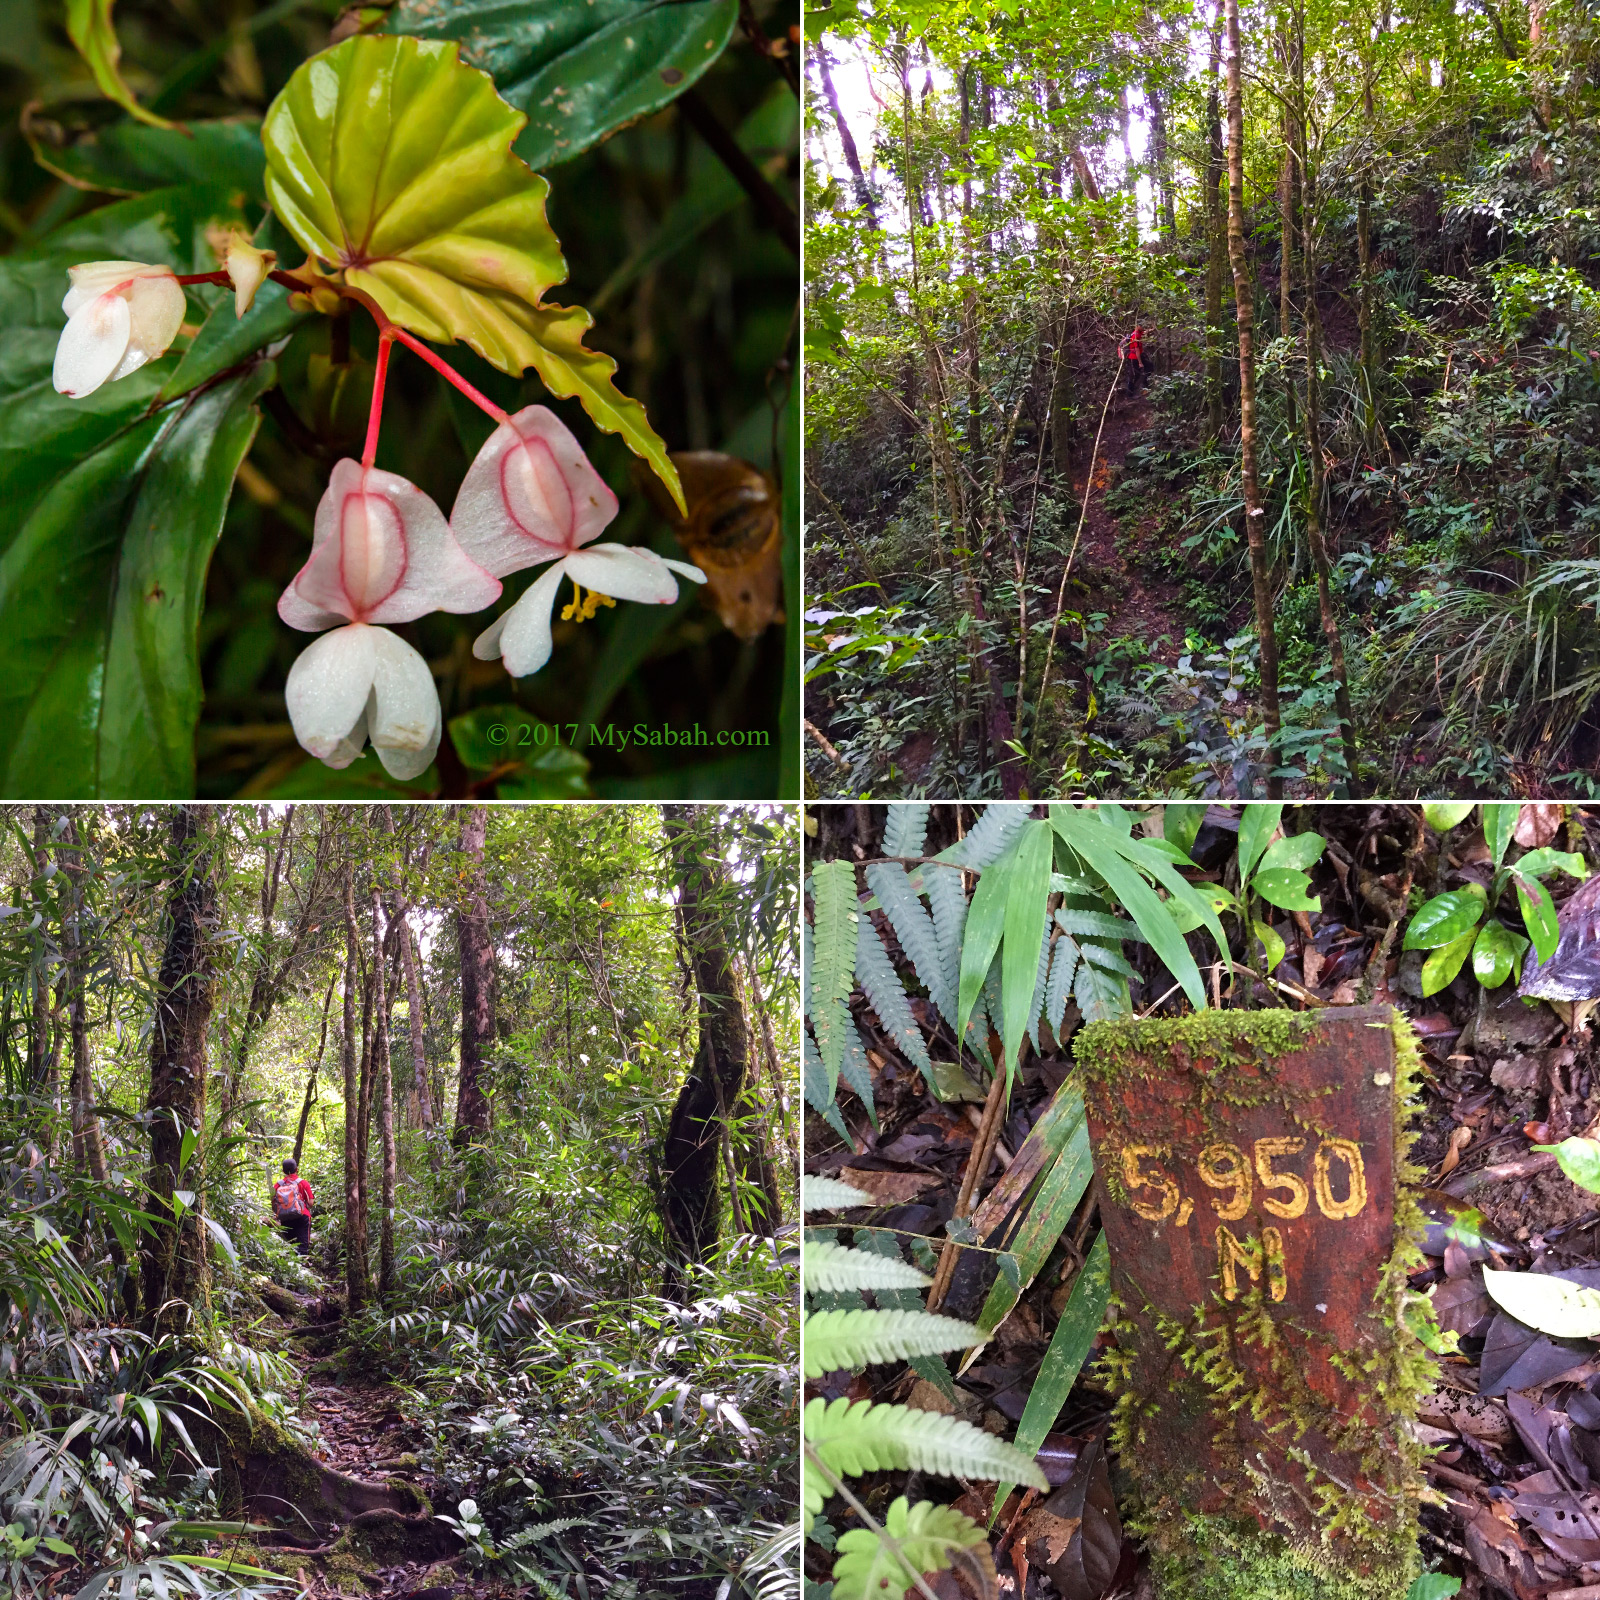
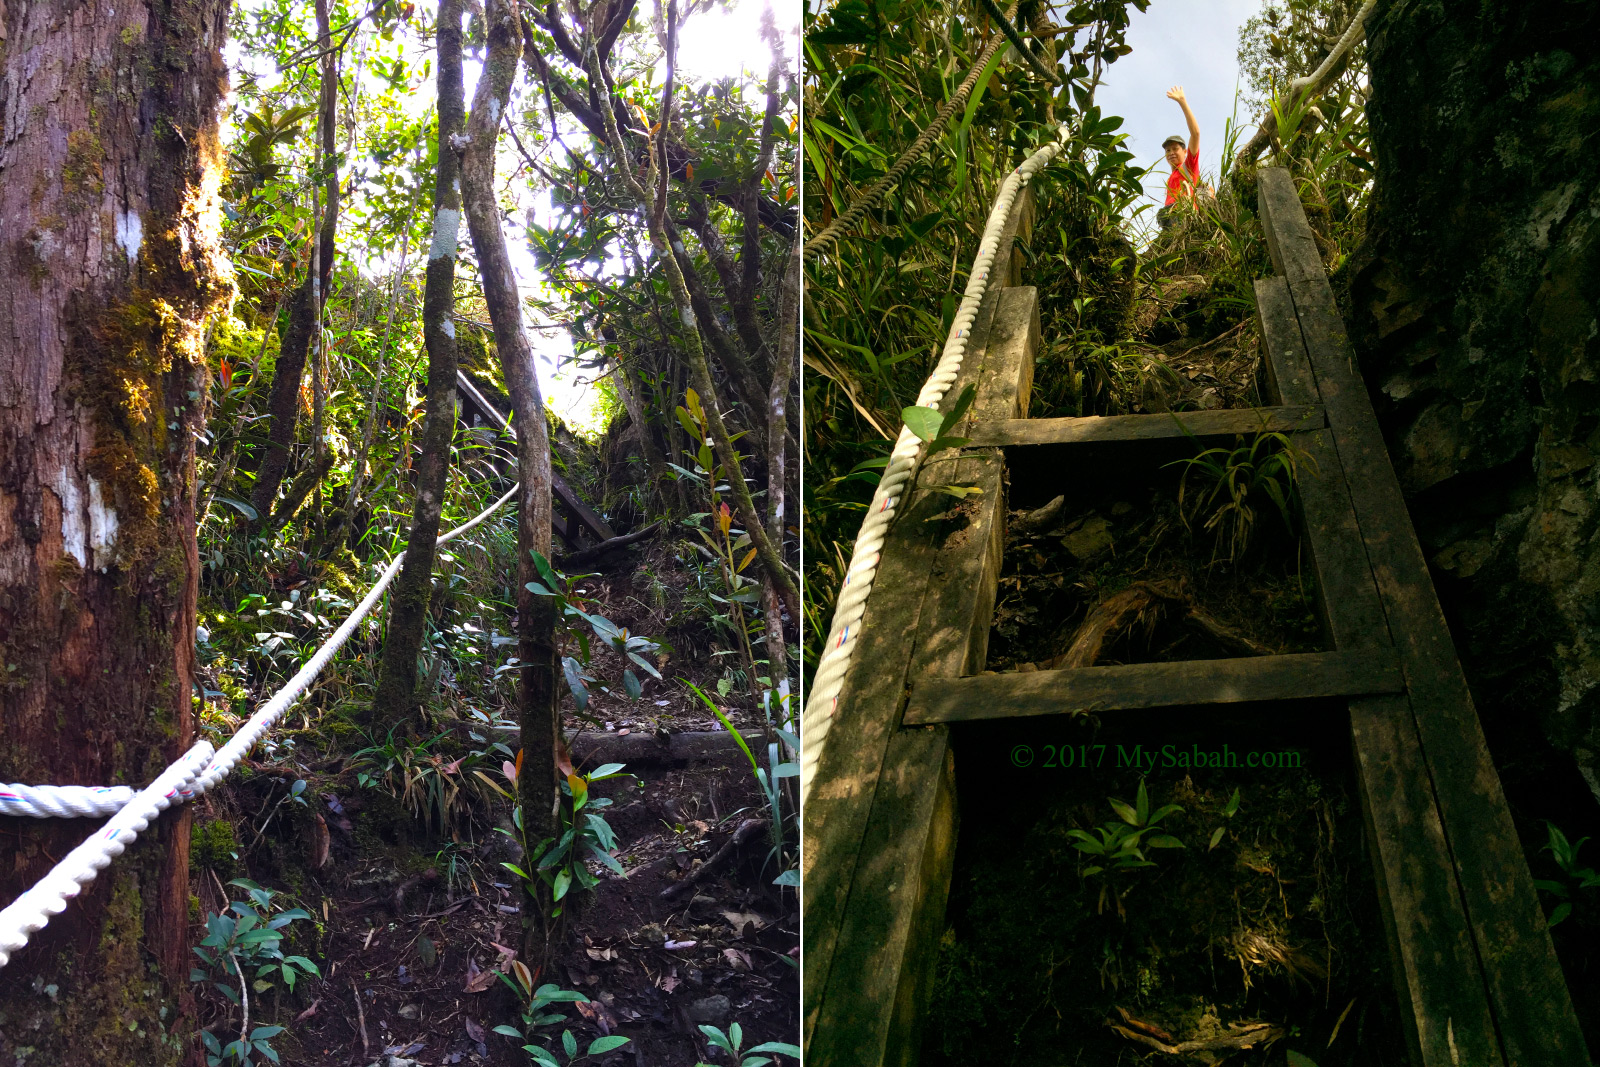
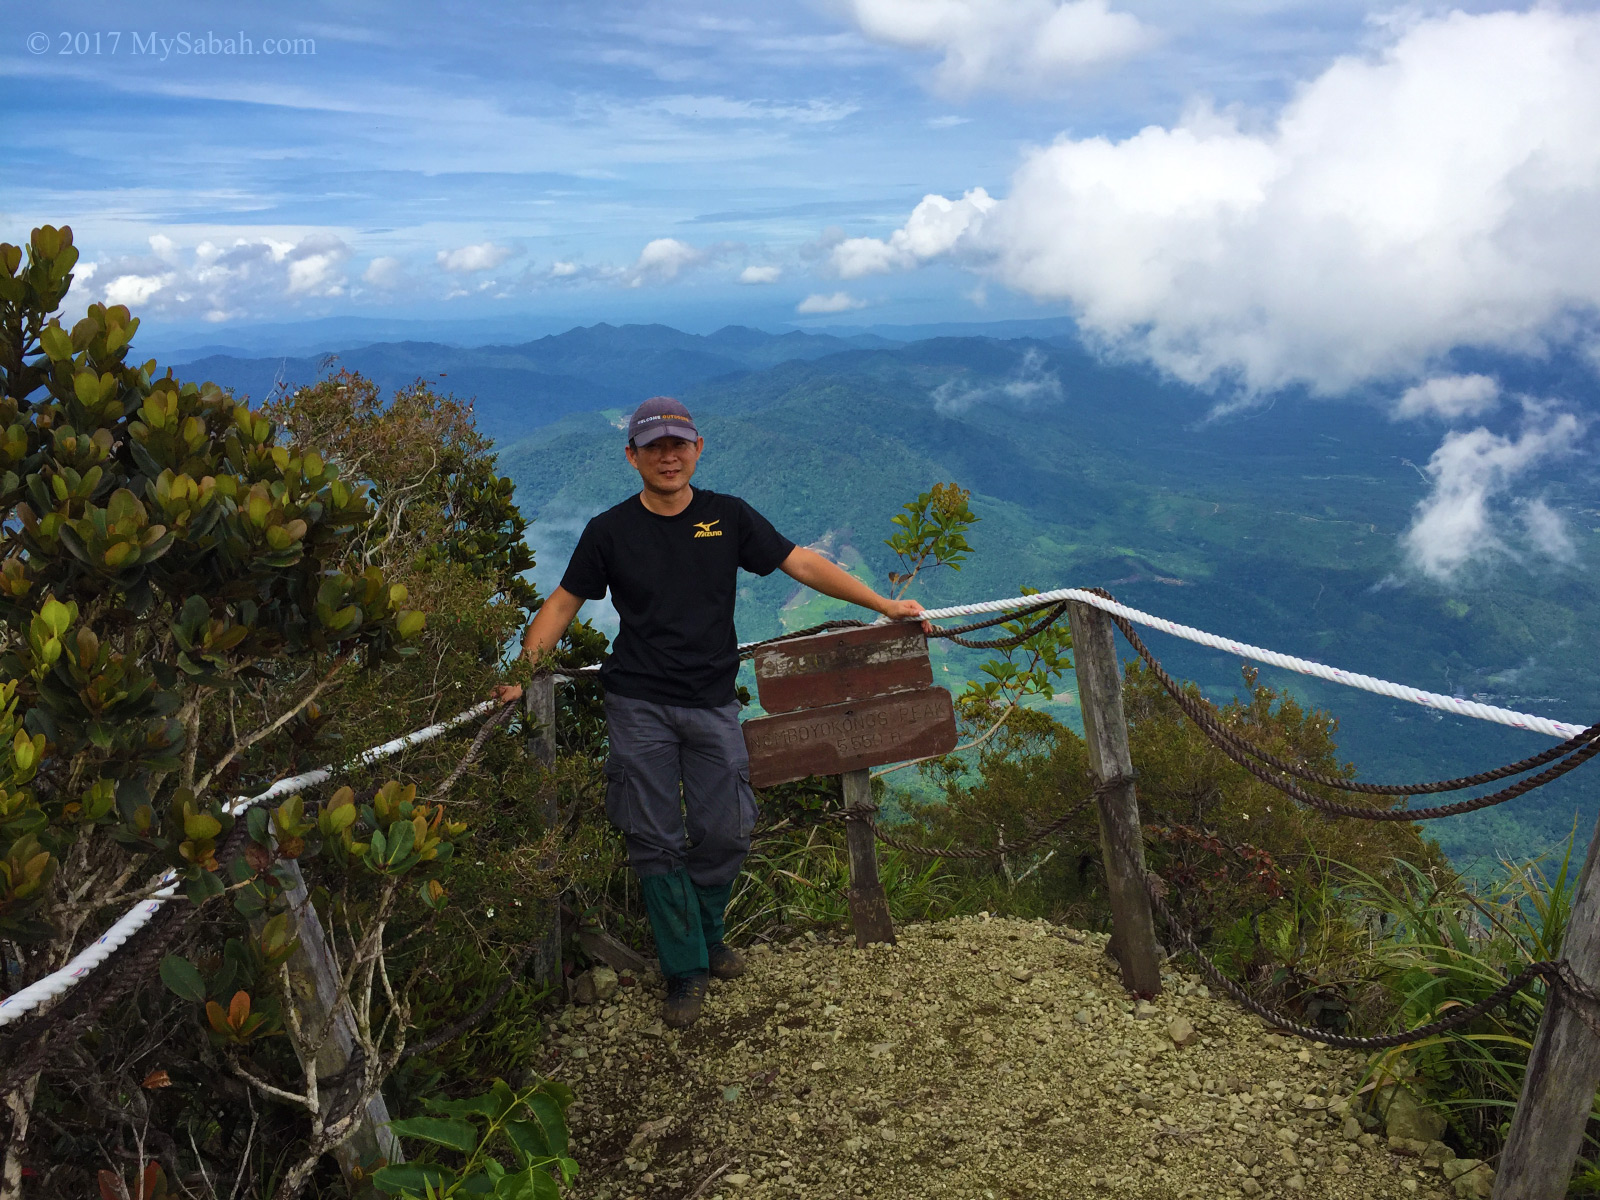
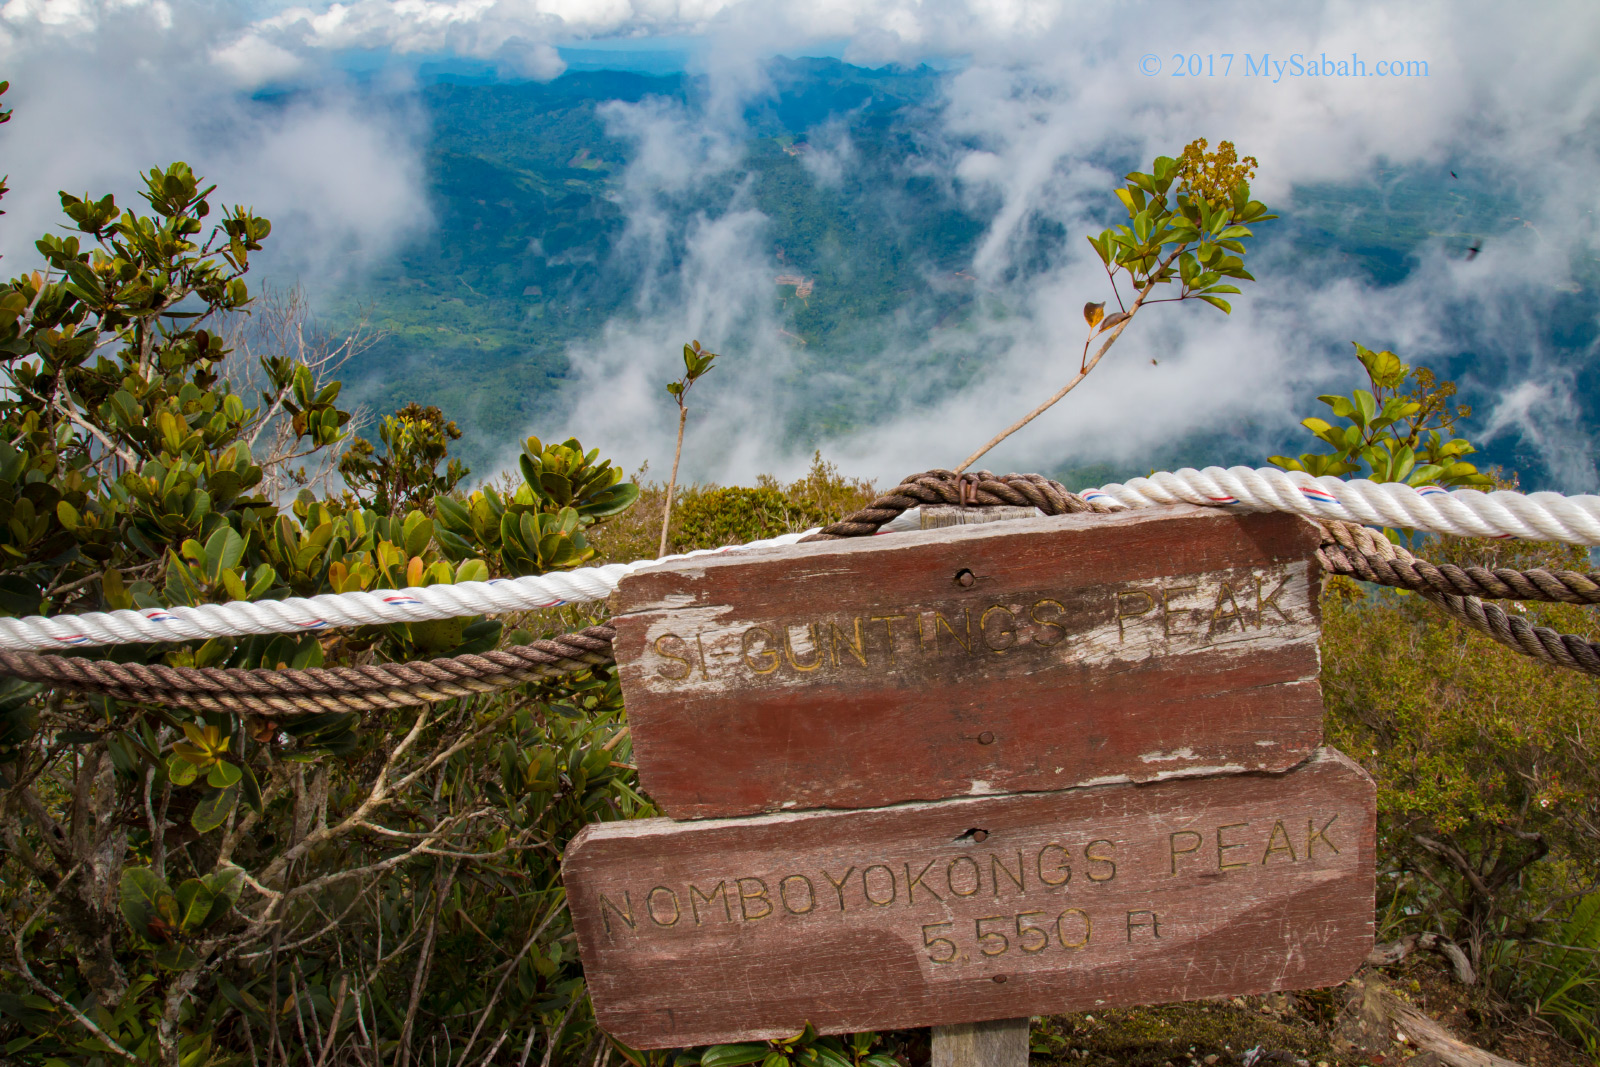
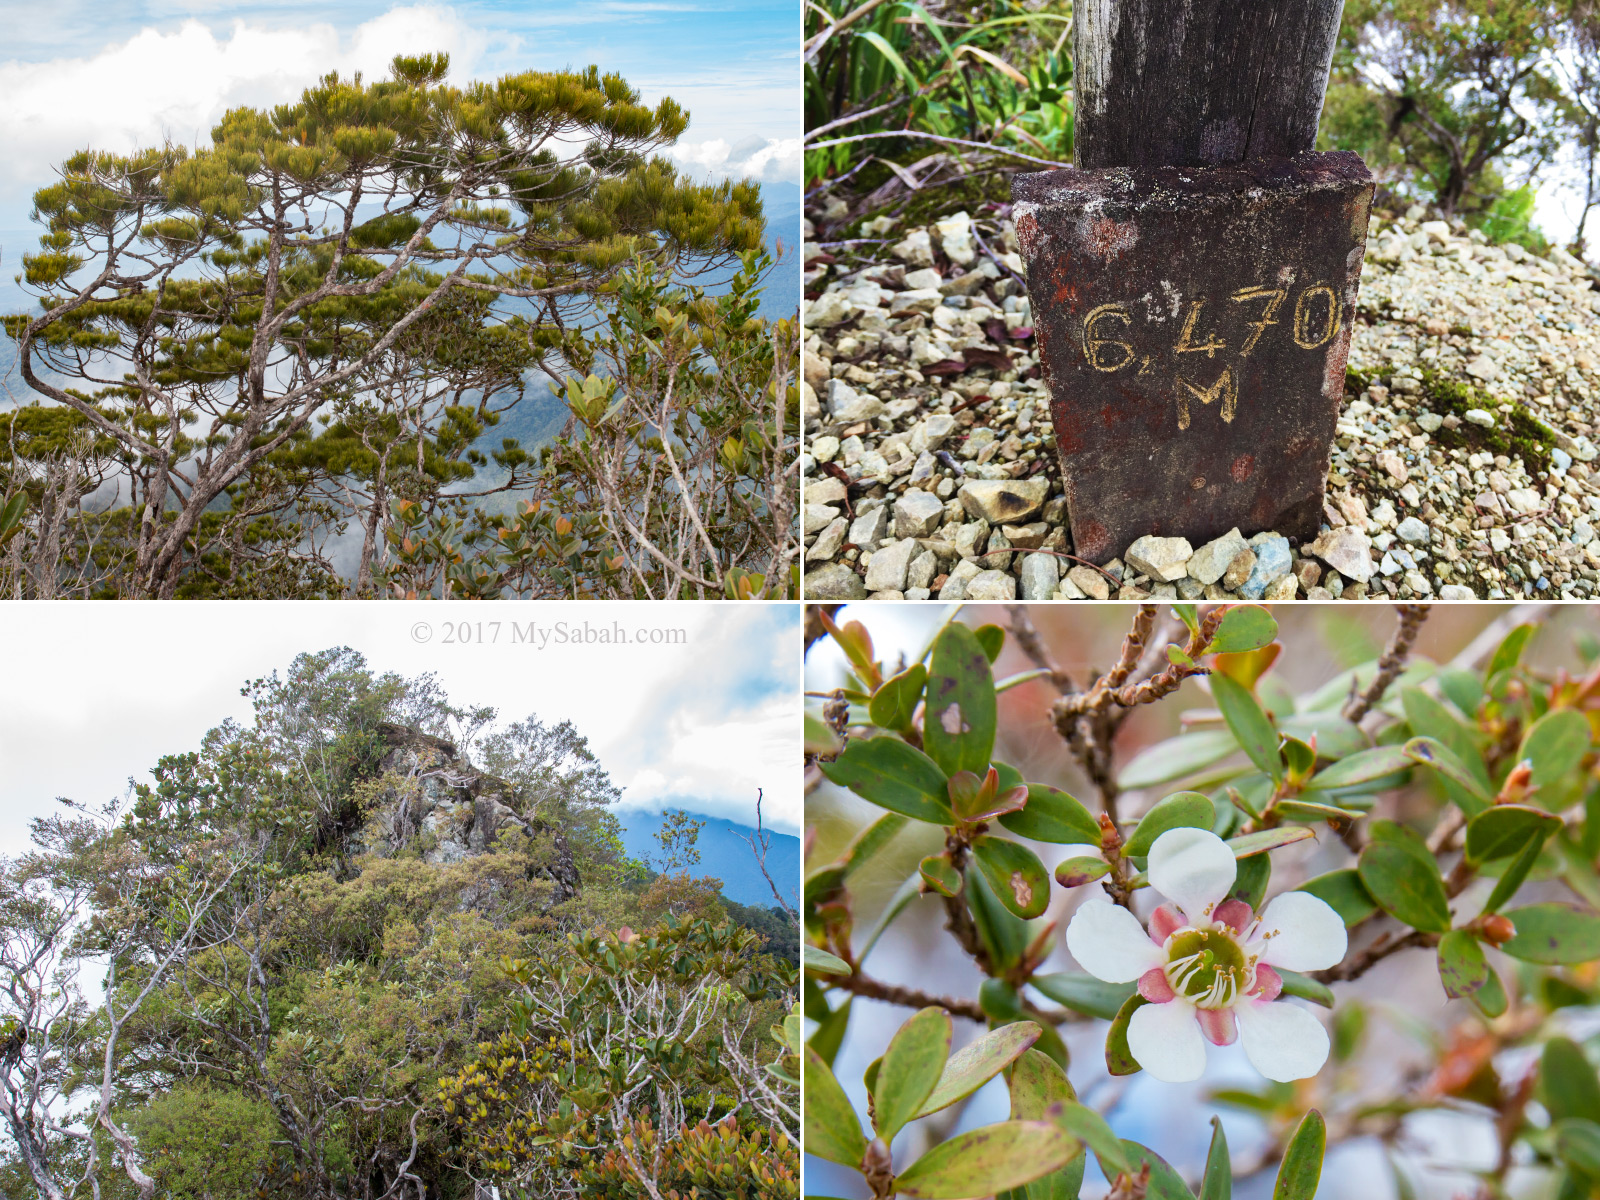
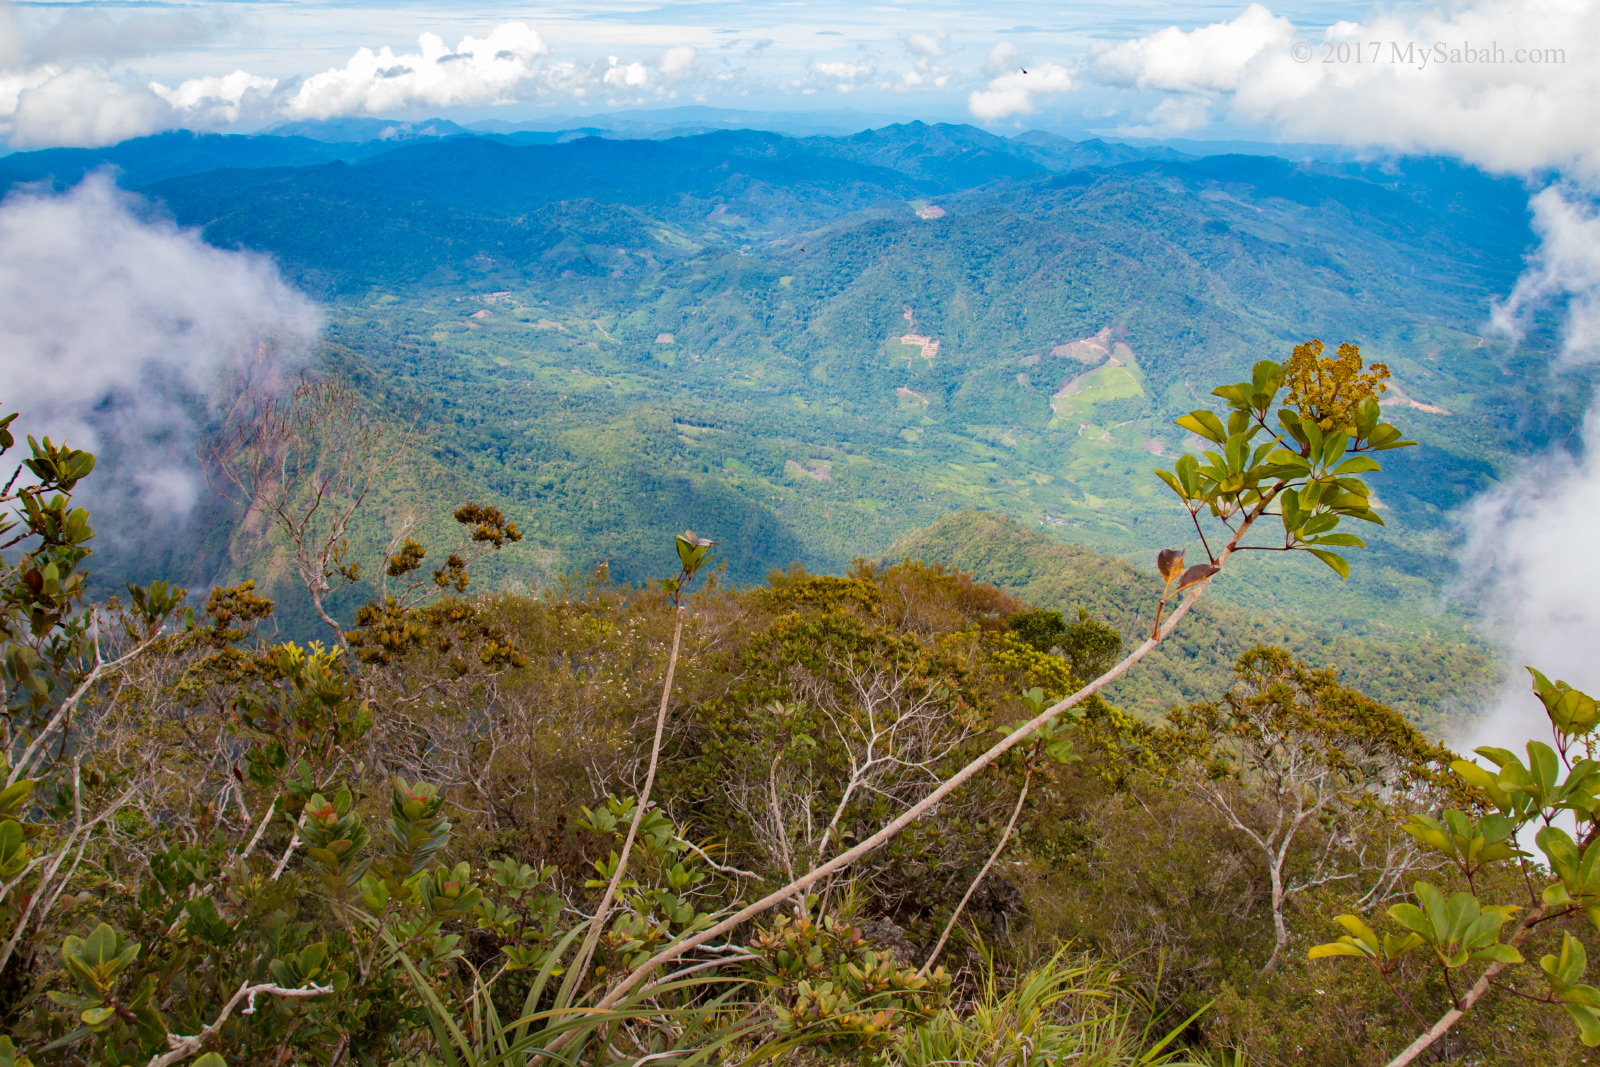
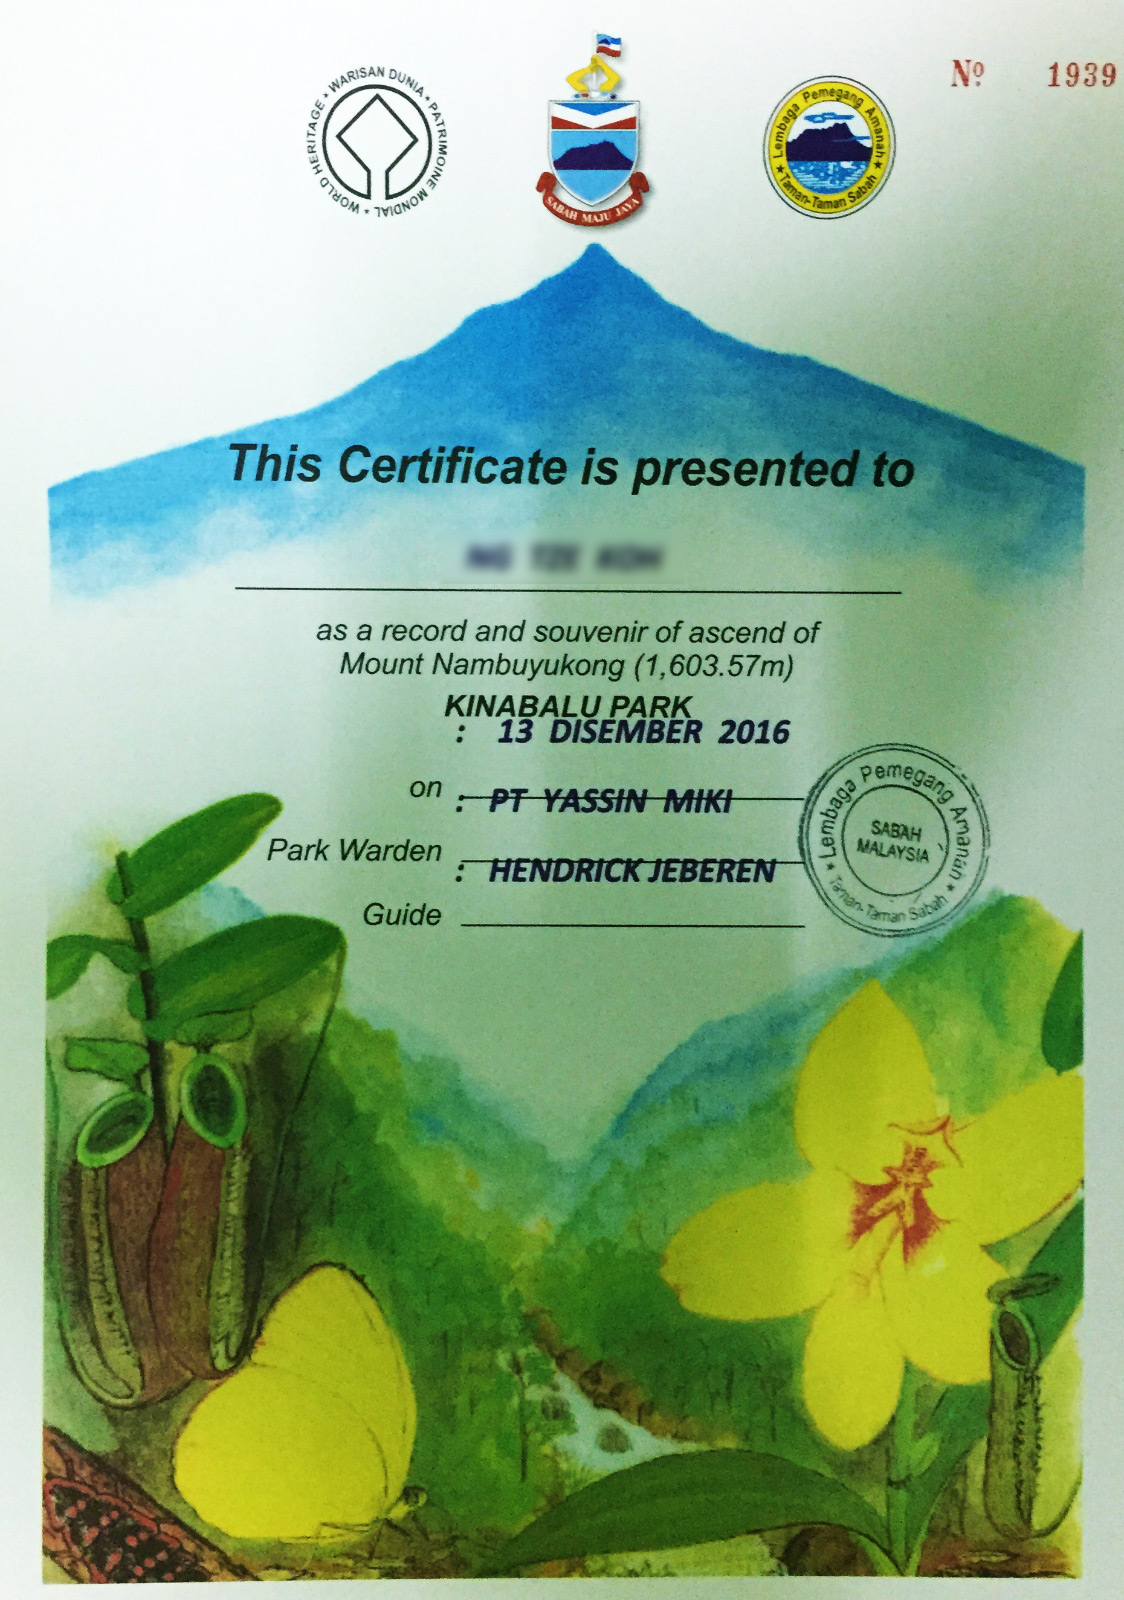
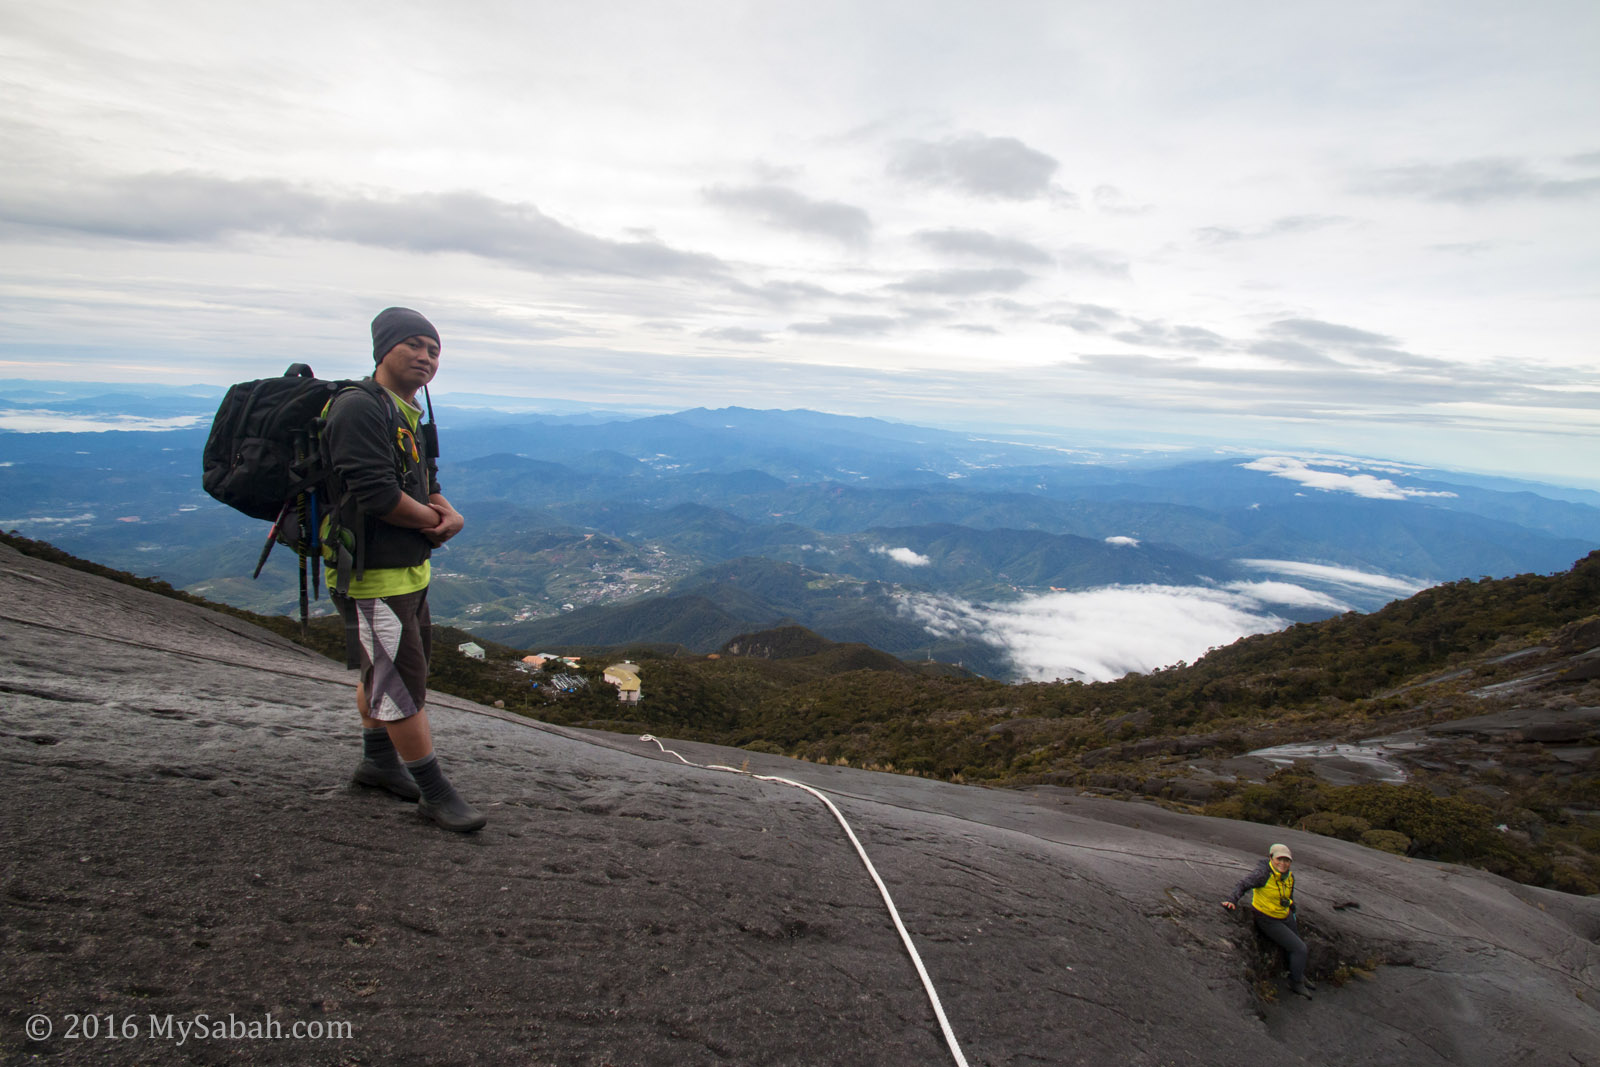
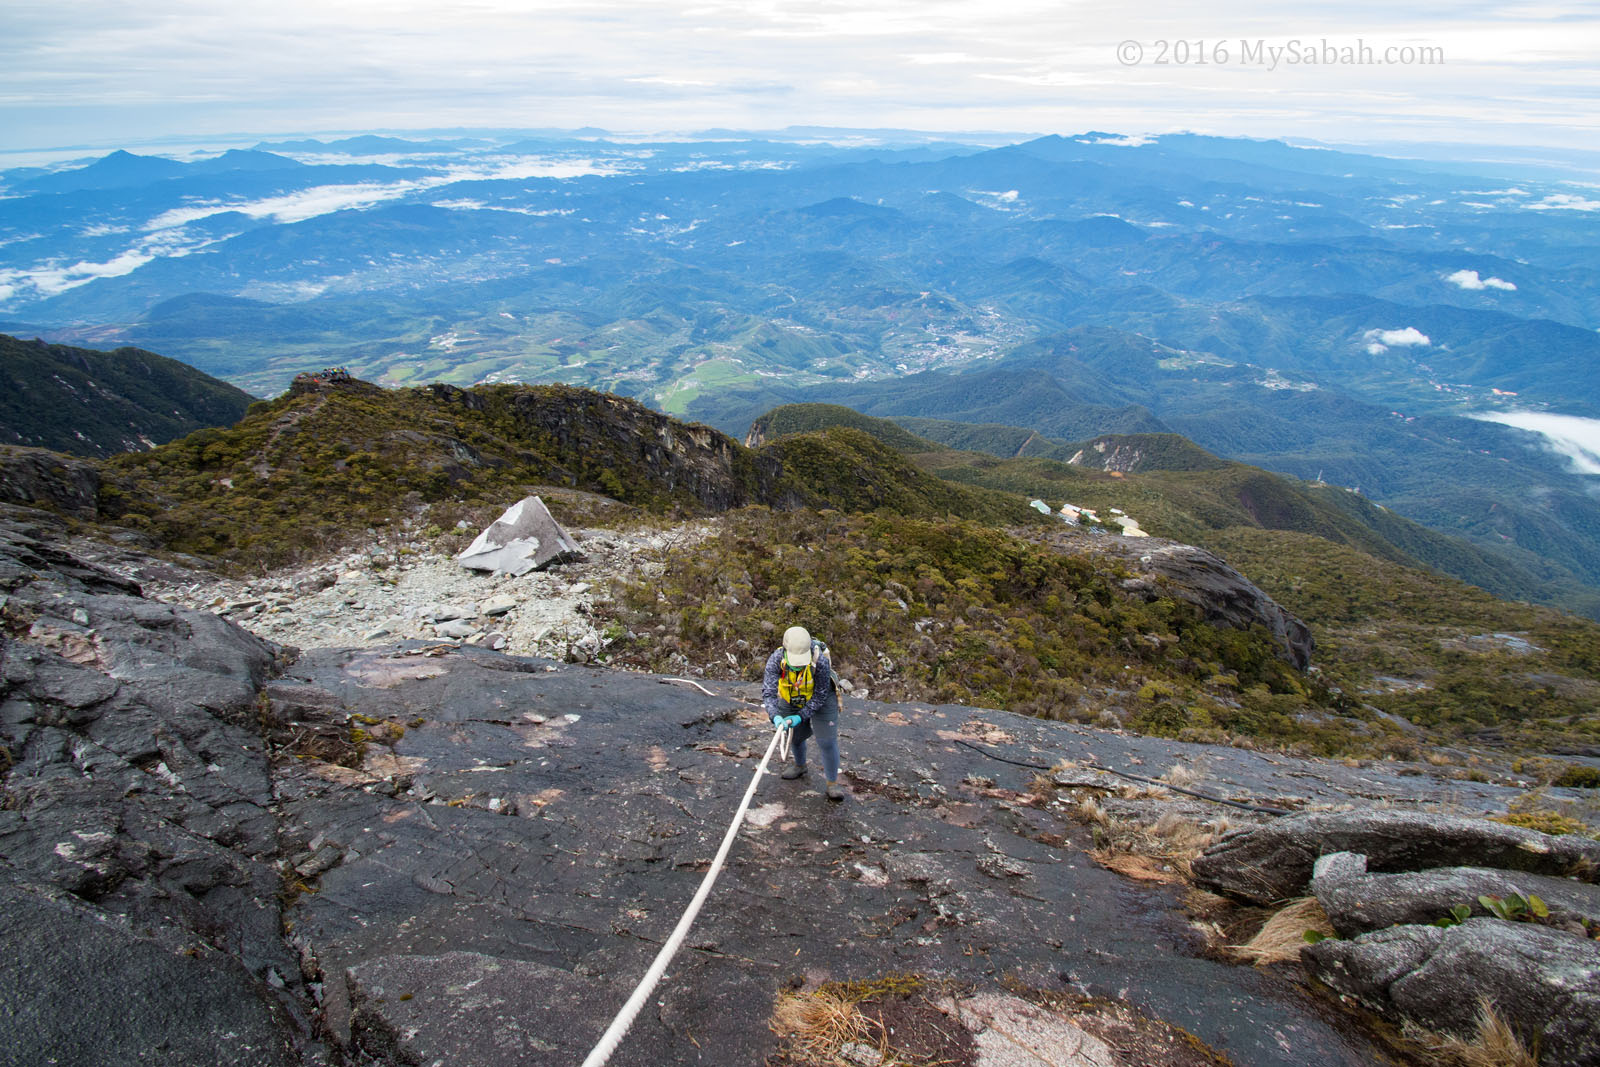
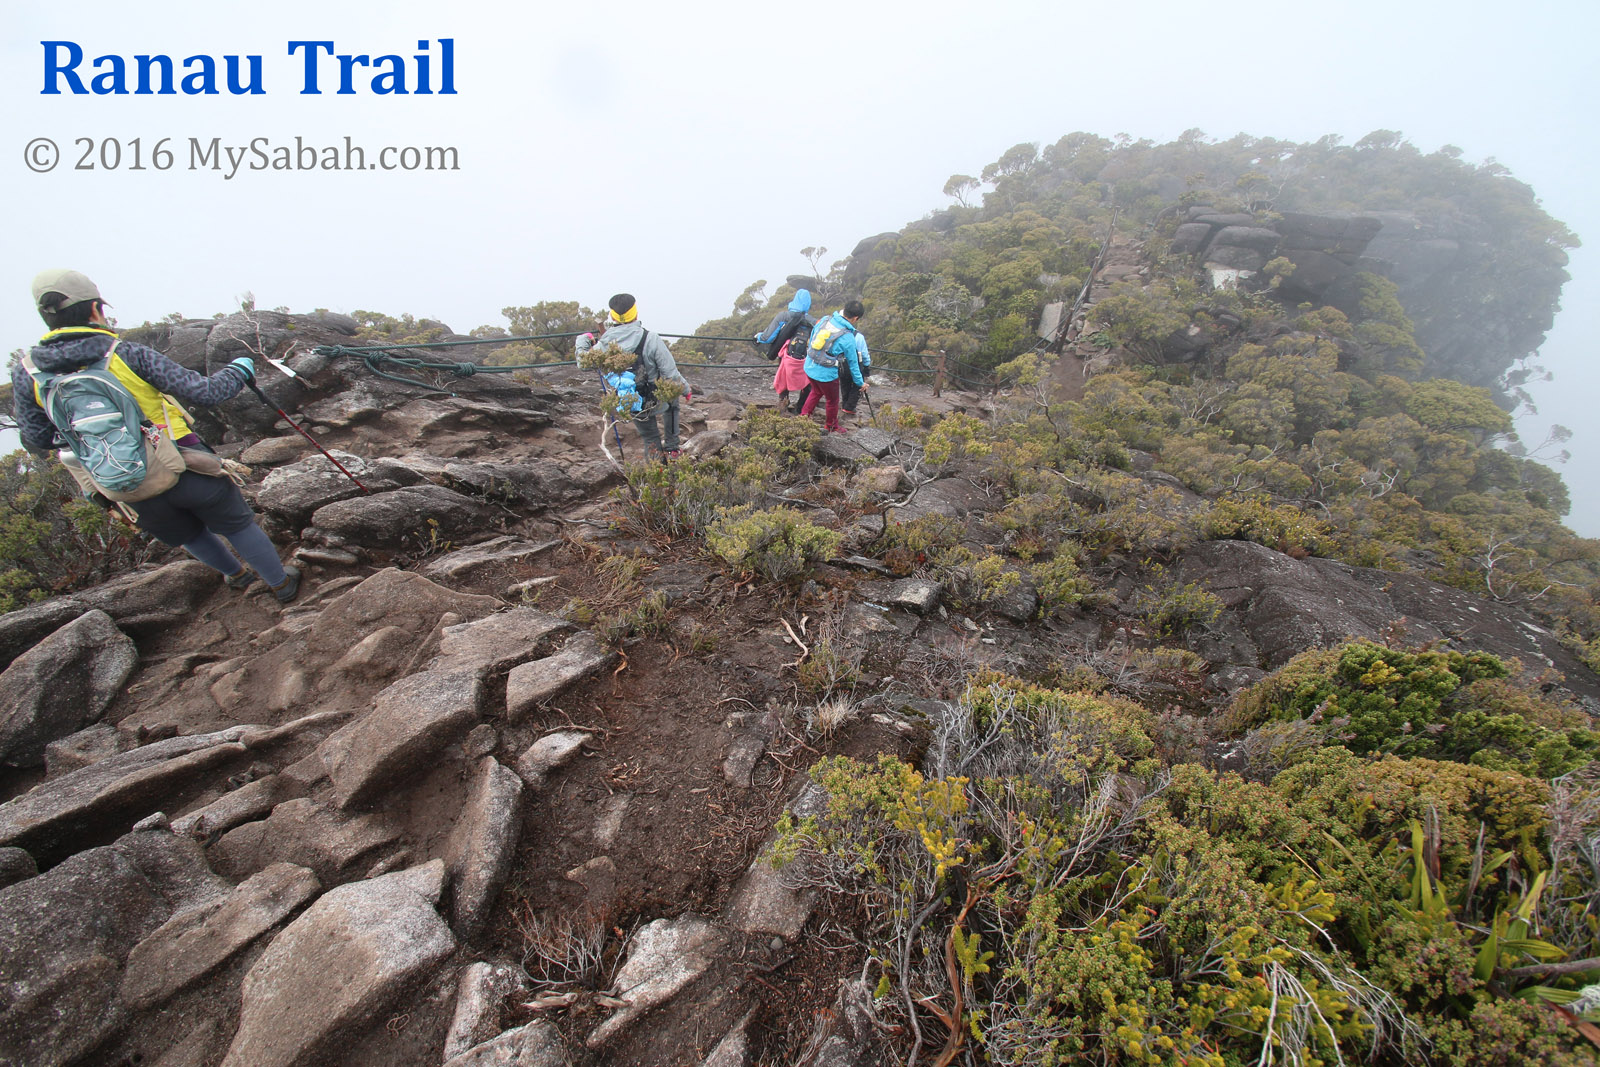
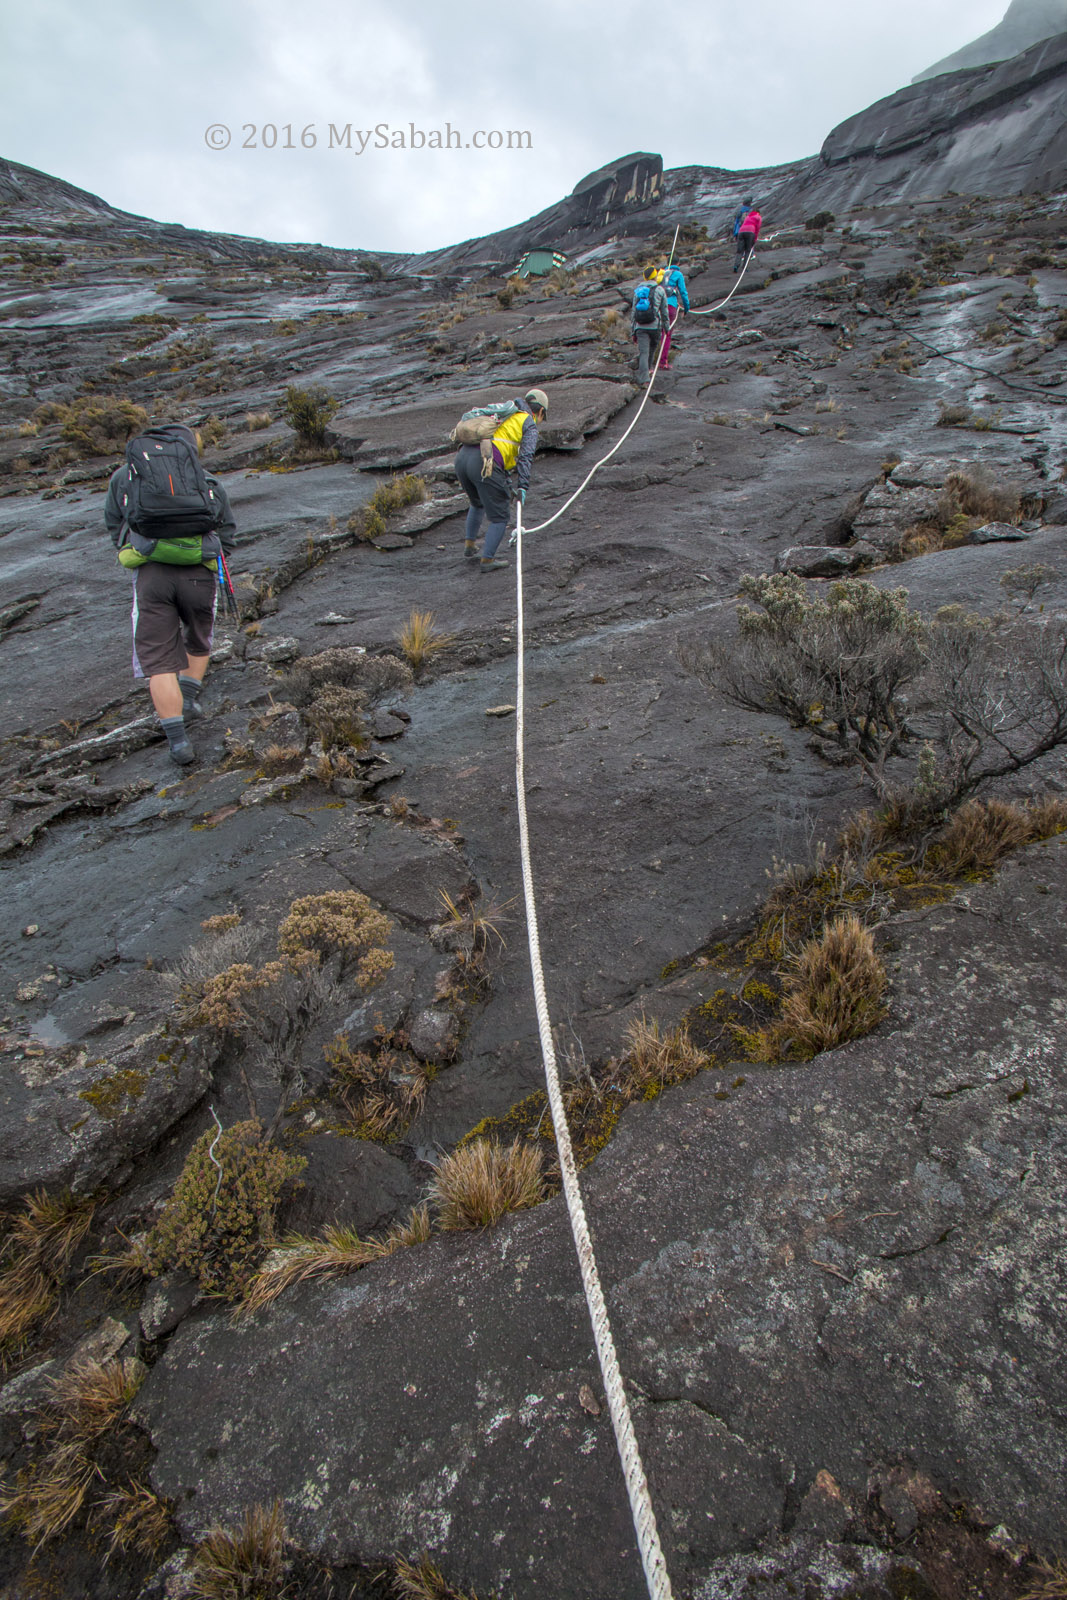
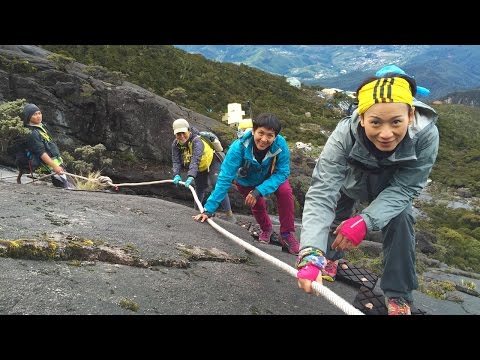
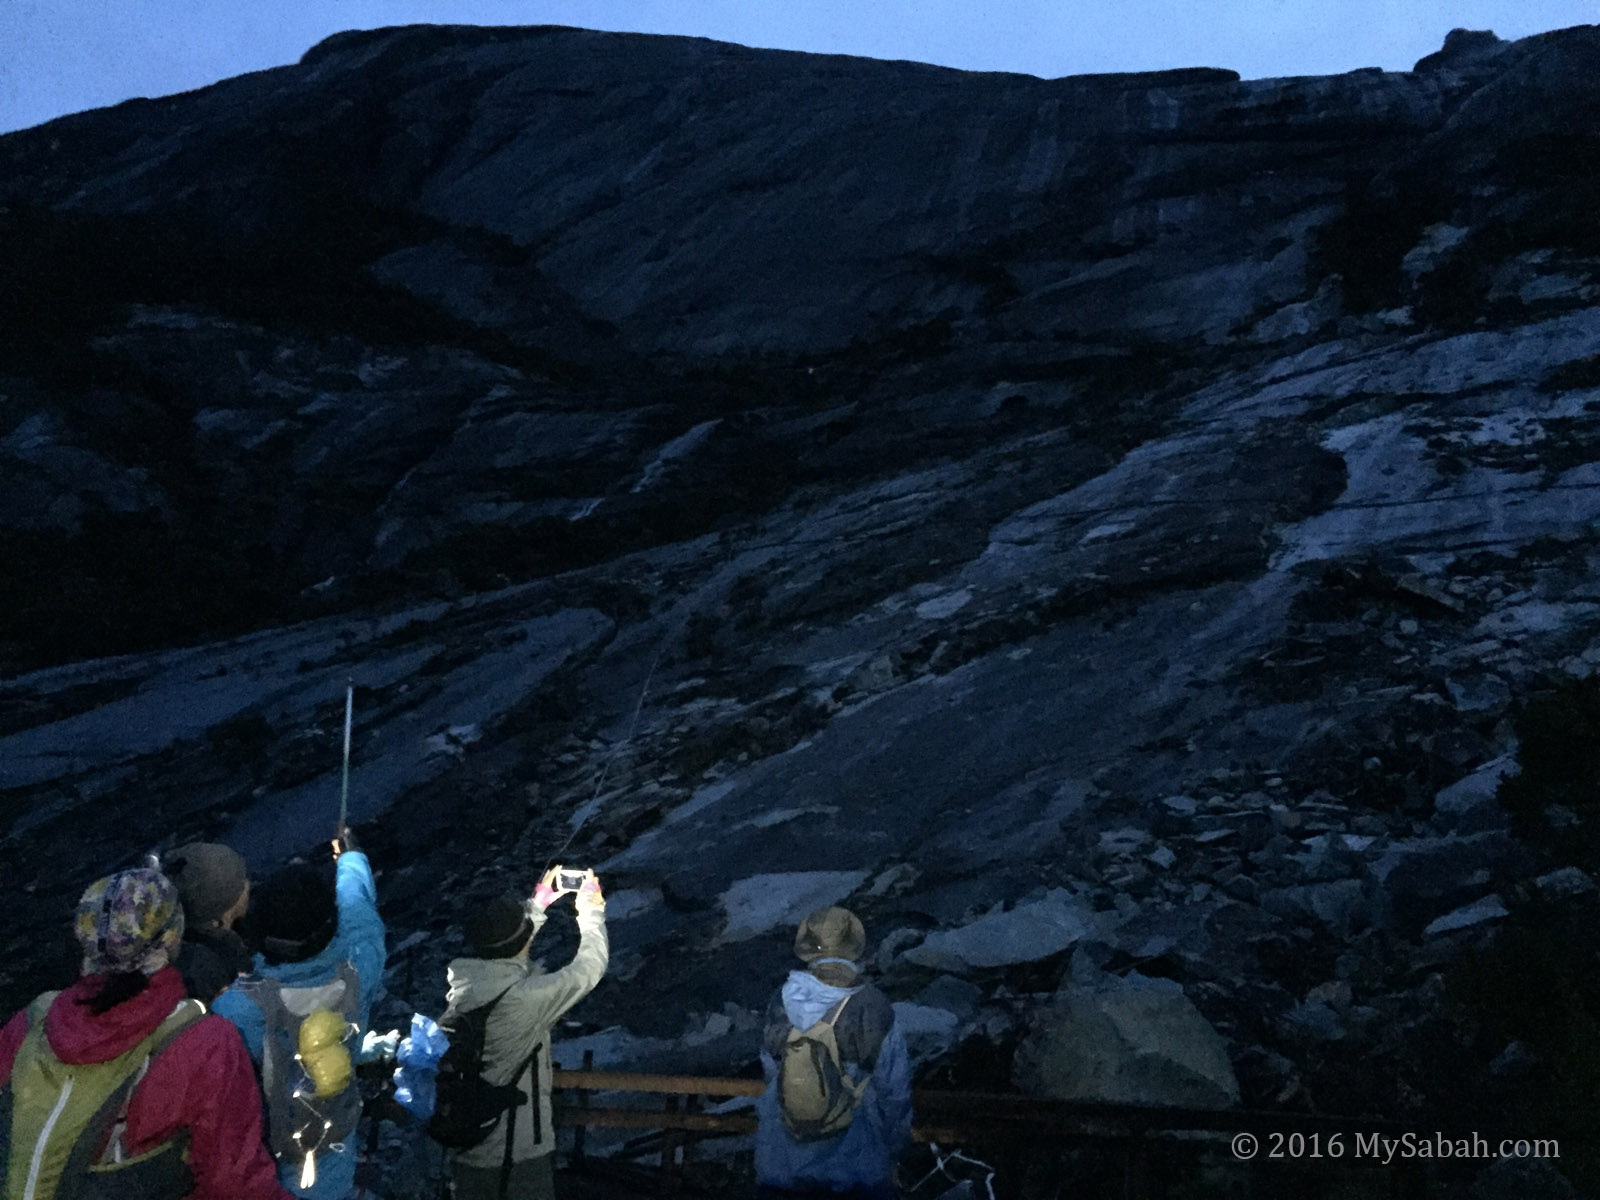
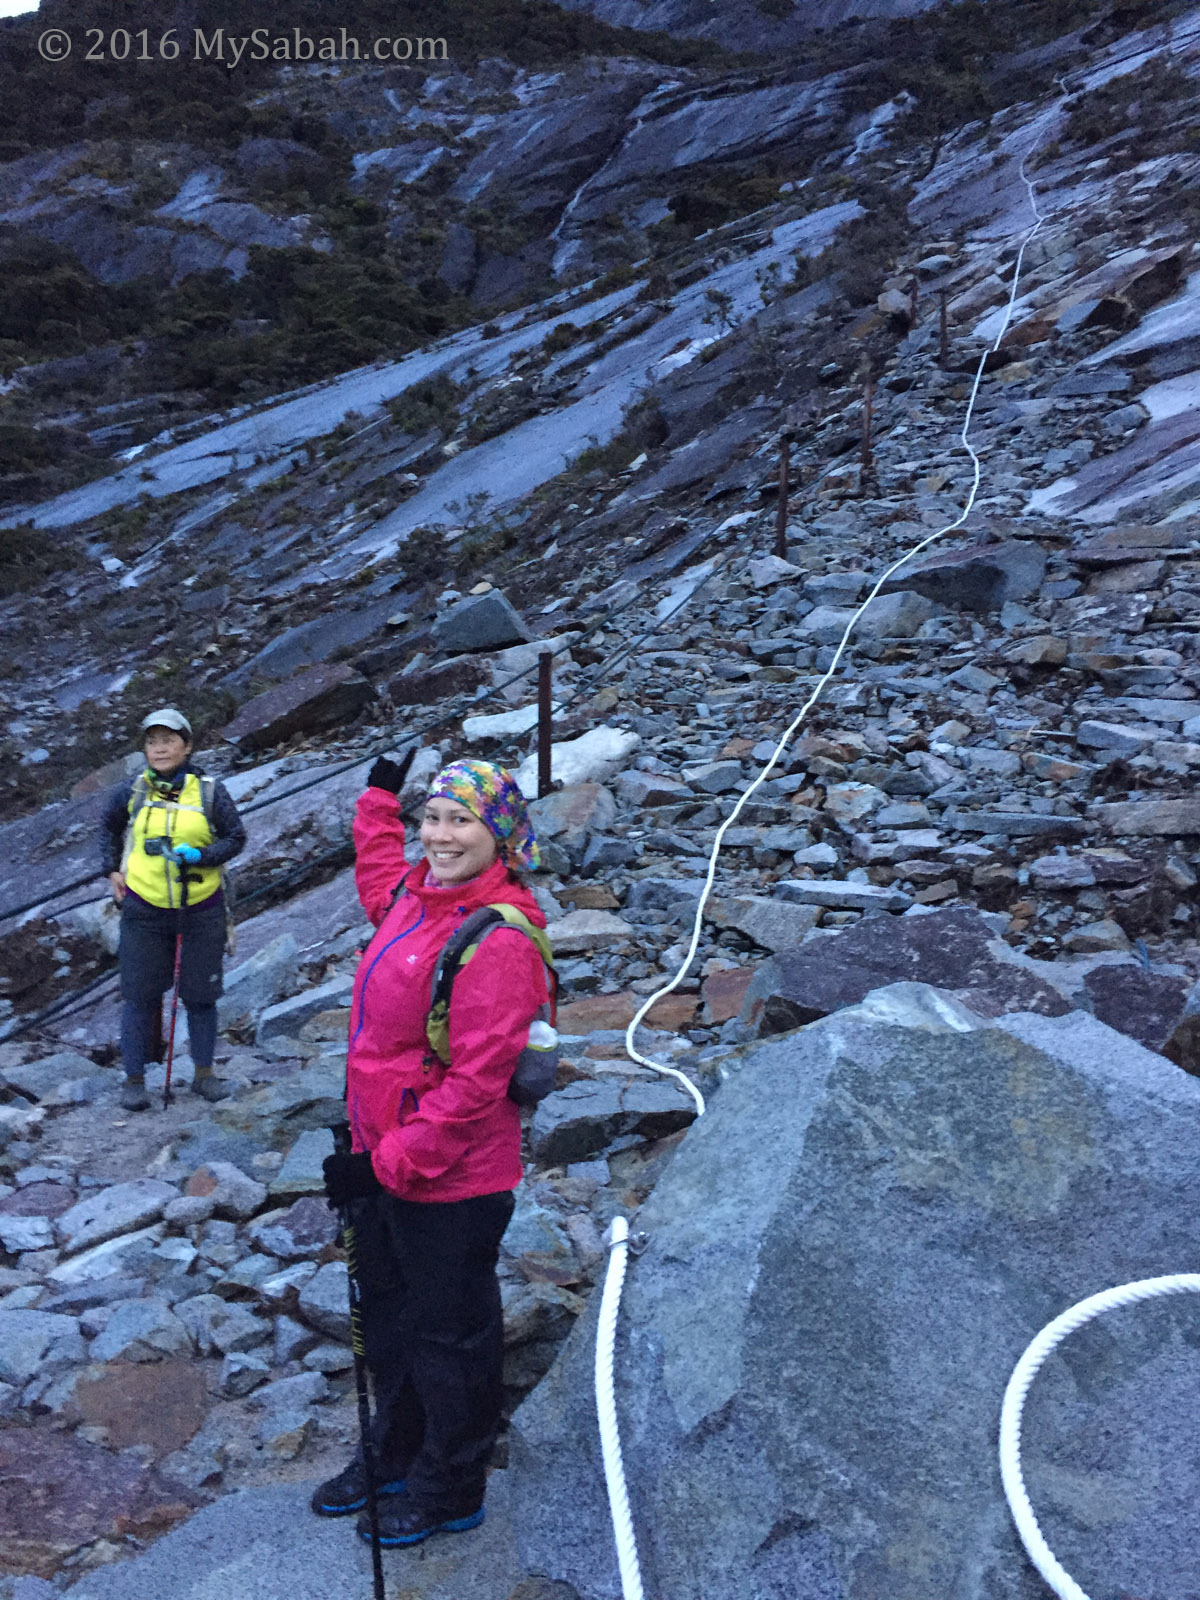
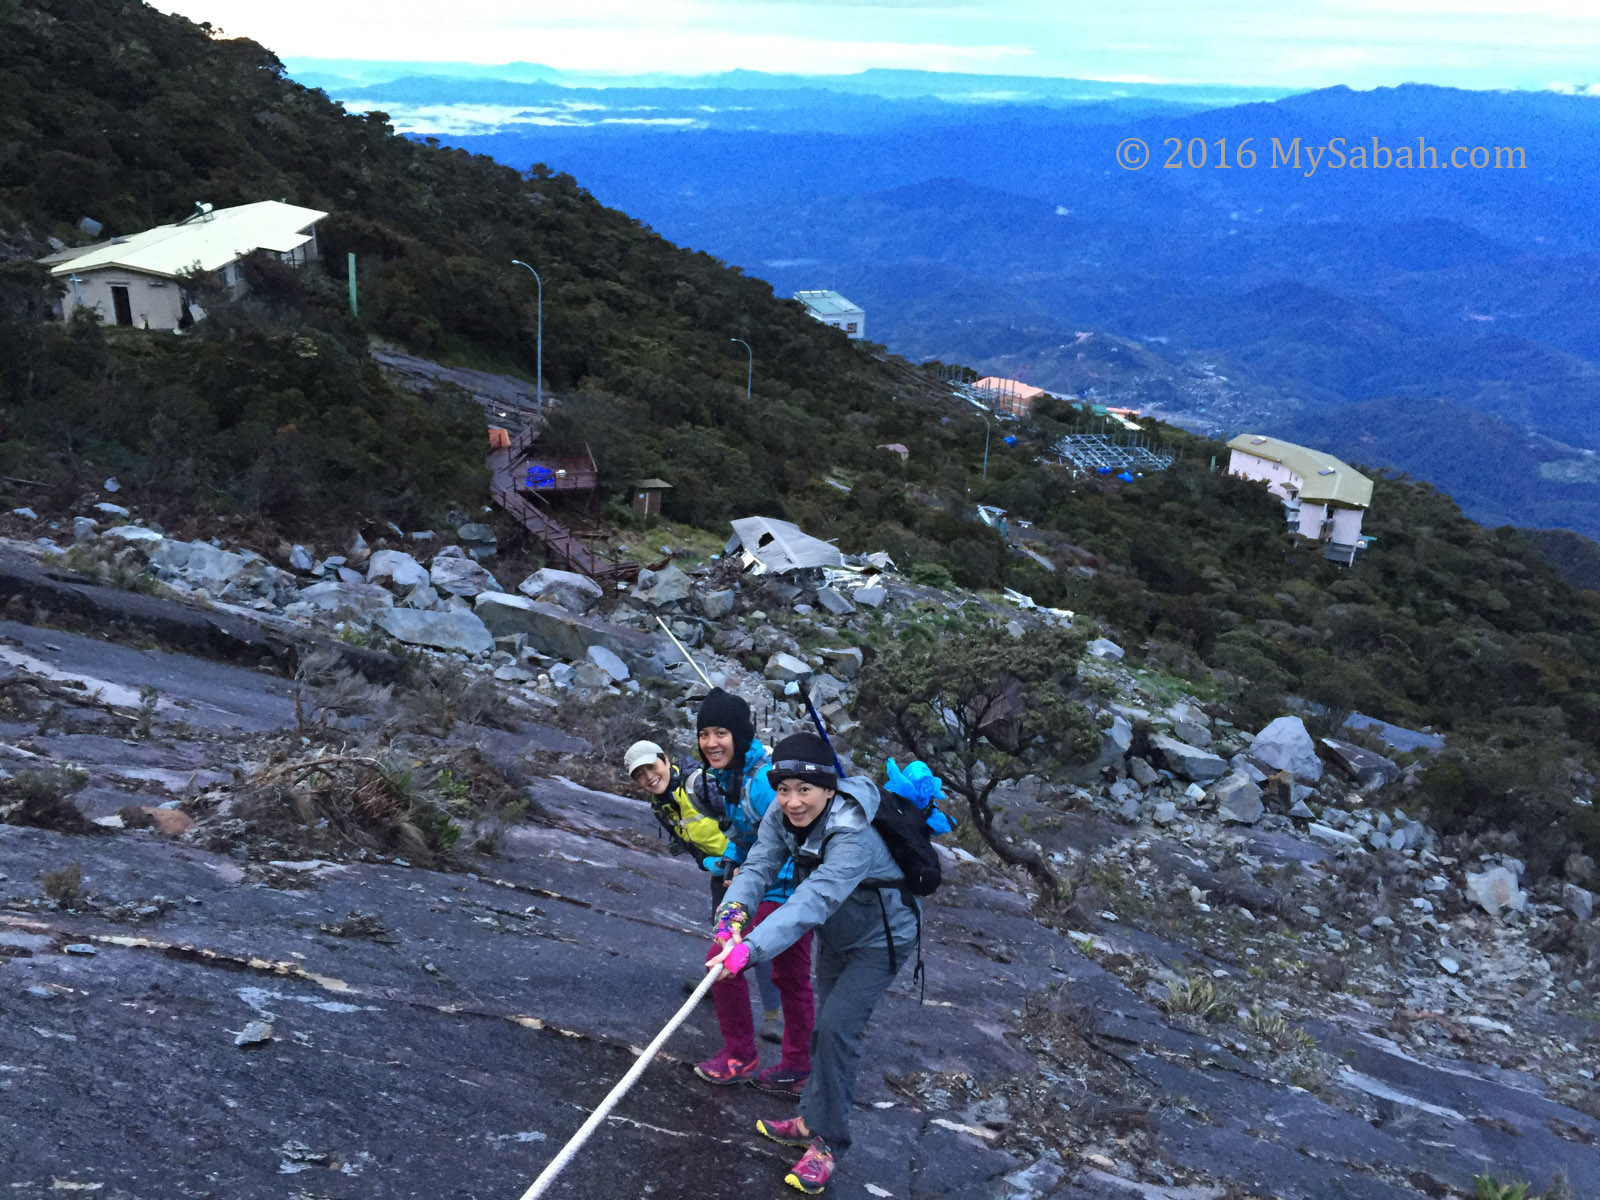
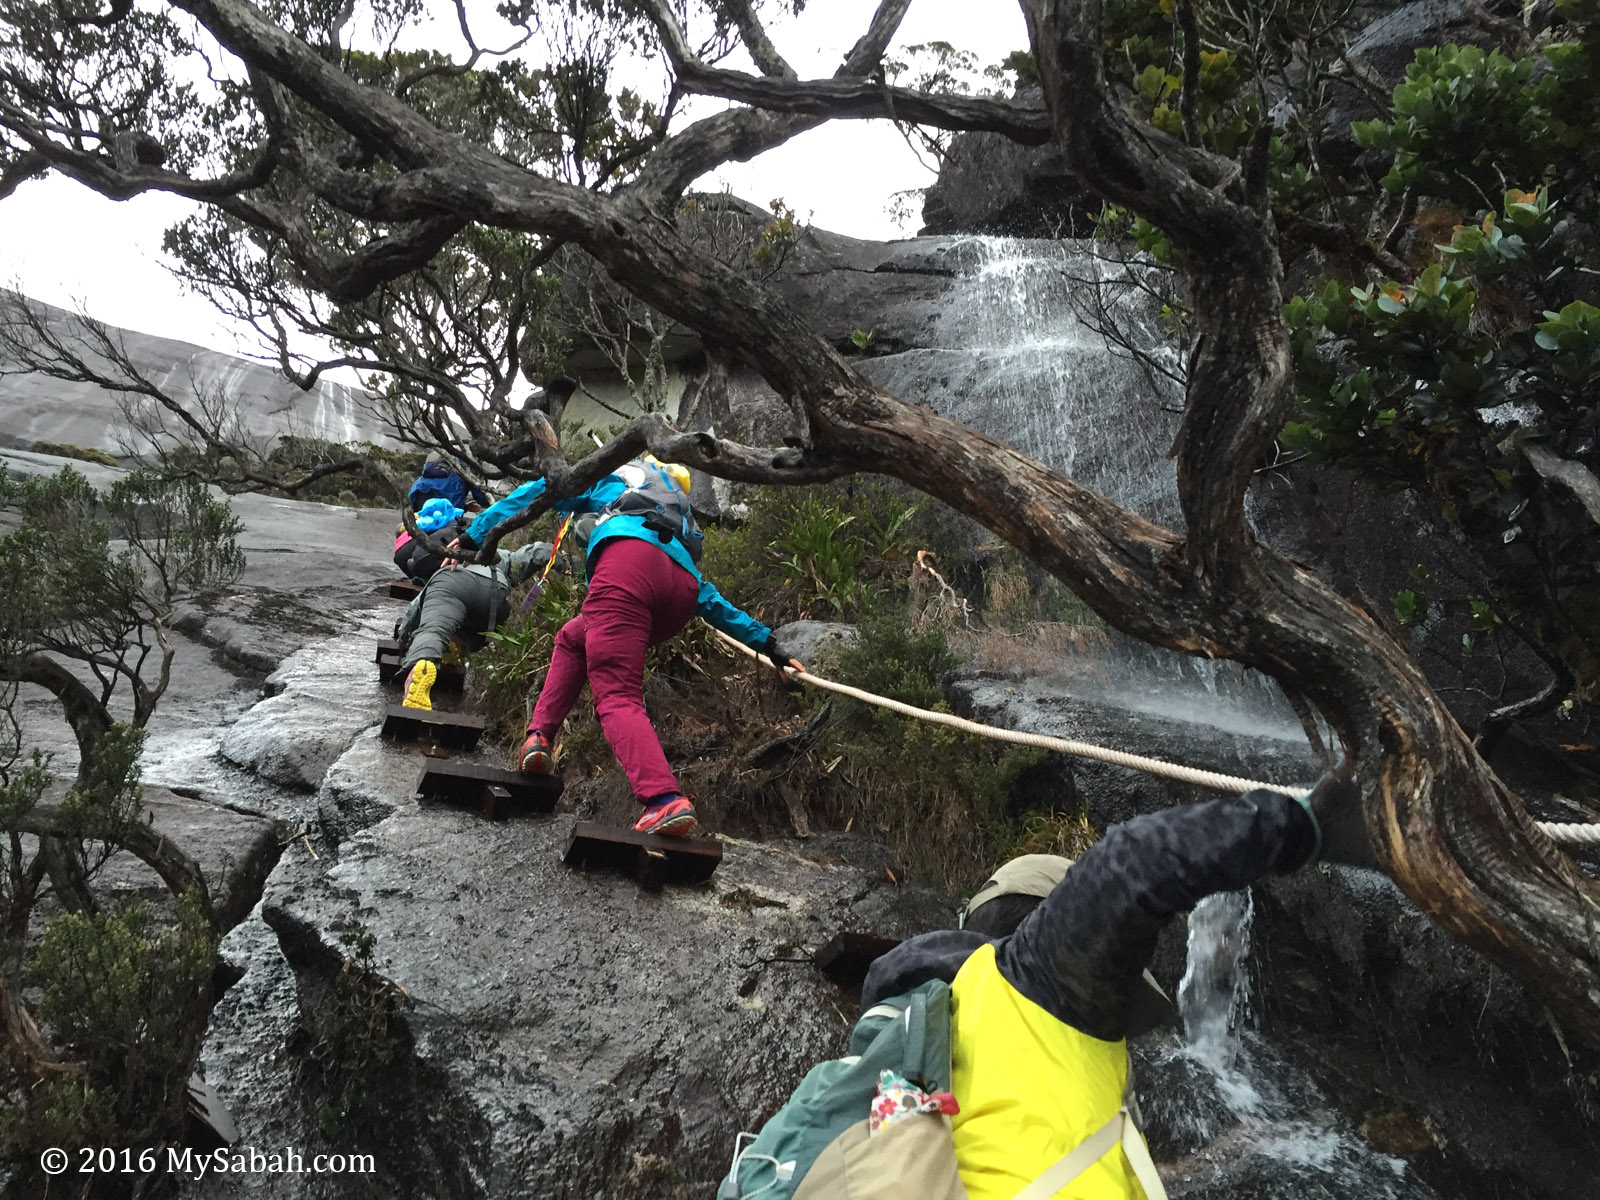
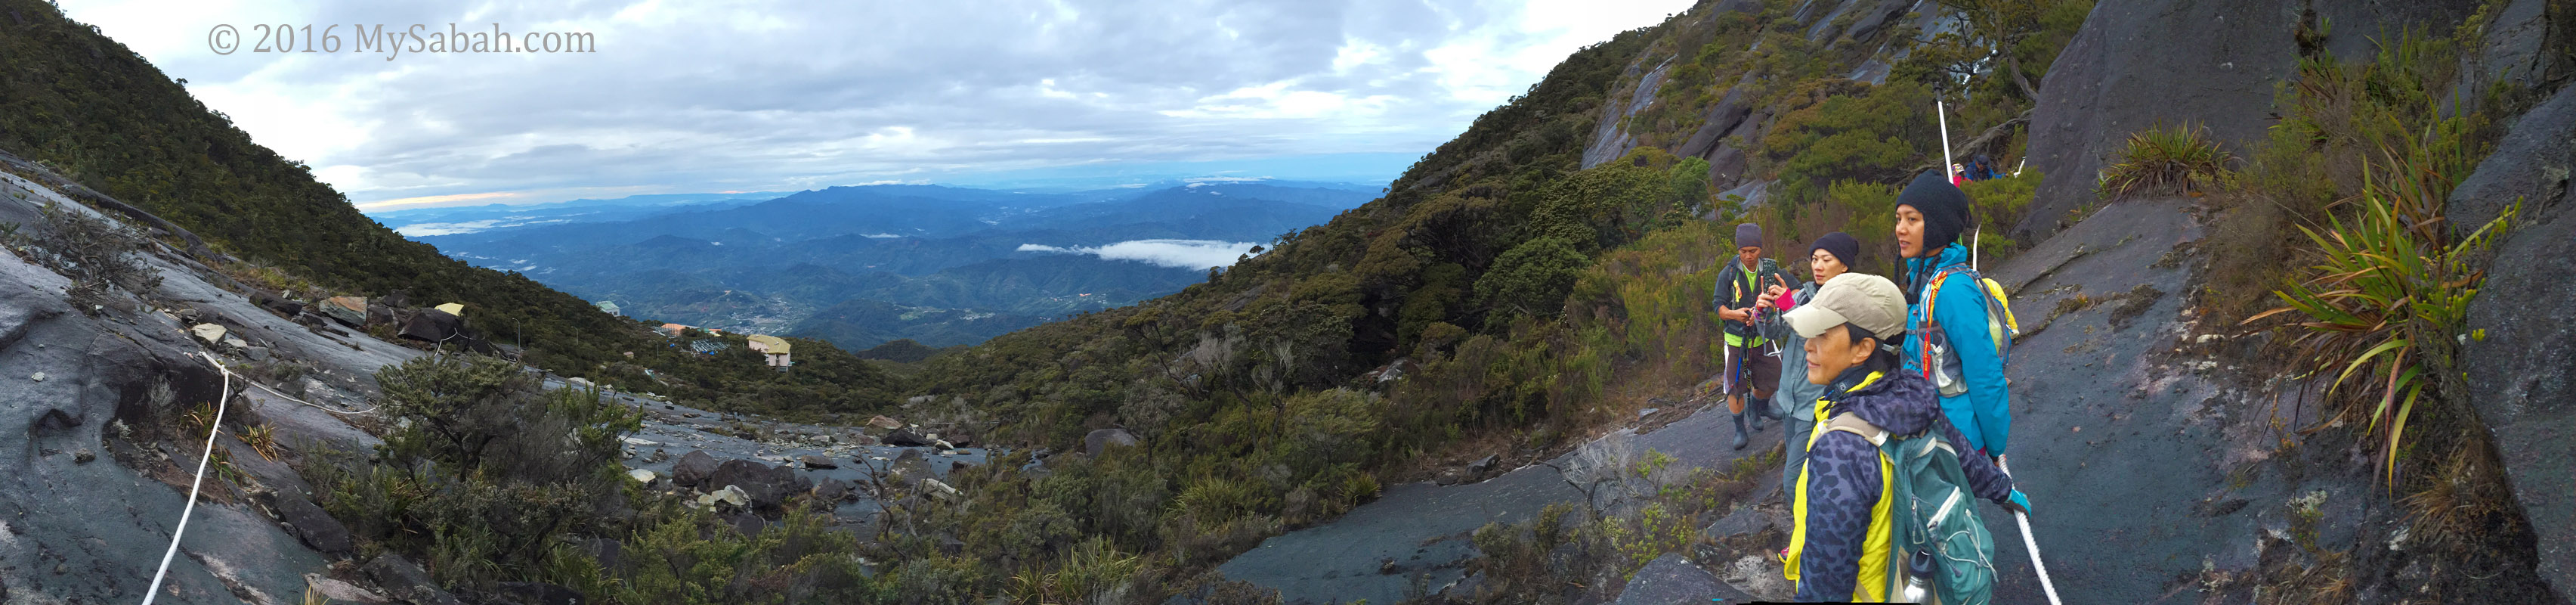
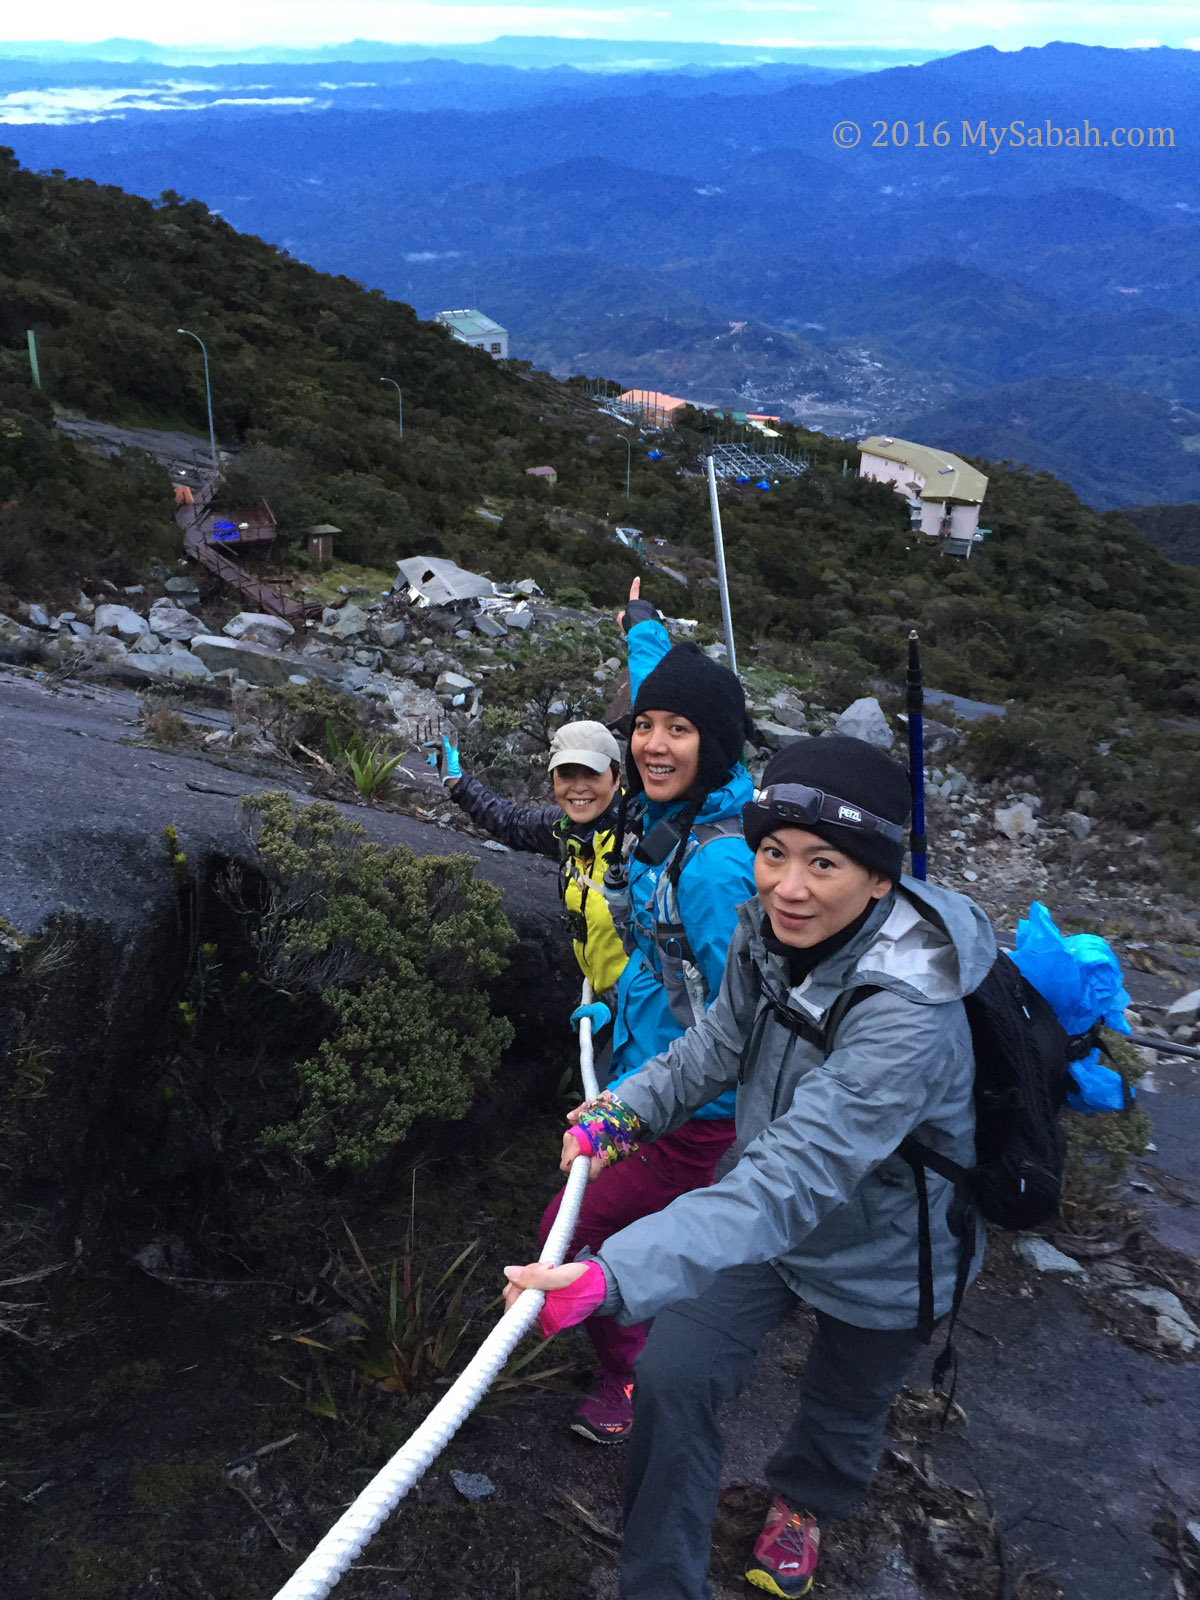
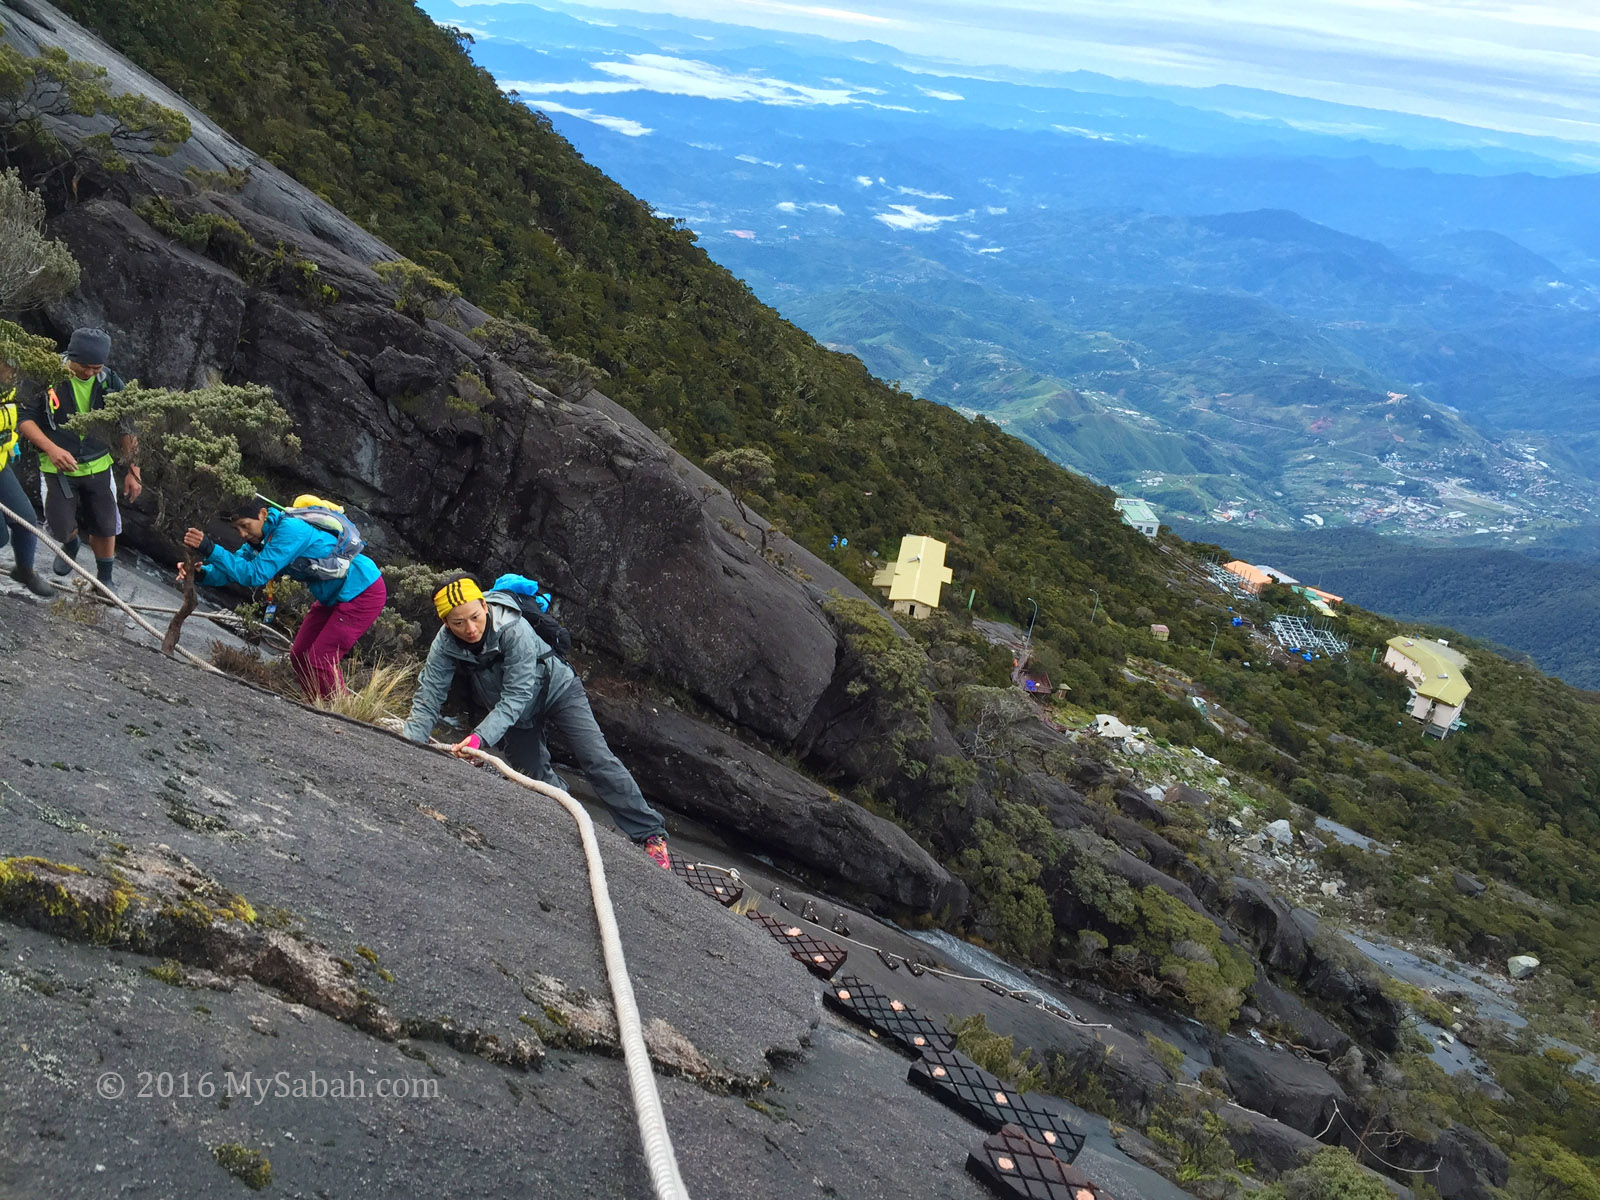
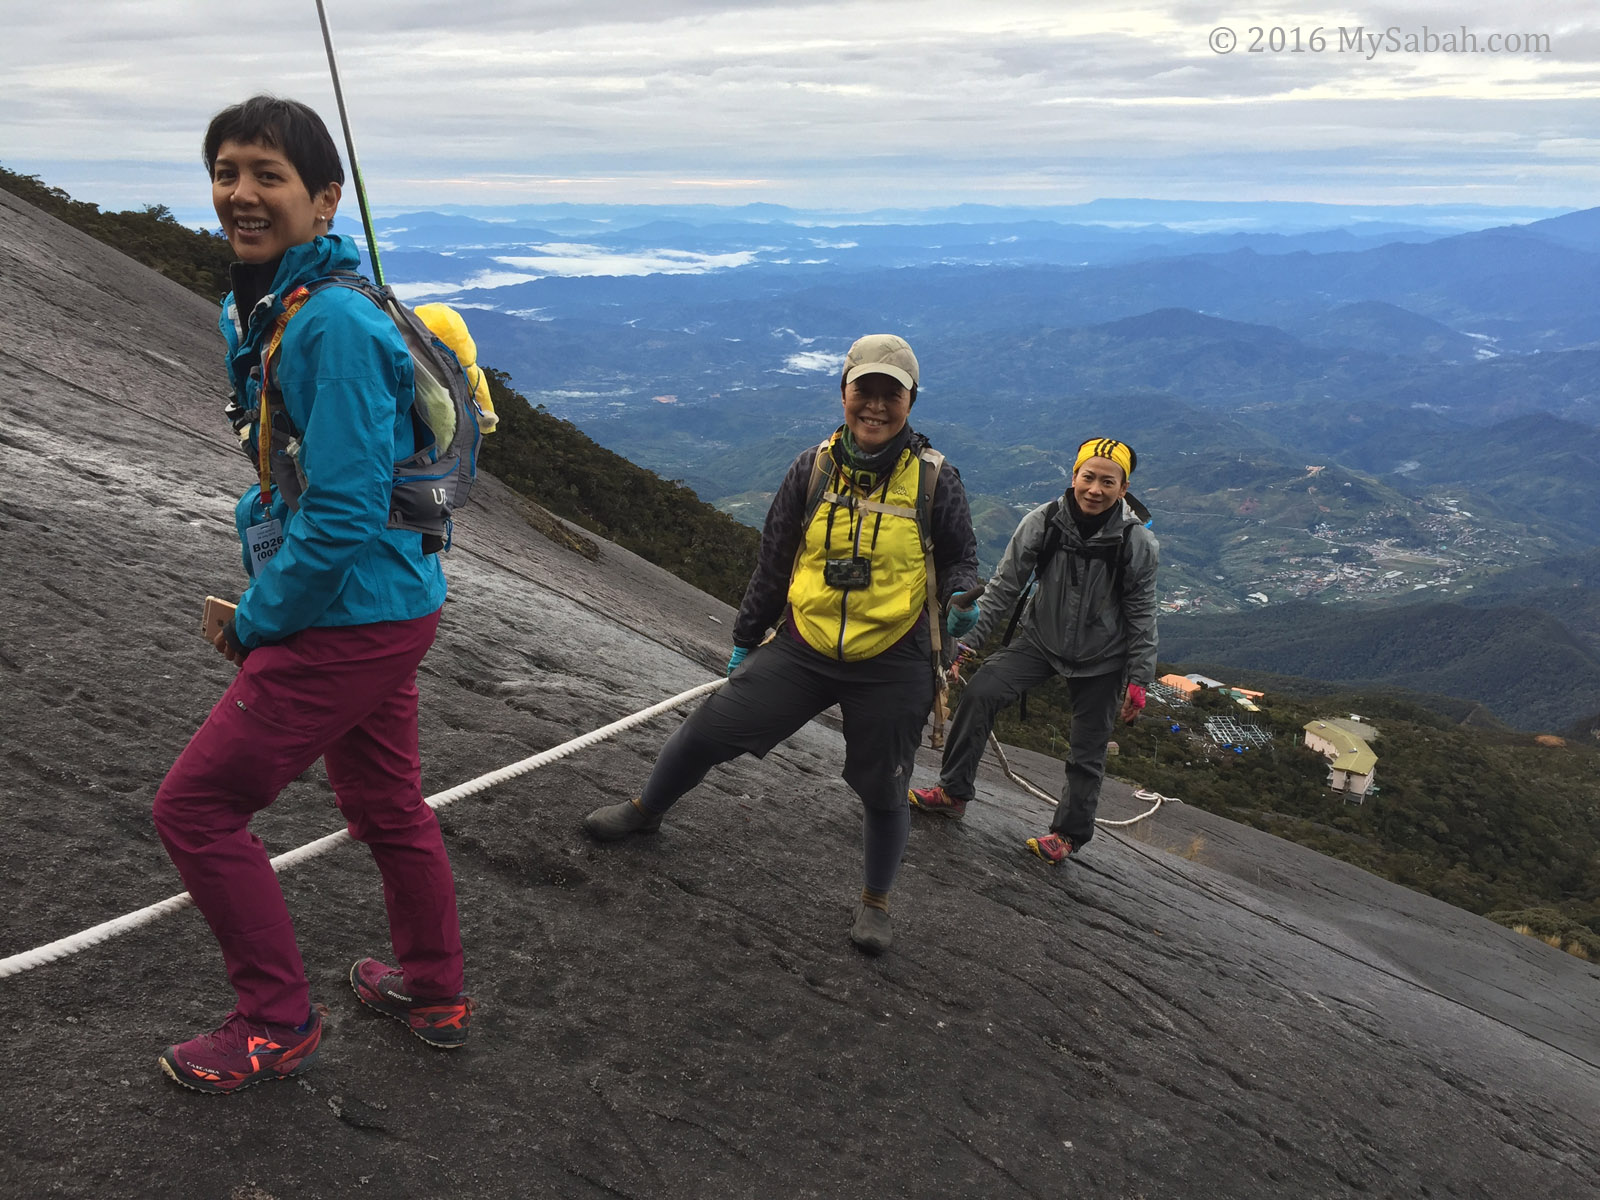
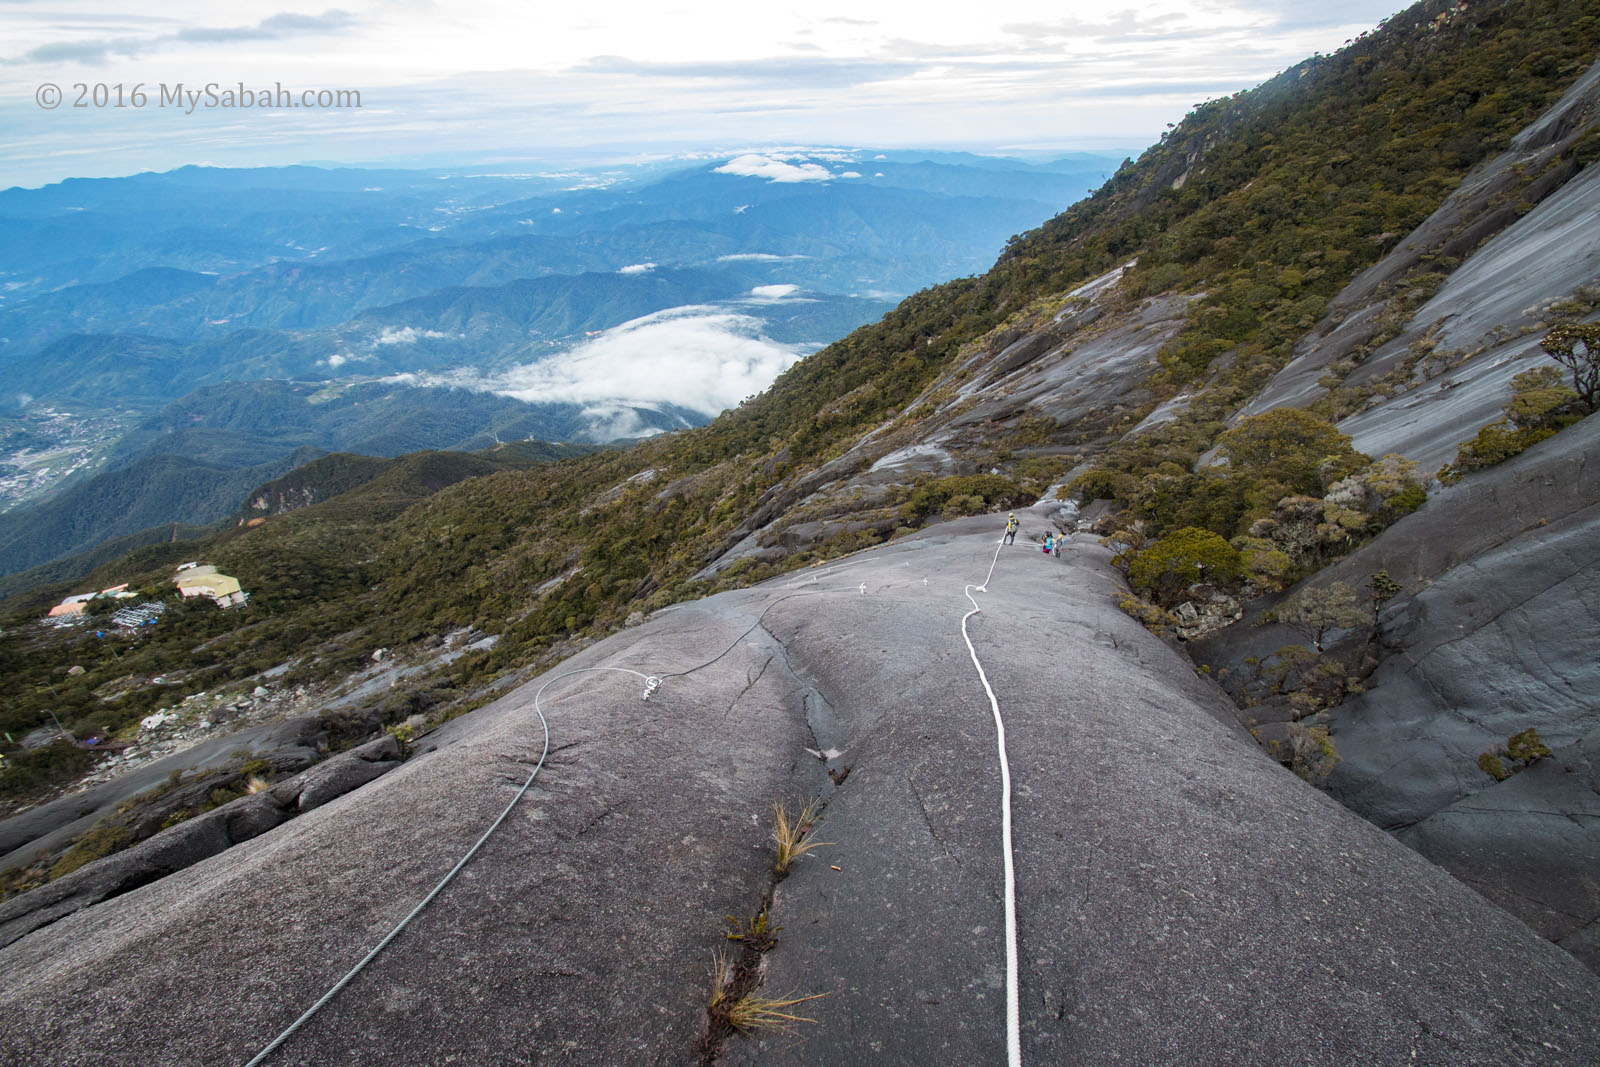
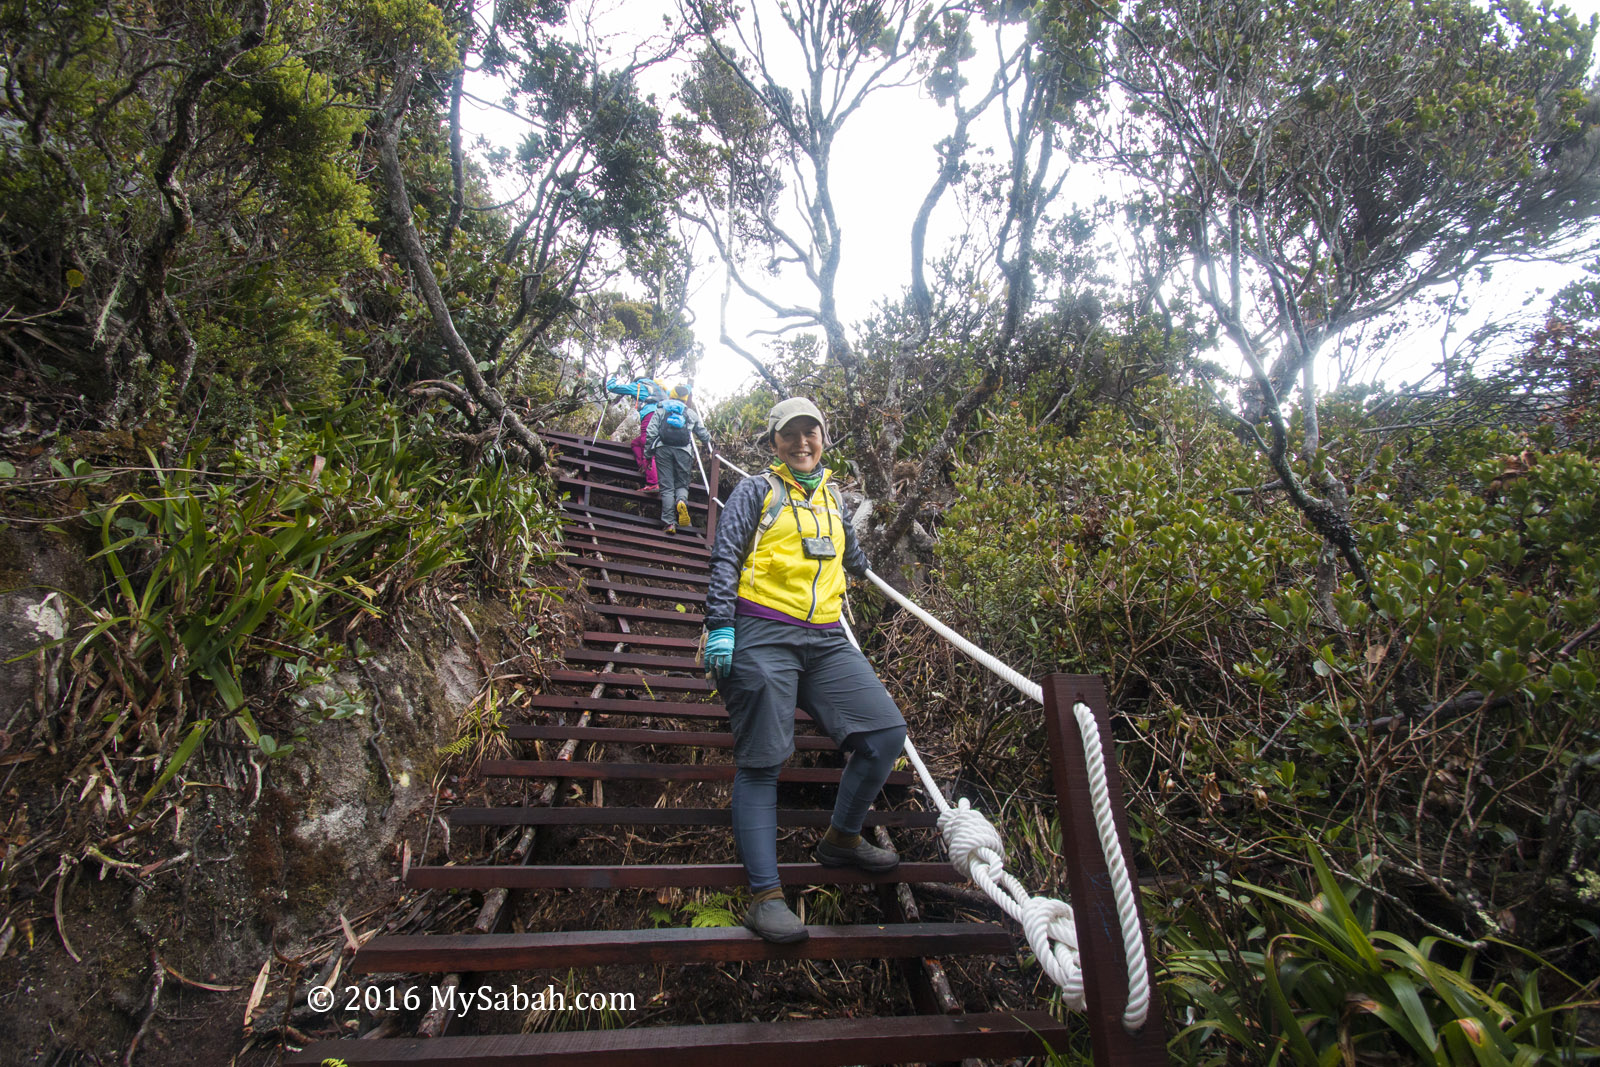
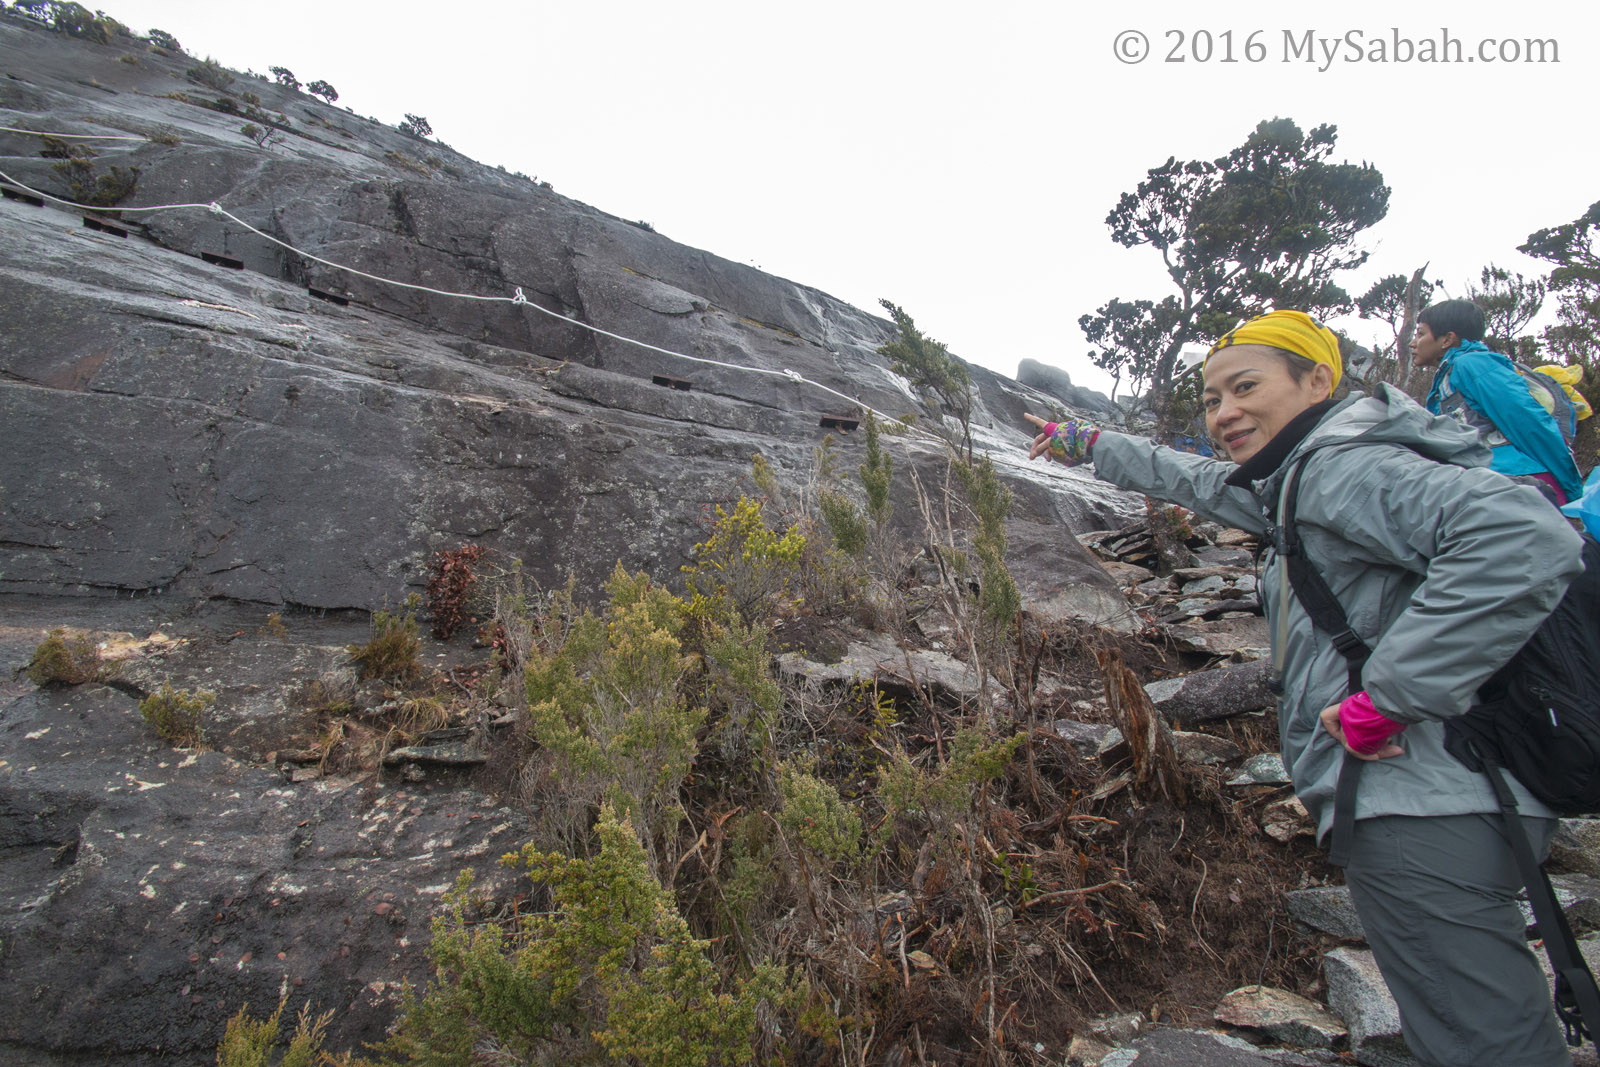
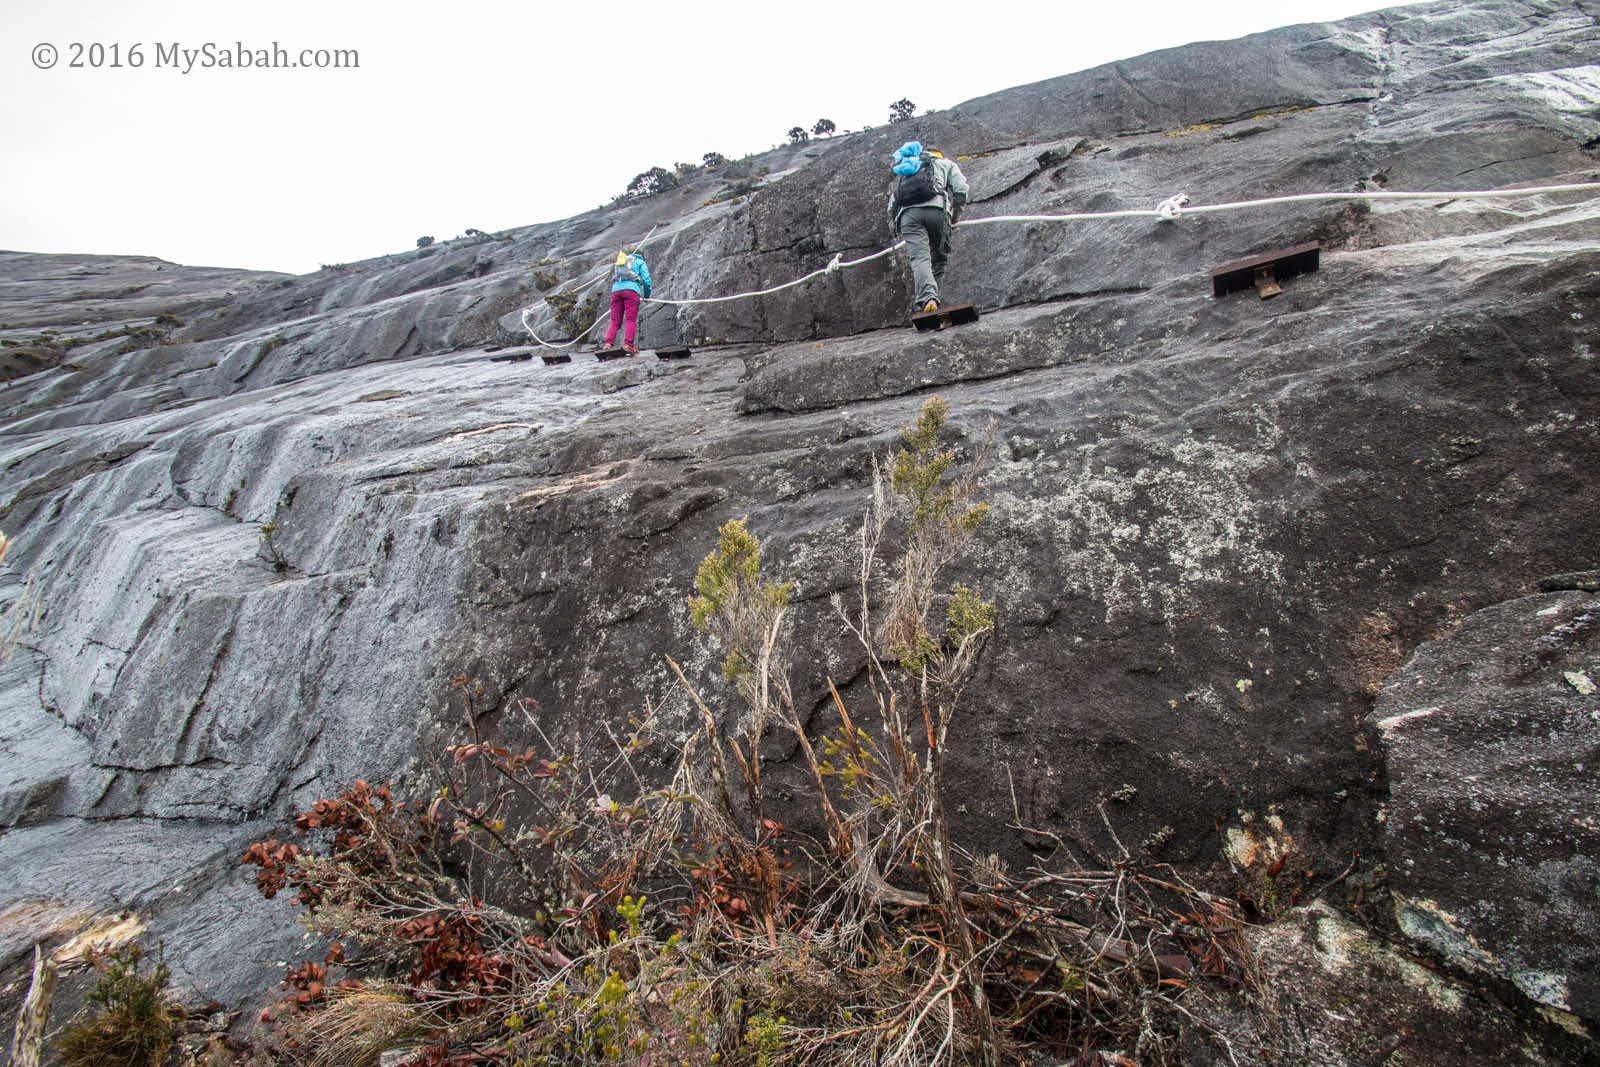
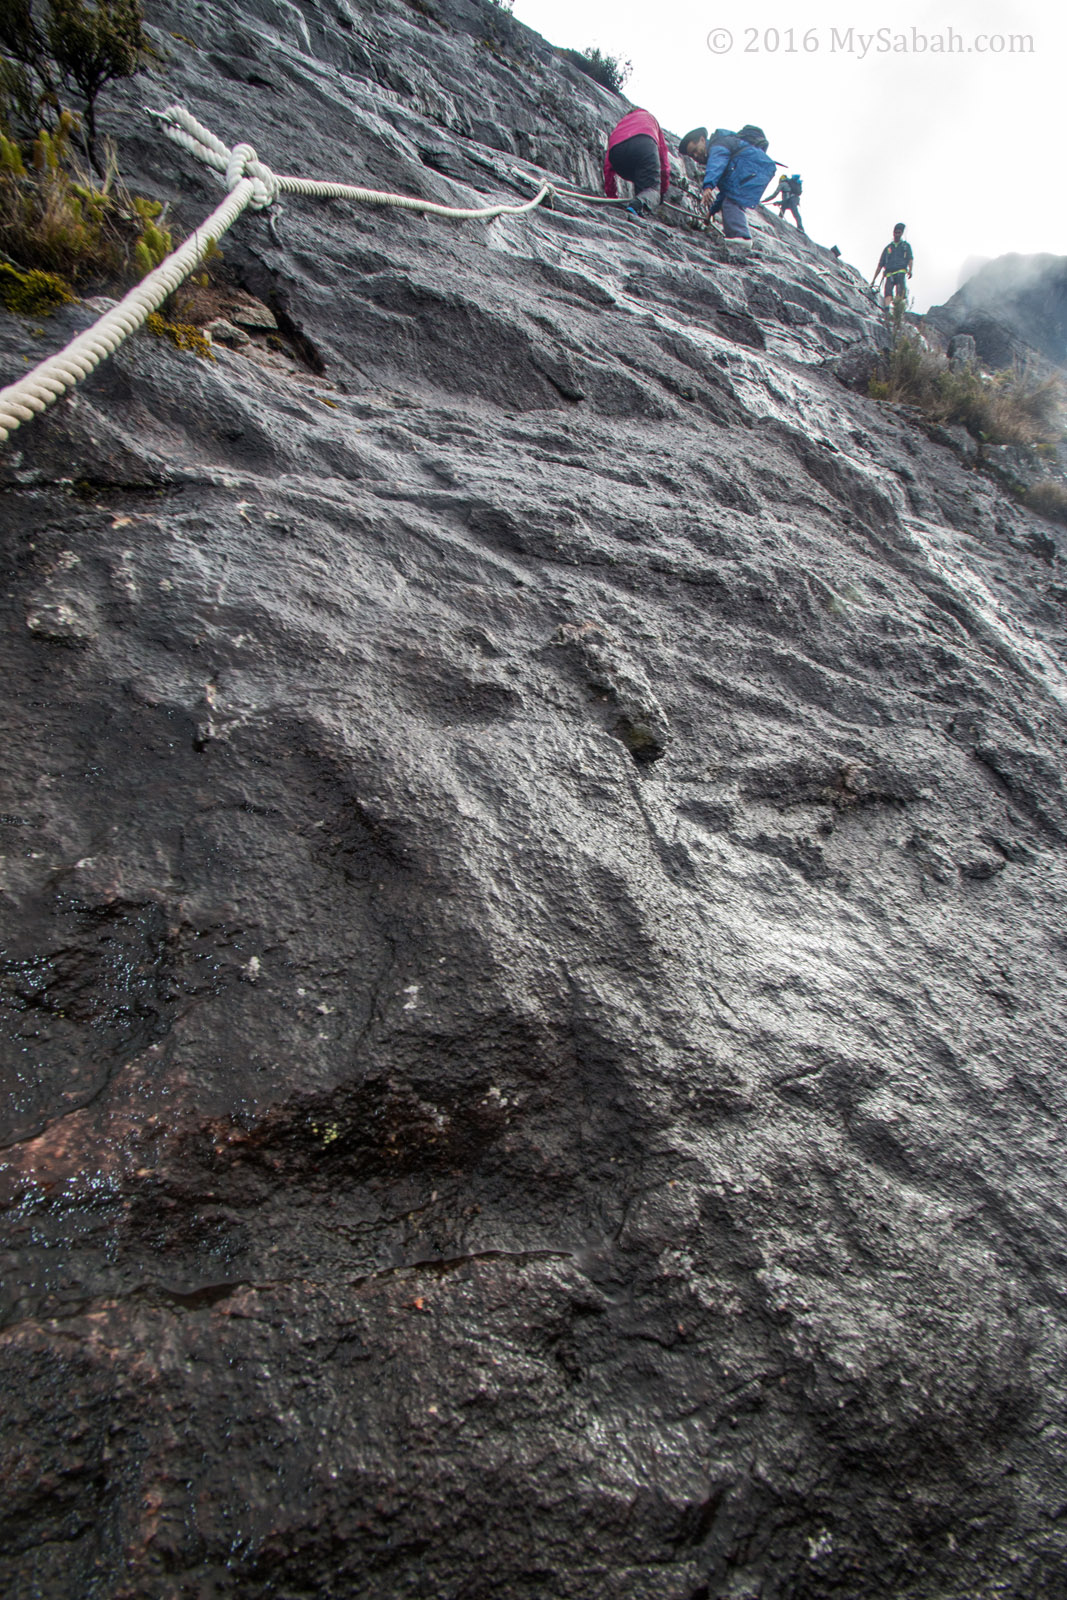
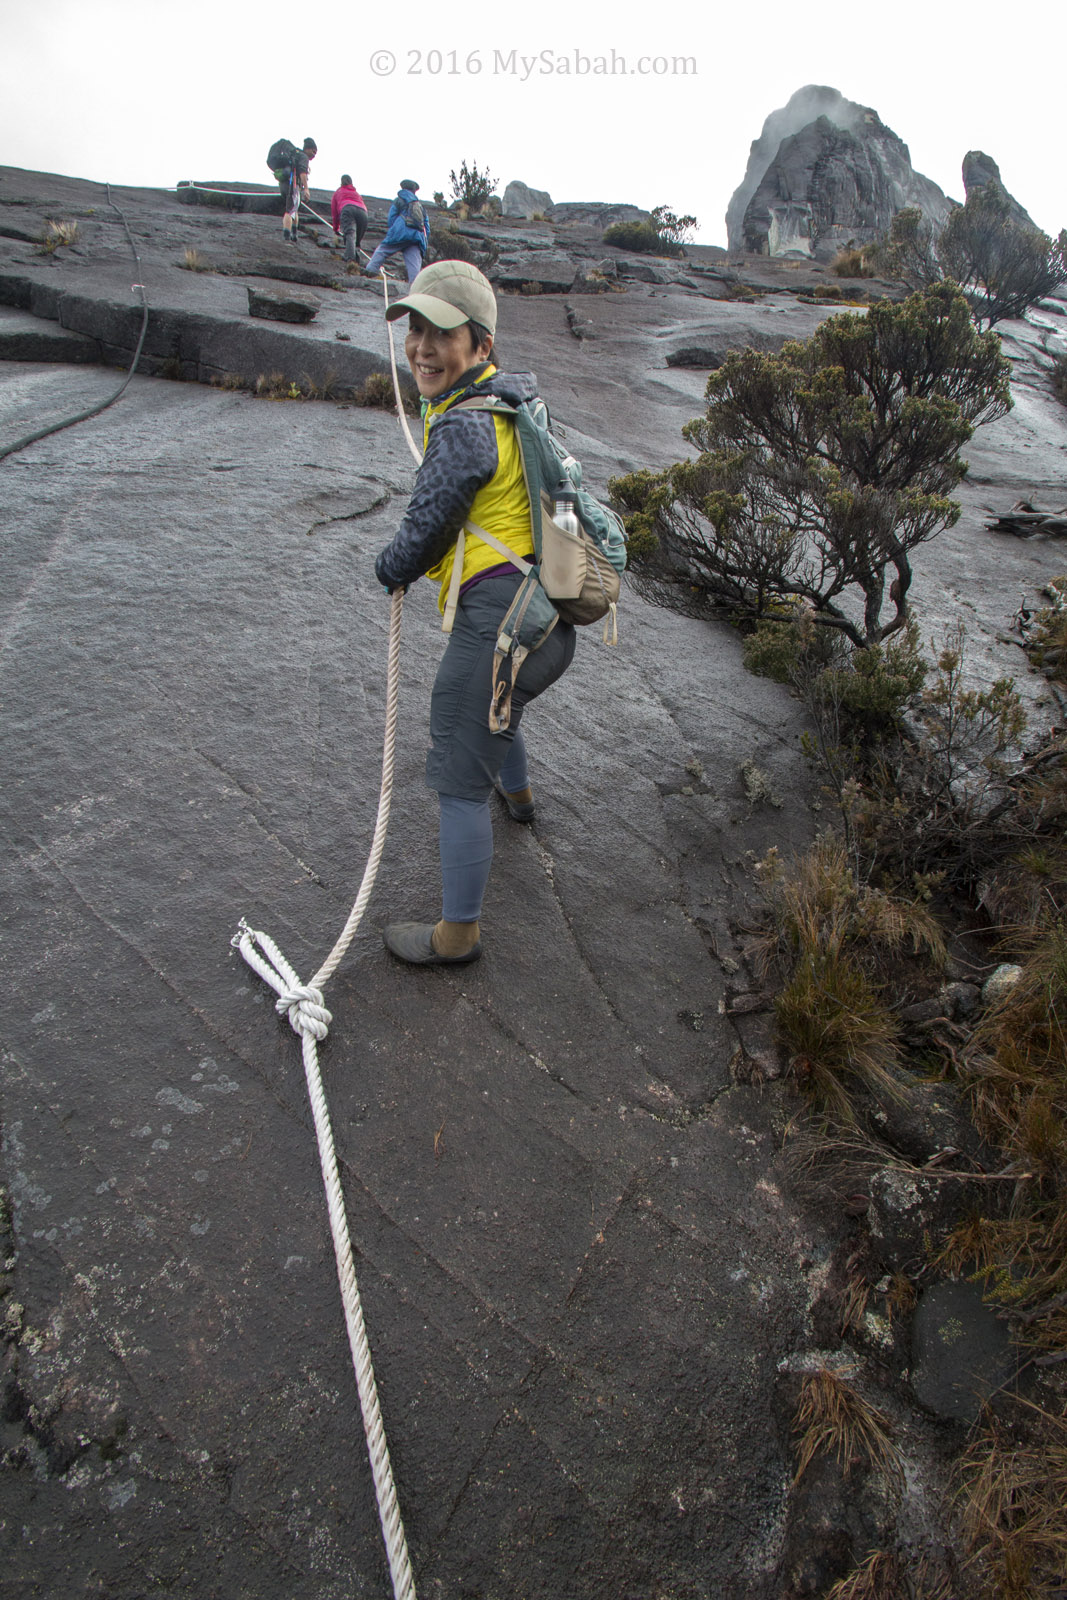
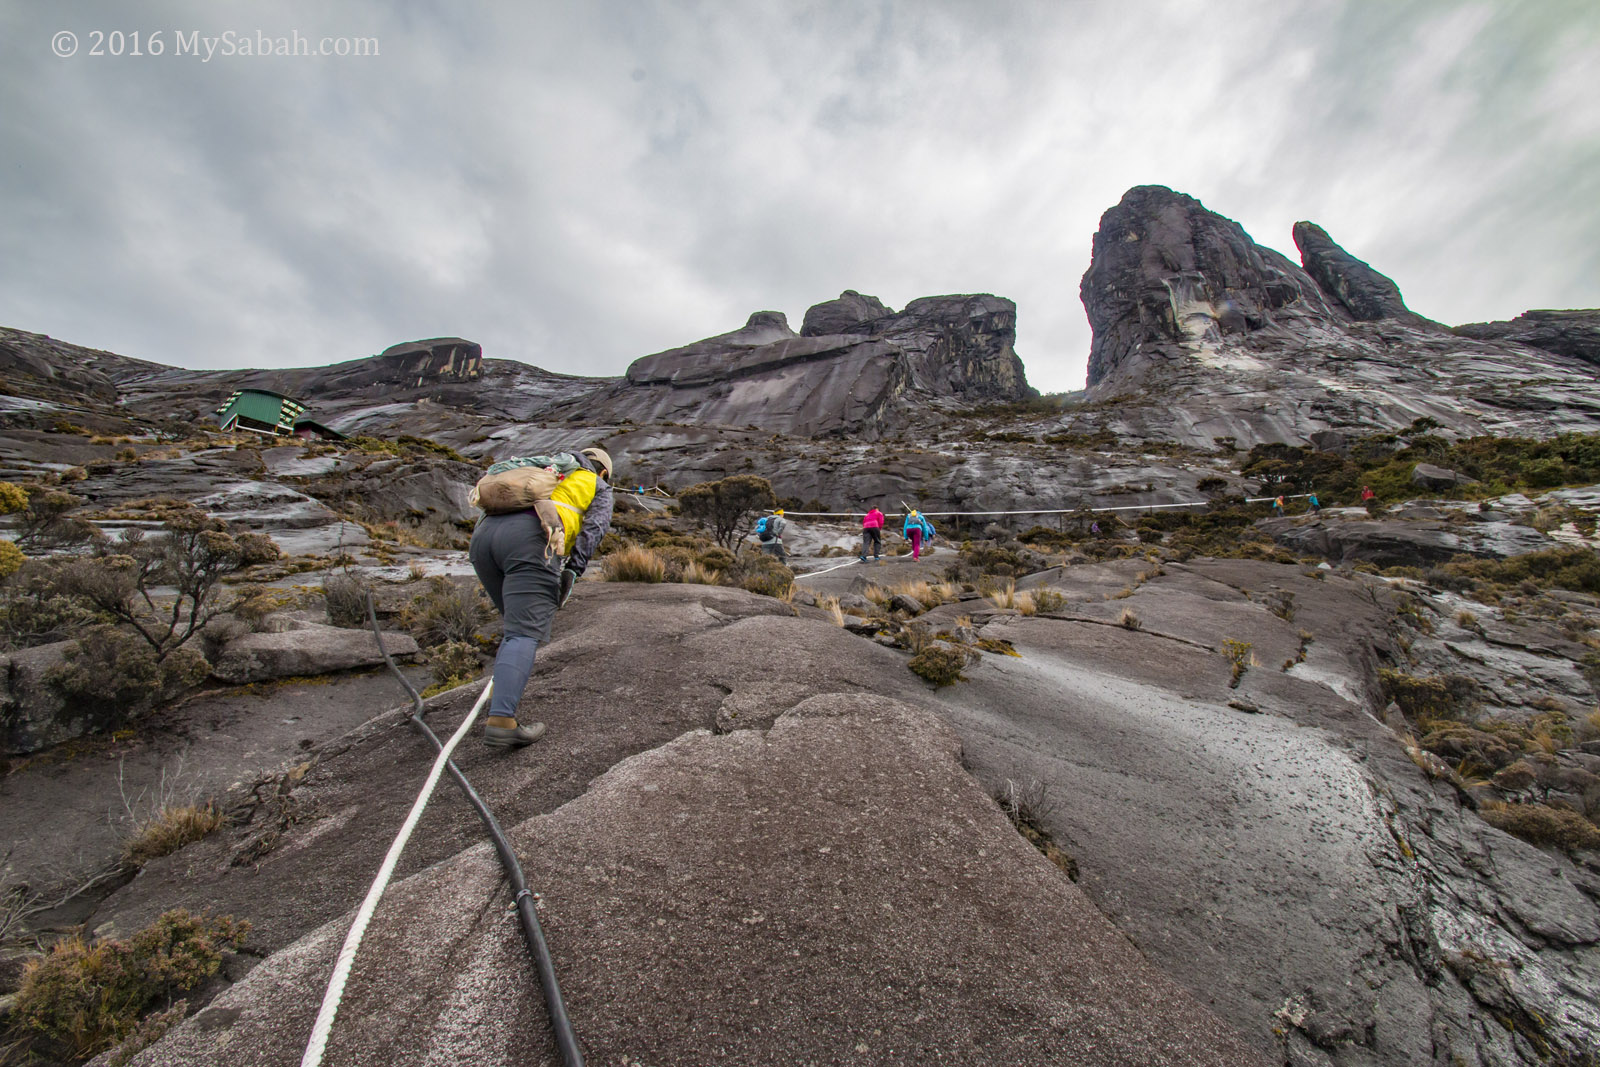
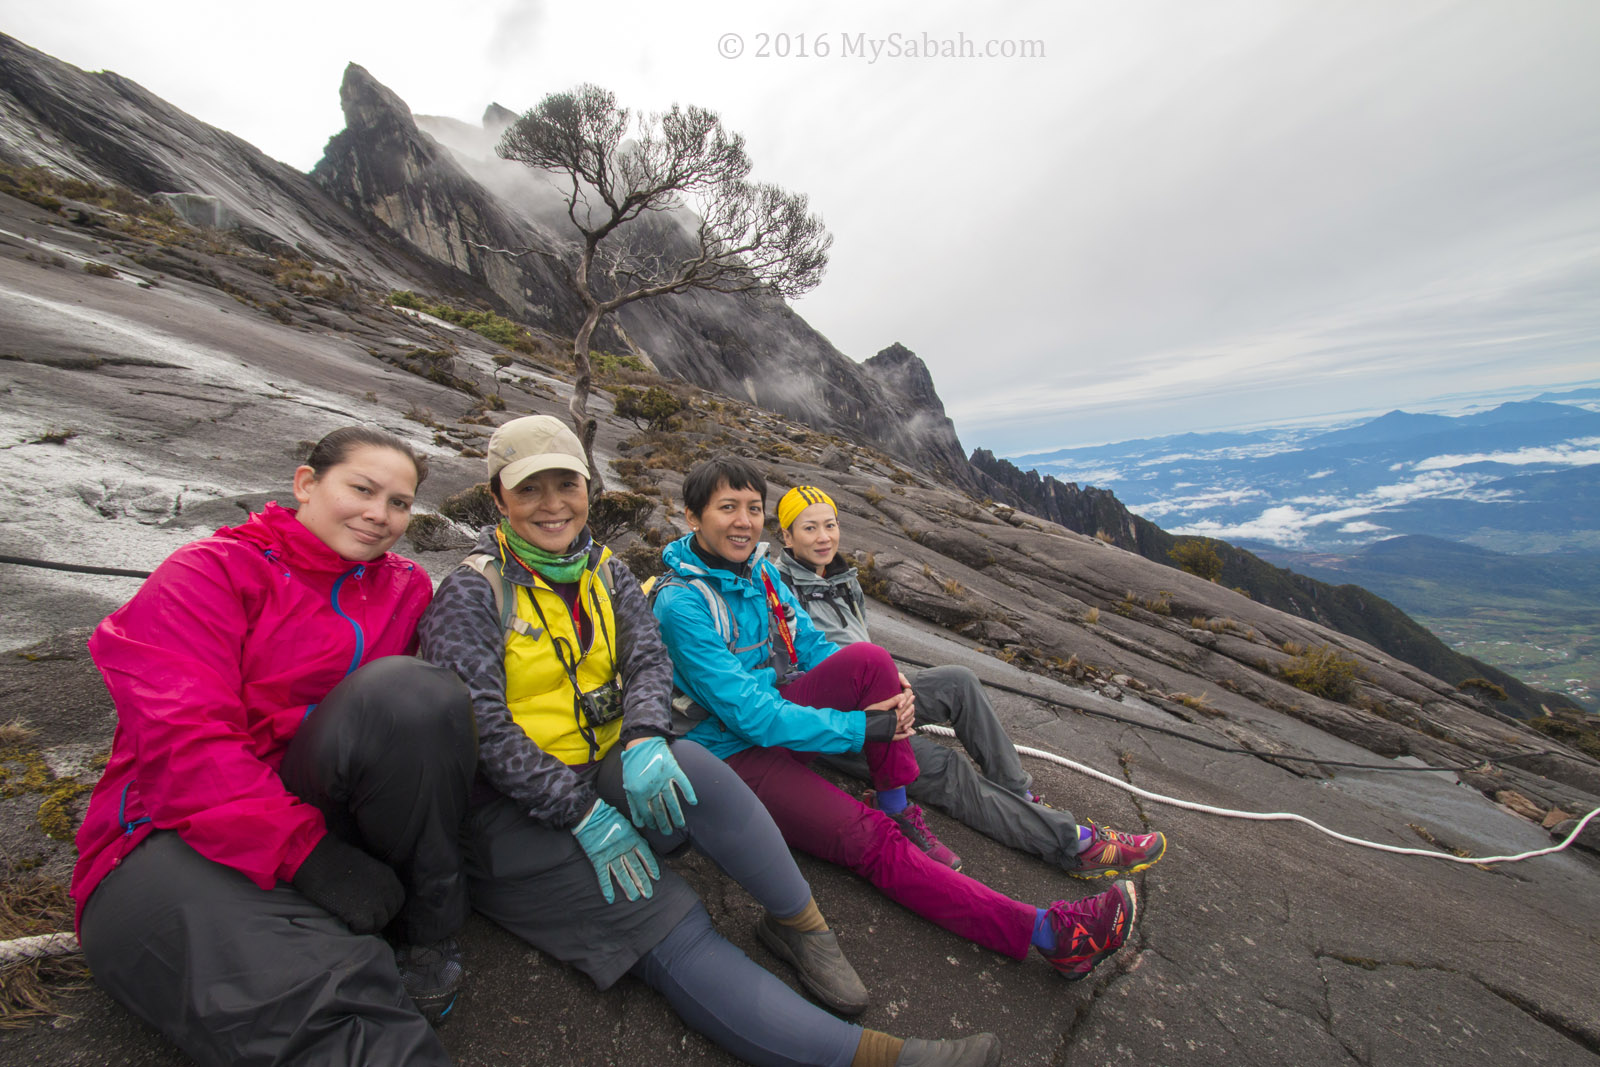
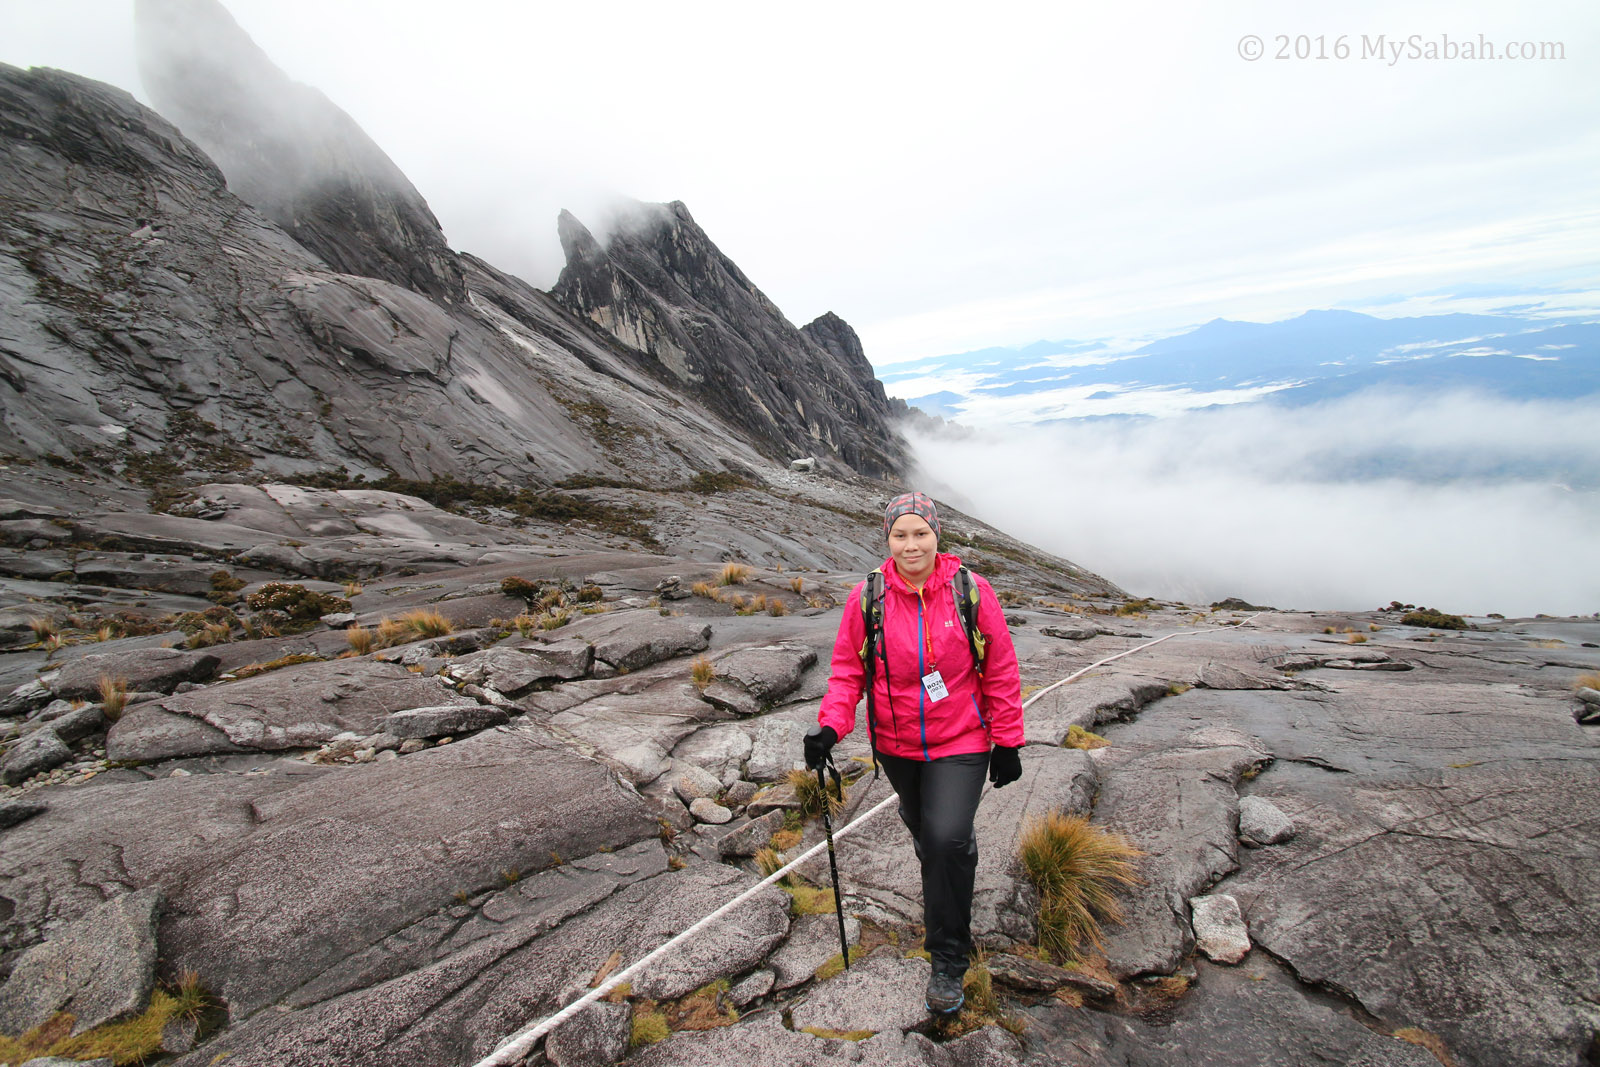
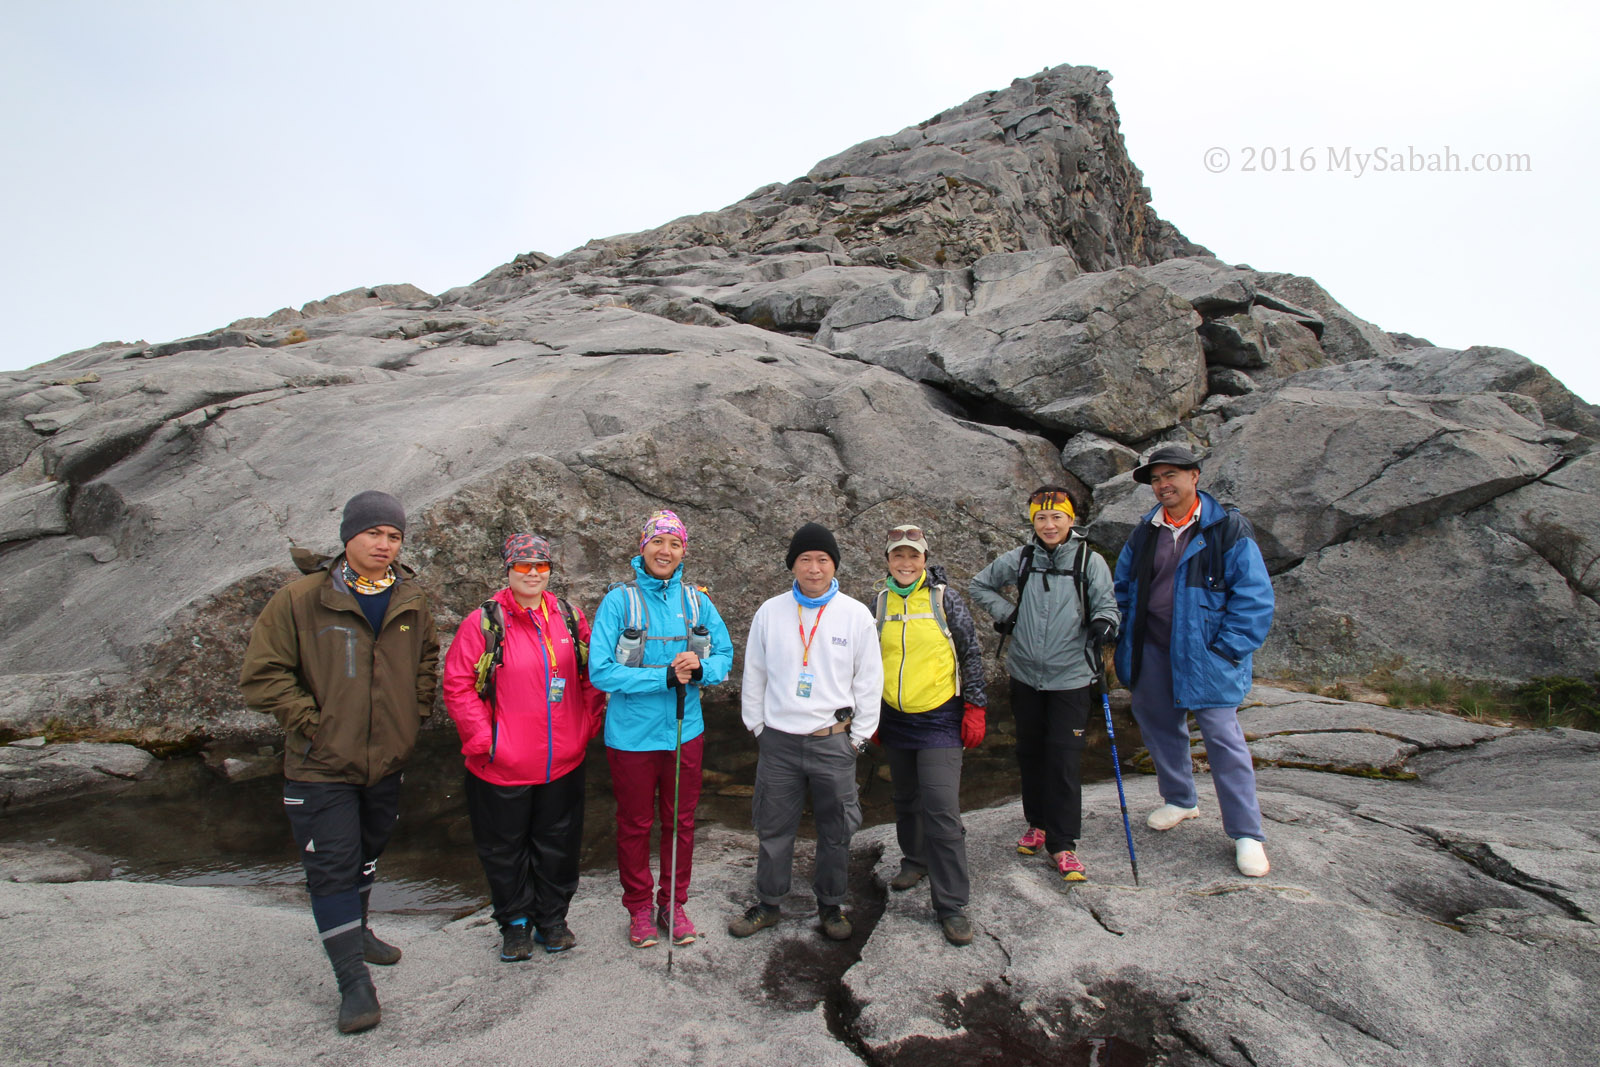
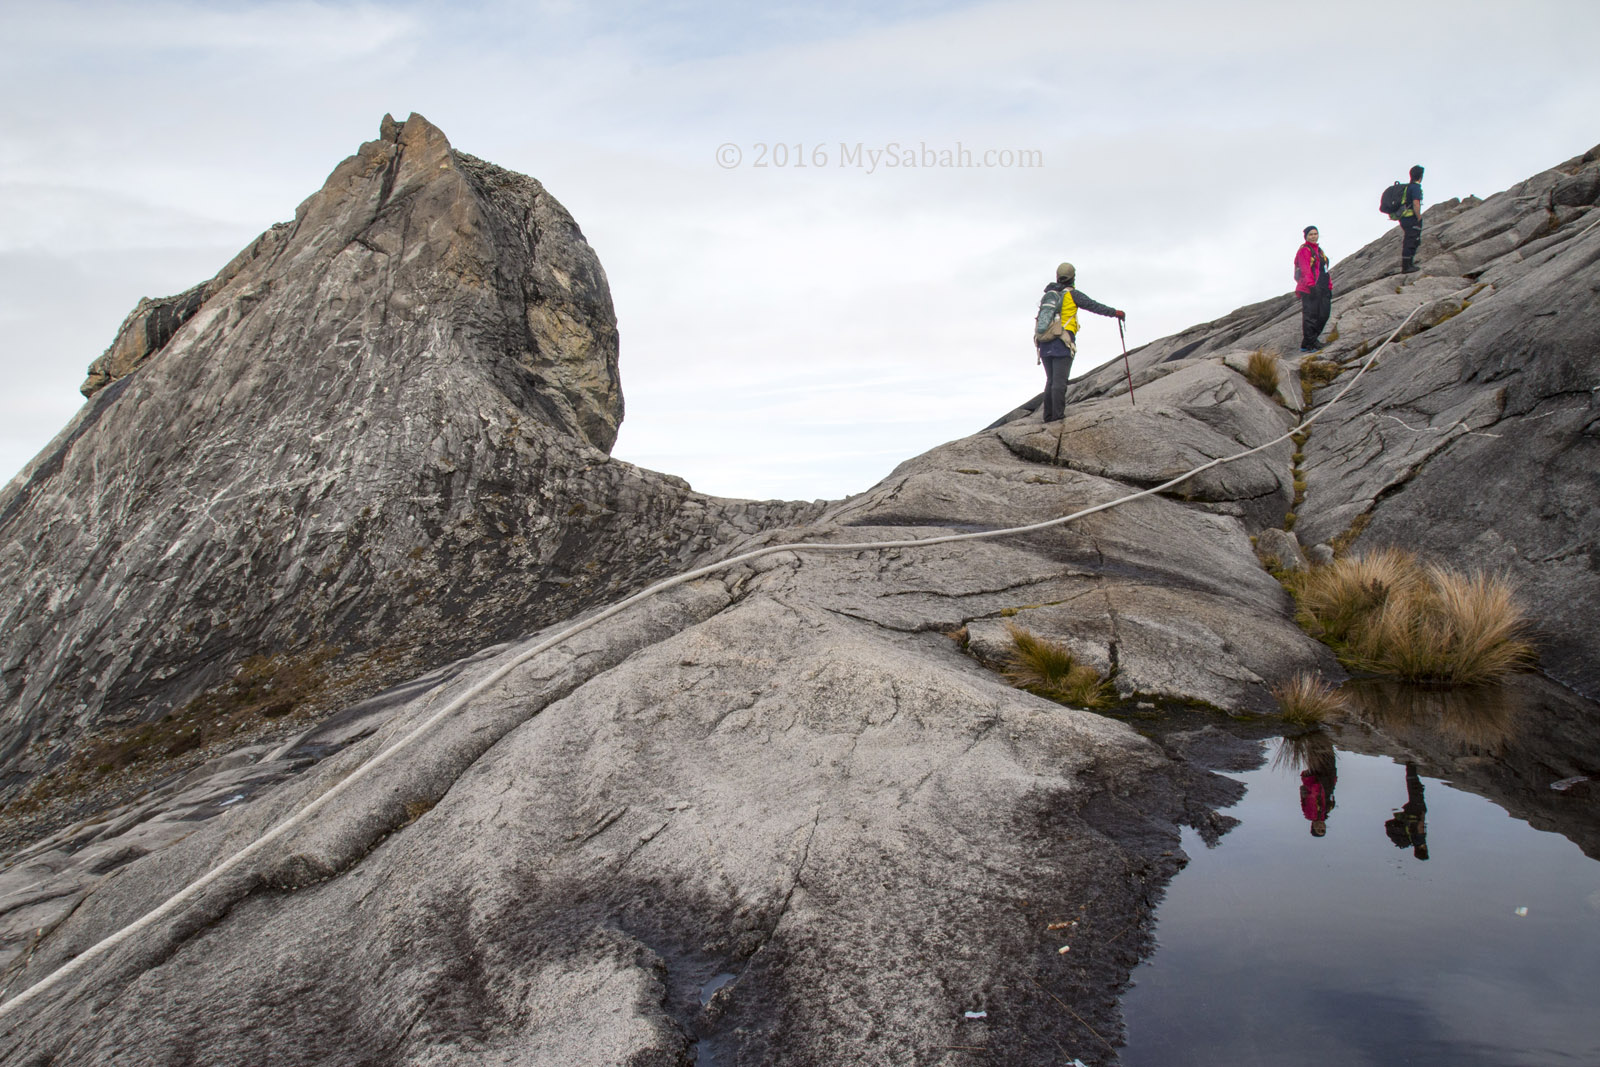
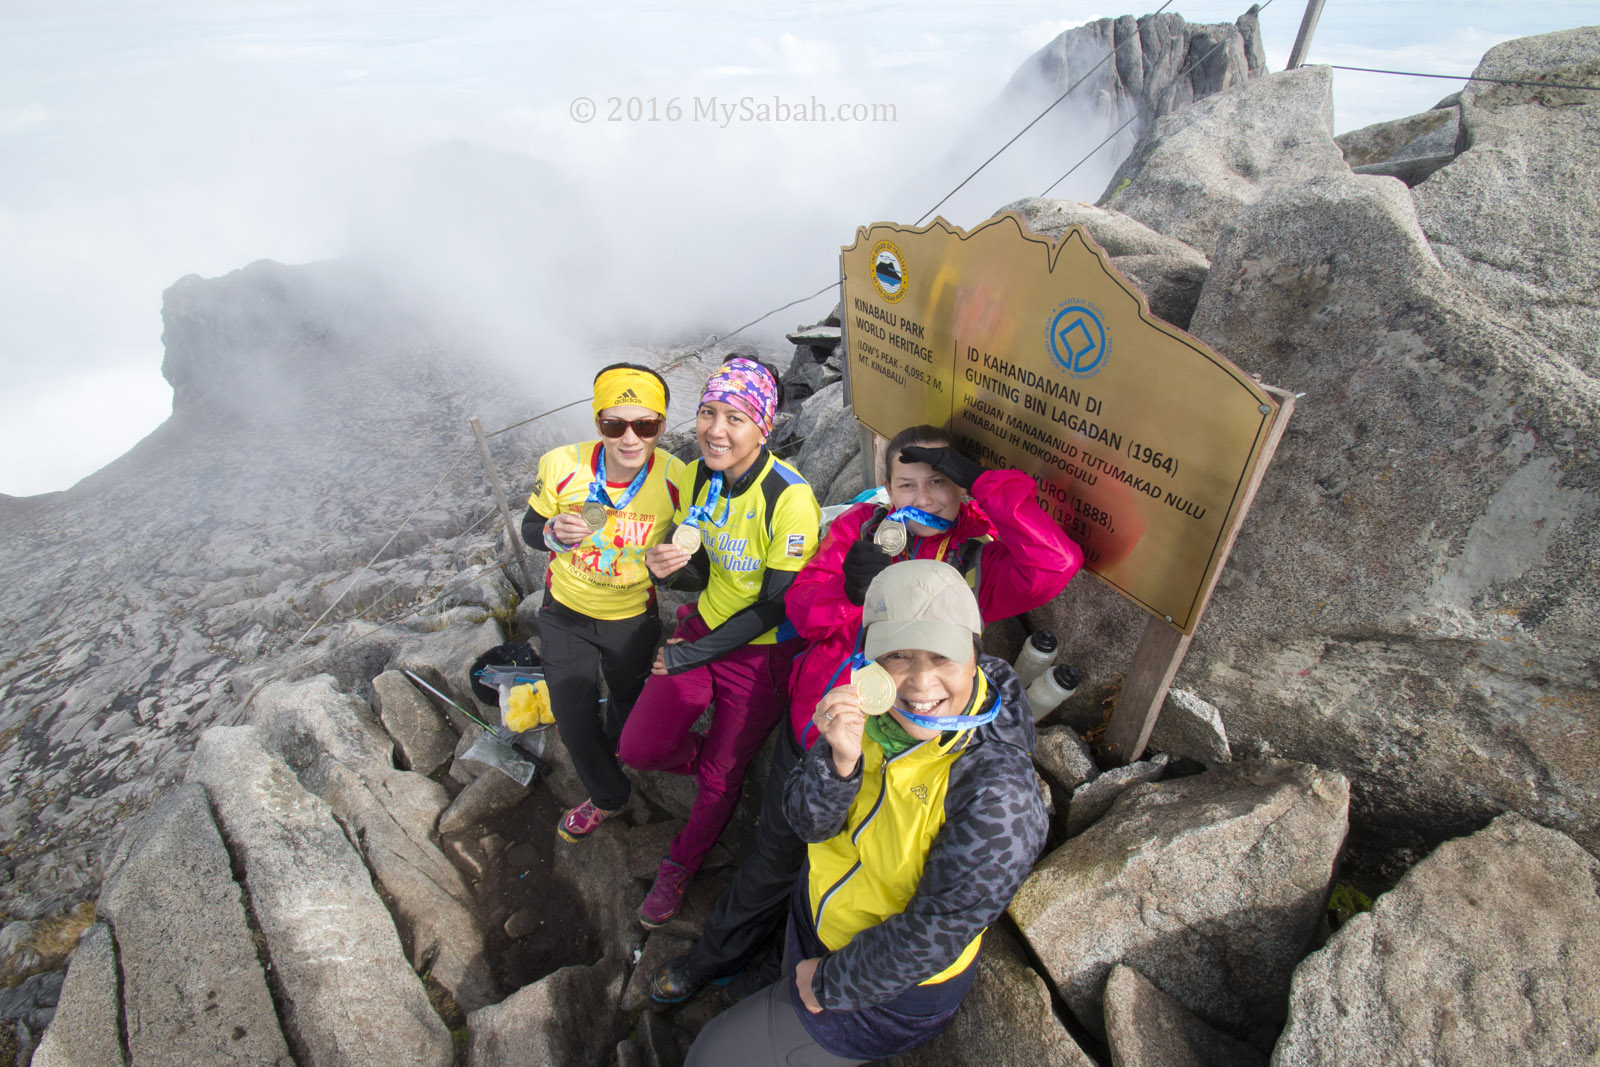
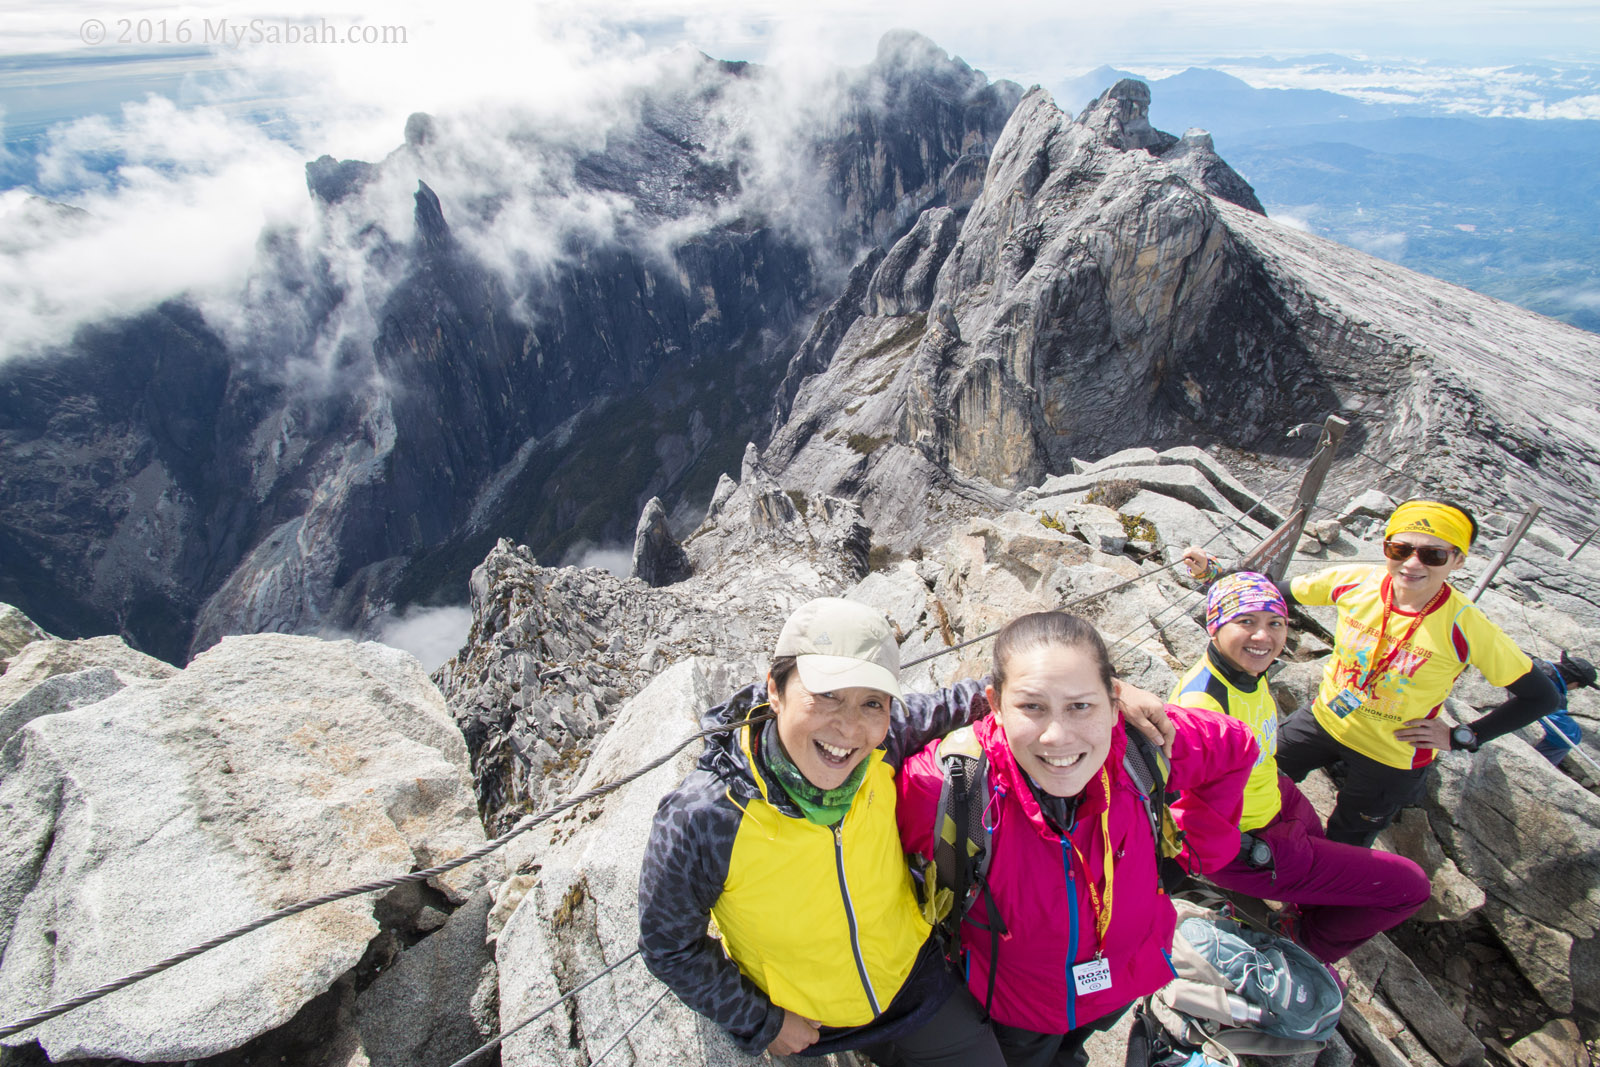
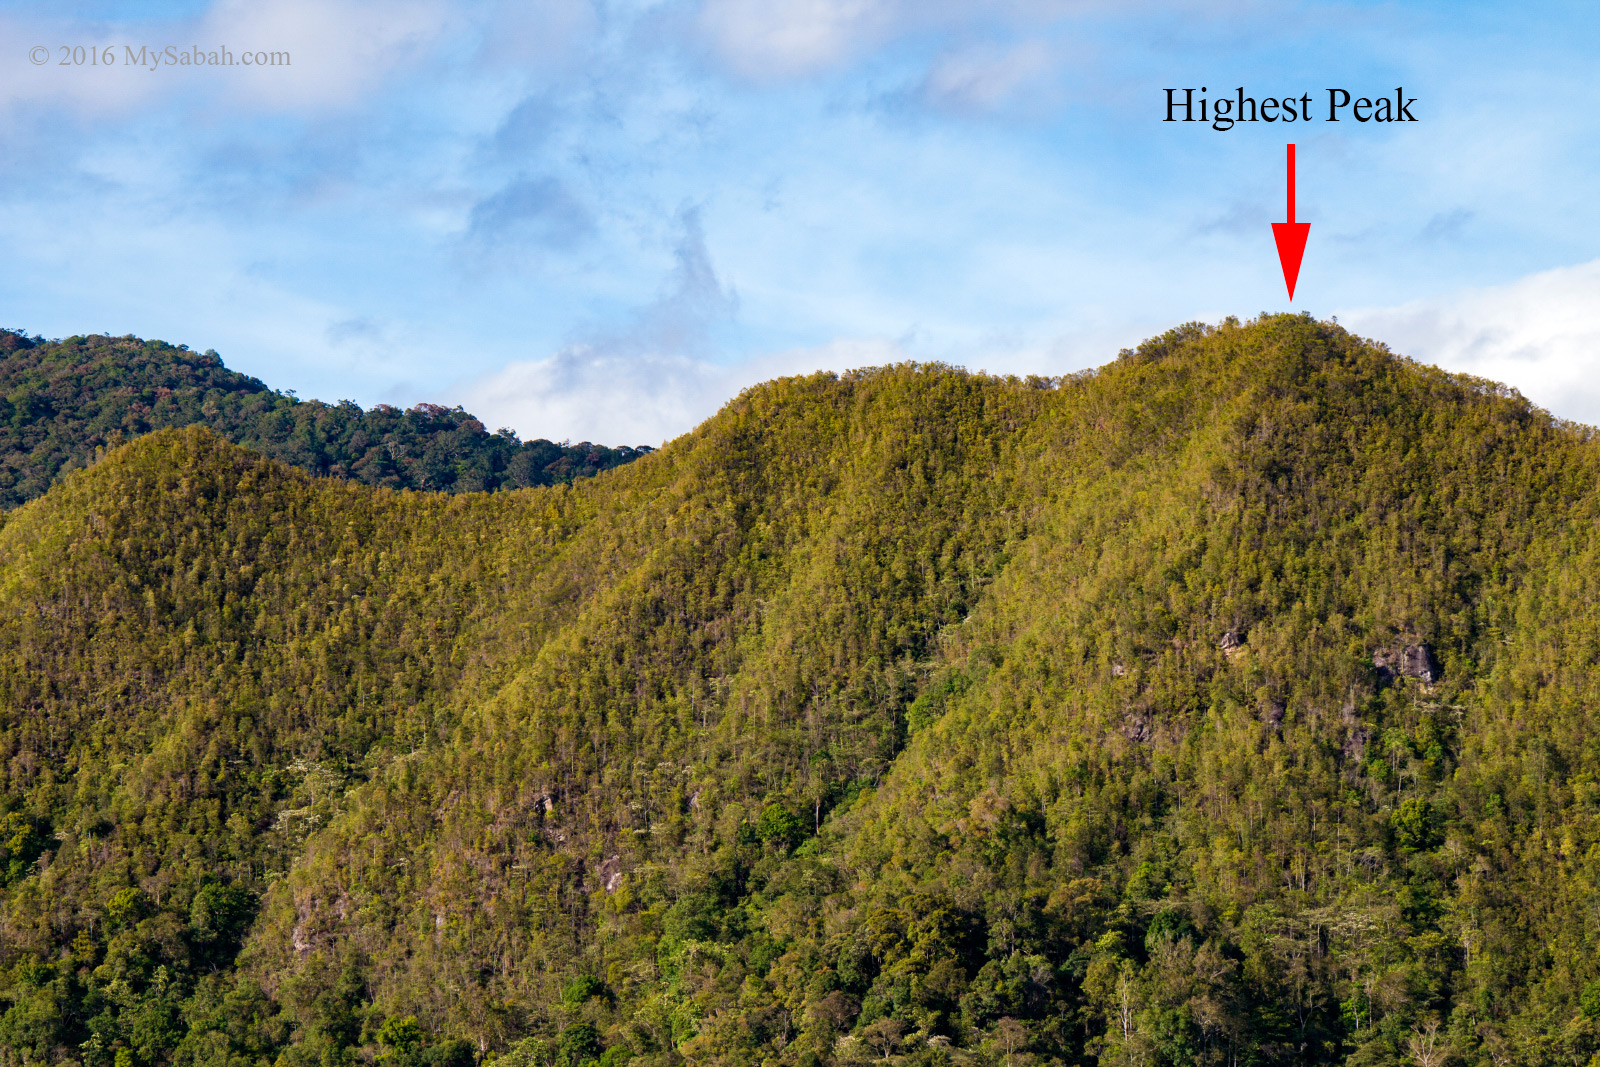
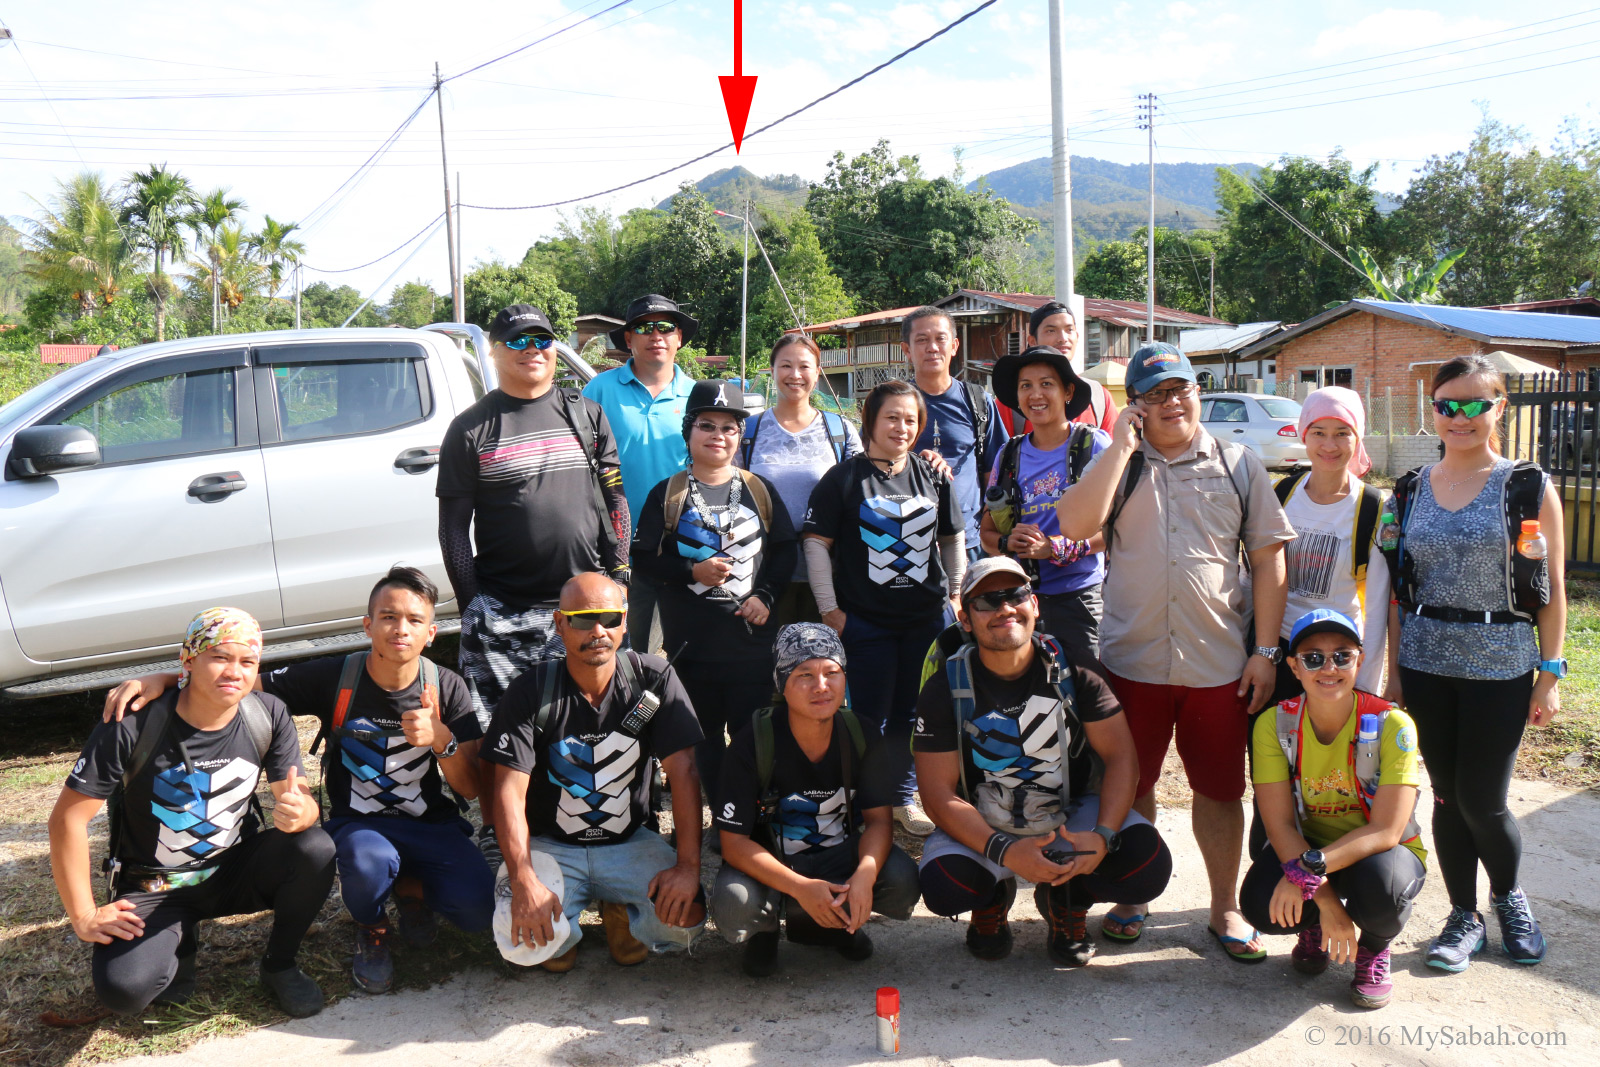
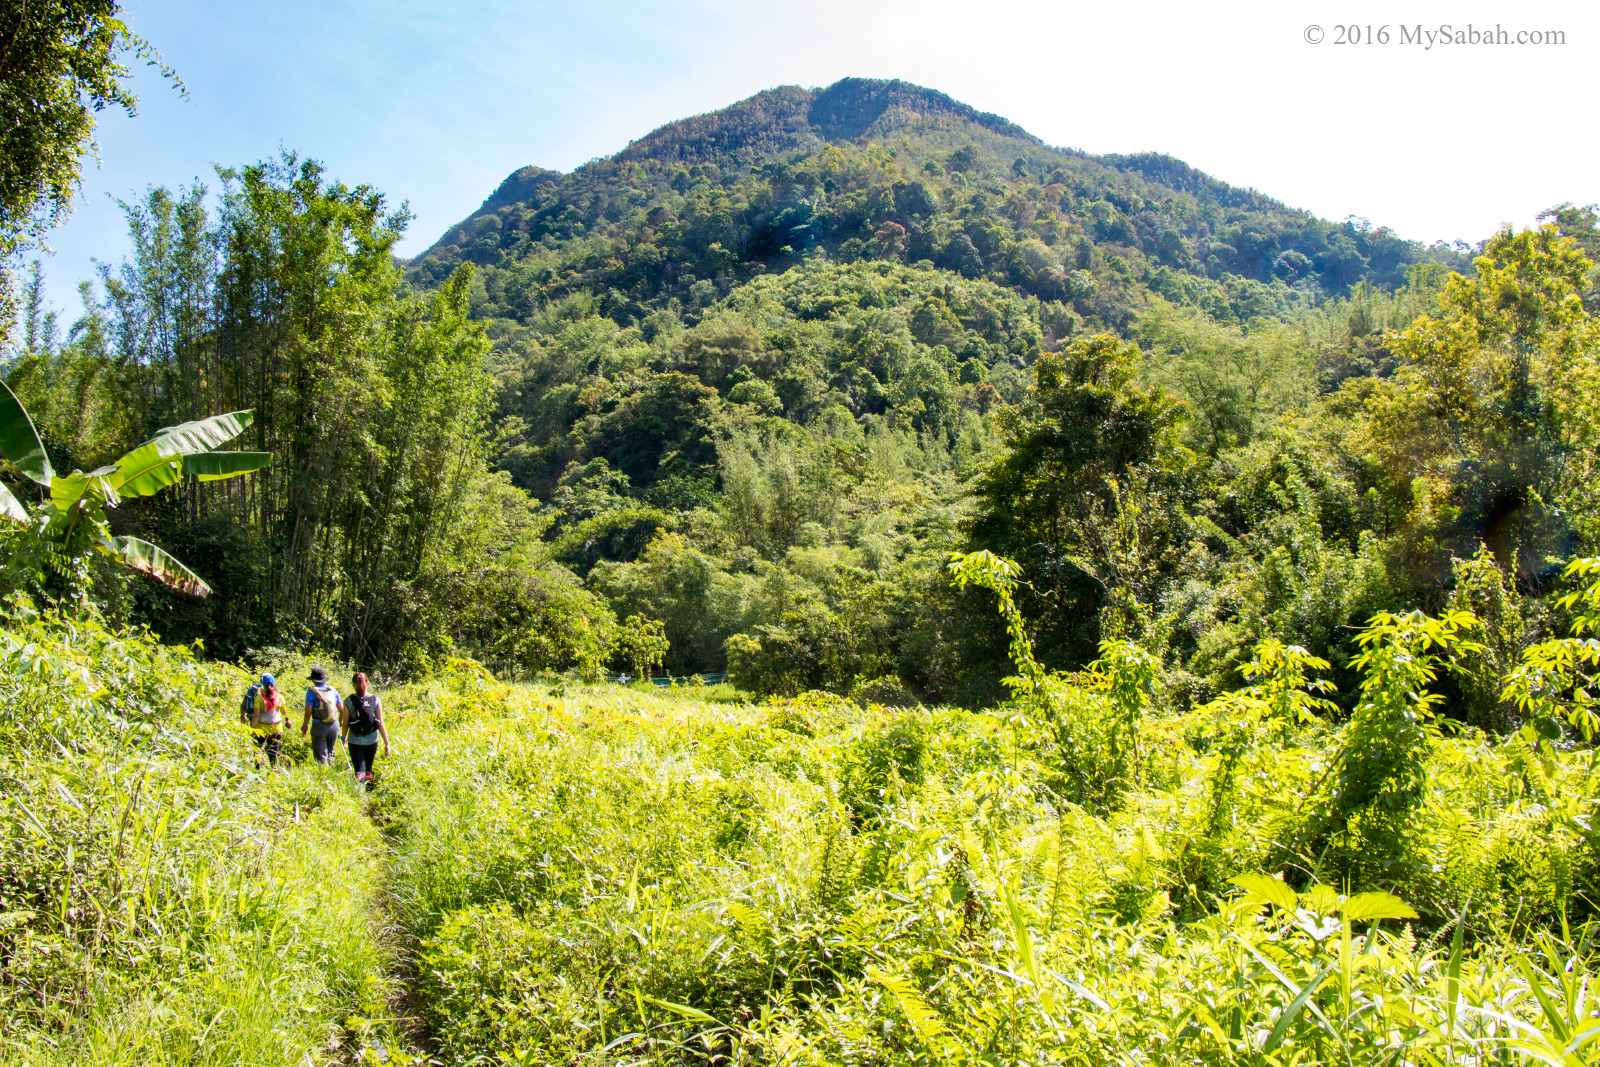
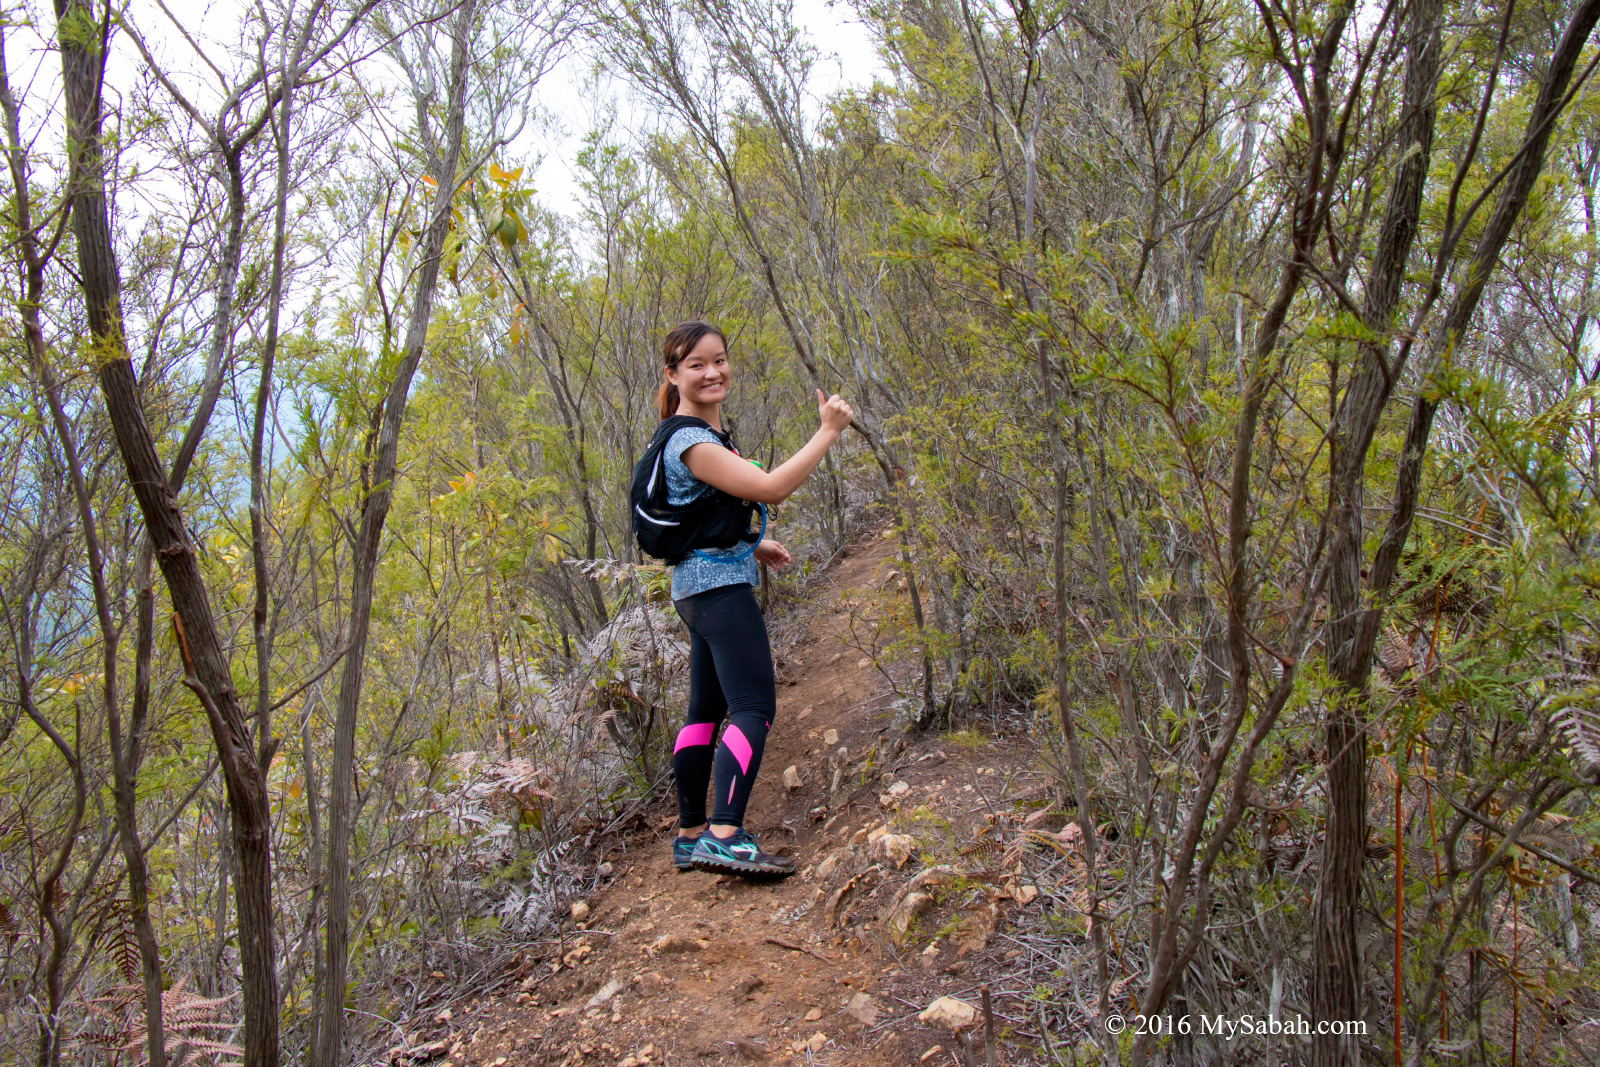
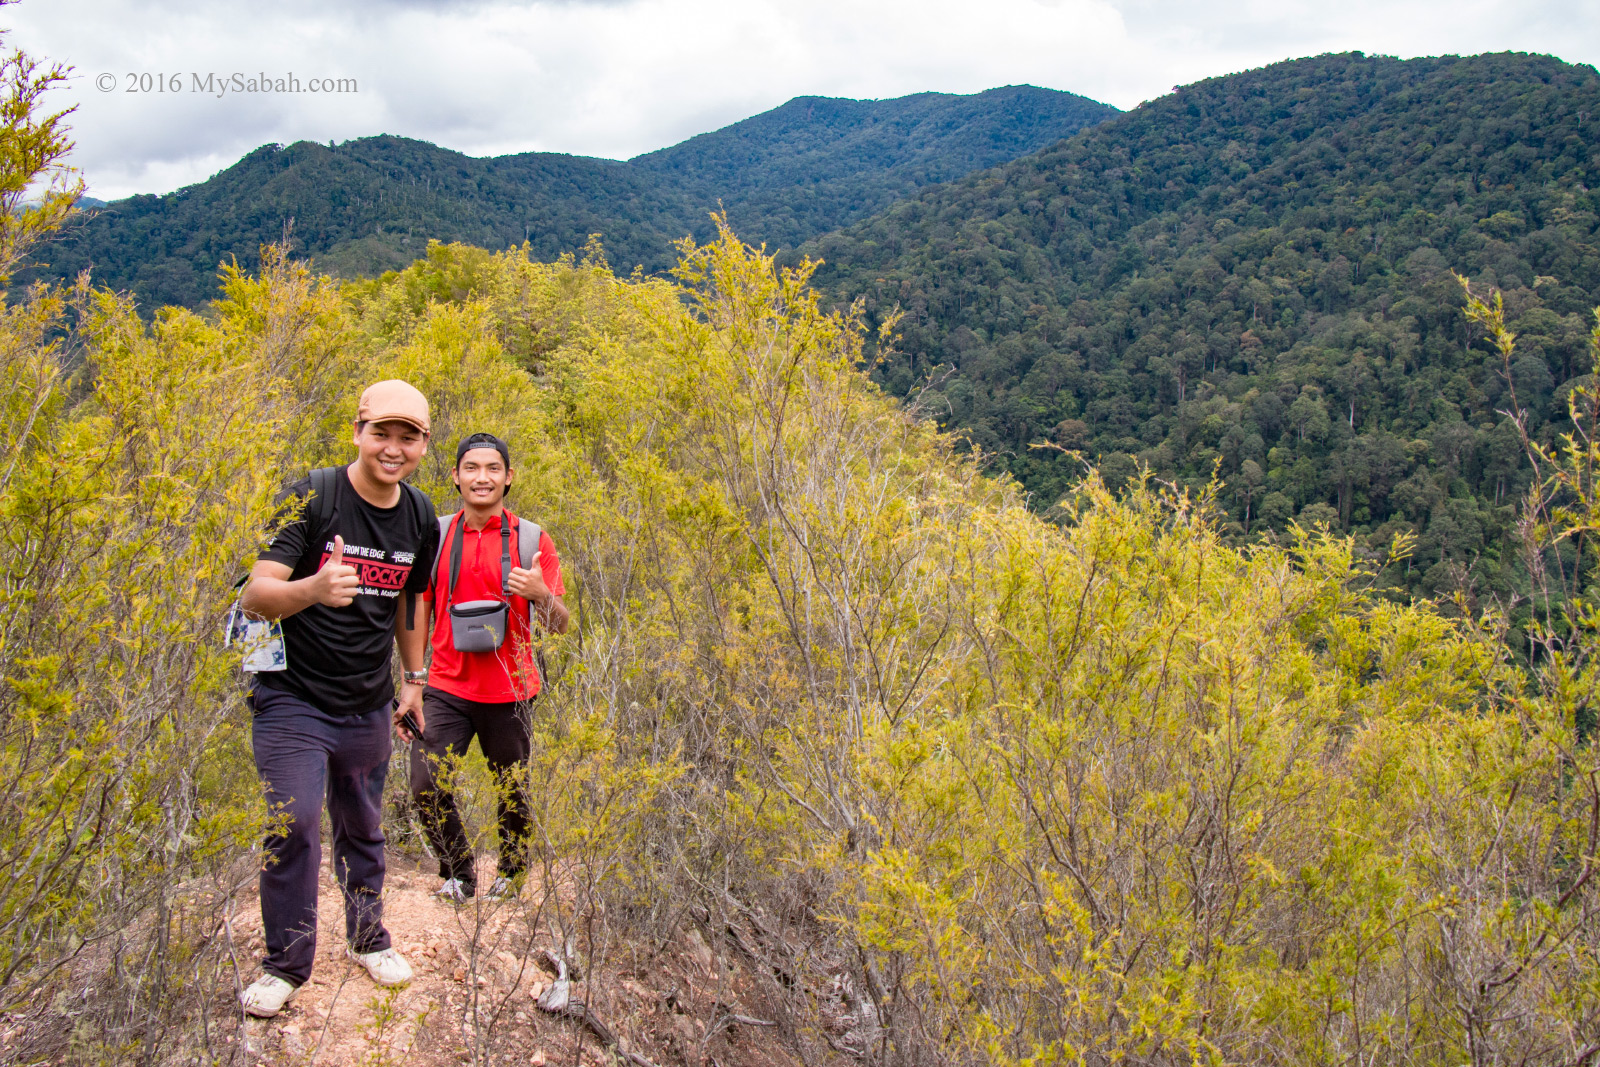
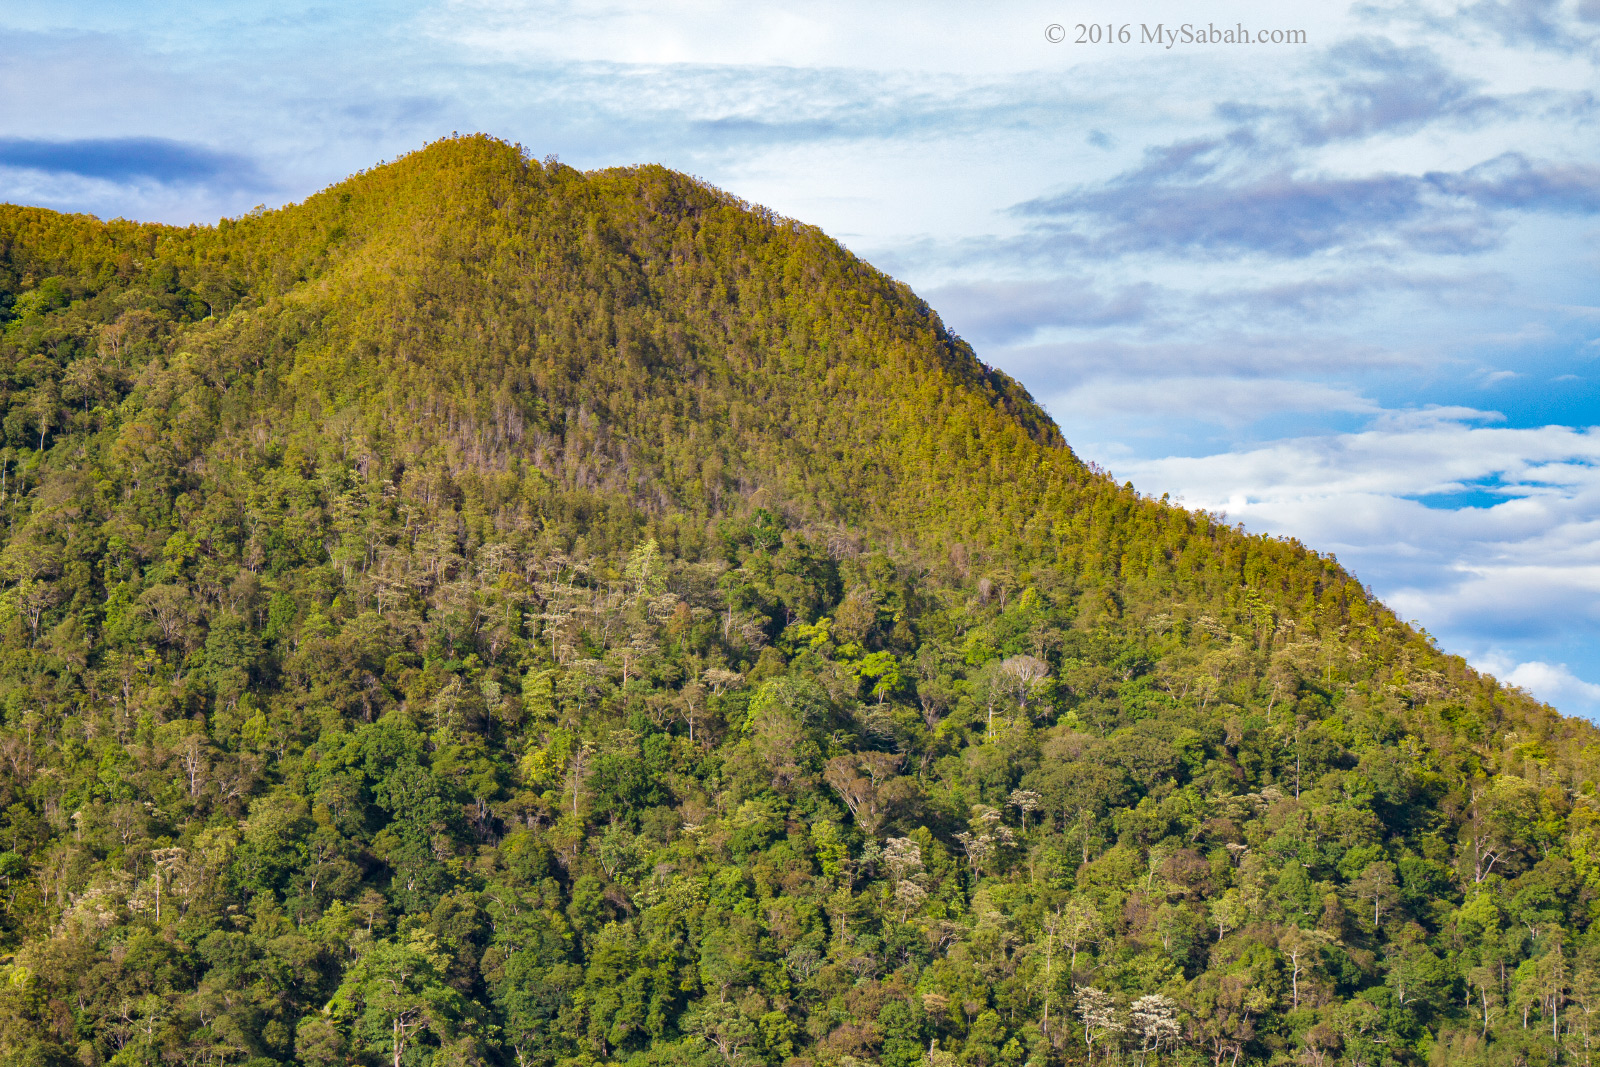
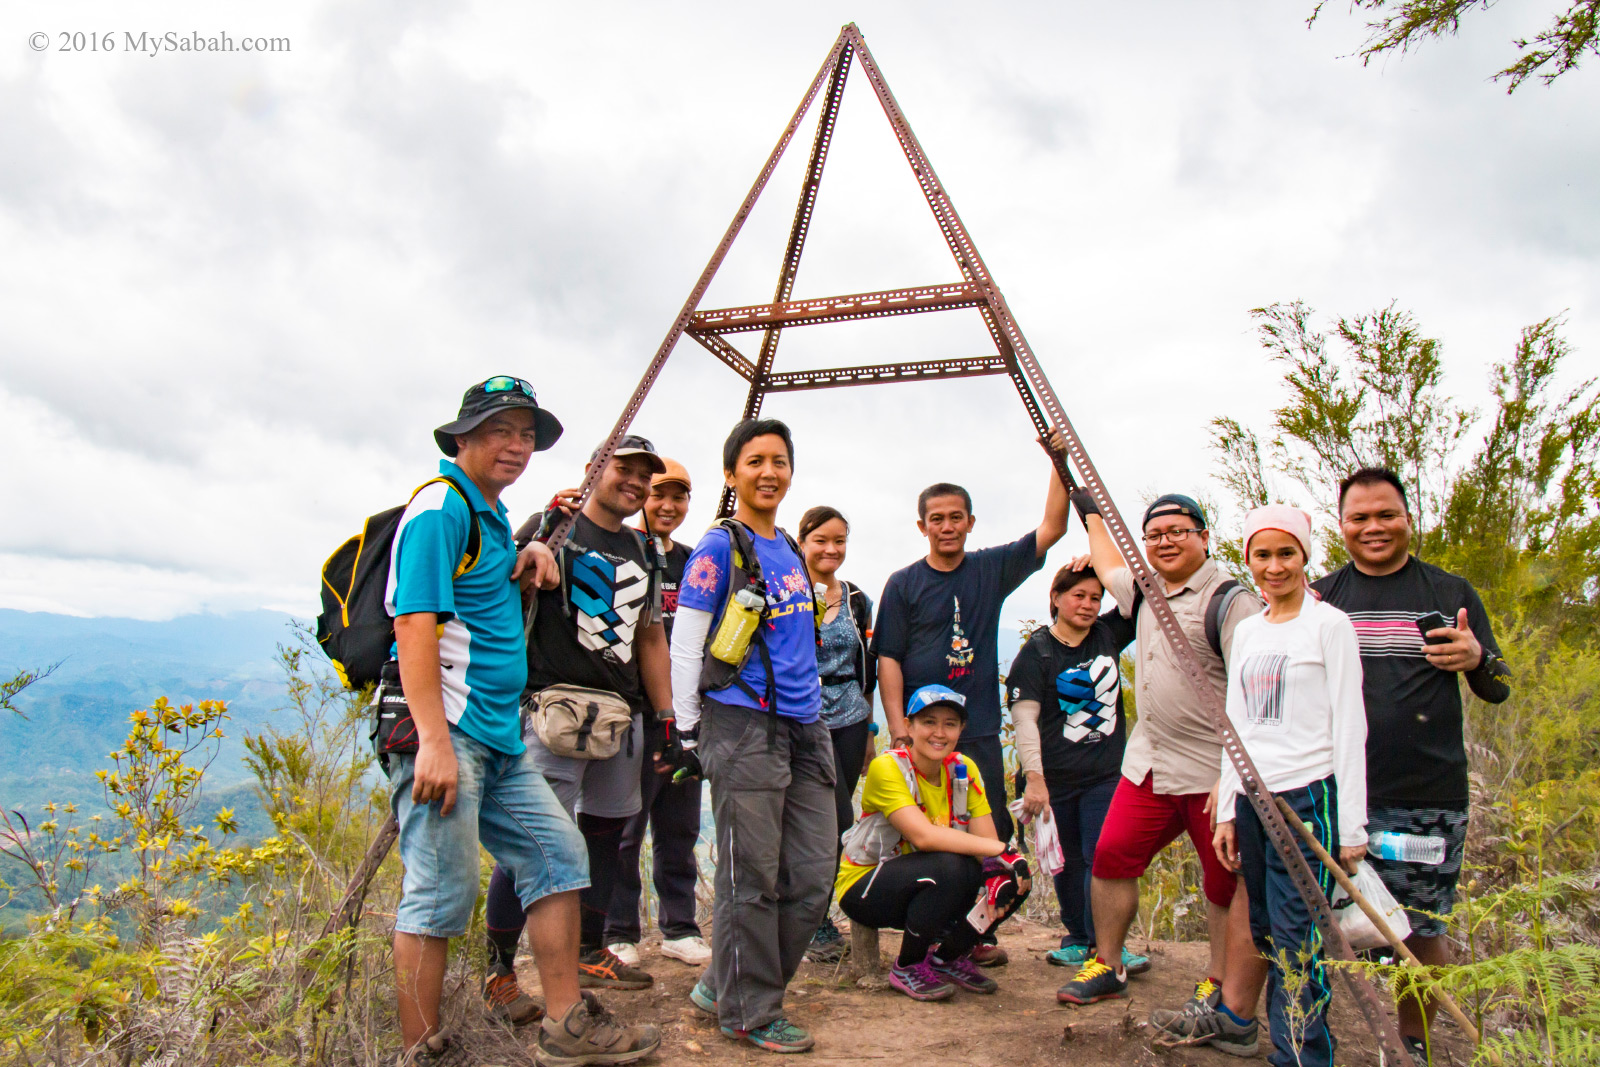
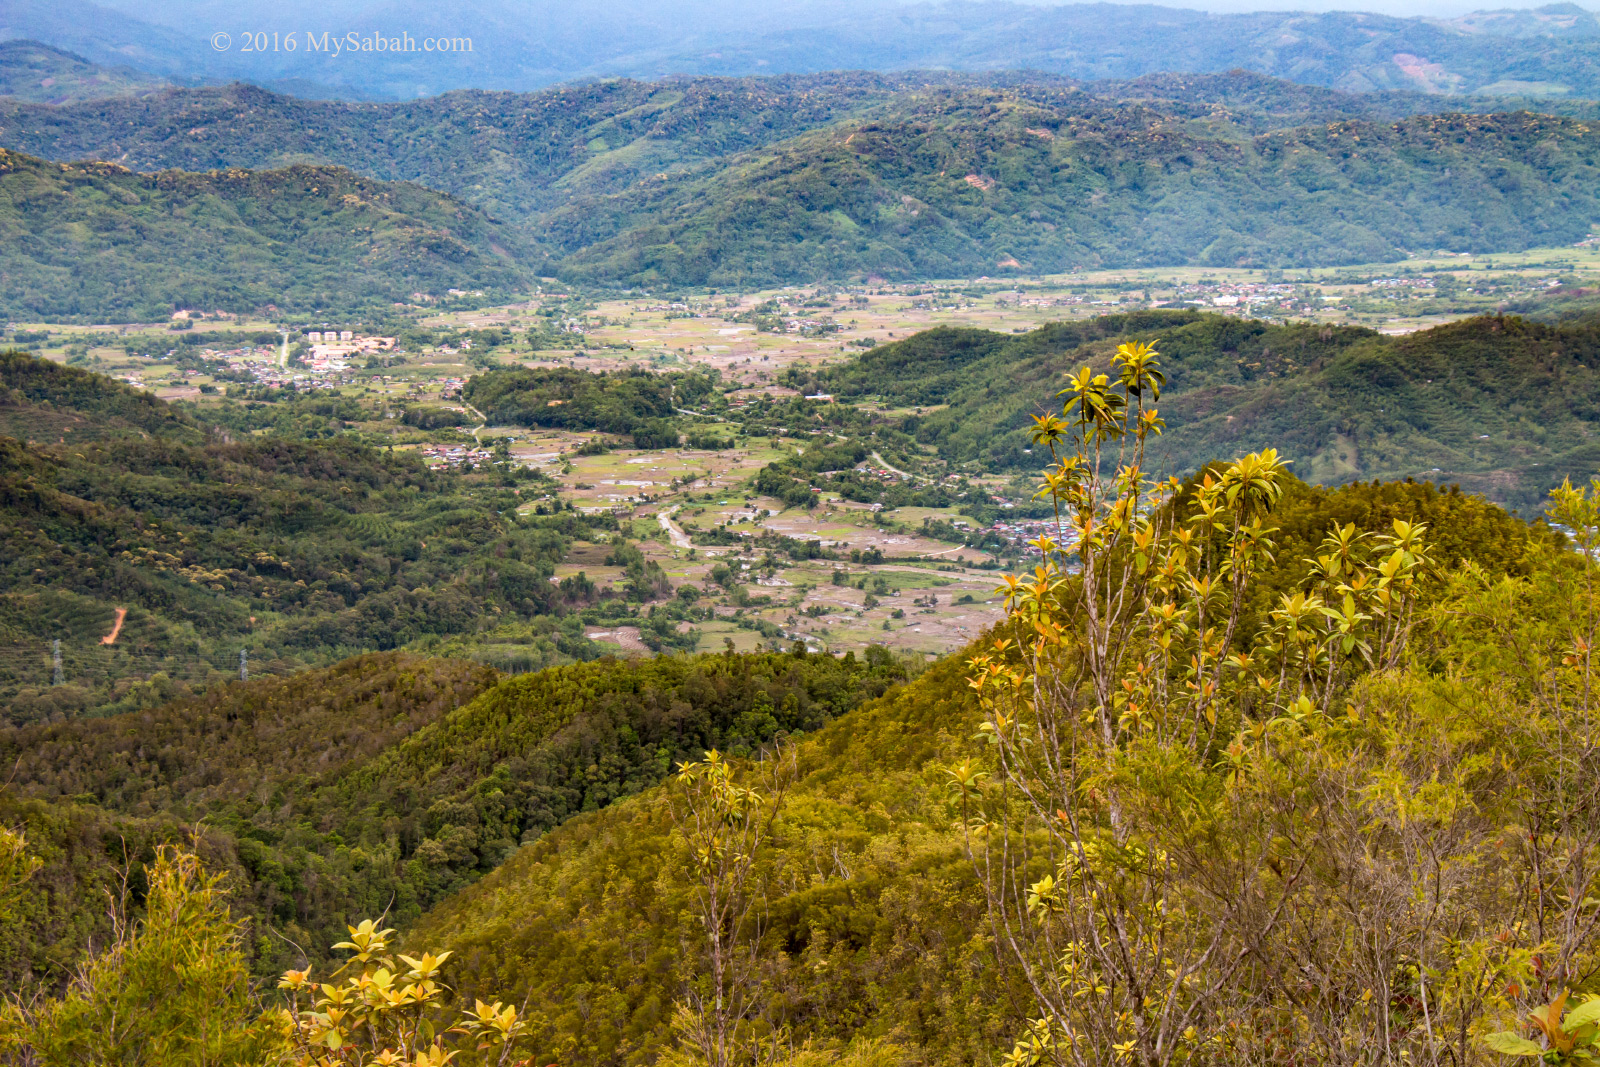
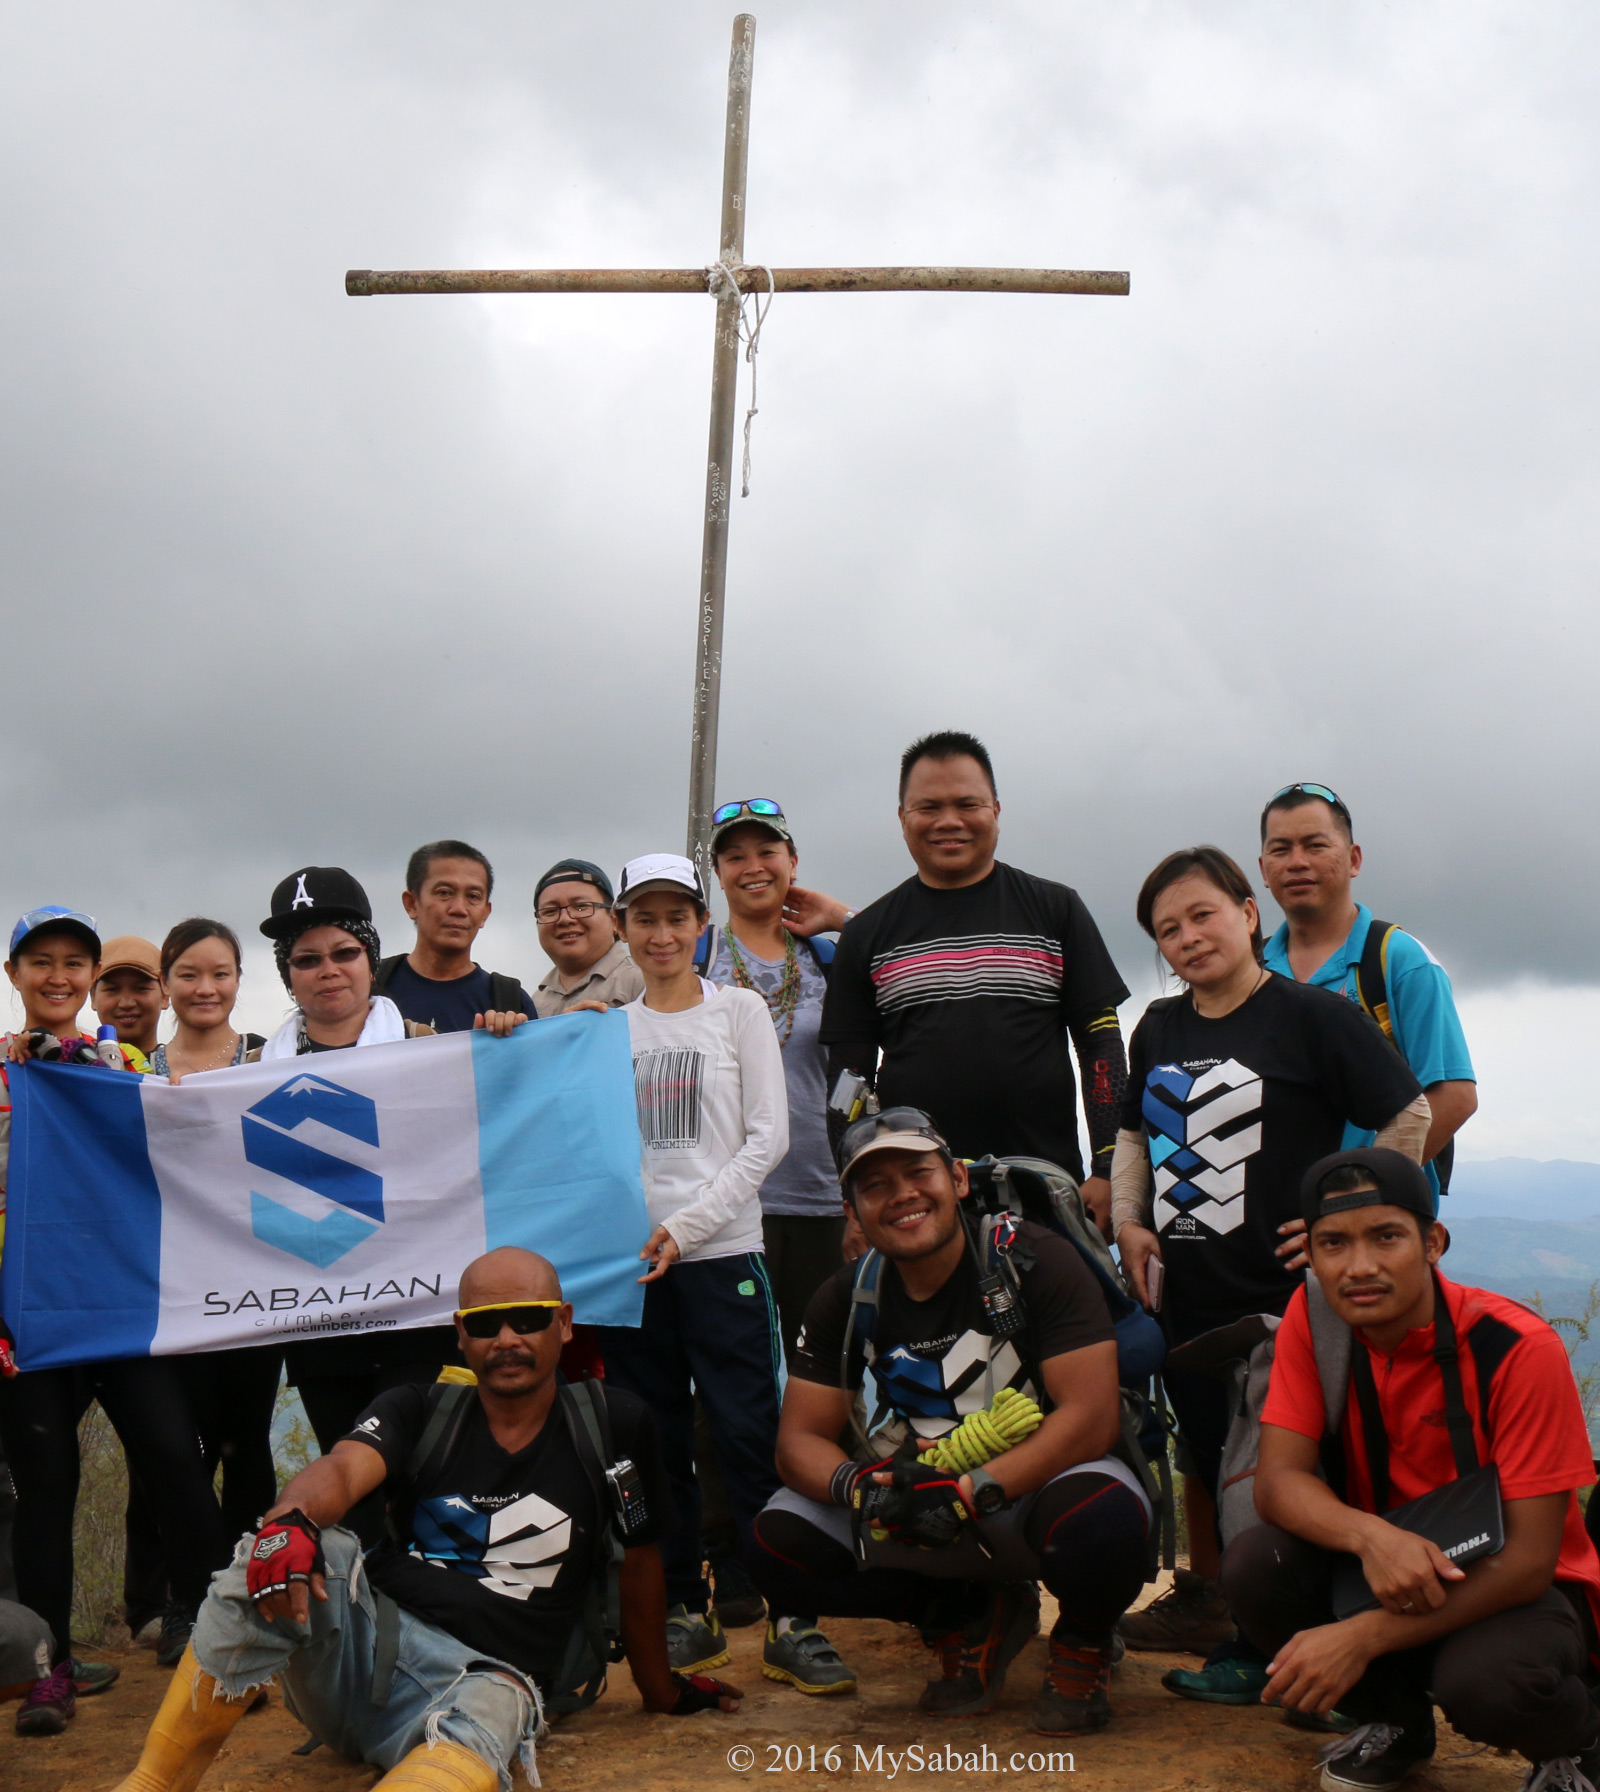
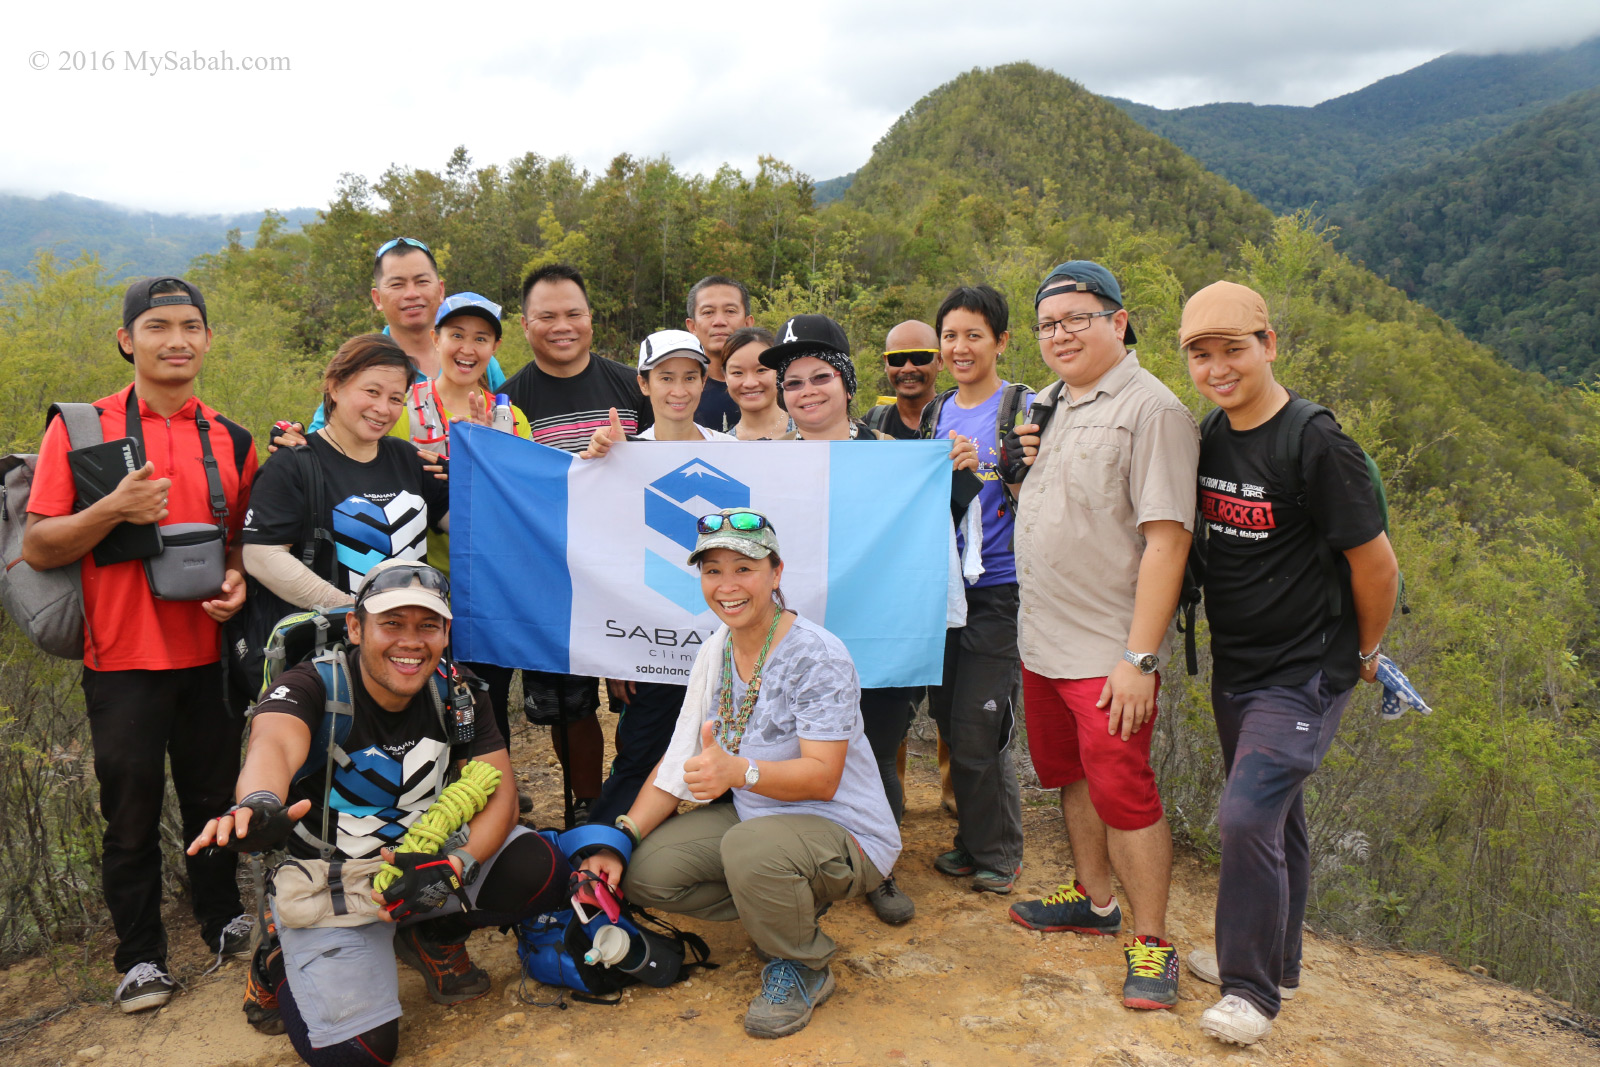
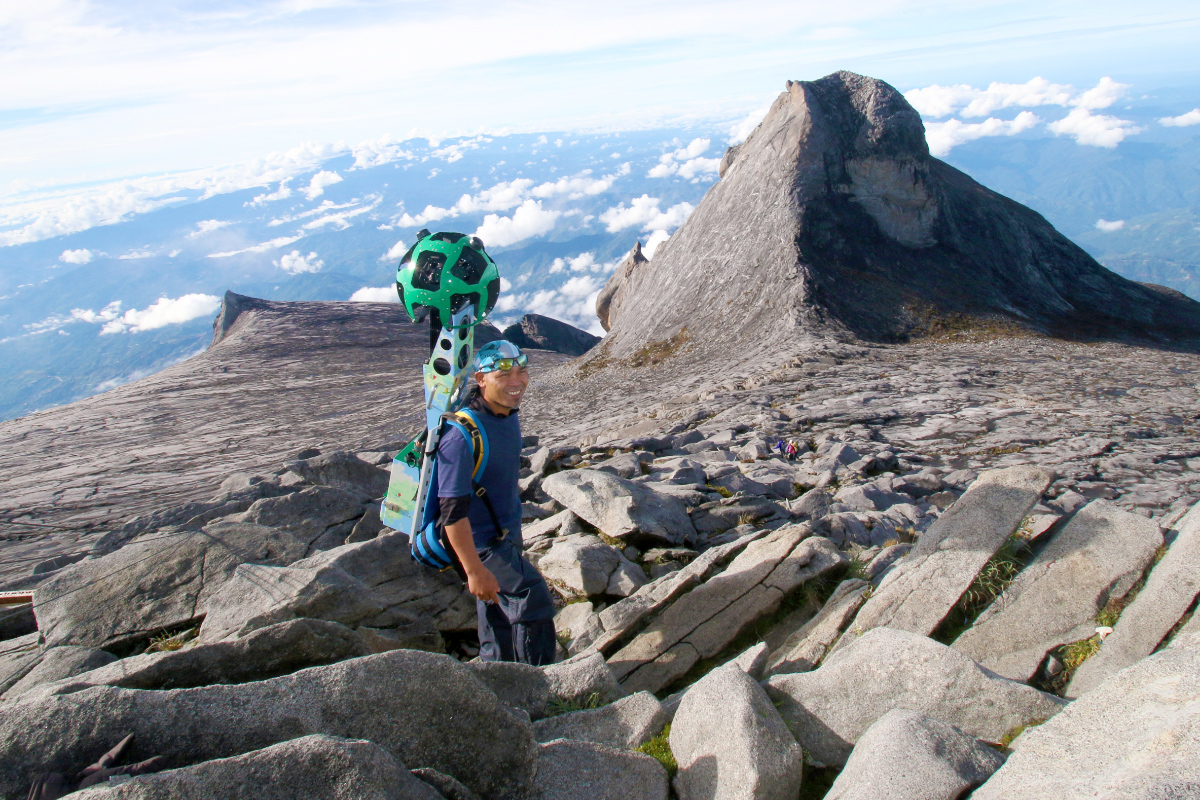
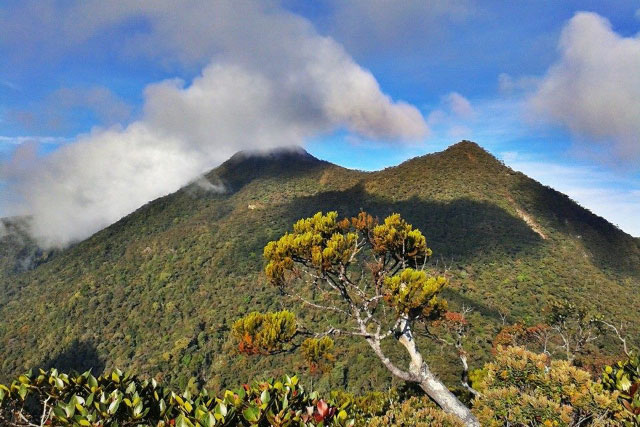
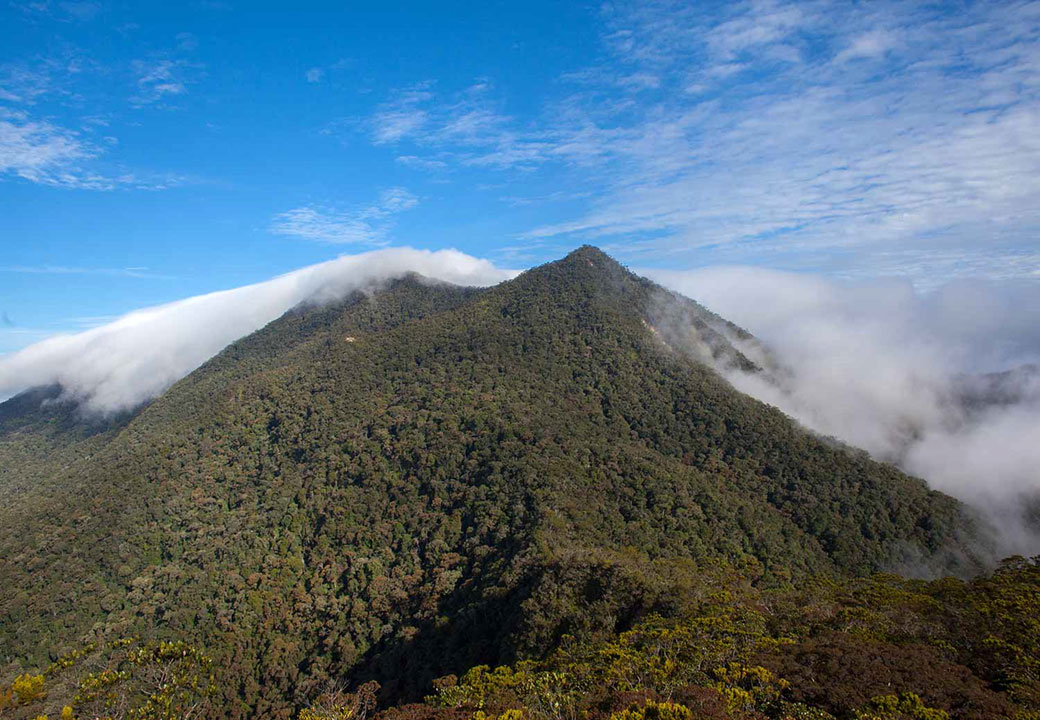
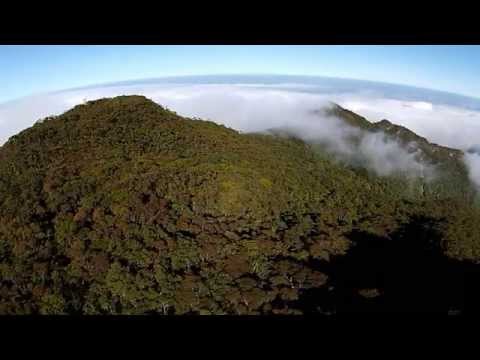
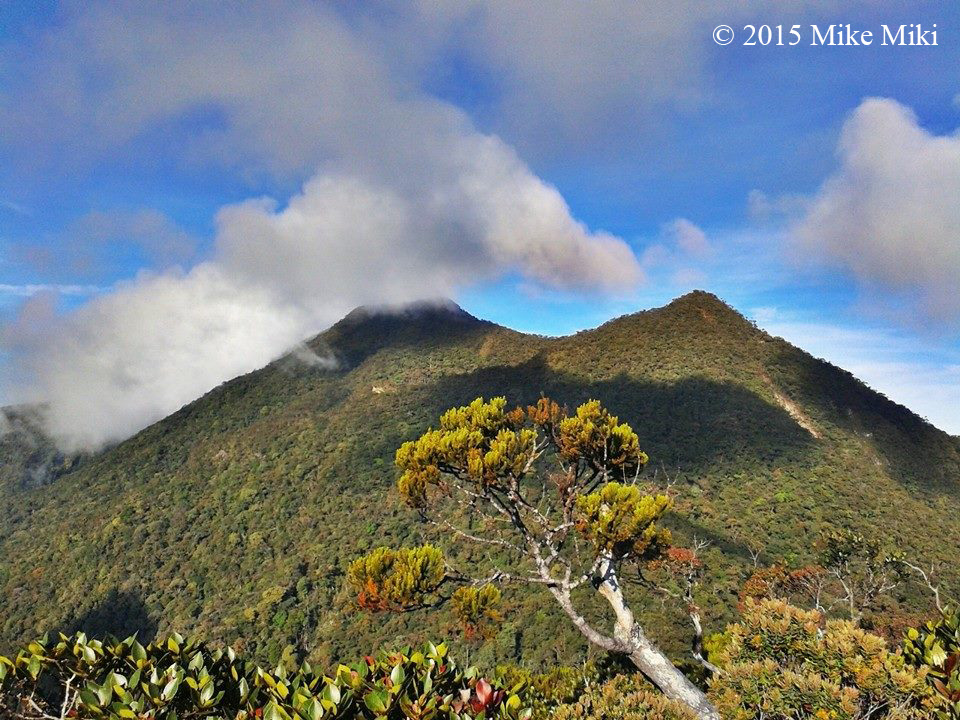
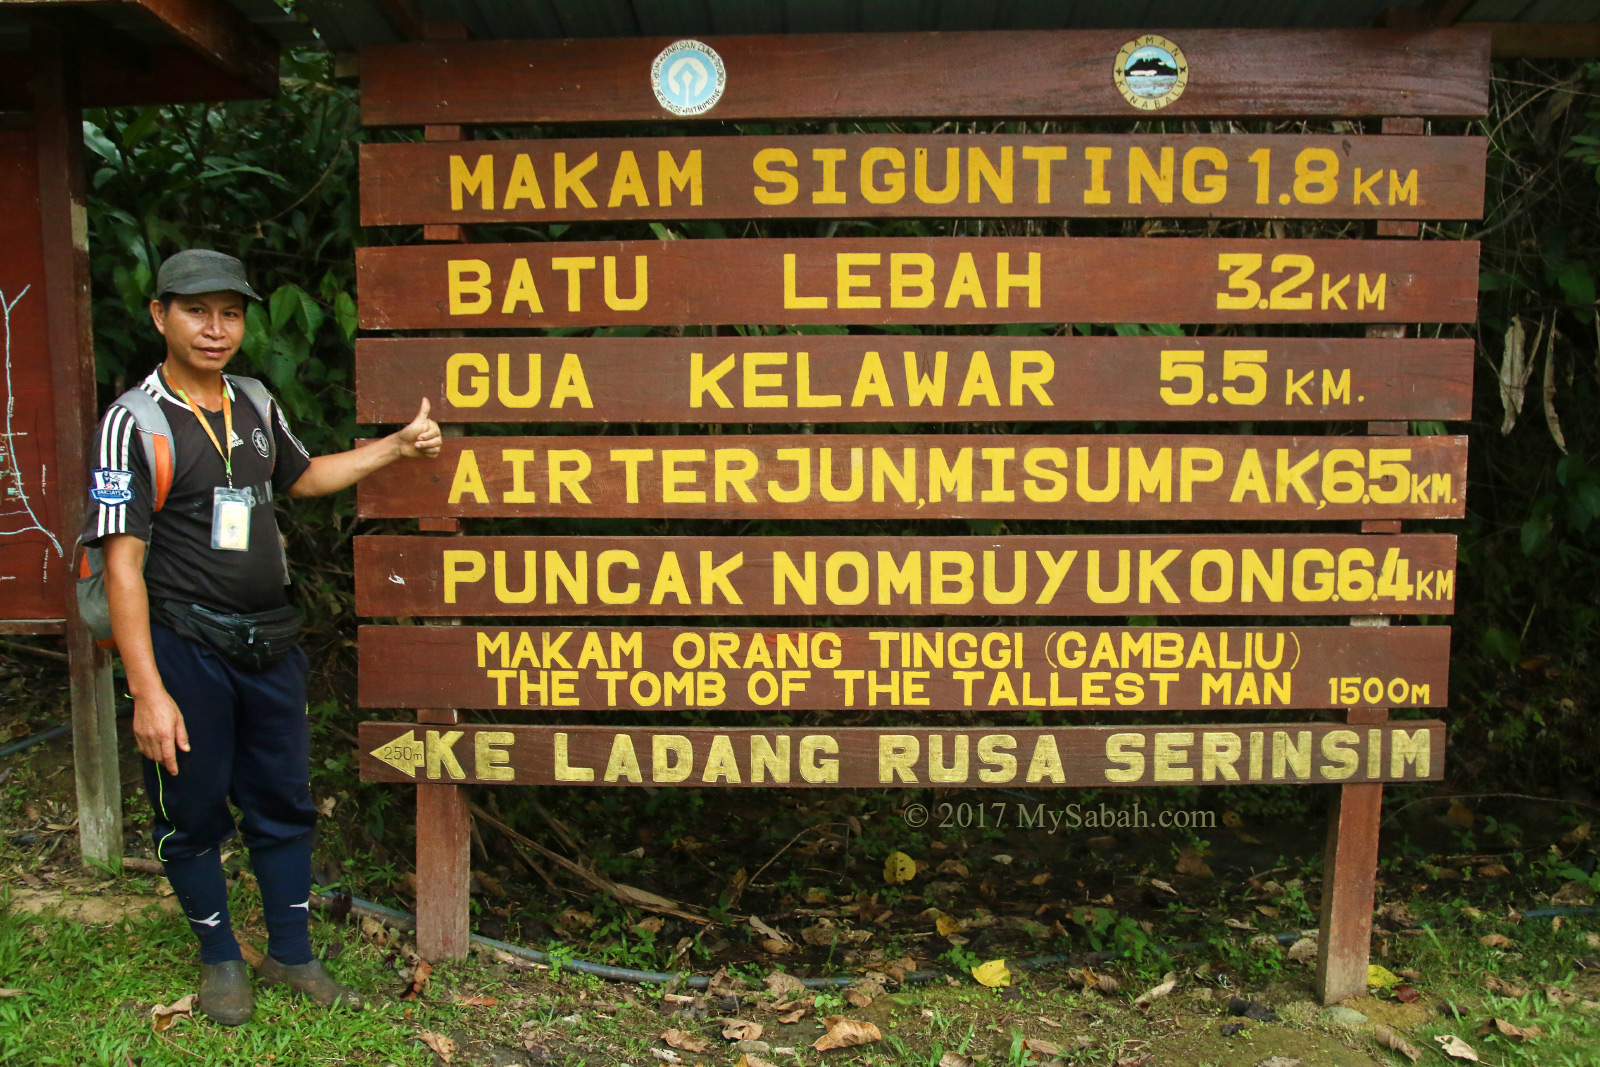
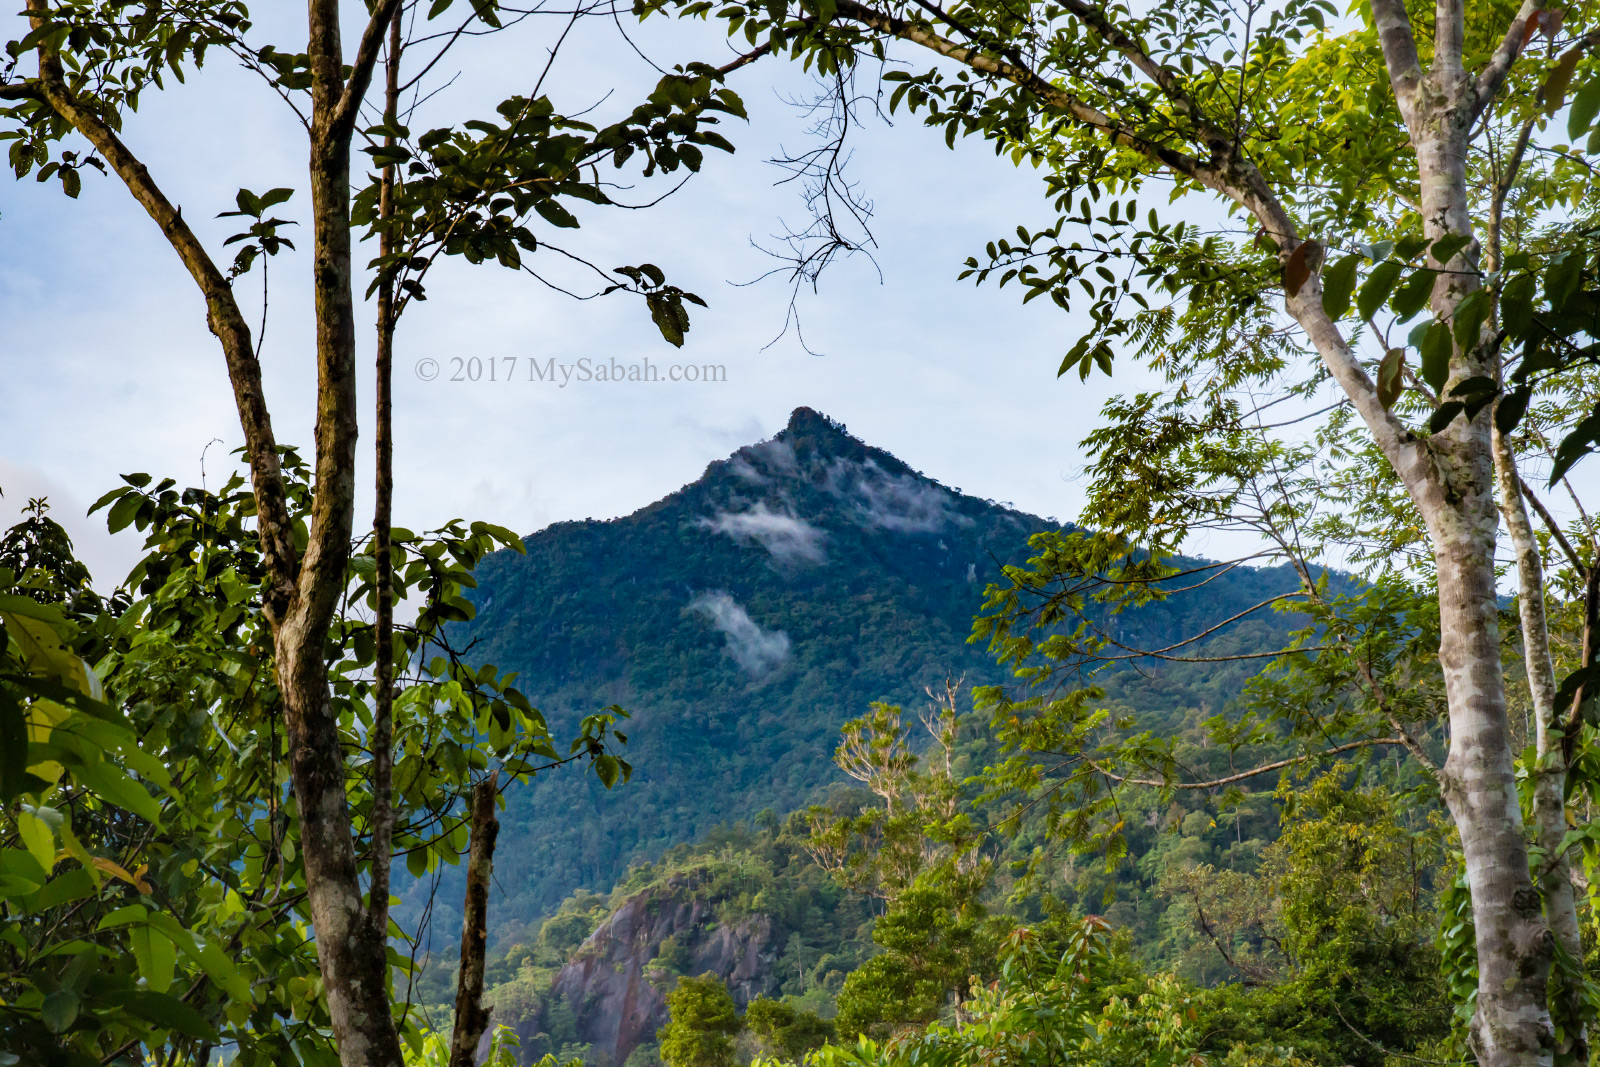
1. Mount Nombuyukong (Gunung Nombuyukong)
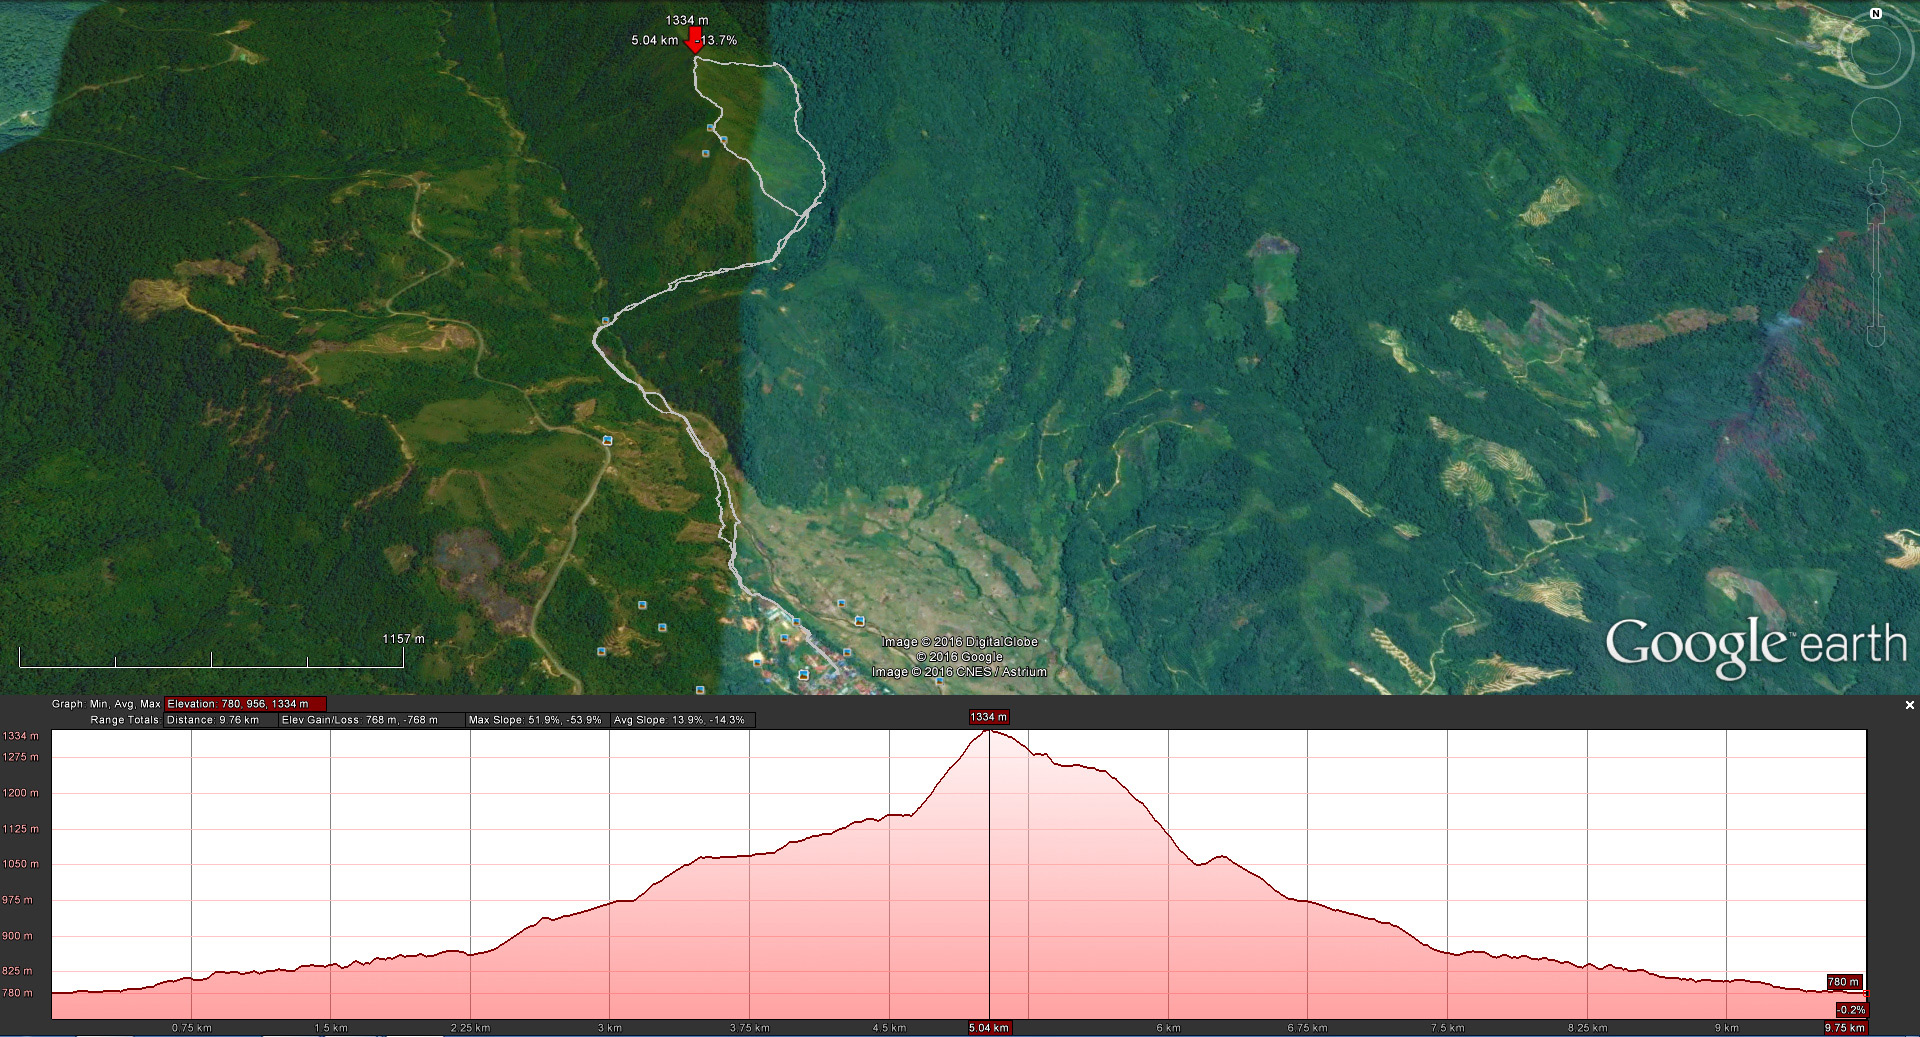
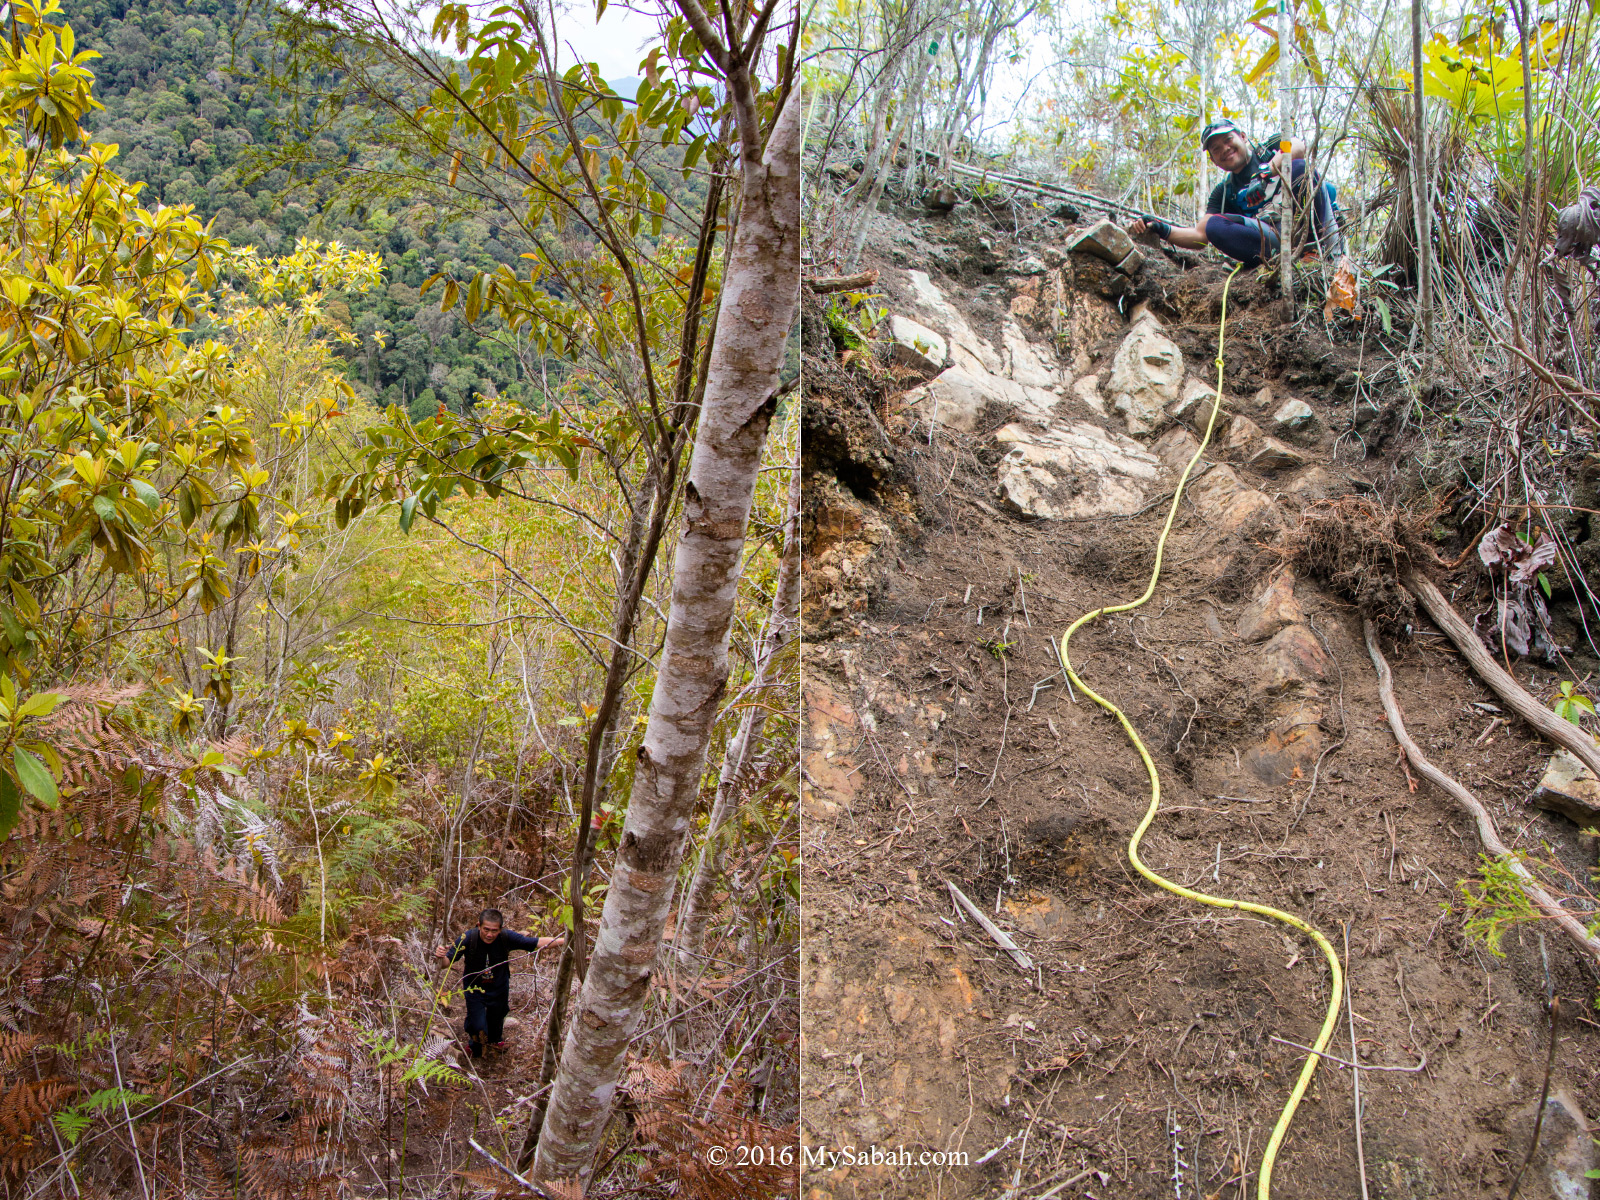
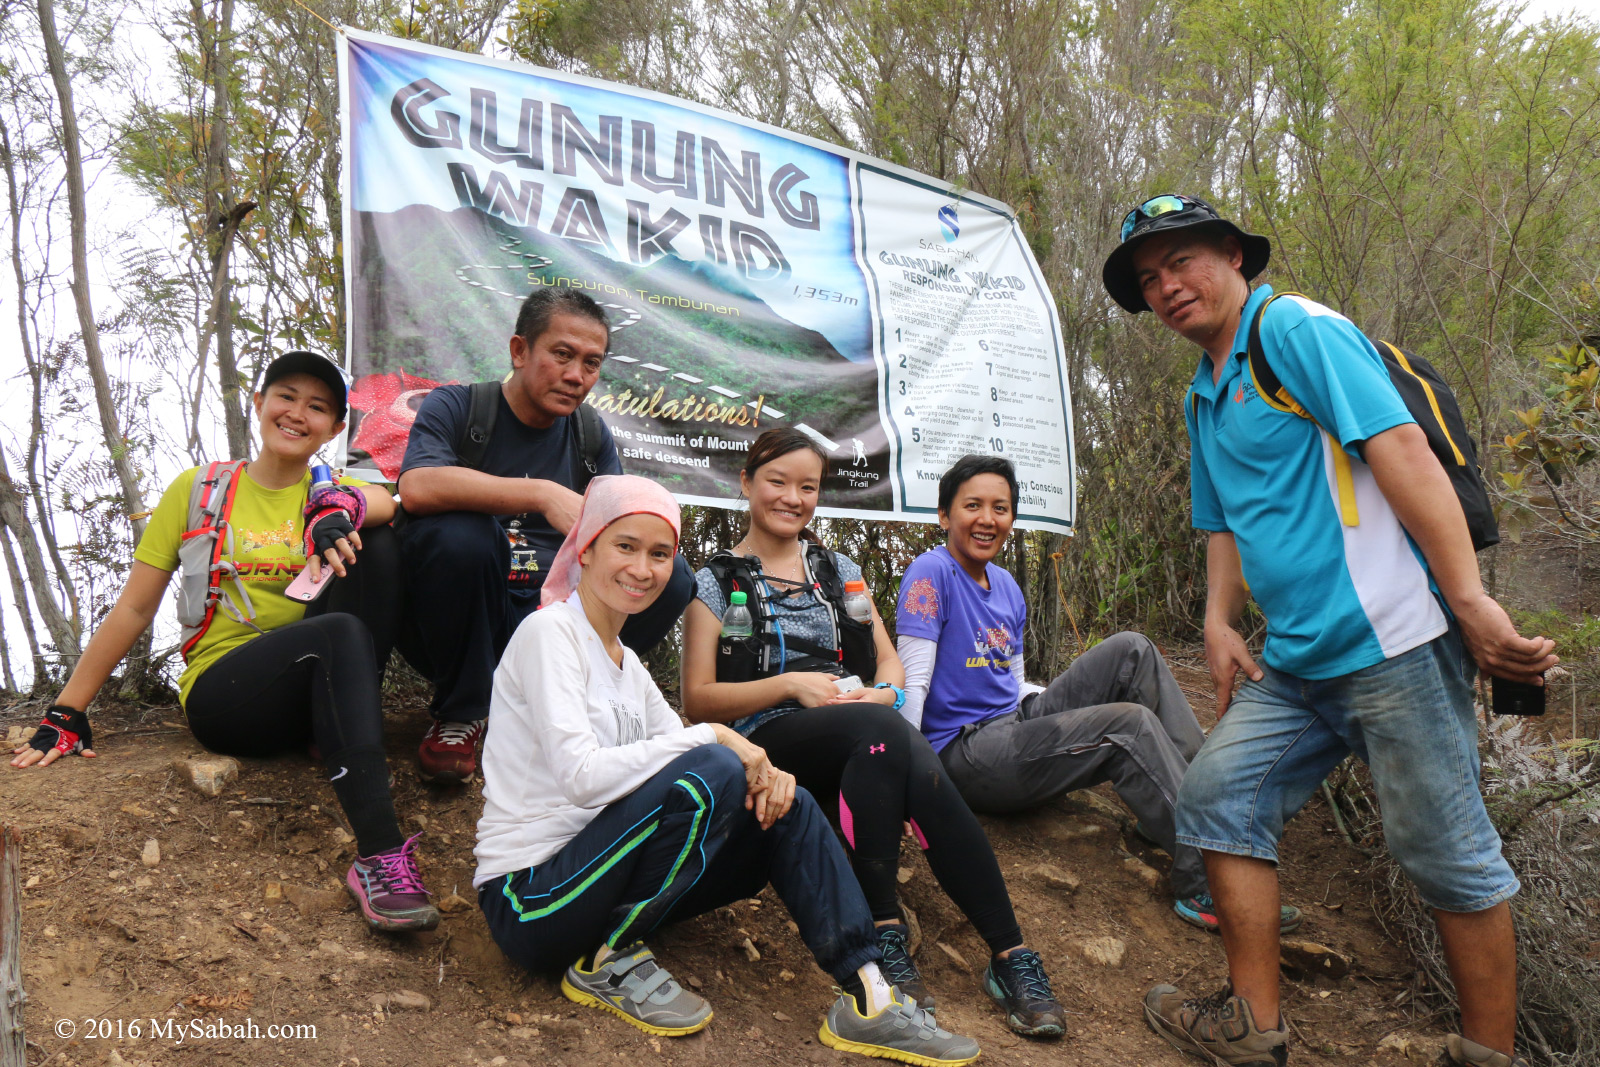
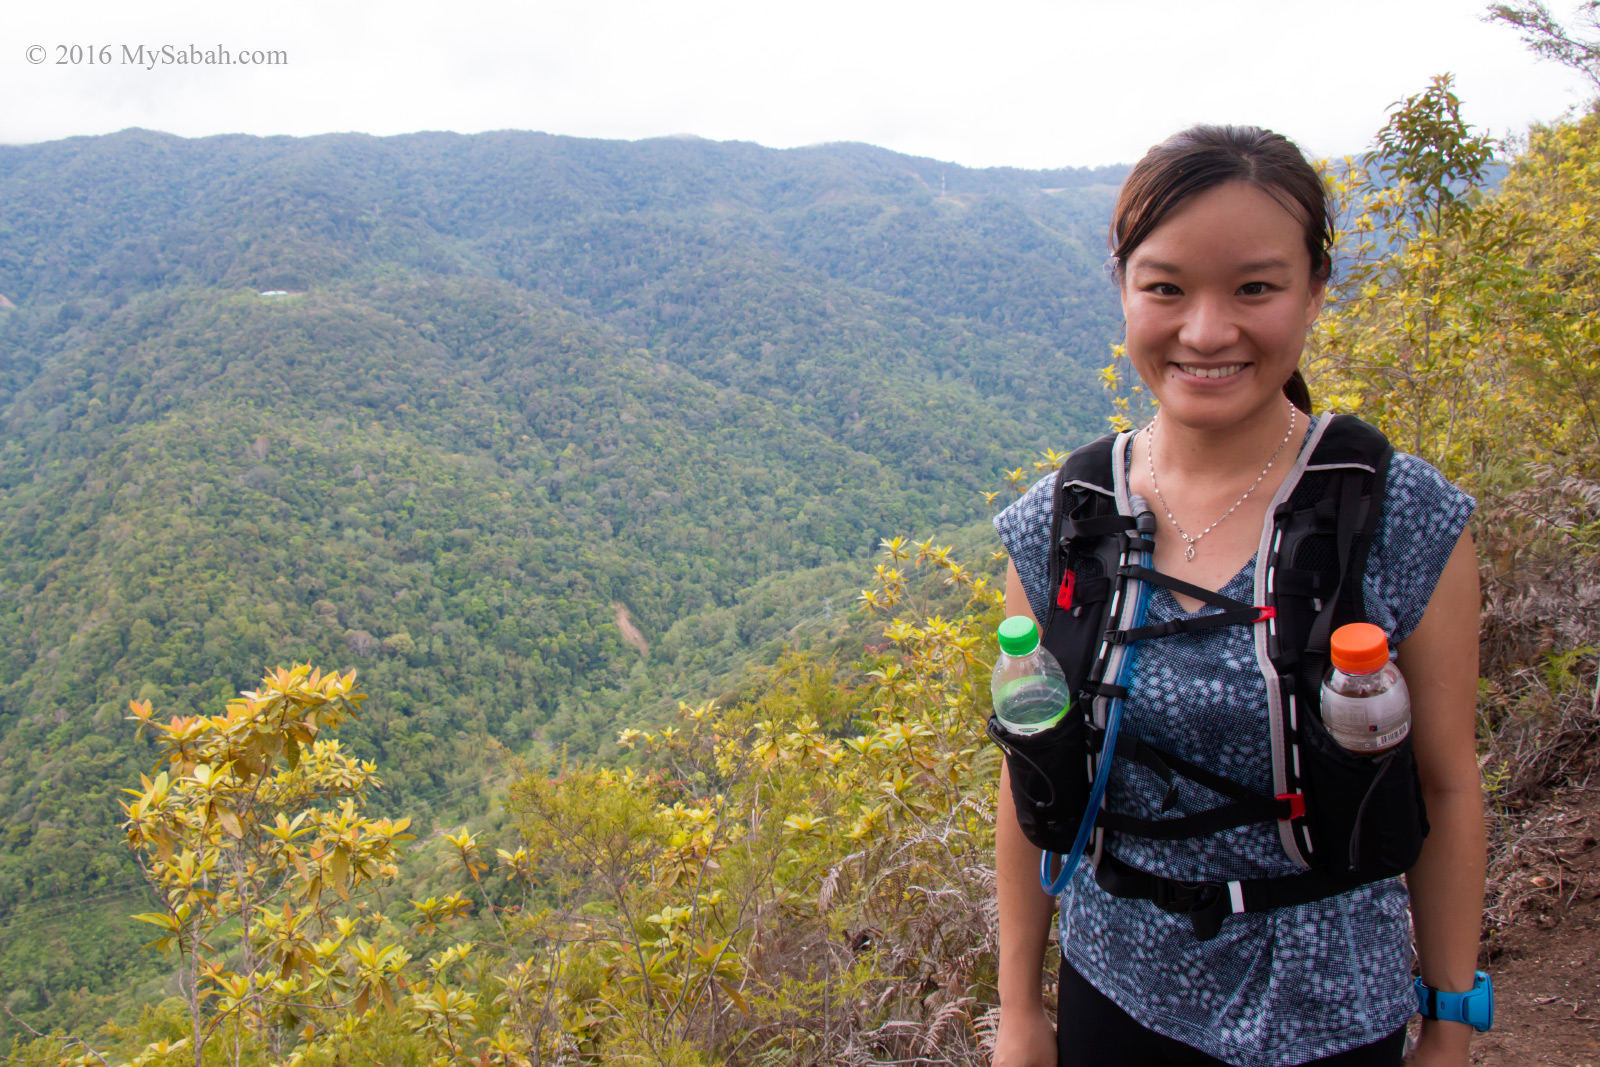
With a height of 1,603.57 Meters, Mt. Nombuyukong is 976 Metres lower than its sister peak, Mt. Tambuyukon, the third highest mountain of Malaysia. Mount Nombuyukong can be conquered within a day.
>> Read about the challenging climb to Mt. Nombuyukong…
2. Bat Cave (Gua Kelawar)
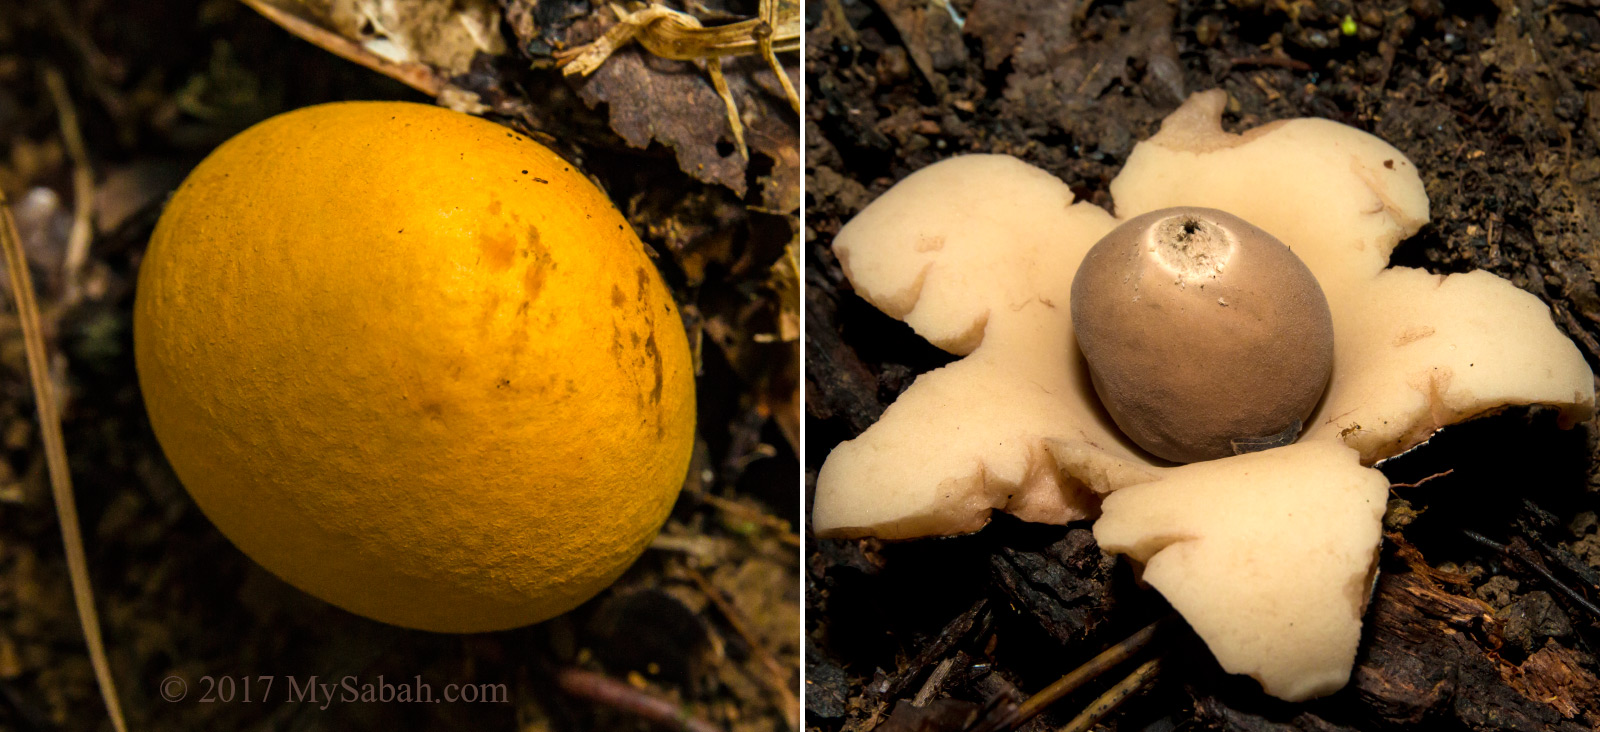
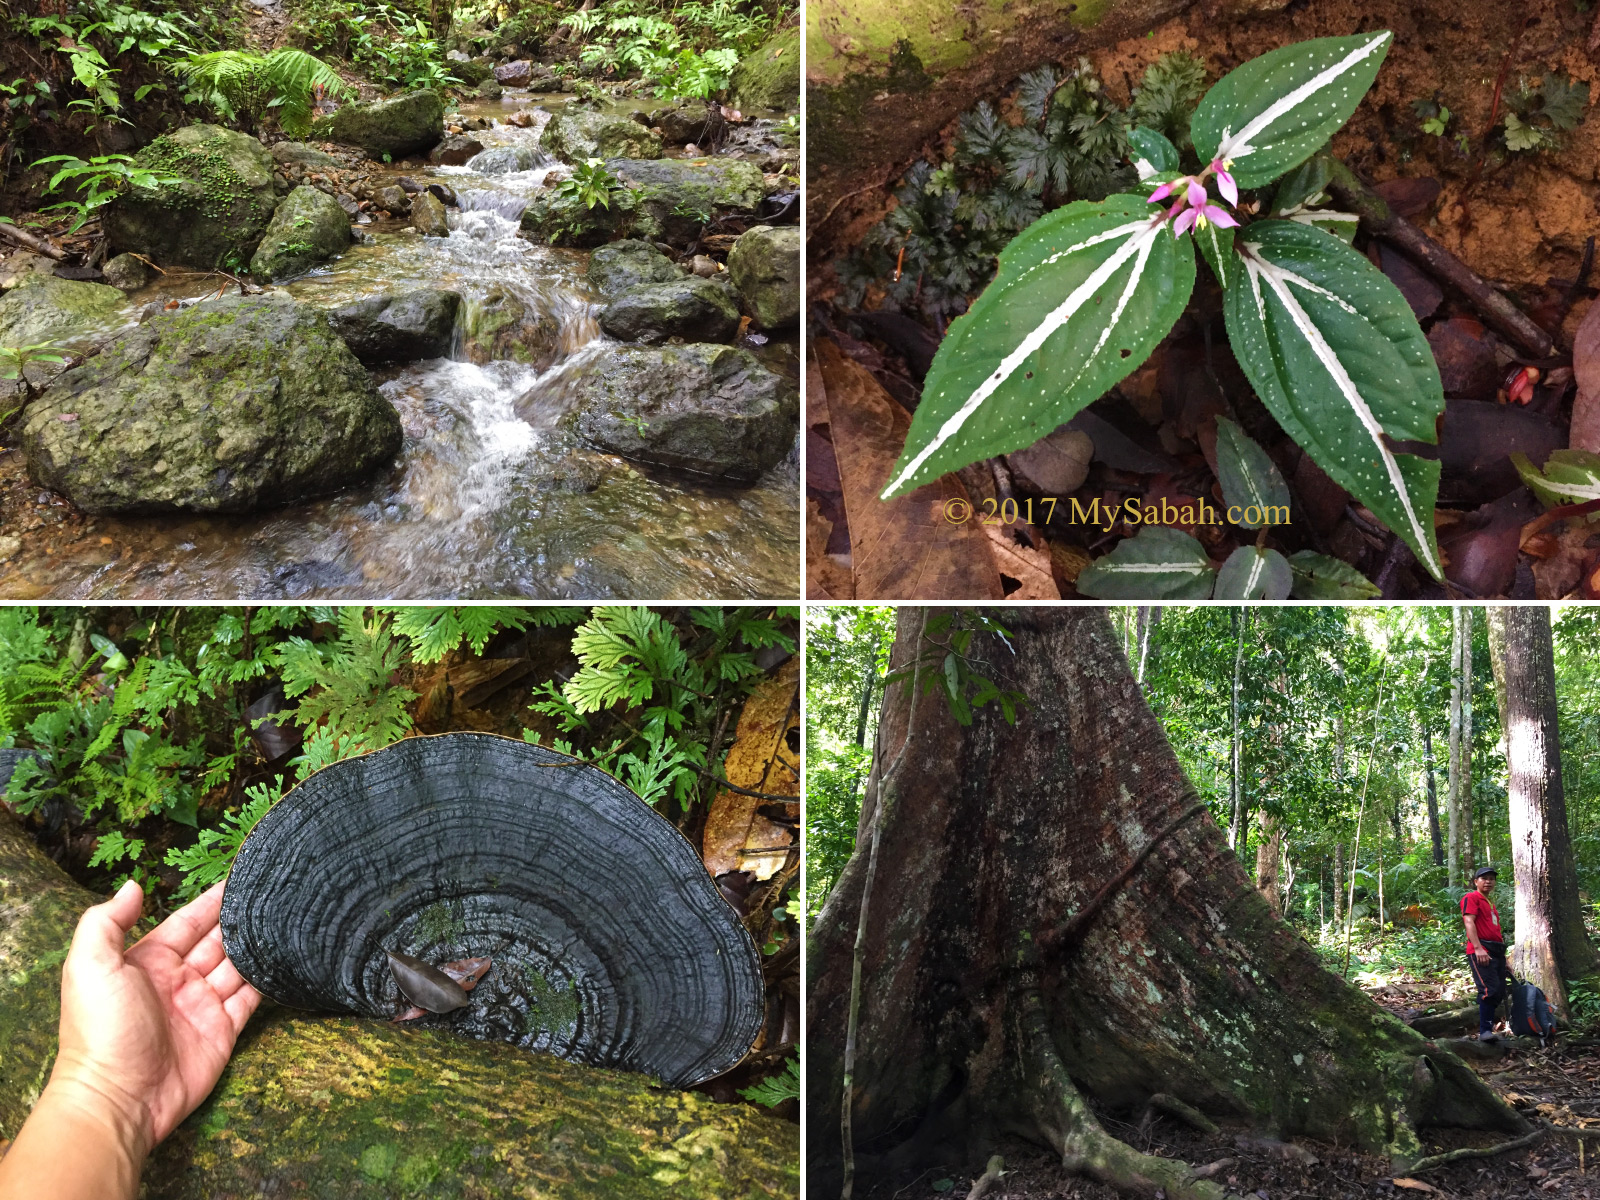
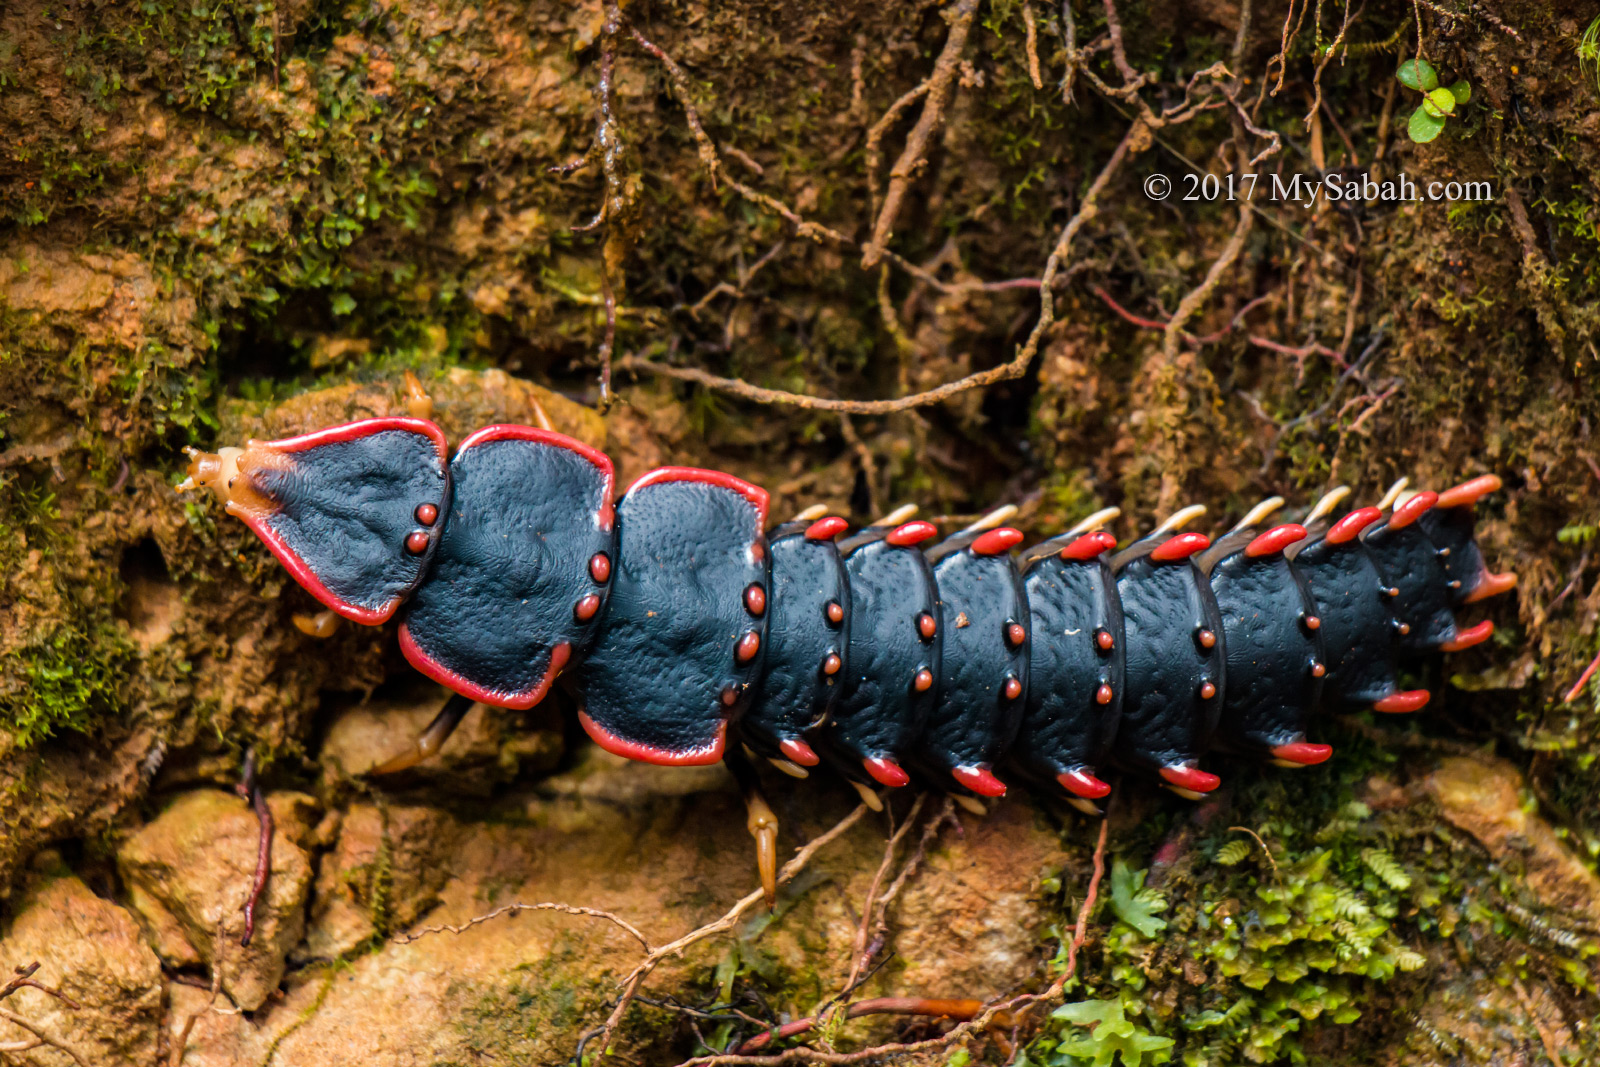
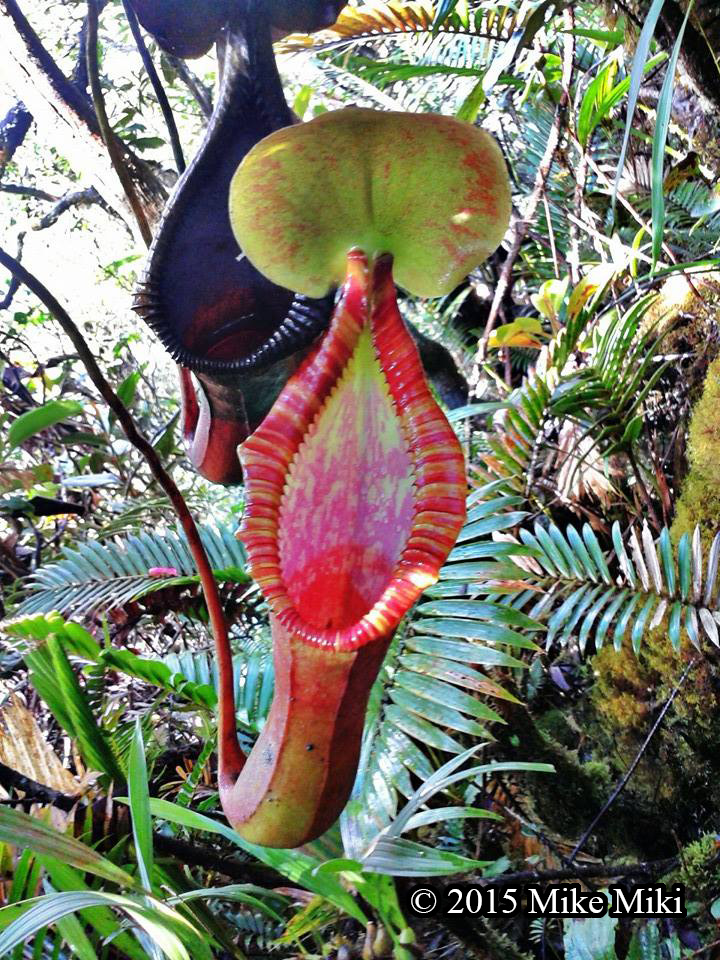
Gua Kelawar is a small cave about 200 Meters long, and it is for the adventurous you who like the idea of exploring the unknown. *Hint:* many creeping critters in the darkness. I saw rare mushroom and endemic begonia outside the cave.
>> Read my scary story inside Bat Cave…
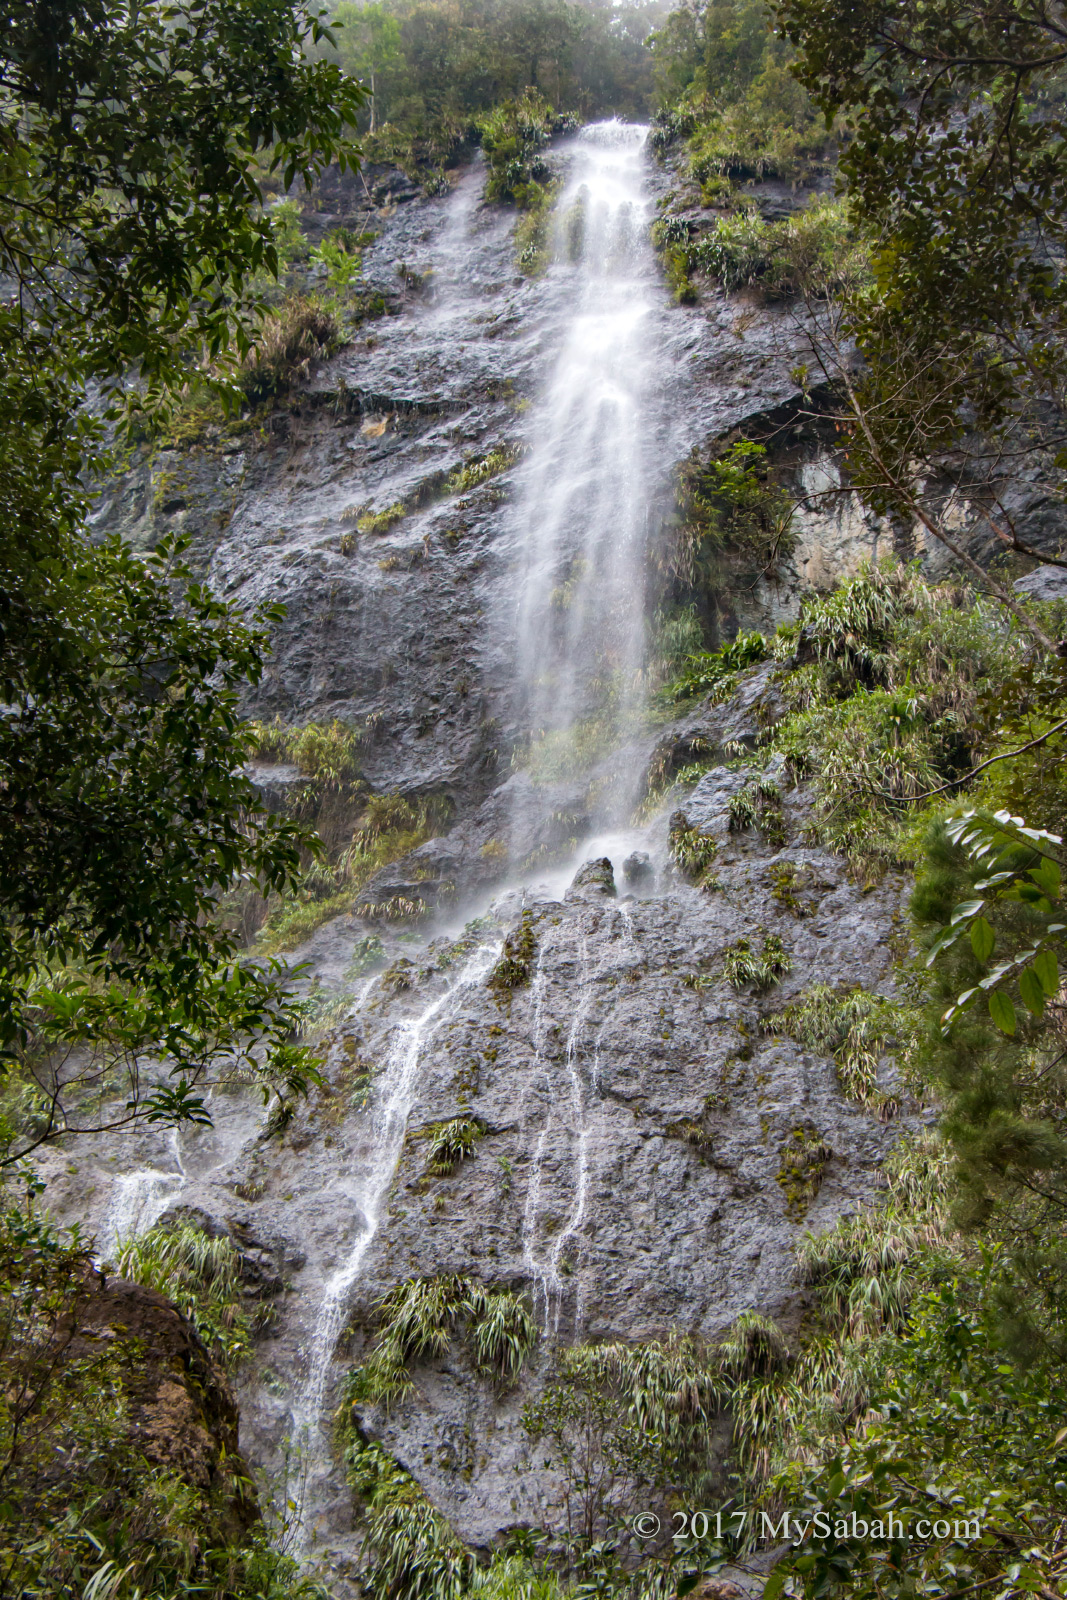
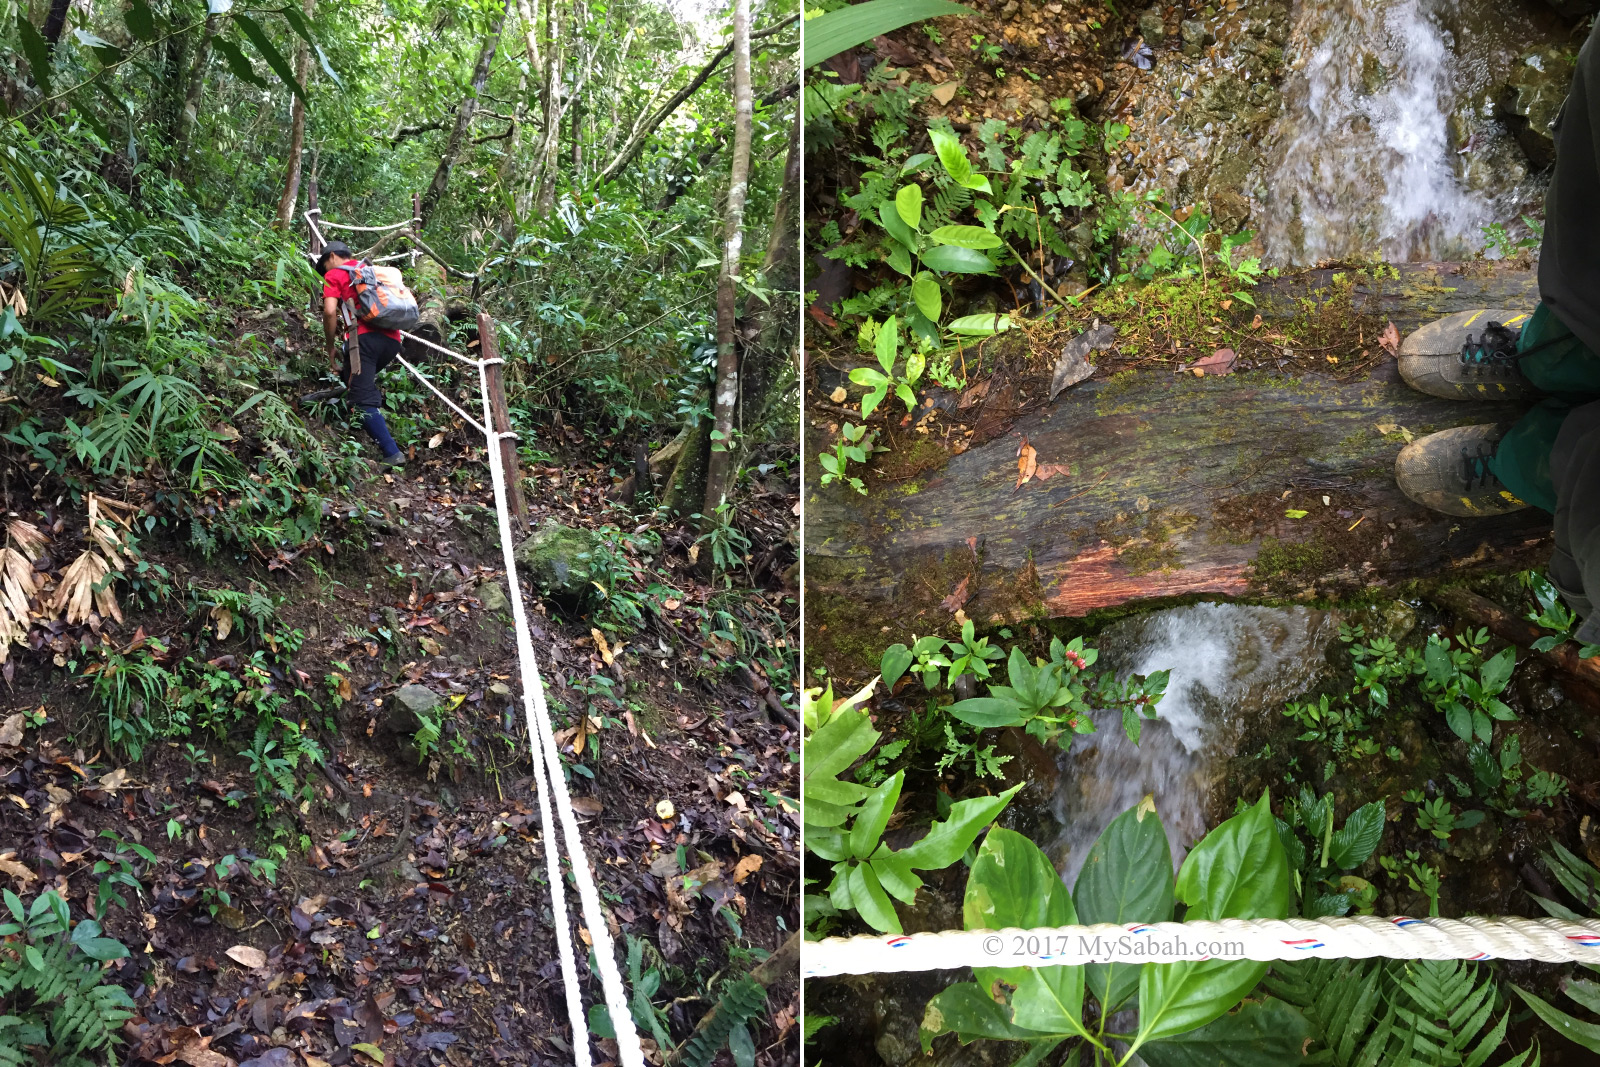
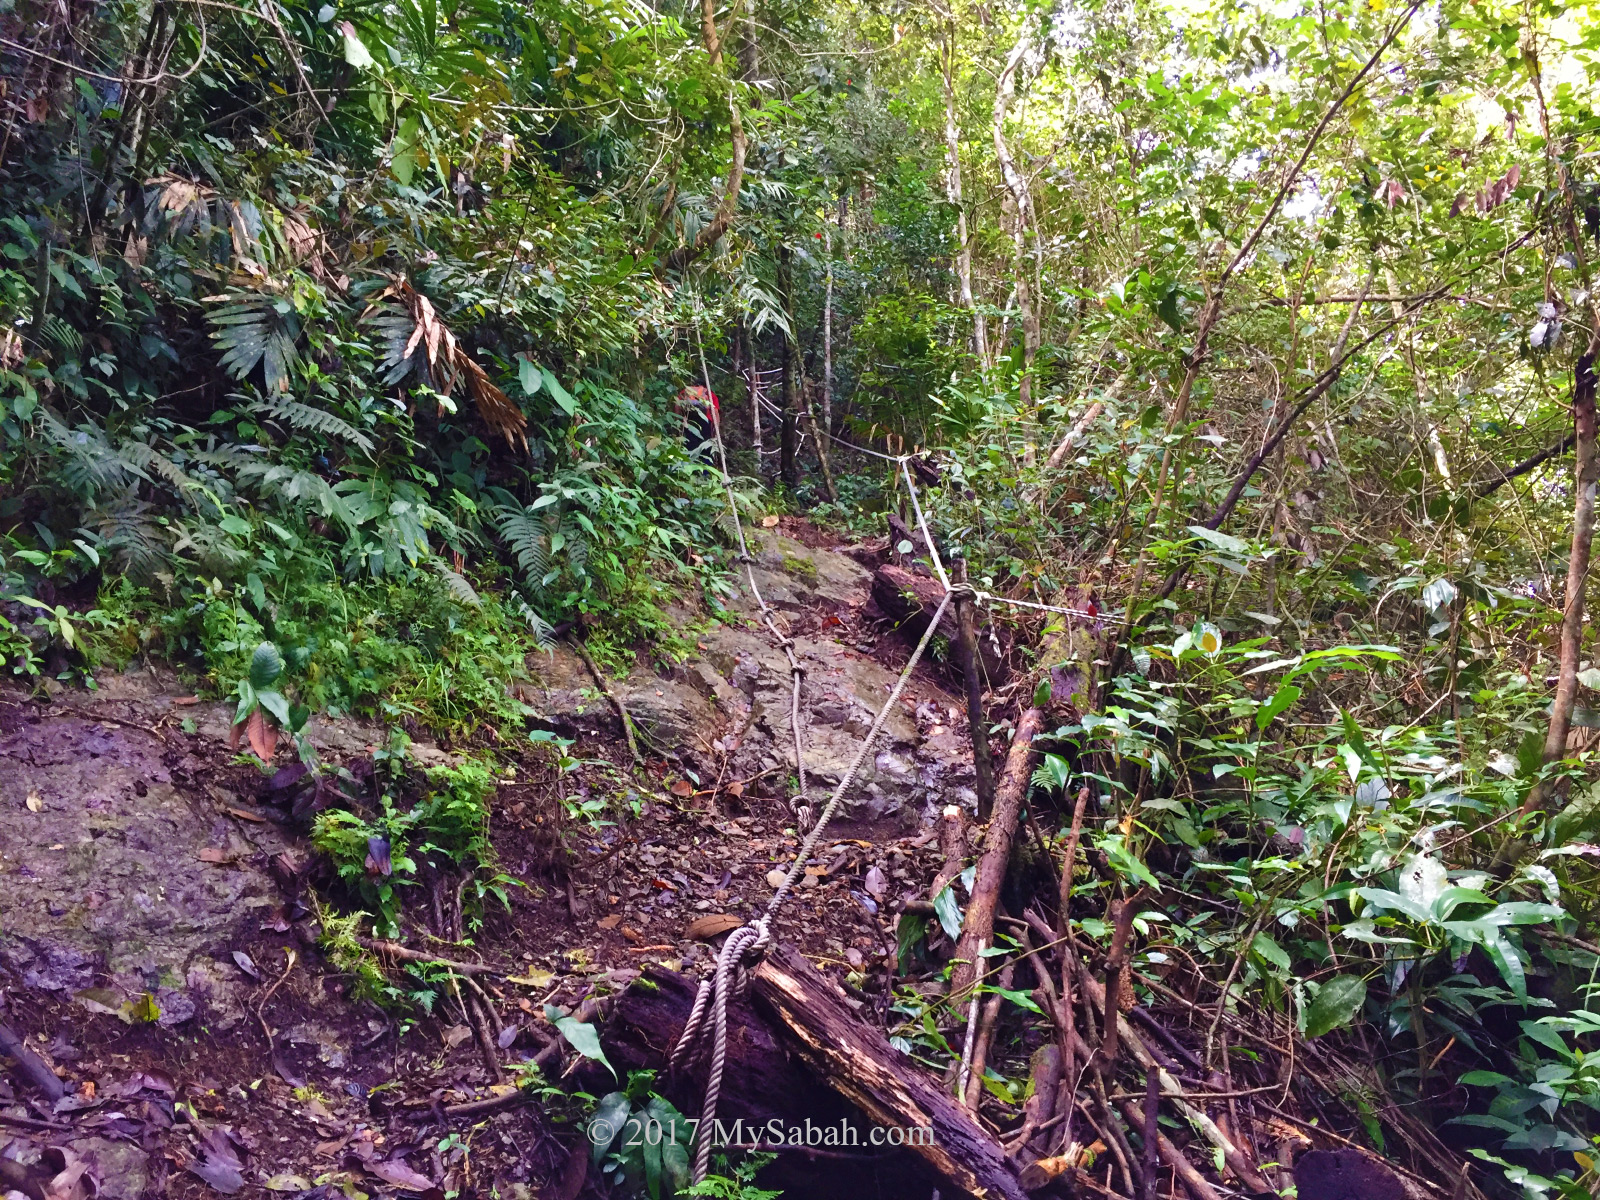
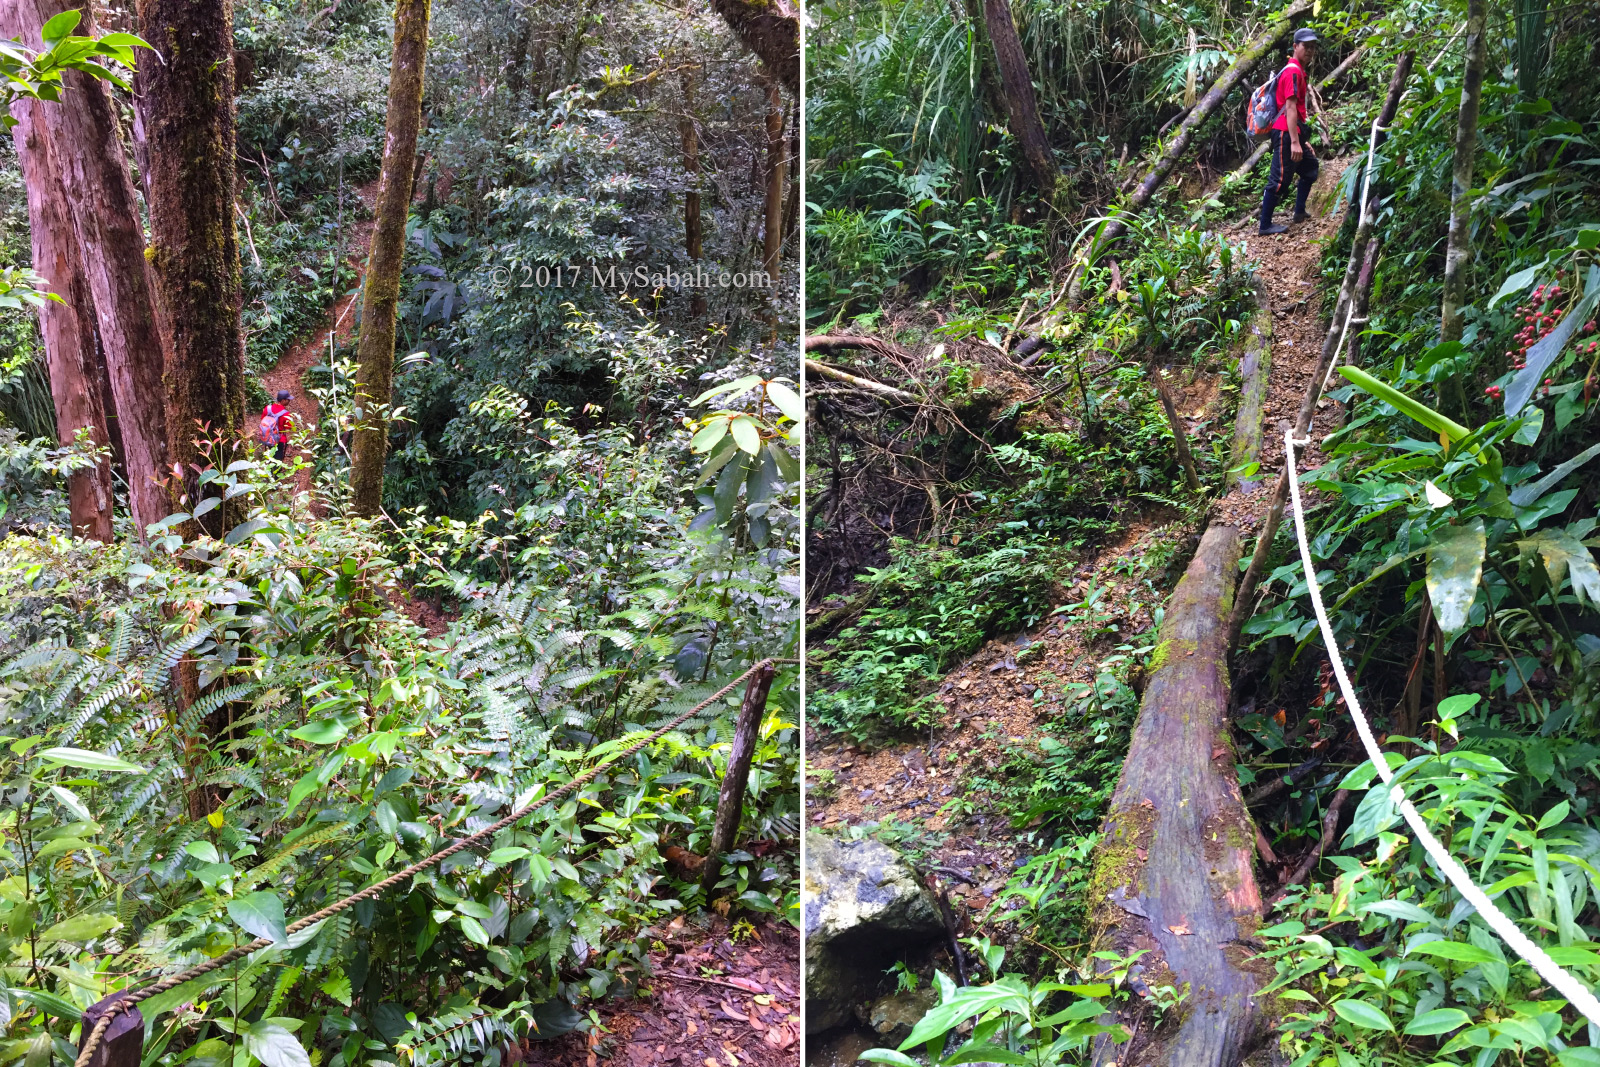
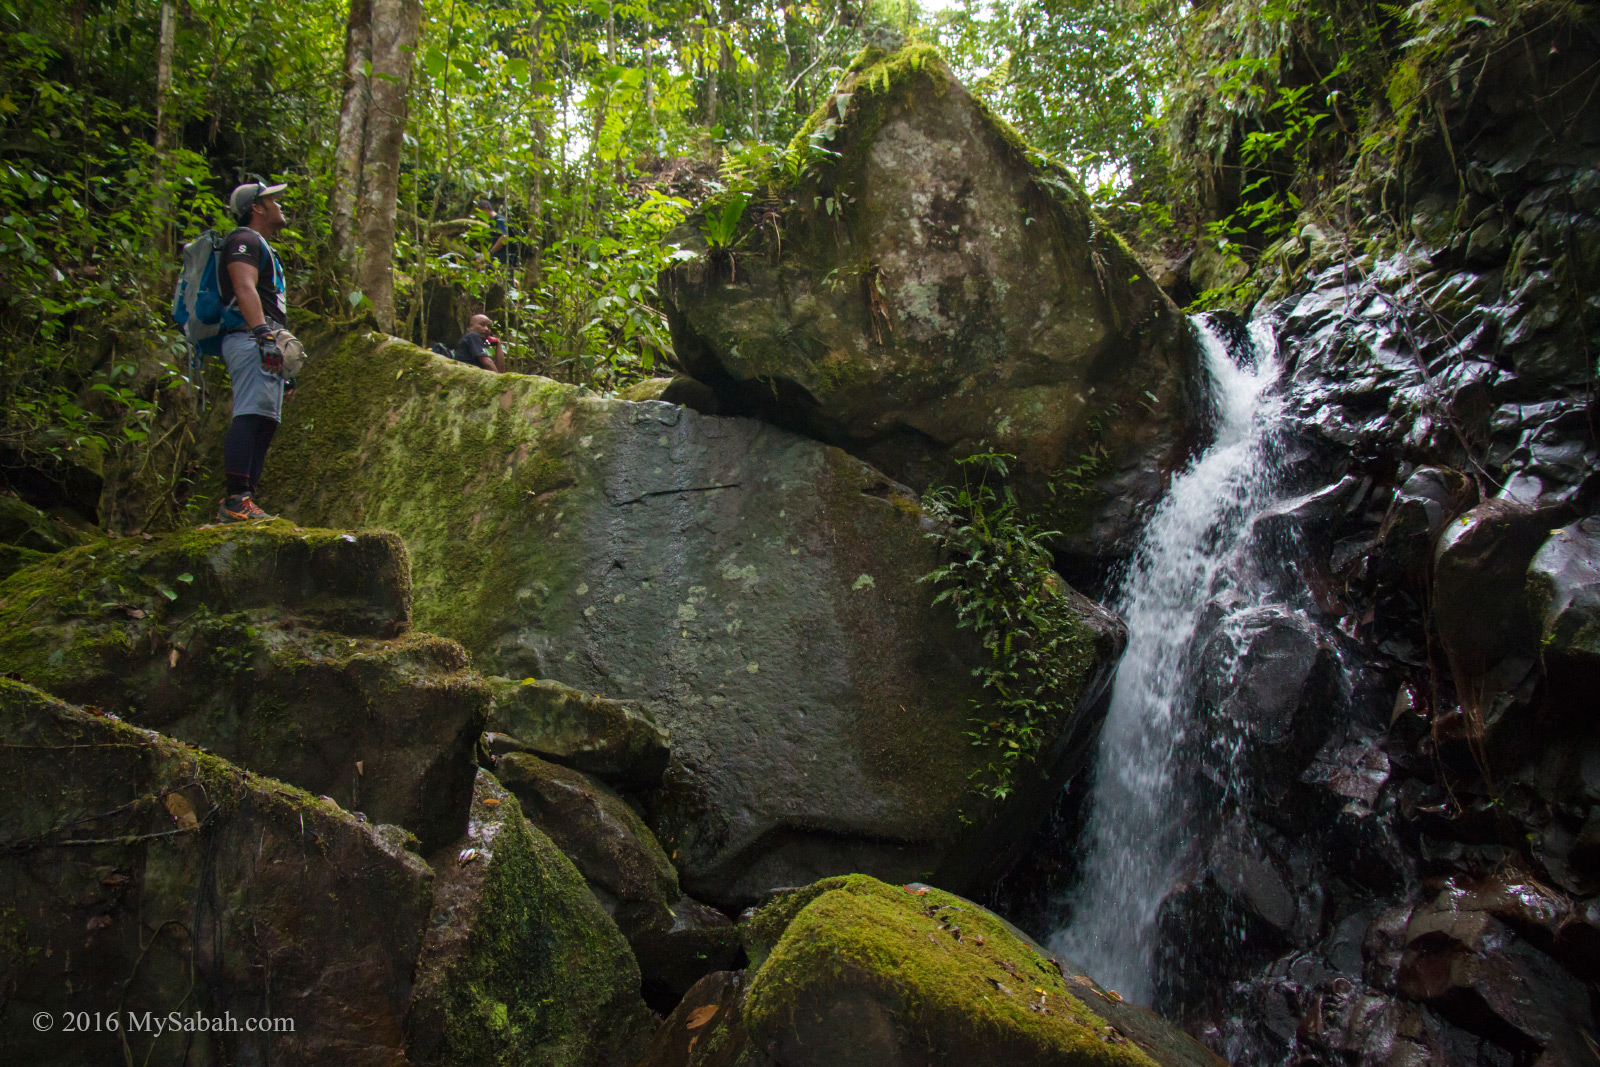
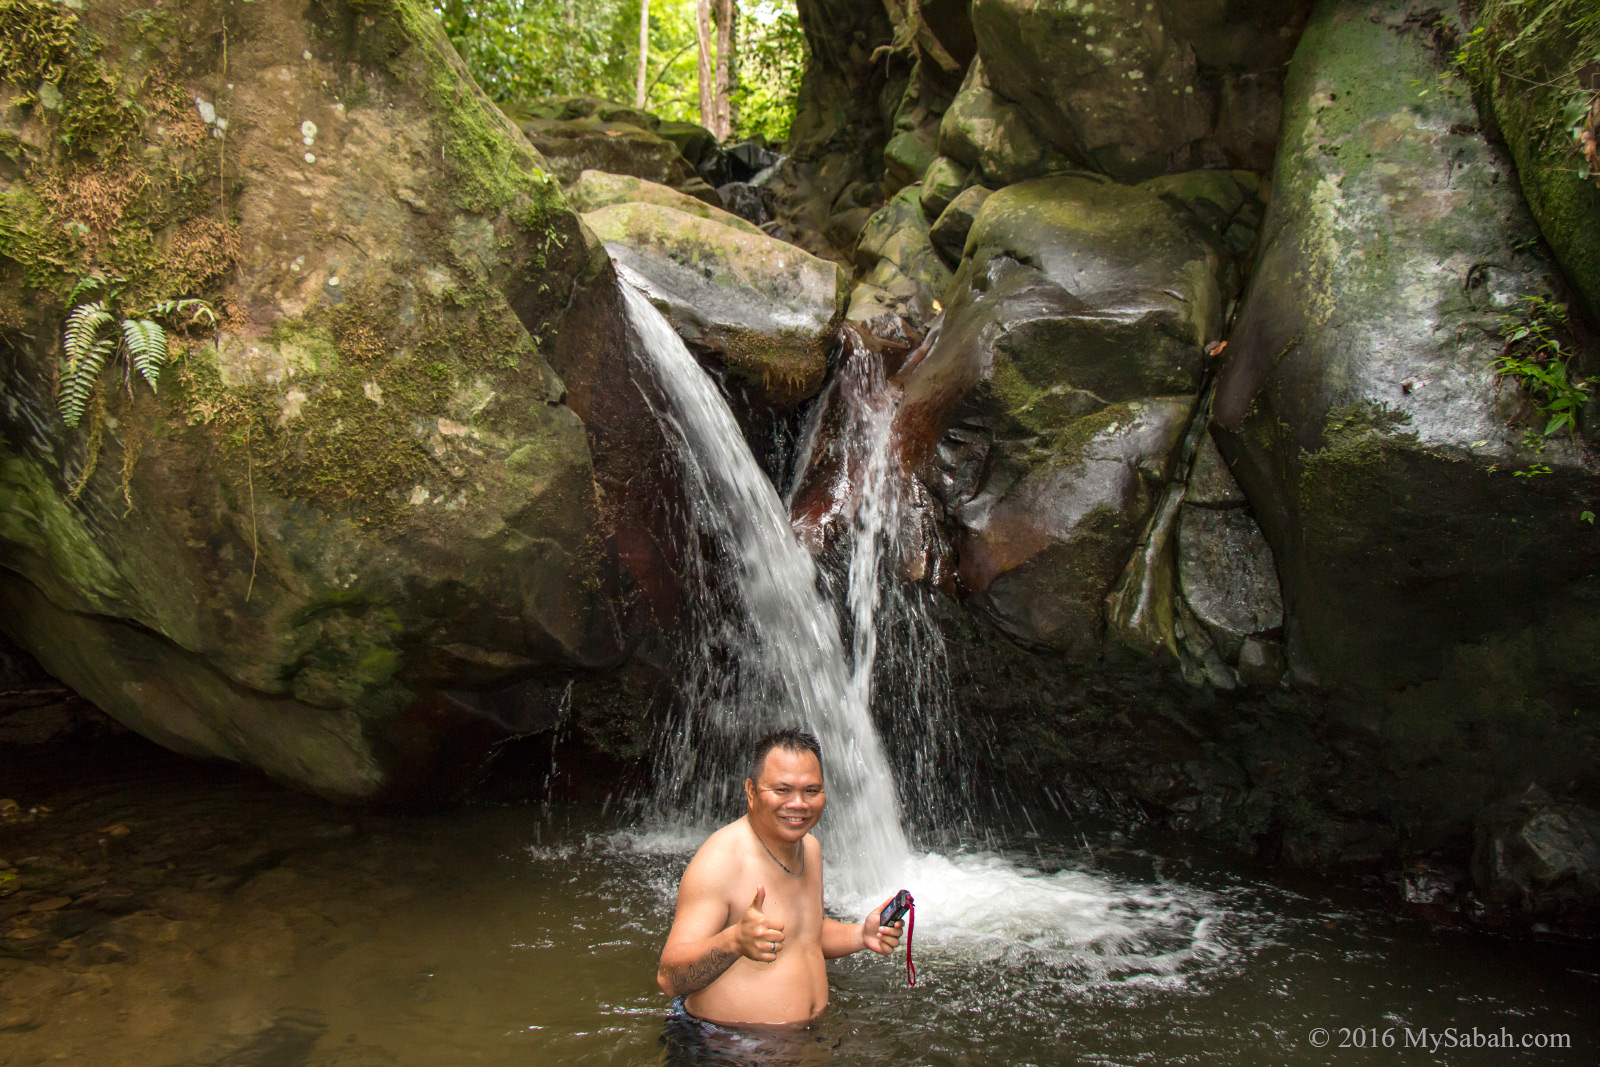
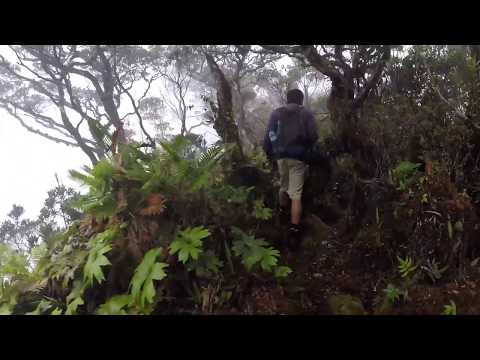
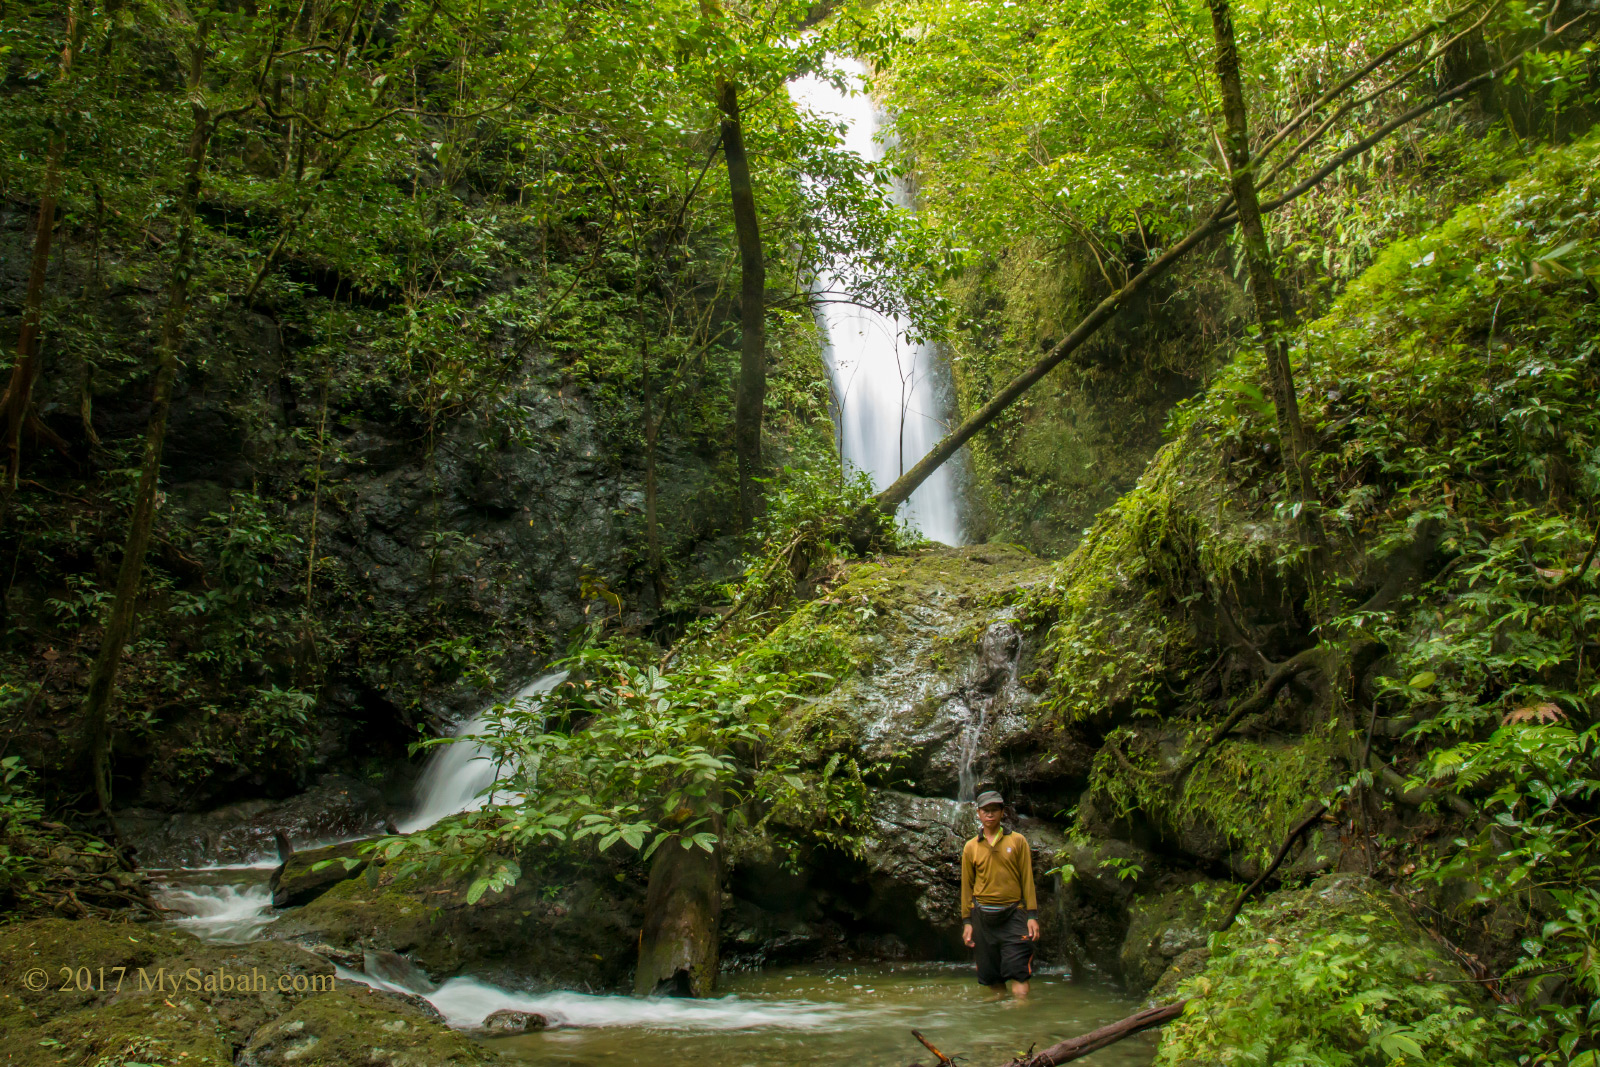
3. Misumpak Waterfall
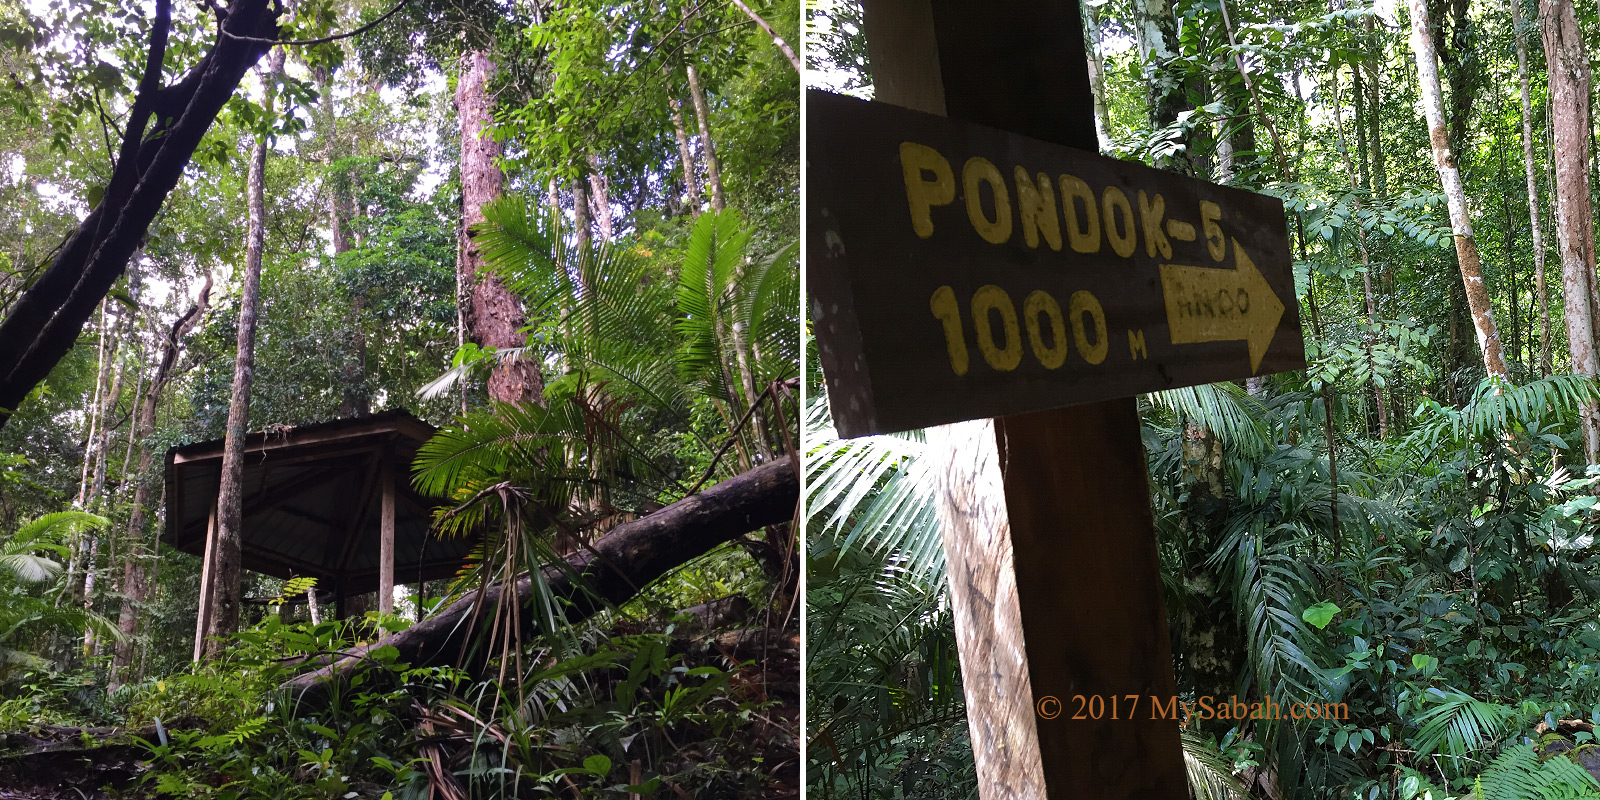
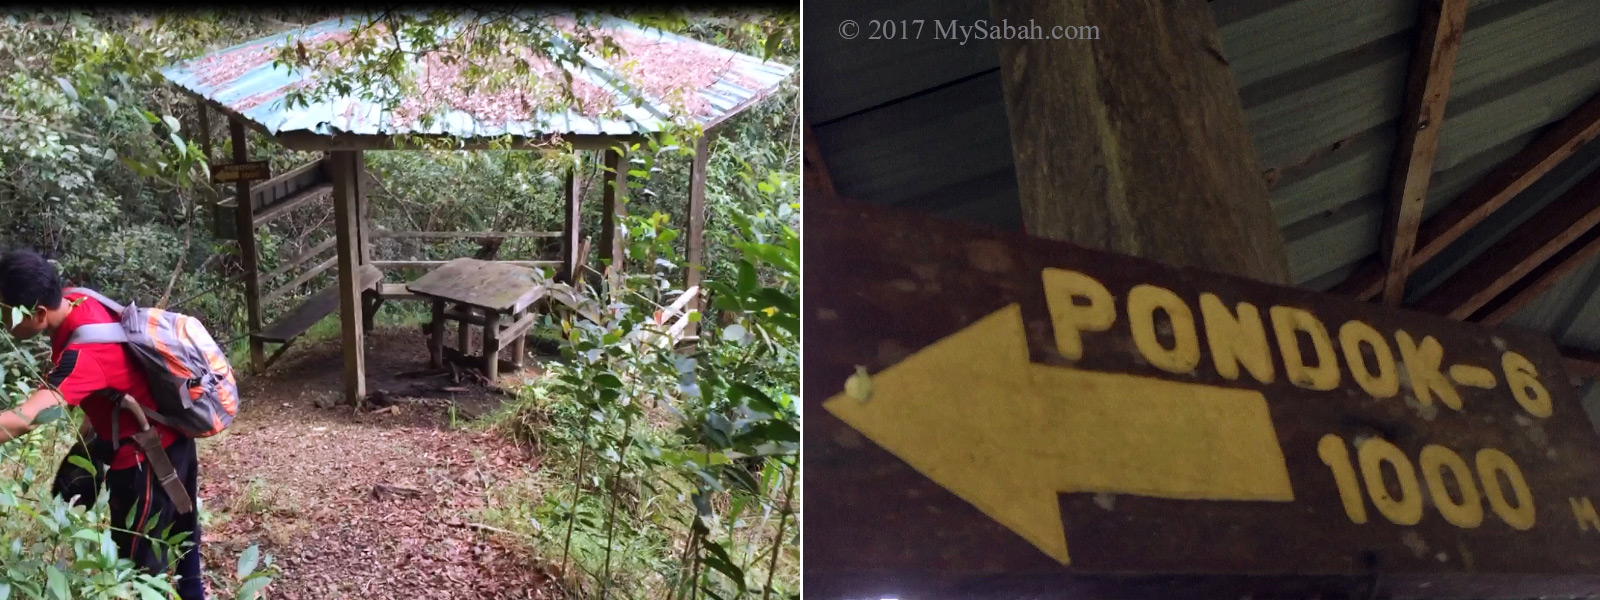
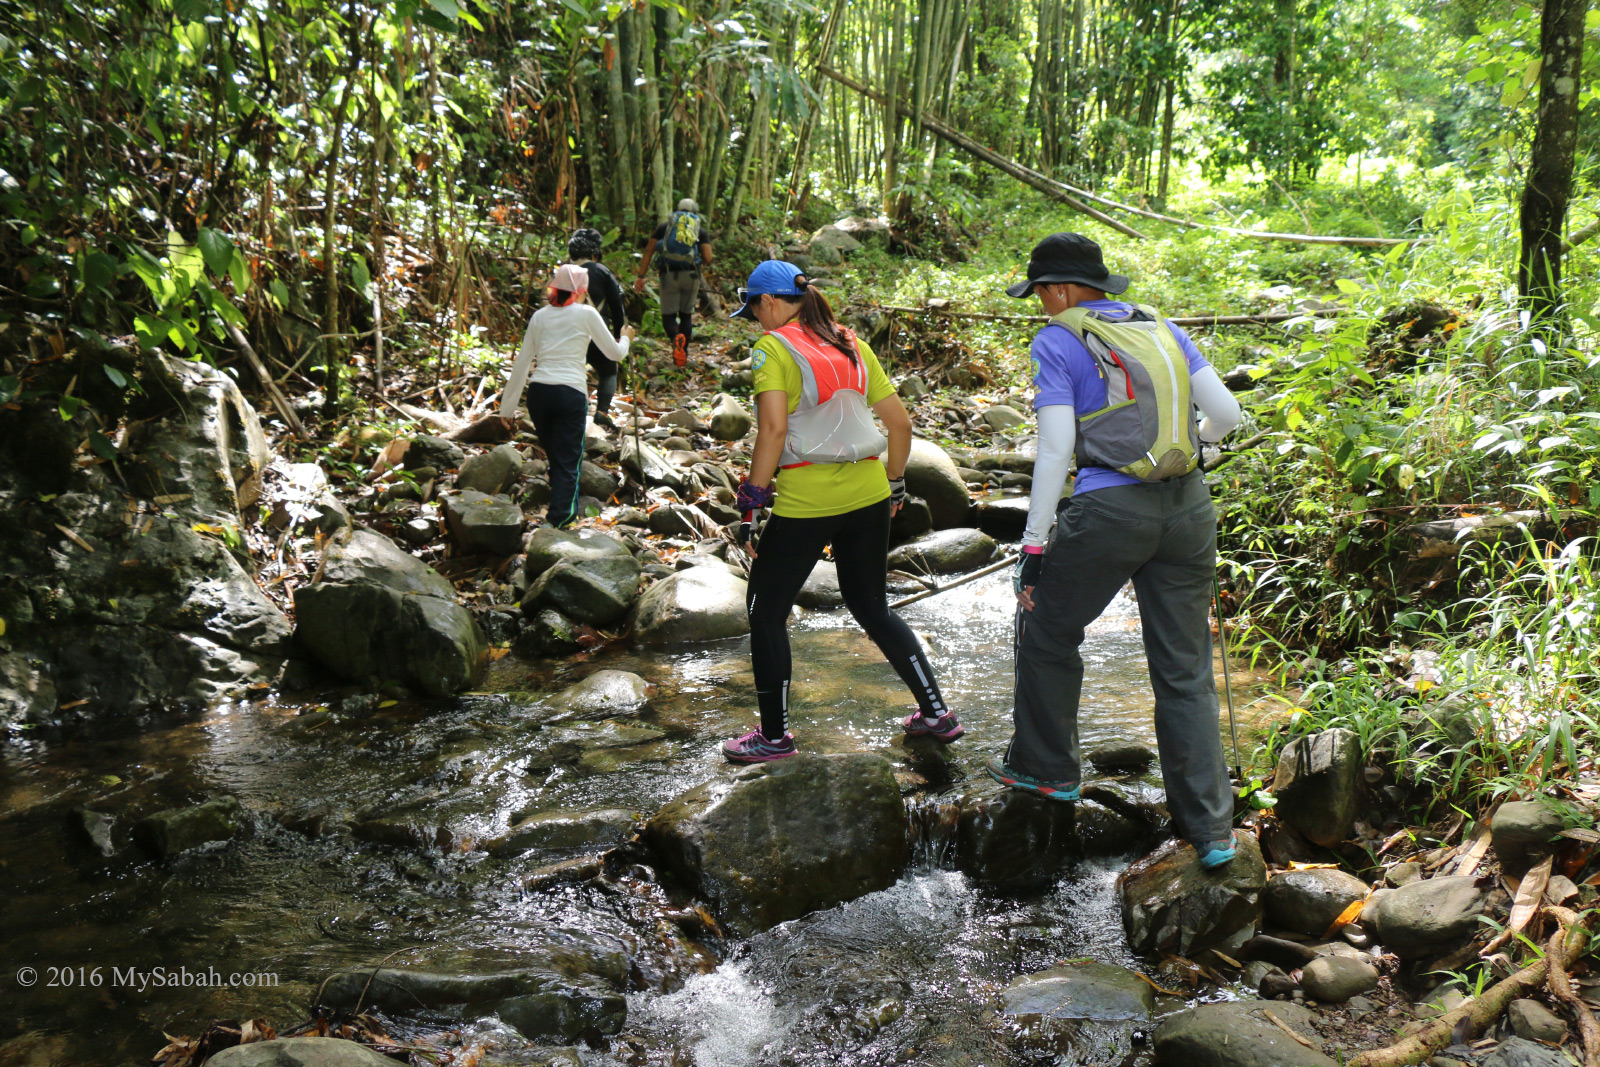
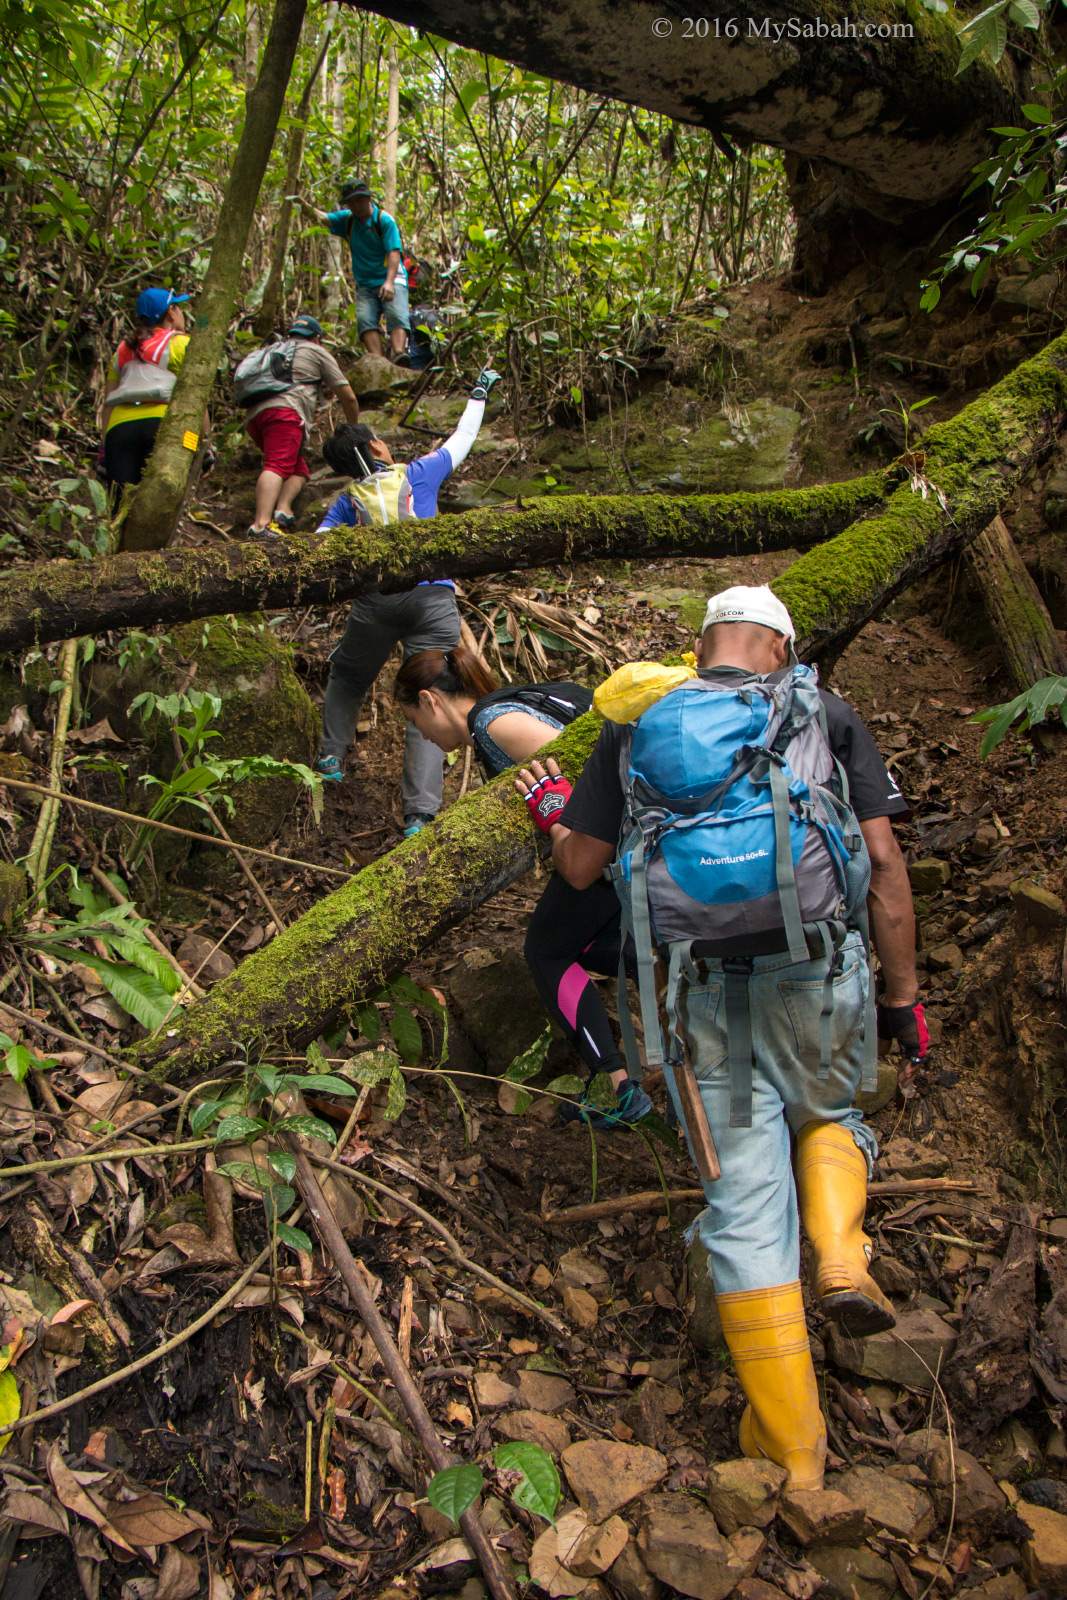
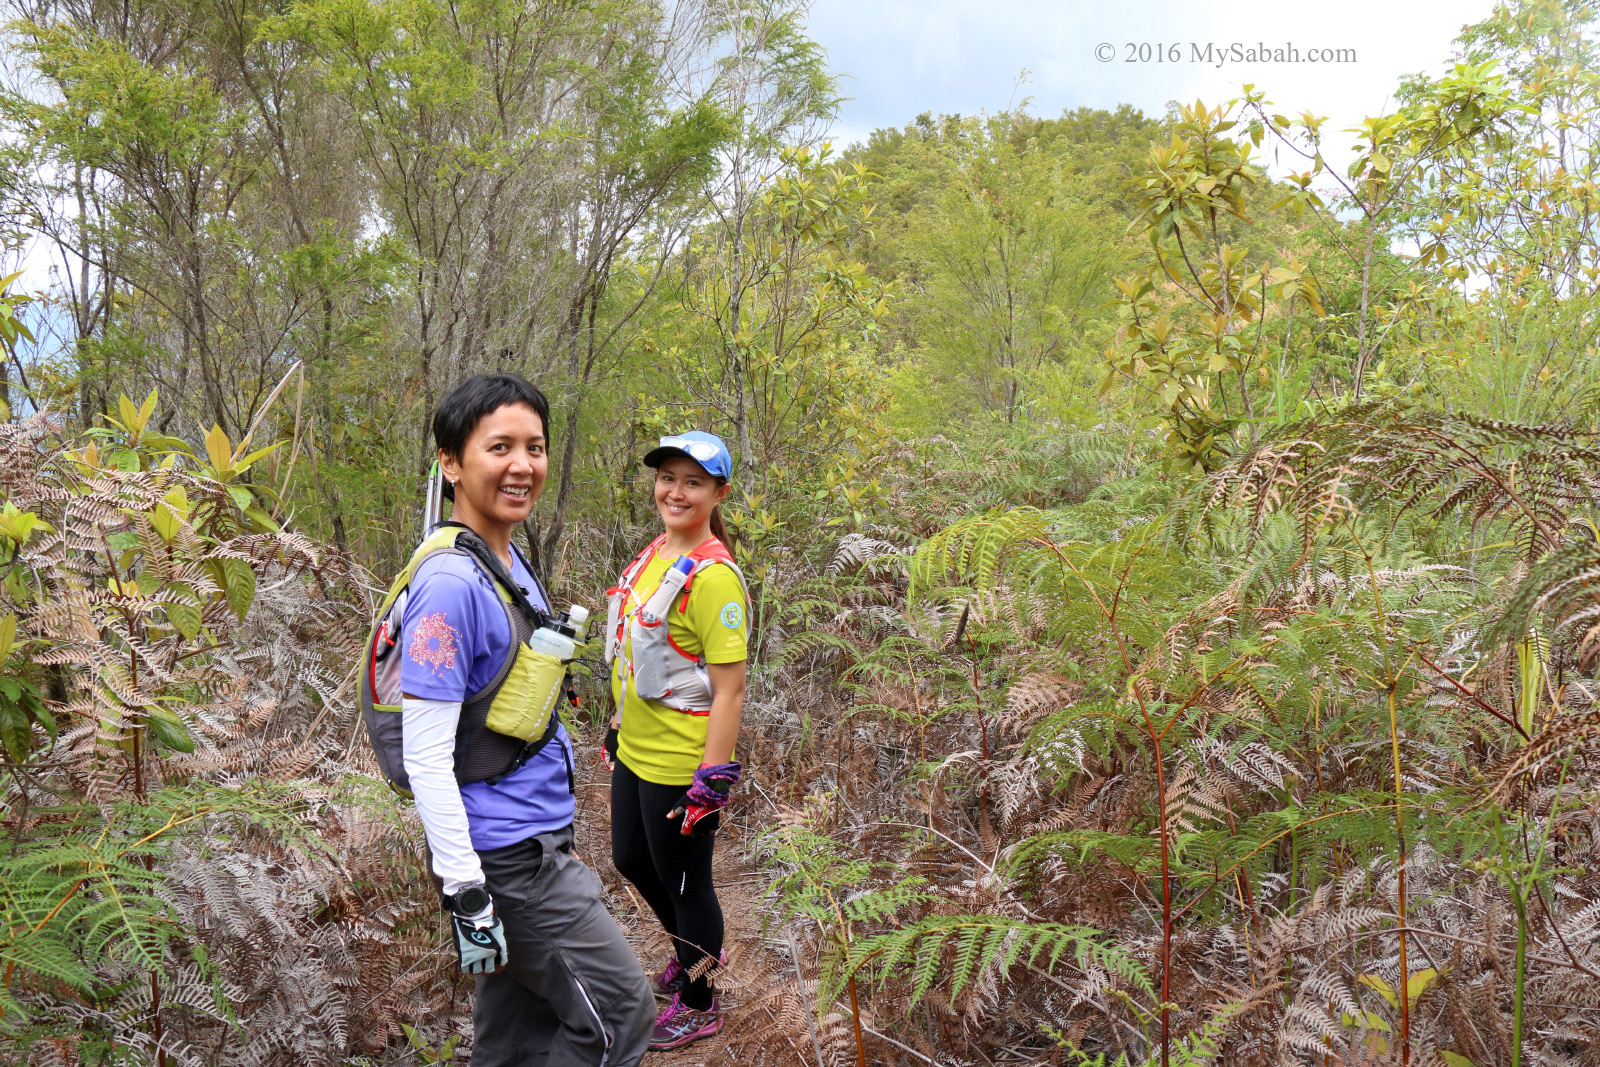
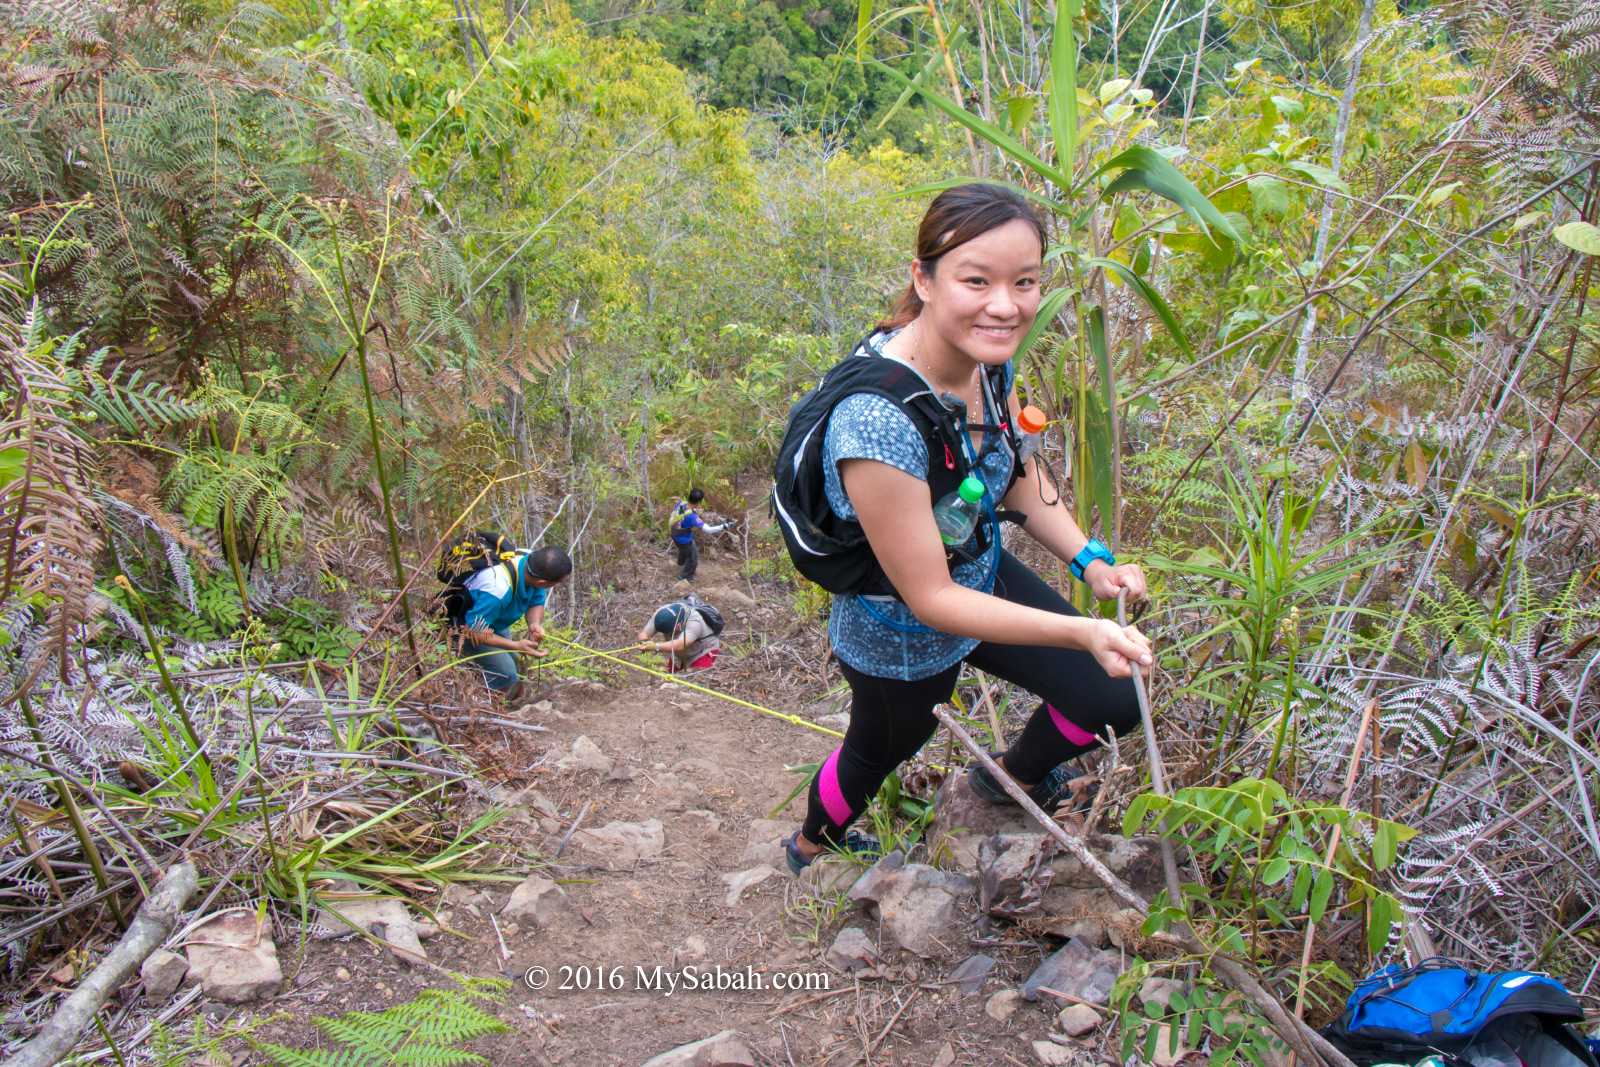
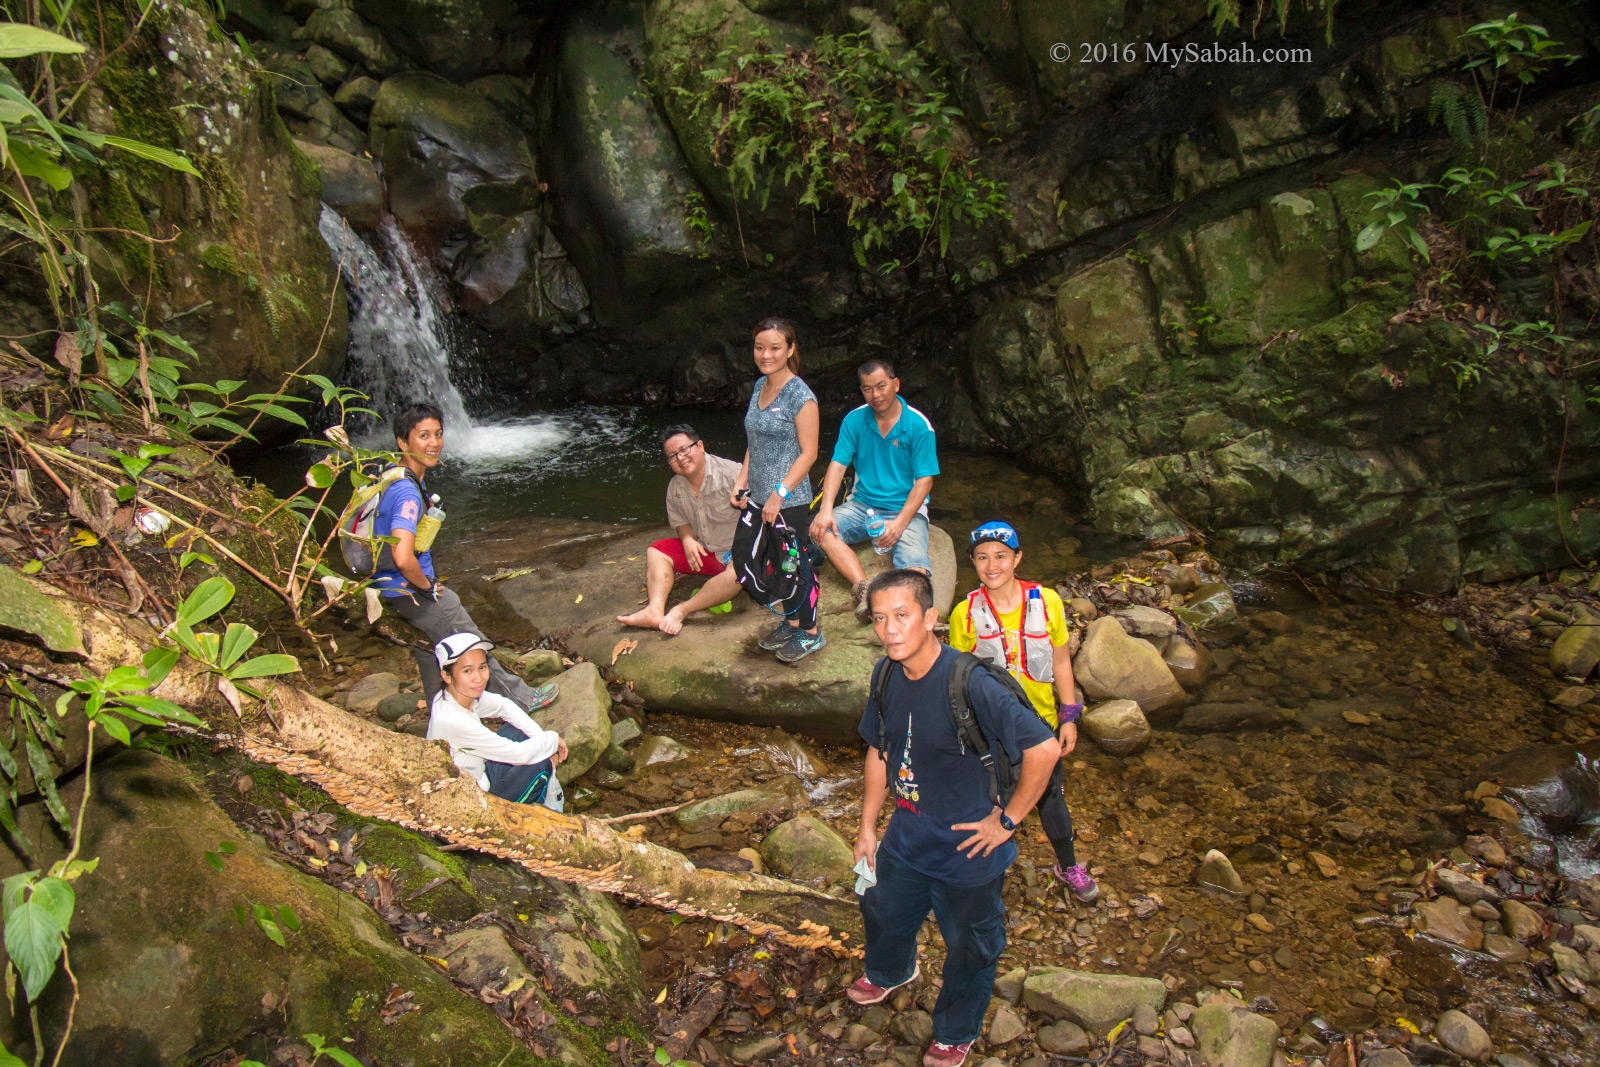
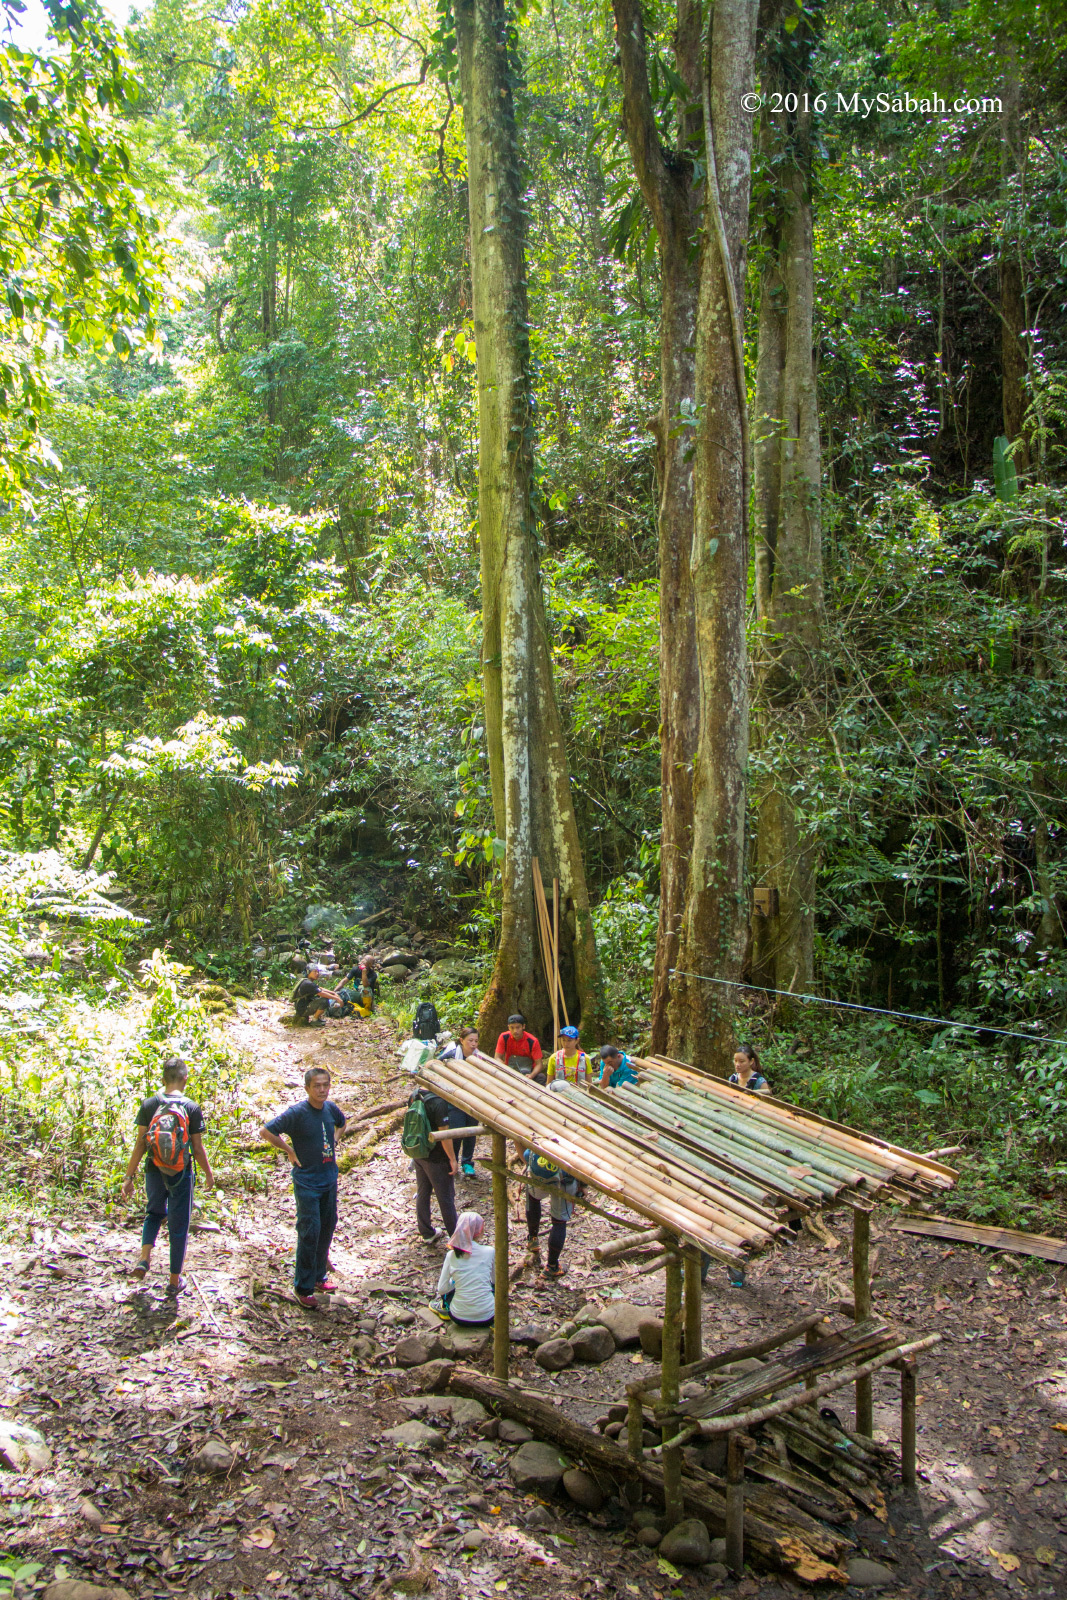
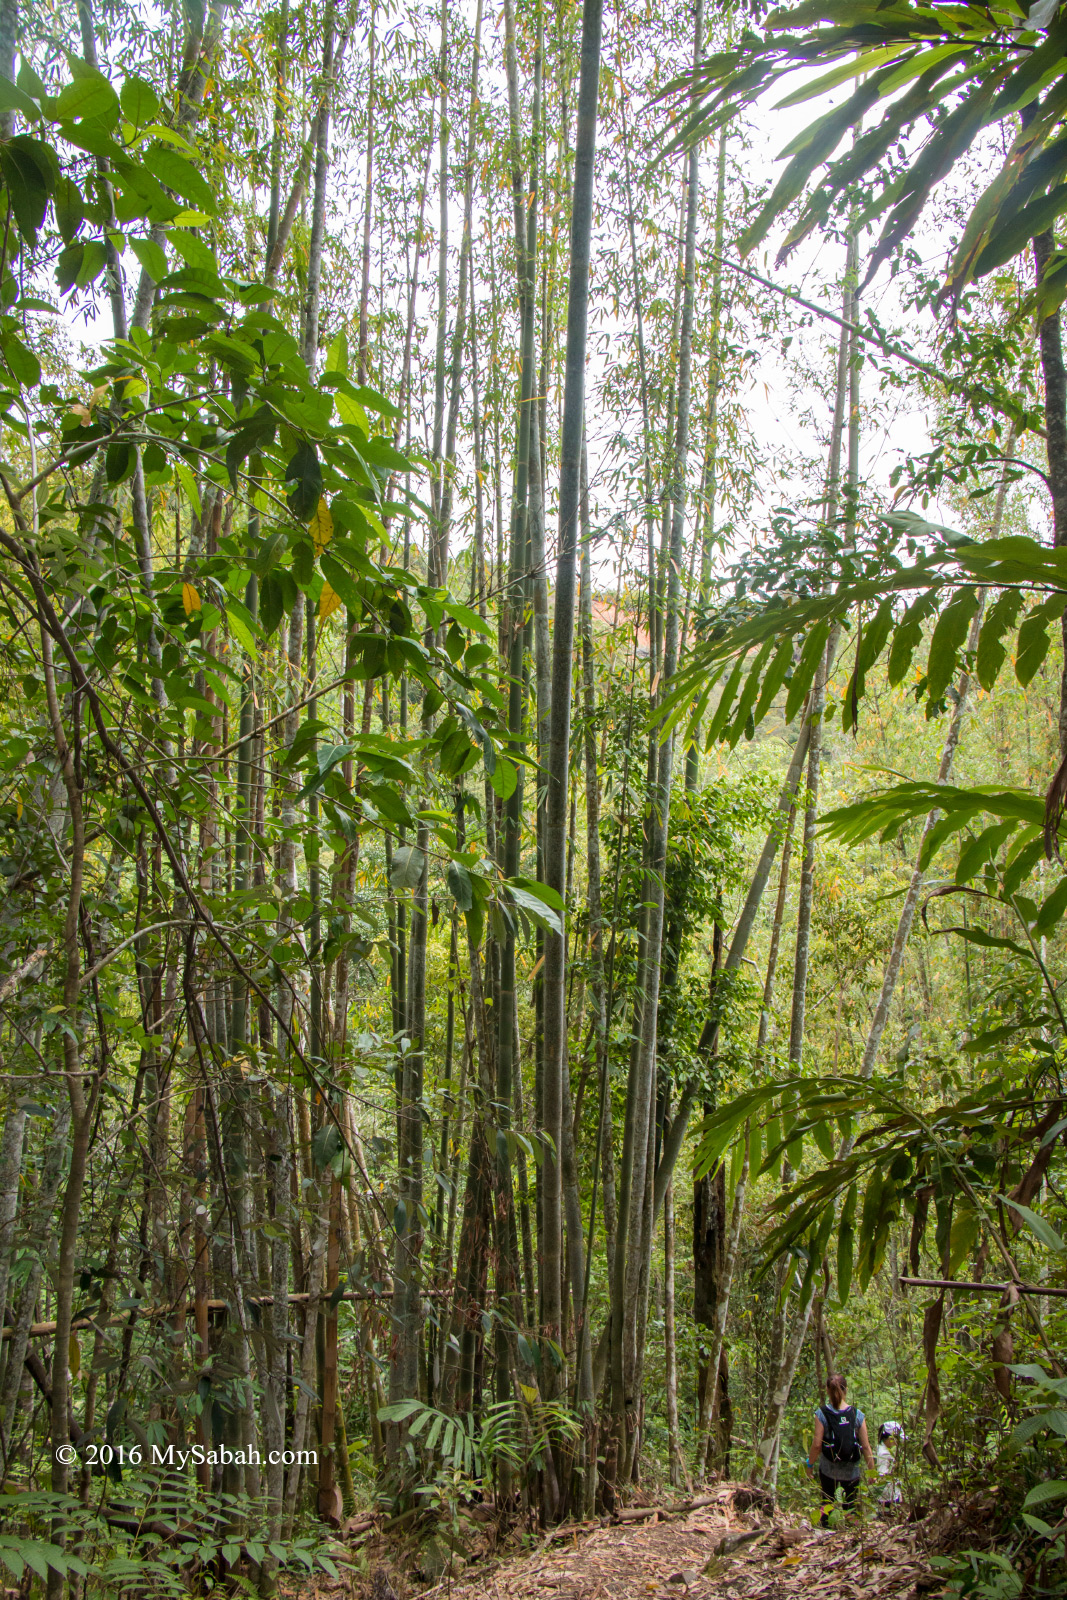
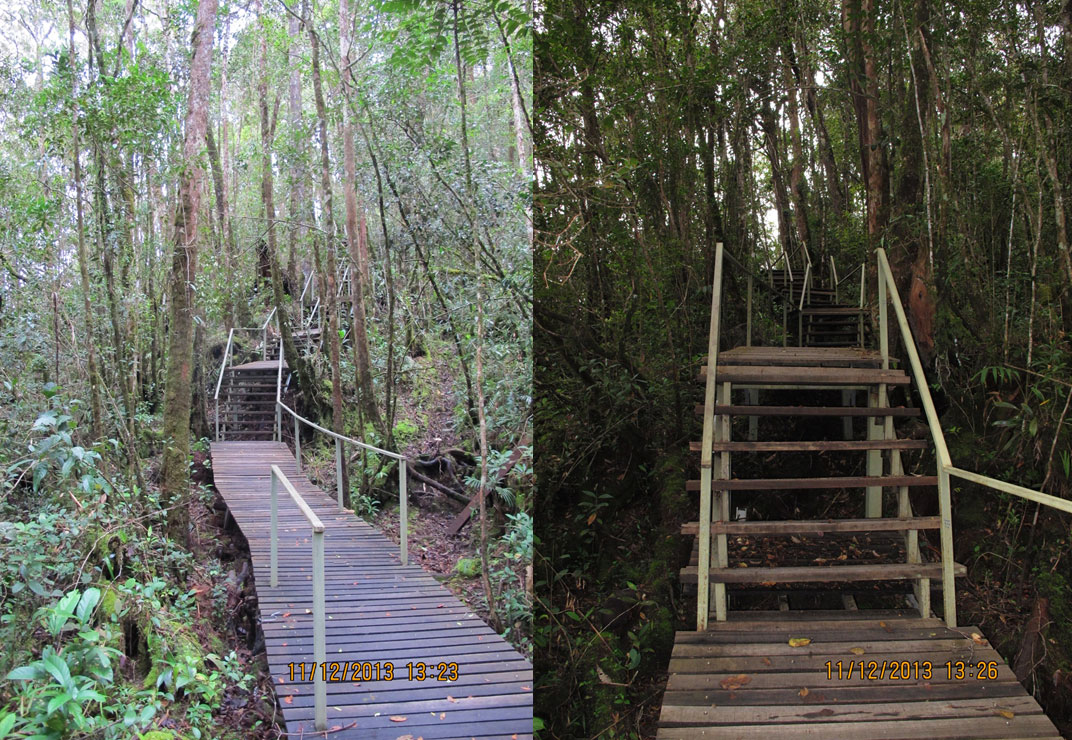
Serinsim is more than a park for swimming and picnic only. Do a jungle trekking to visit the 12-Meter Misumpak Waterfall. Soaking in its cooling ponds will be one of the best nature experience, I promise. You would see hornbill, civet, red leaf monkey, orangutan and other wildlife on the way.
>> Read more about Misumpak Waterfall…
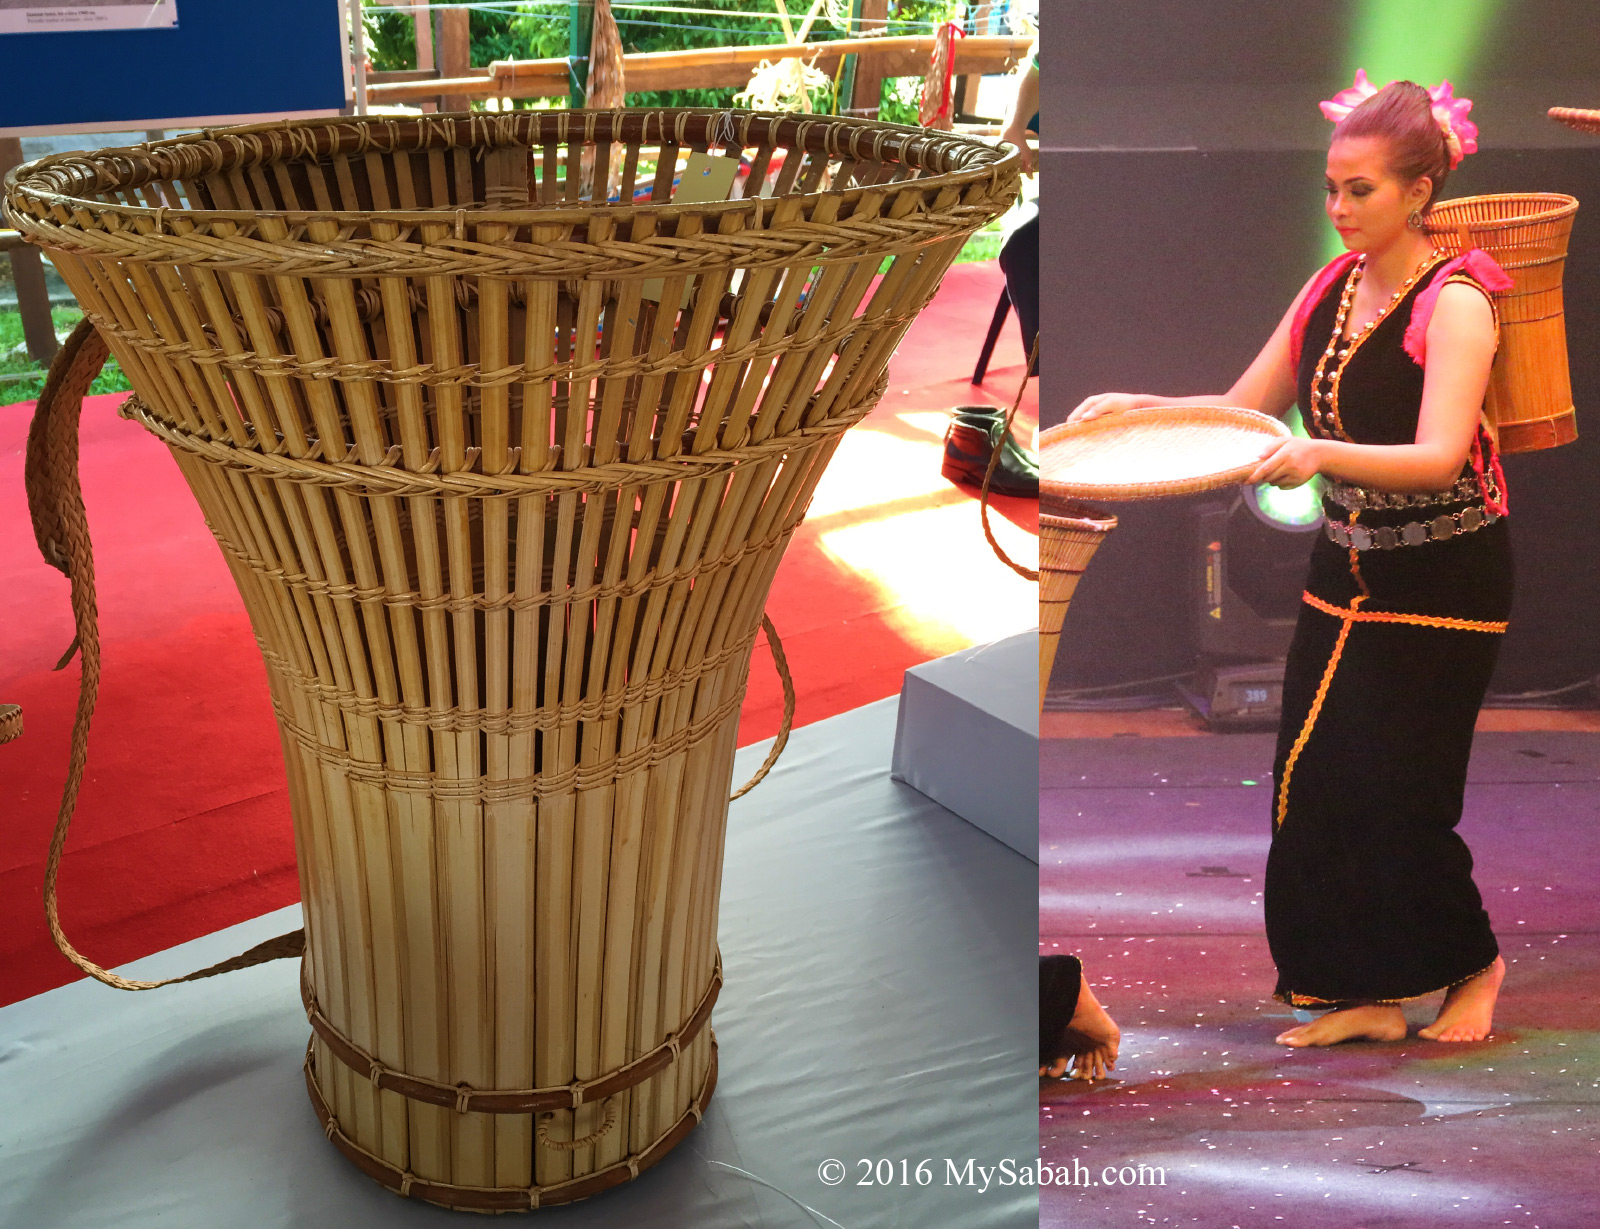
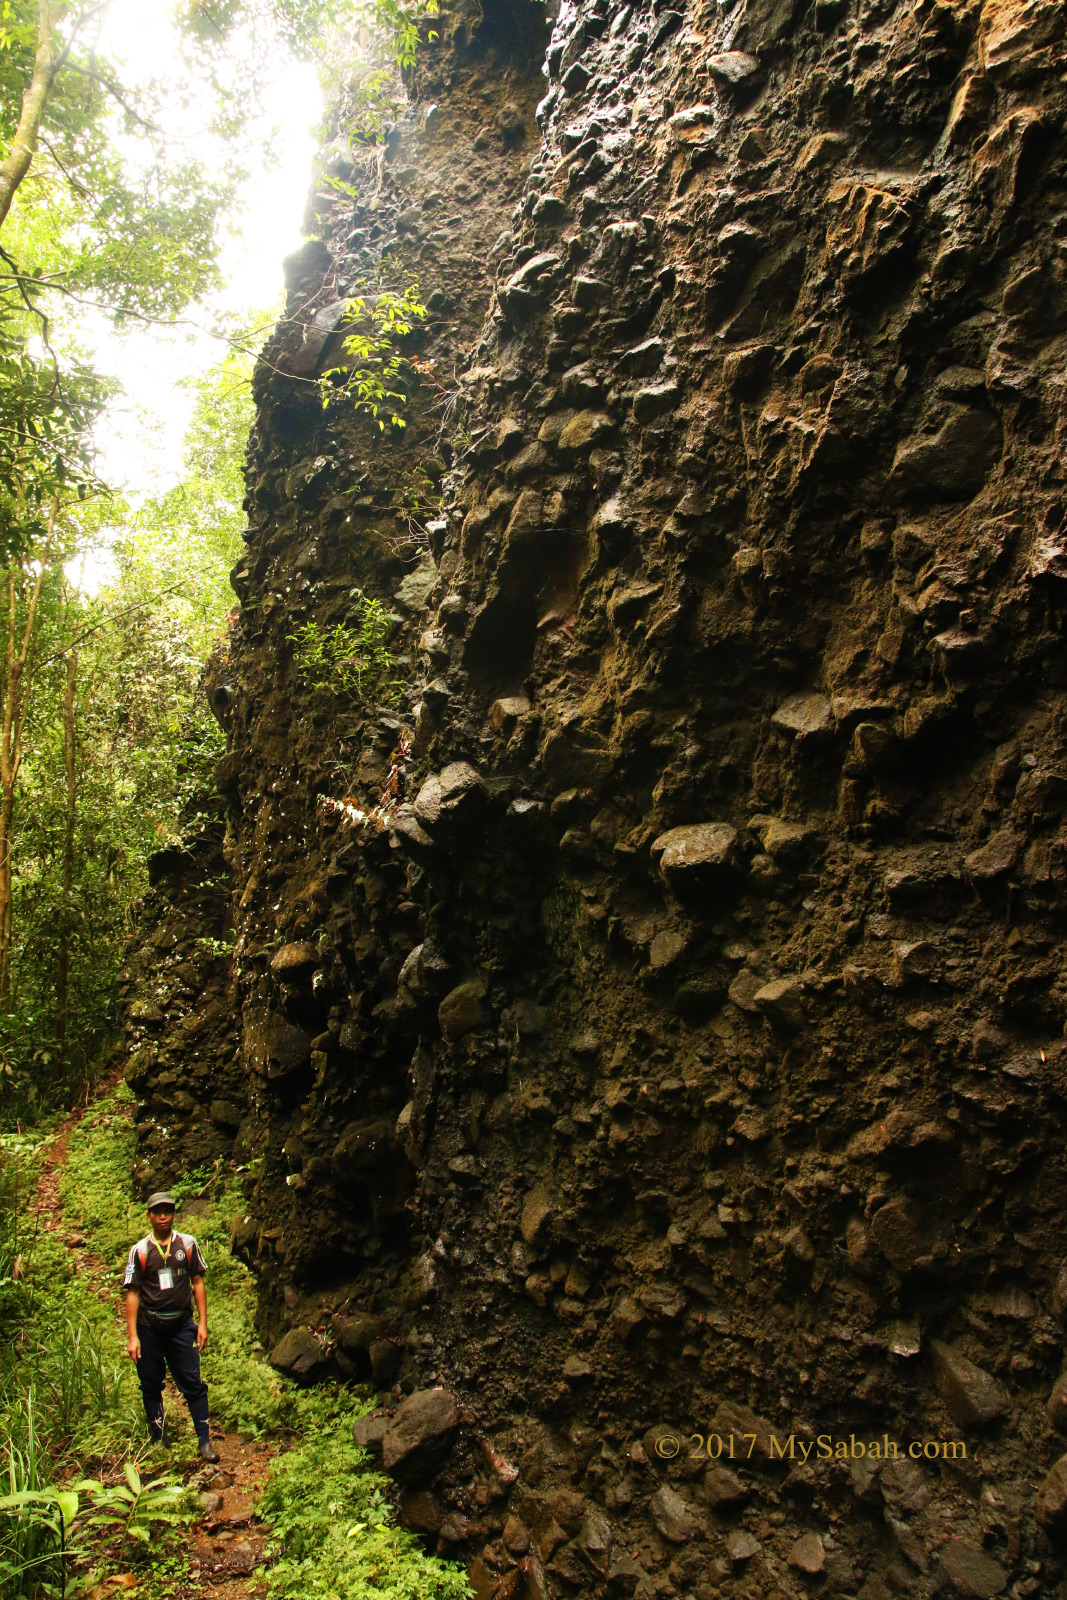
4. Gambaliu, the Tallest Man in the World
According to the local legend, a giant named Gambaliu lived here about two to three thousand years ago. With a height of 24 feet, Gambaliu is taller than giraffe. He was a gentle and helpful giant. However, what his people did after he died was sort of… heartless.
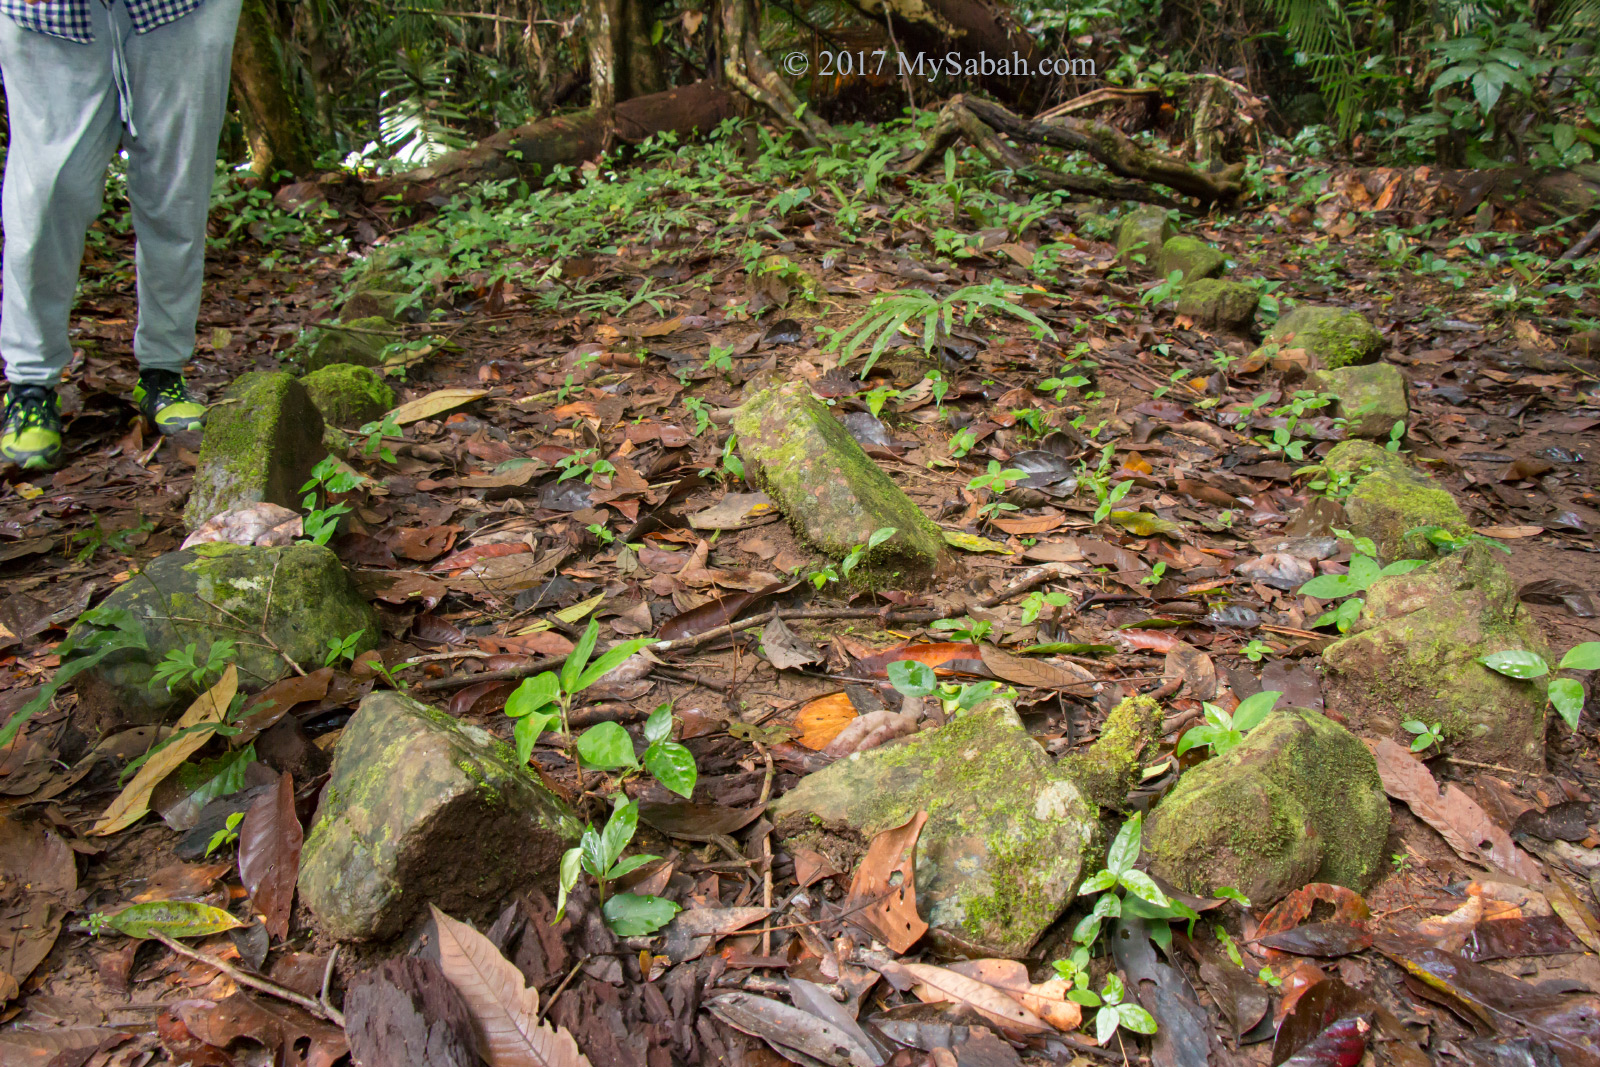
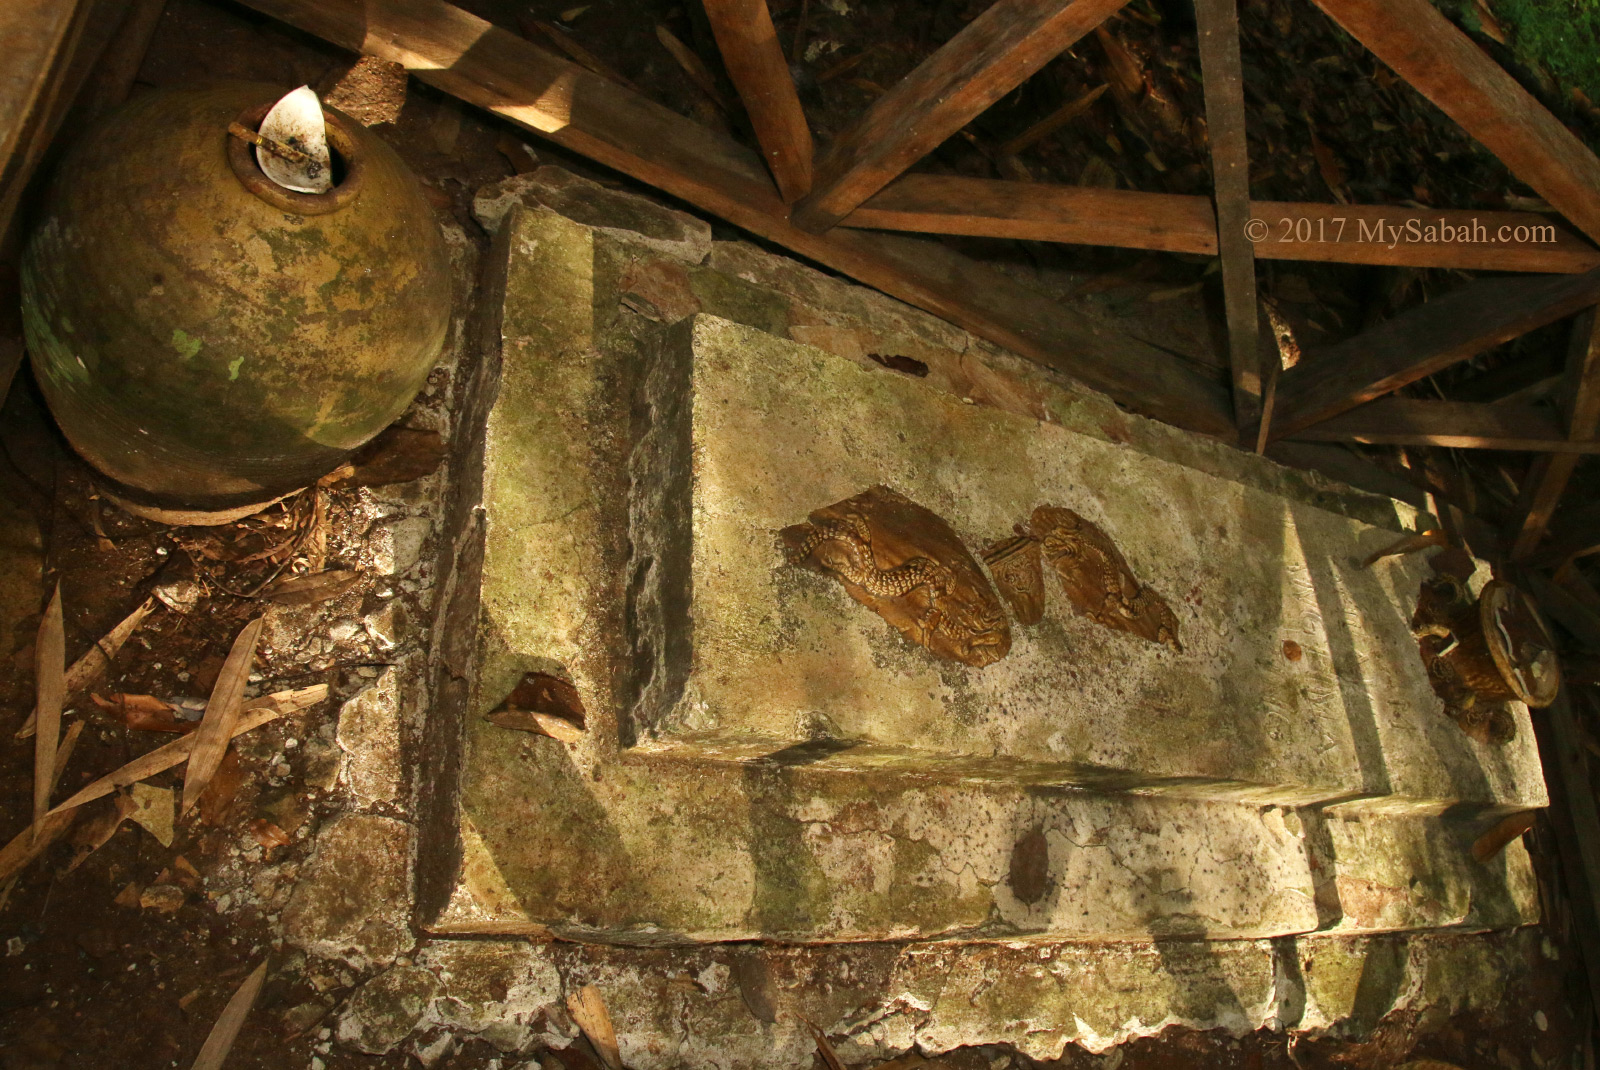
5. Sigunting Graveyard
Sick of those cliche movies about superheroes saving the mankind? Let’s hear the story of real Sabah hero, Si-Gunting, who fought British imperialism for 7 years.
6. Deer Farm
About 120 Meters from the hostel (Asrama Kanarom) is a 0.5-Acre of fenced and forested Deer Farm. The best time to visit is the feeding time at 2pm, the time about 10 Sambar deers show up for jackfruit, tapioca leaves, banana, and fruits given by the Park.
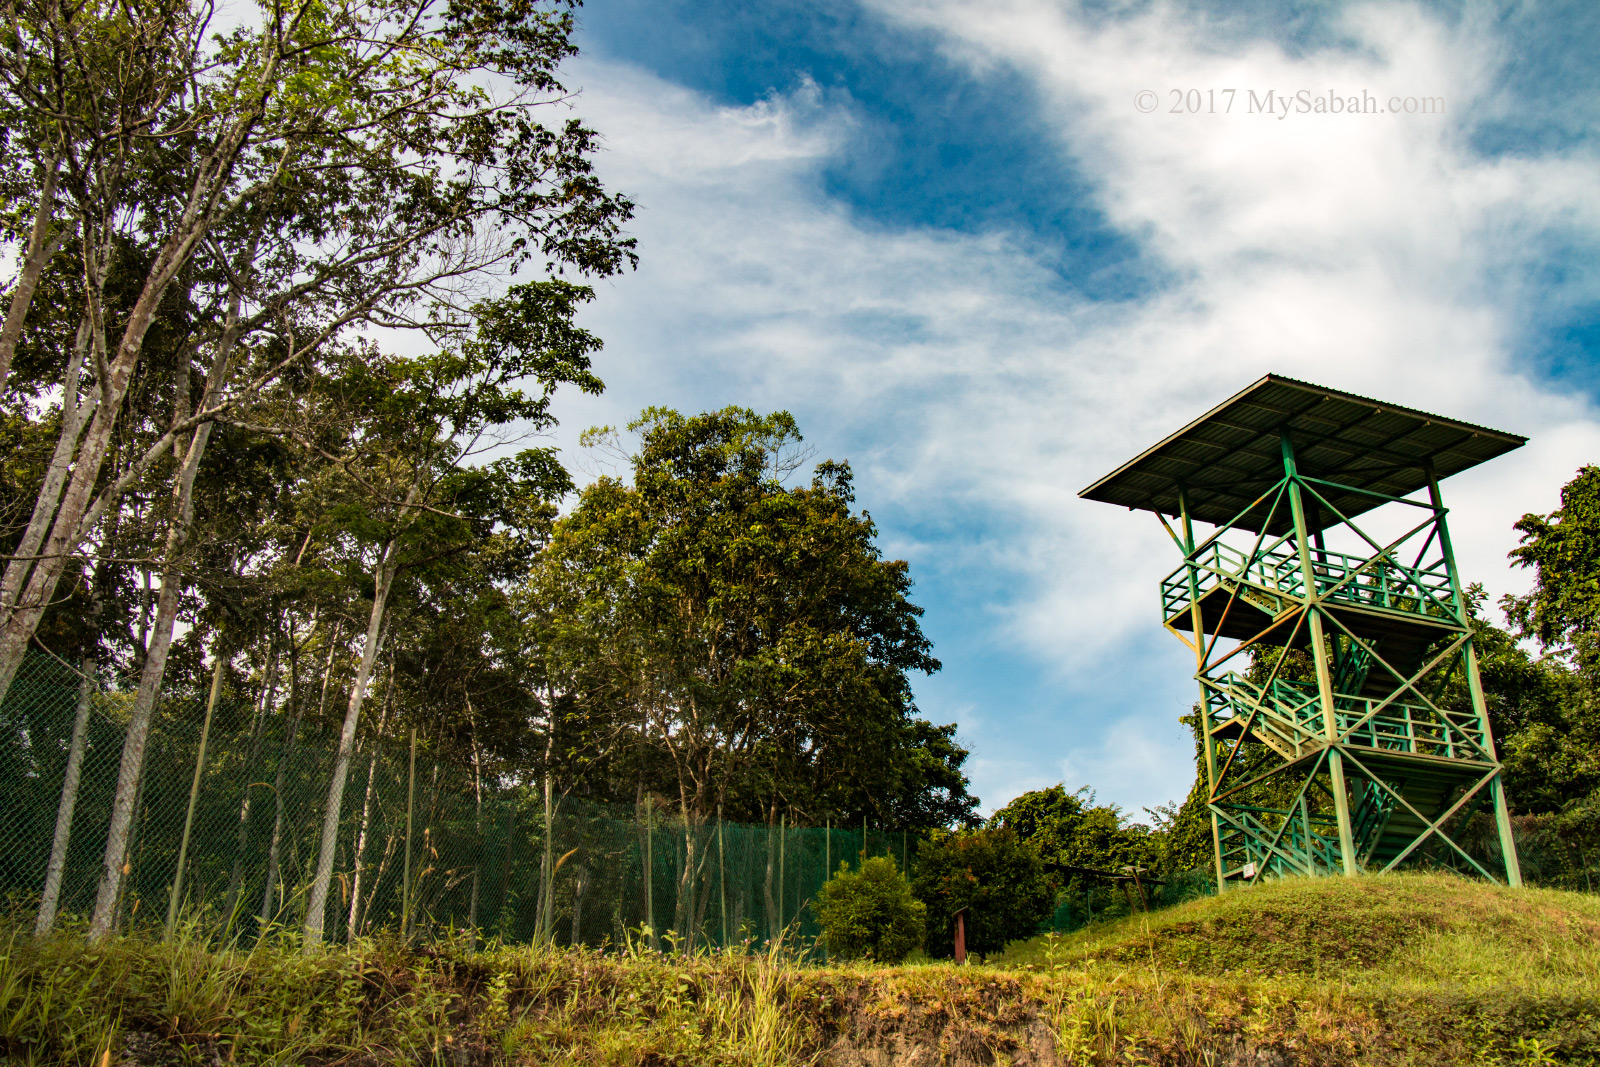
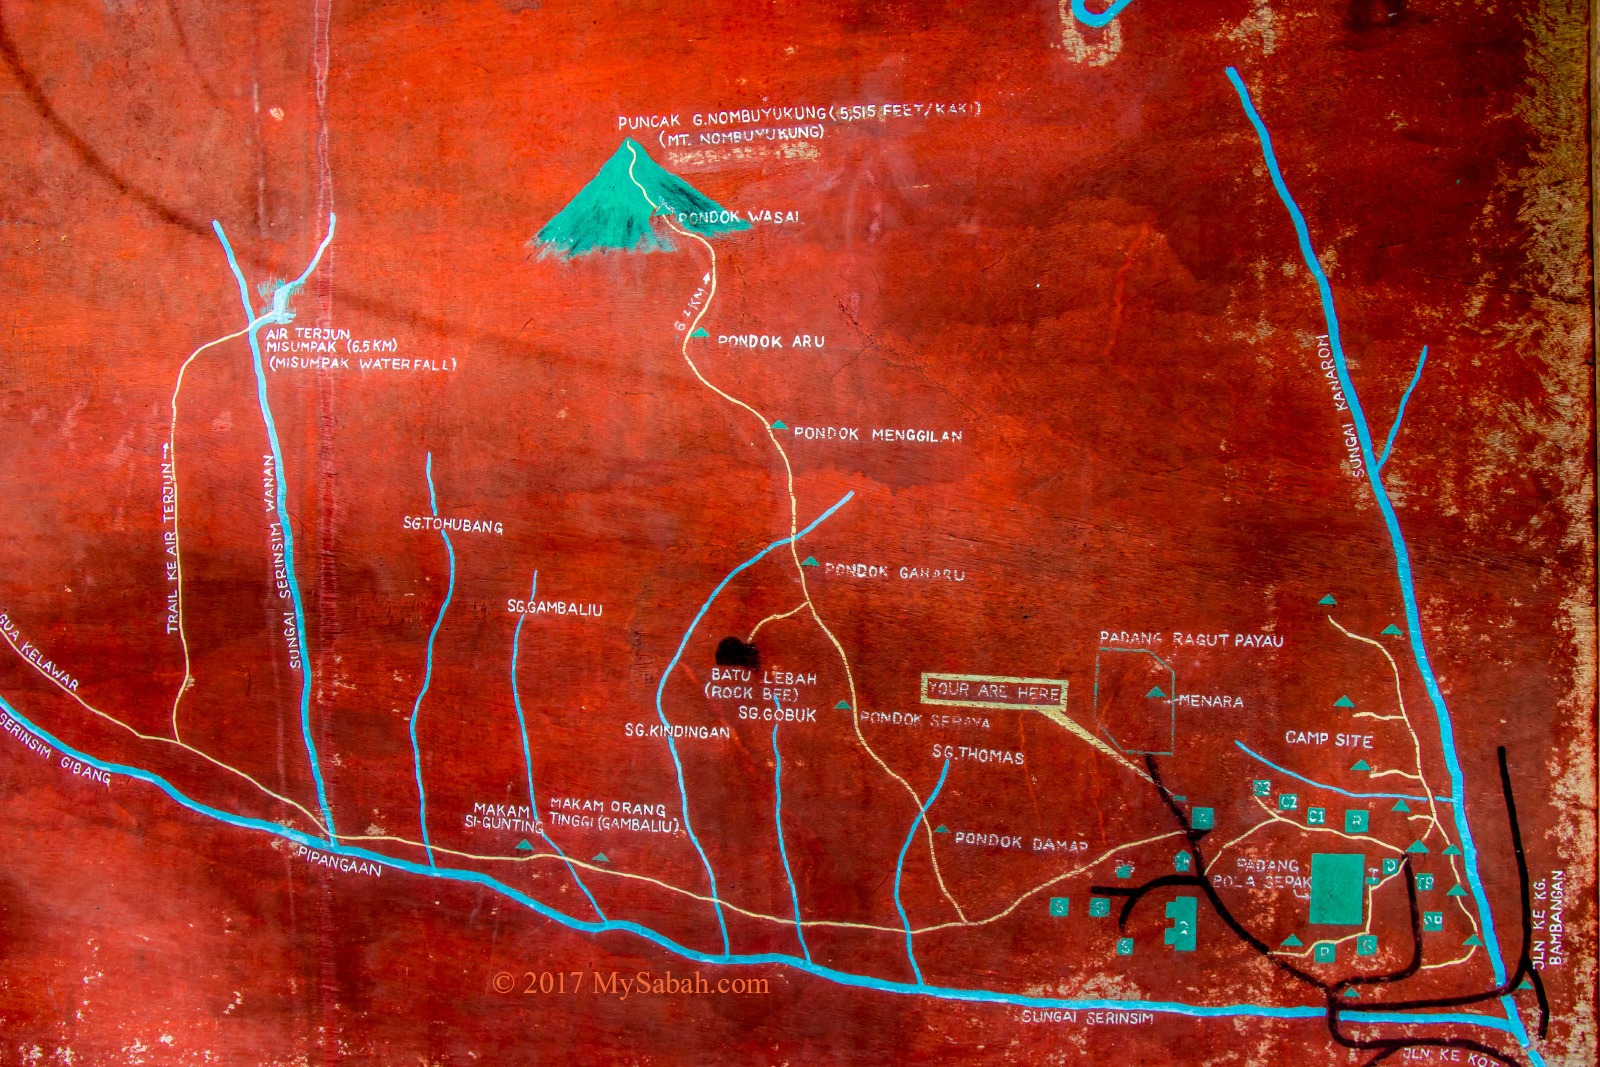
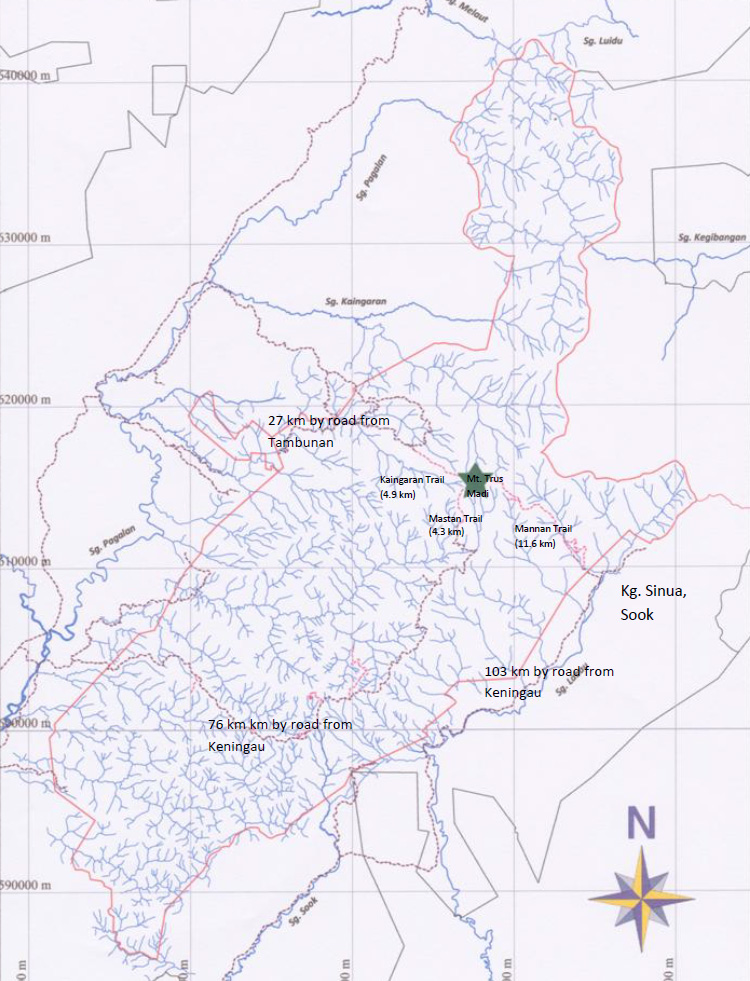
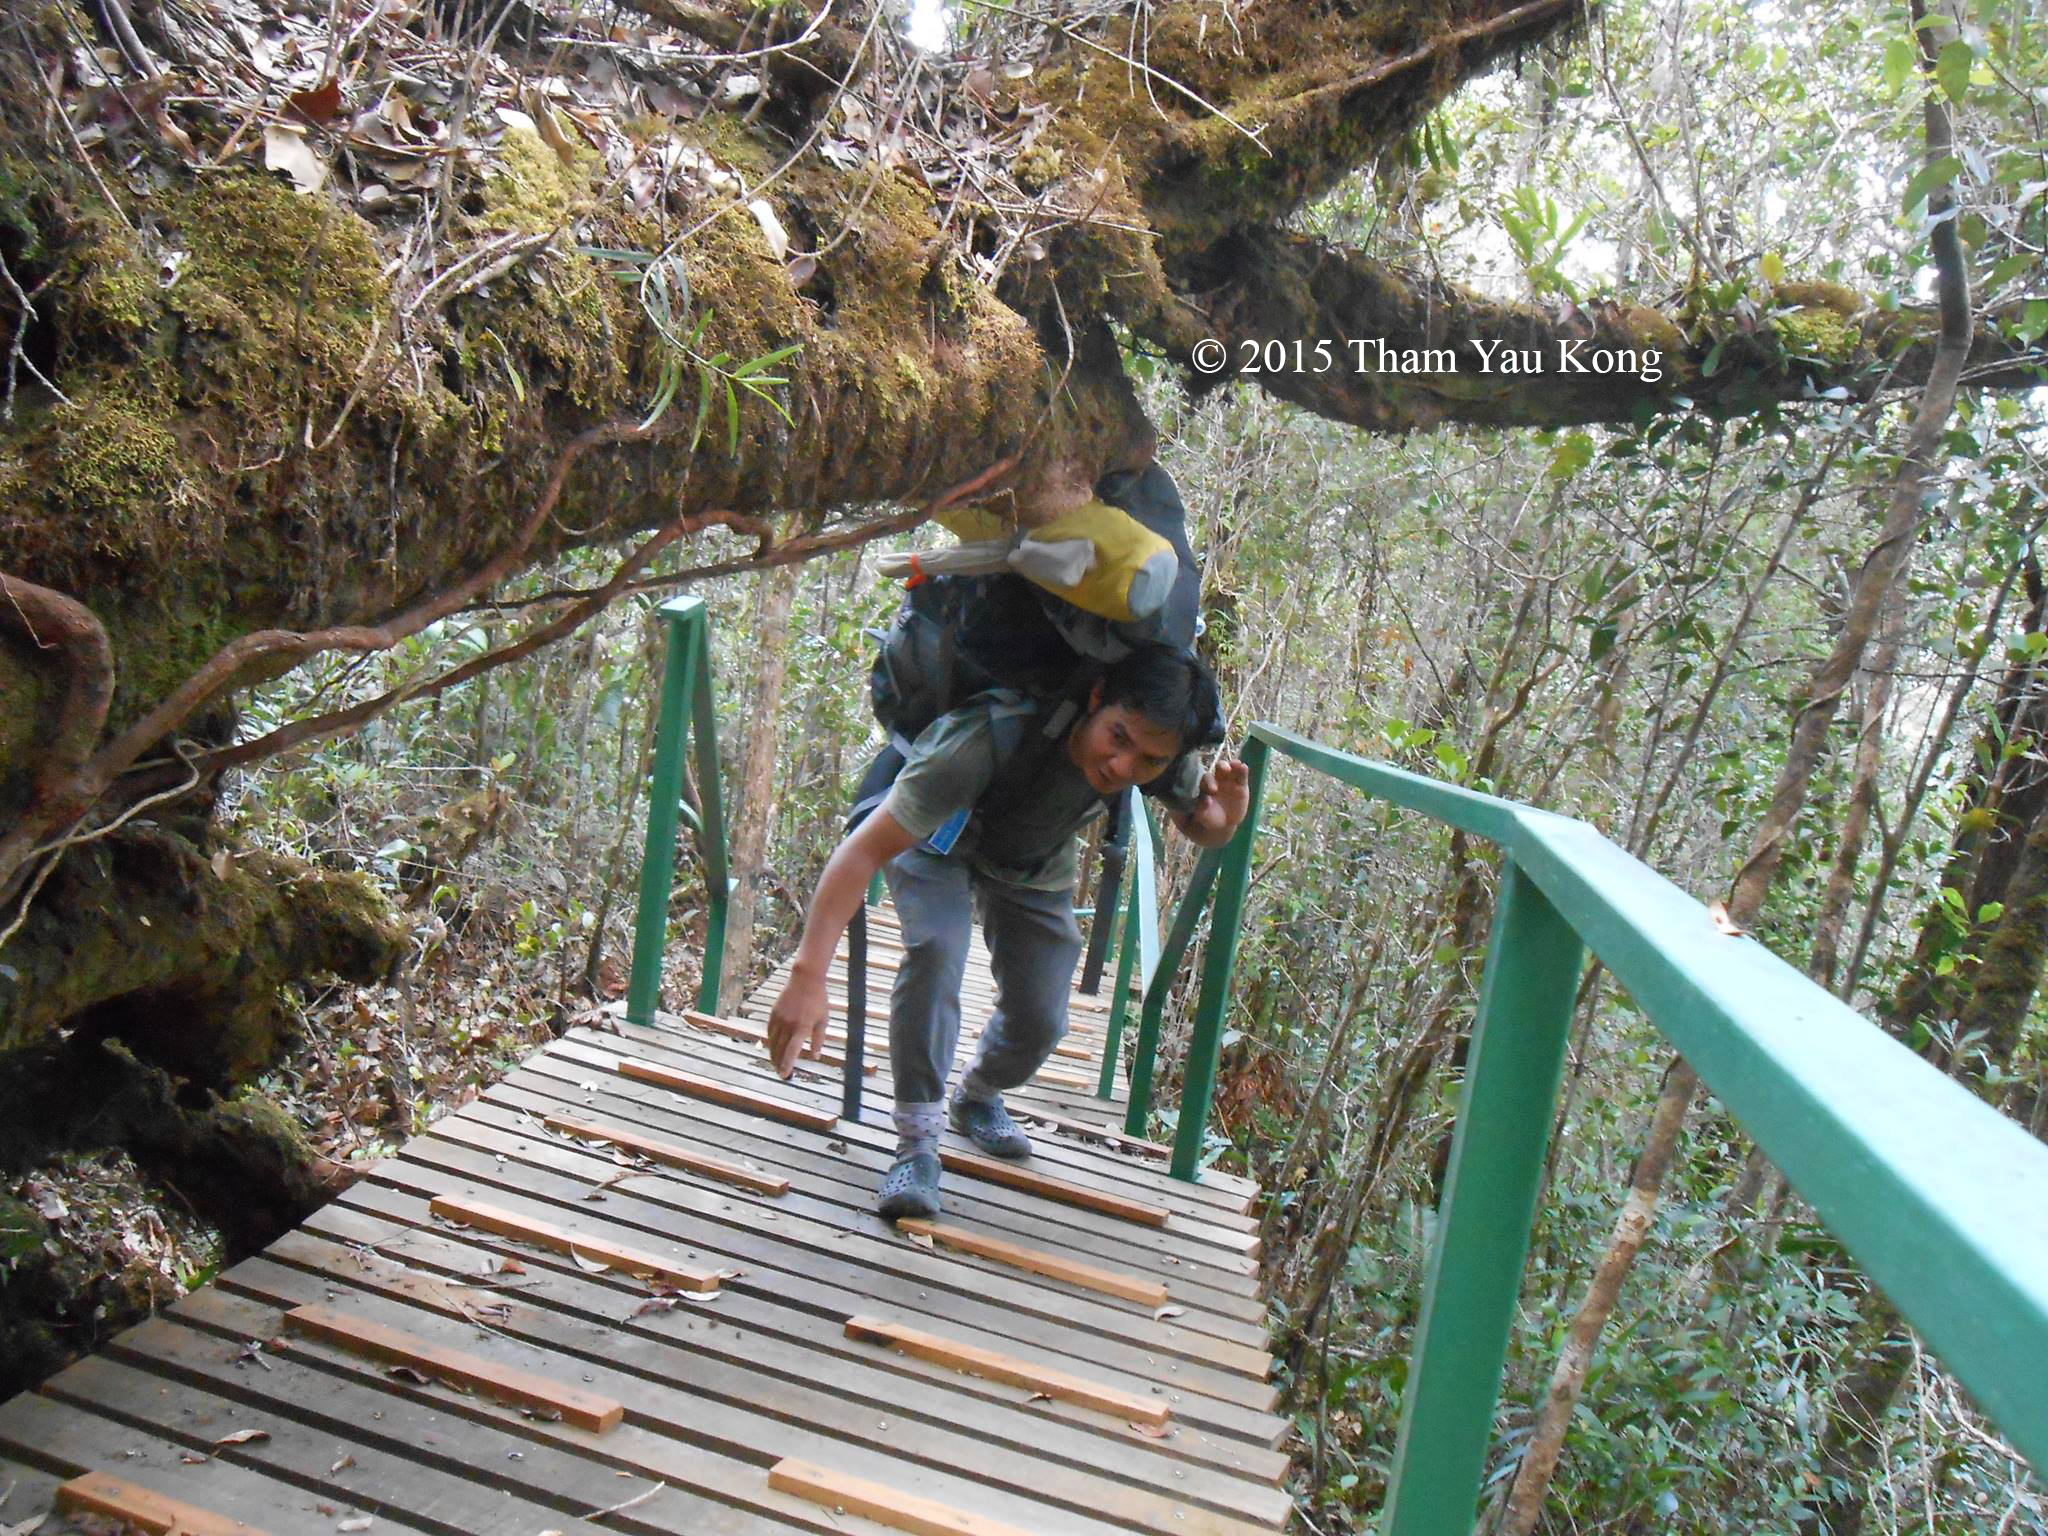
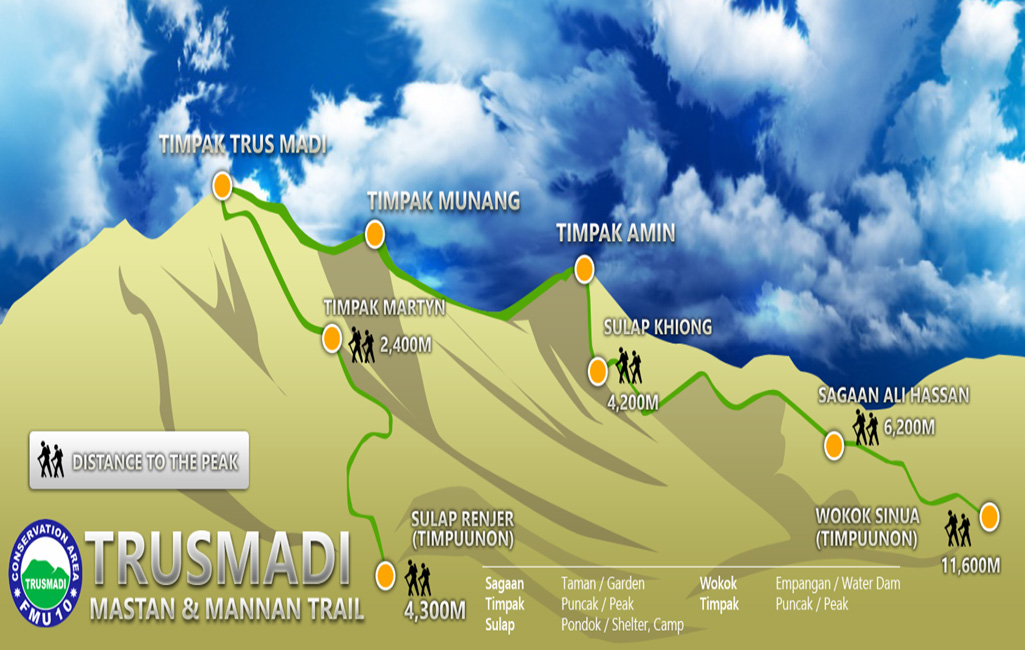
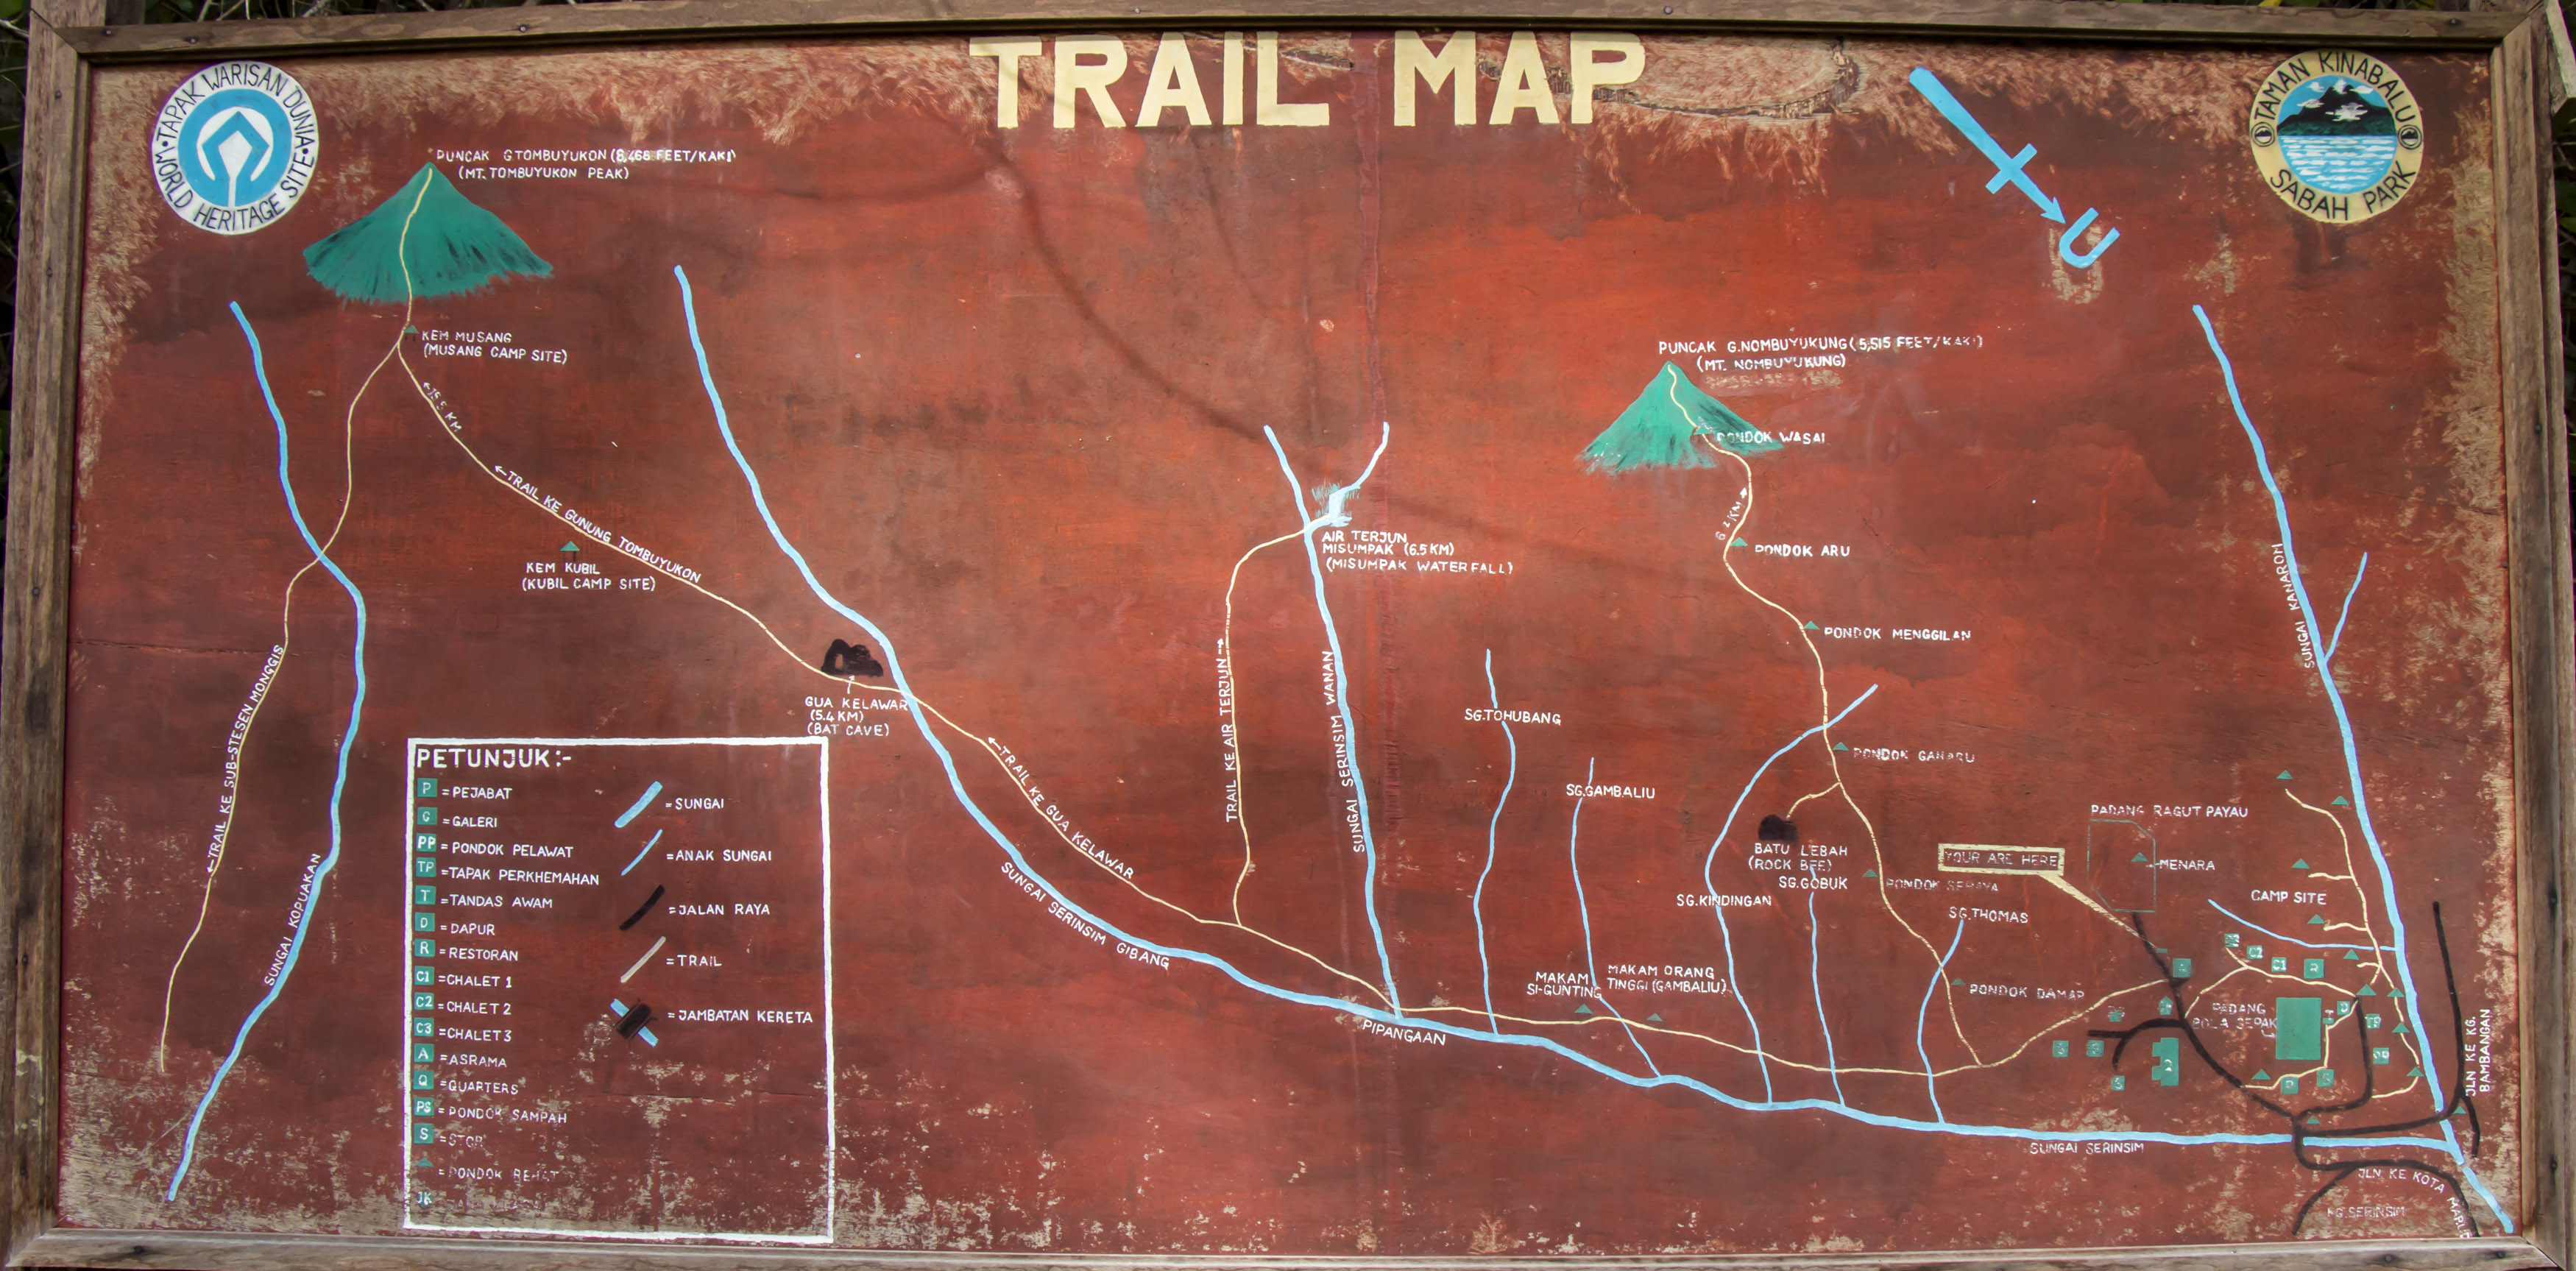
Below is the trail and layout map of Serinsim. Please note that for most jungle trekking activities, you are required to hire a guide from the Park, which can be arranged easily one day in advance.
Accommodation
Three chalets and one hostel are available to accommodate three families and 24 people respectively in the Park. Below is a quick comparison of the price. The rate is as of July 2017, and GST tax is included.
| Accommodation Type | Rate per Night |
|---|---|
| Camping | Adult: MYR5.30 (≈USD$1.32) Below 12: MYR2.15 (≈USD$0.53) |
| Hostel (Asrama Kanarom) | Adult: MYR42.40 (≈USD$10.60) Below 18: MYR31.80 (≈USD$7.95) |
| Chalet | 1 Chalet: MYR318.00 (≈USD$79.50) 1 Room: MYR106 (≈USD$26.50) |
Notes: Check-out time is 11:00am. Non-halal food such as pork is forbidden in the accommodation. The accommodation is not well-maintained. Before you unpack your luggage, make sure everything in your room is functioning (e.g. water supply, light, air-cond). Just in case anything is broken, you can change to other room quickly.
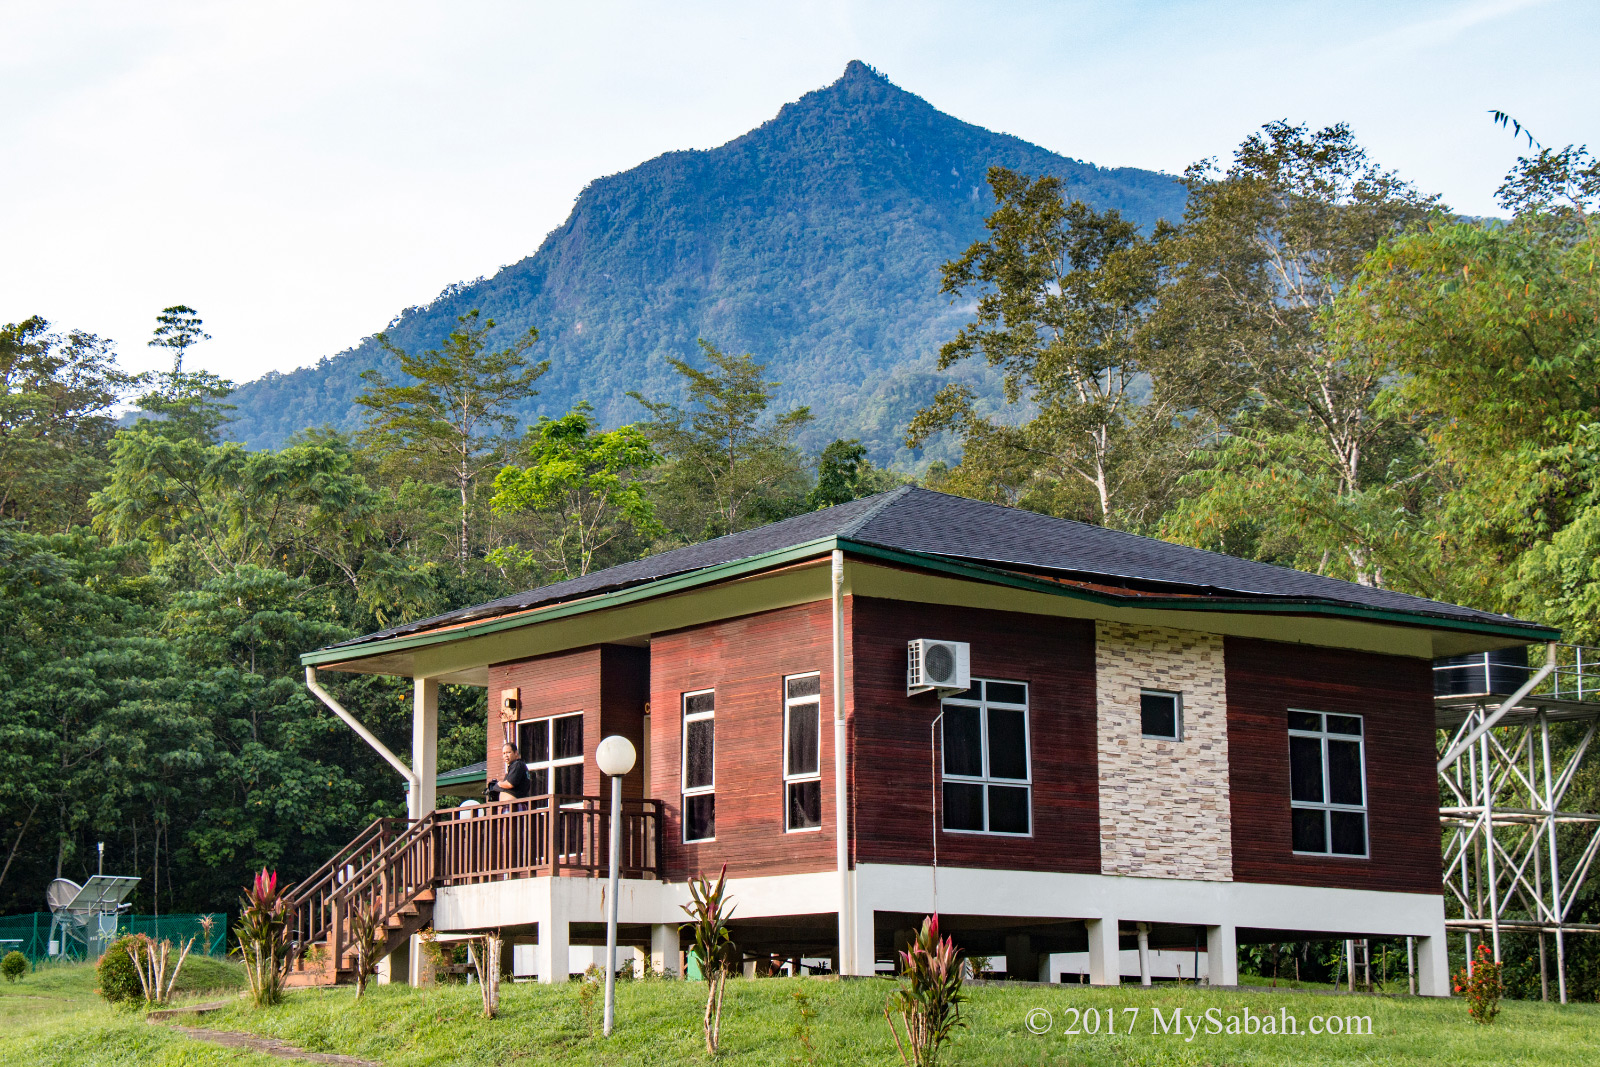
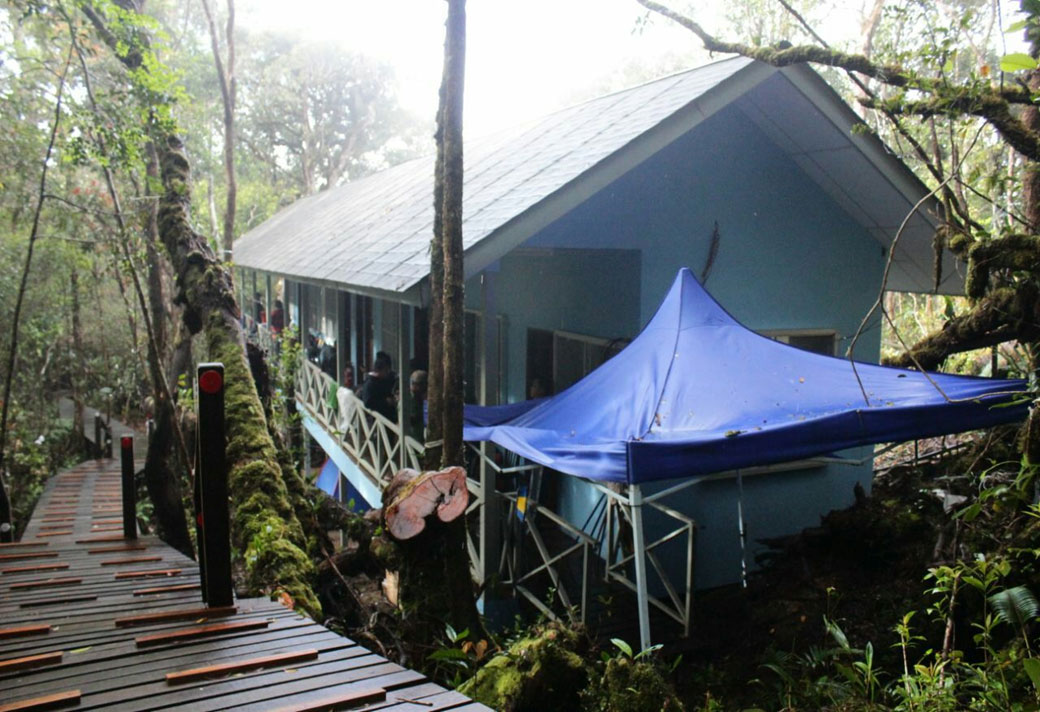
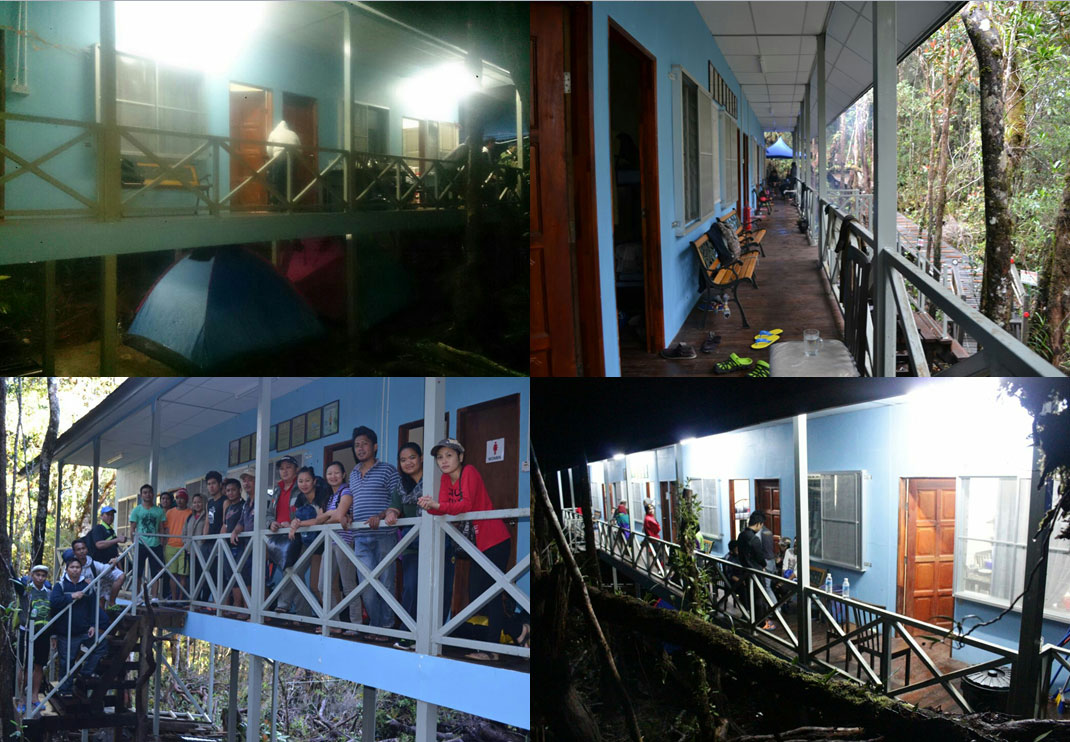
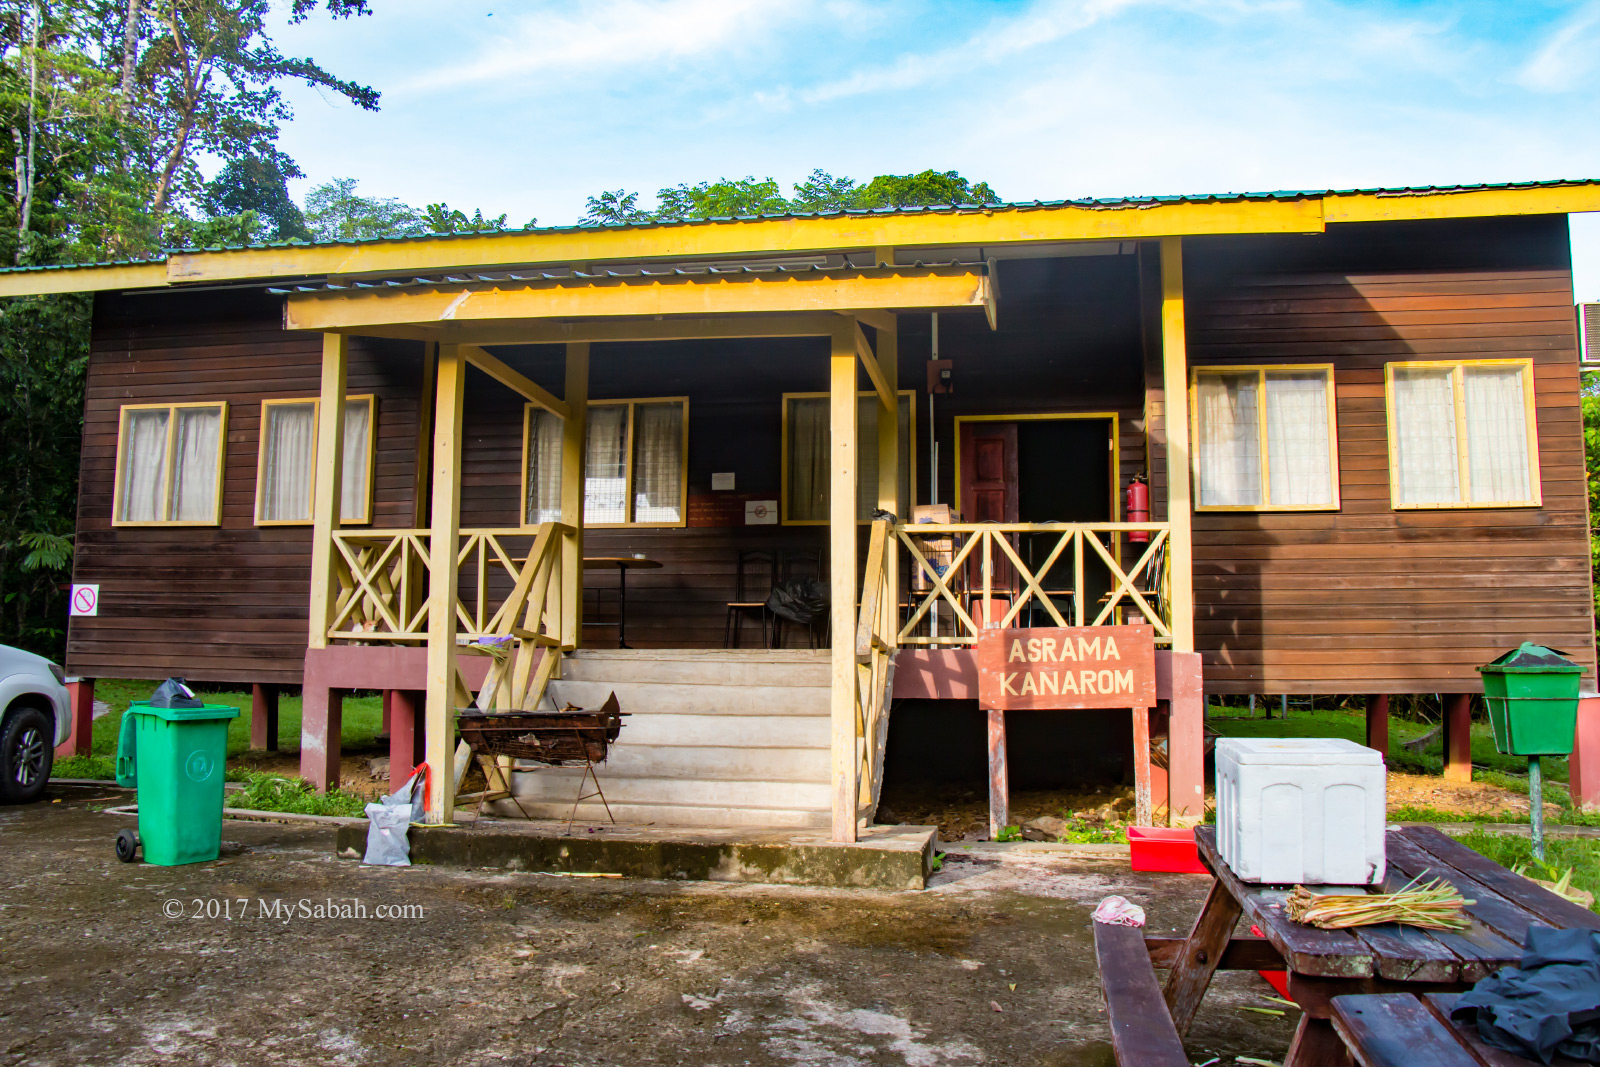
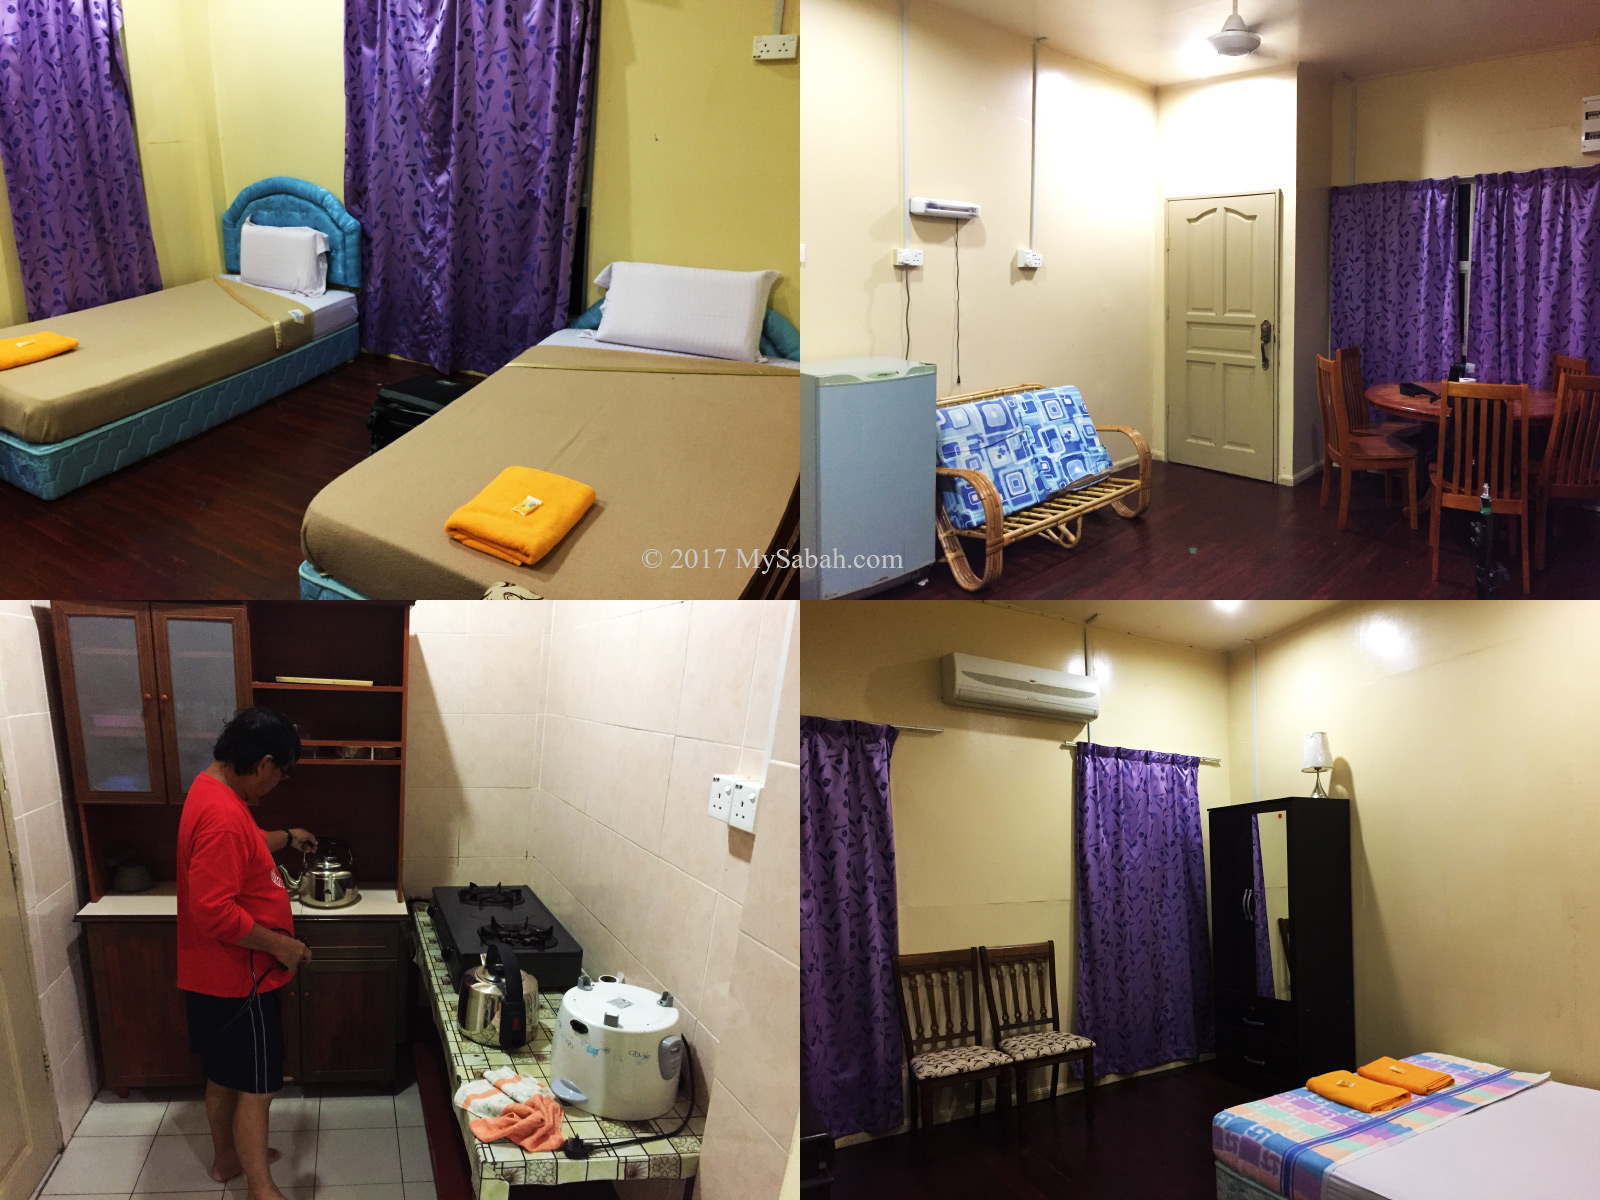
Asrama Kanarom Hostel
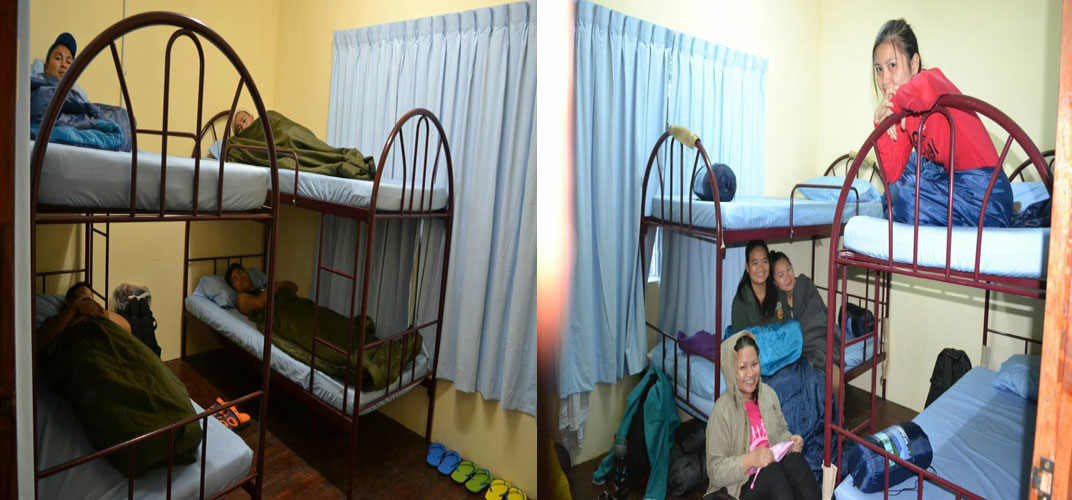
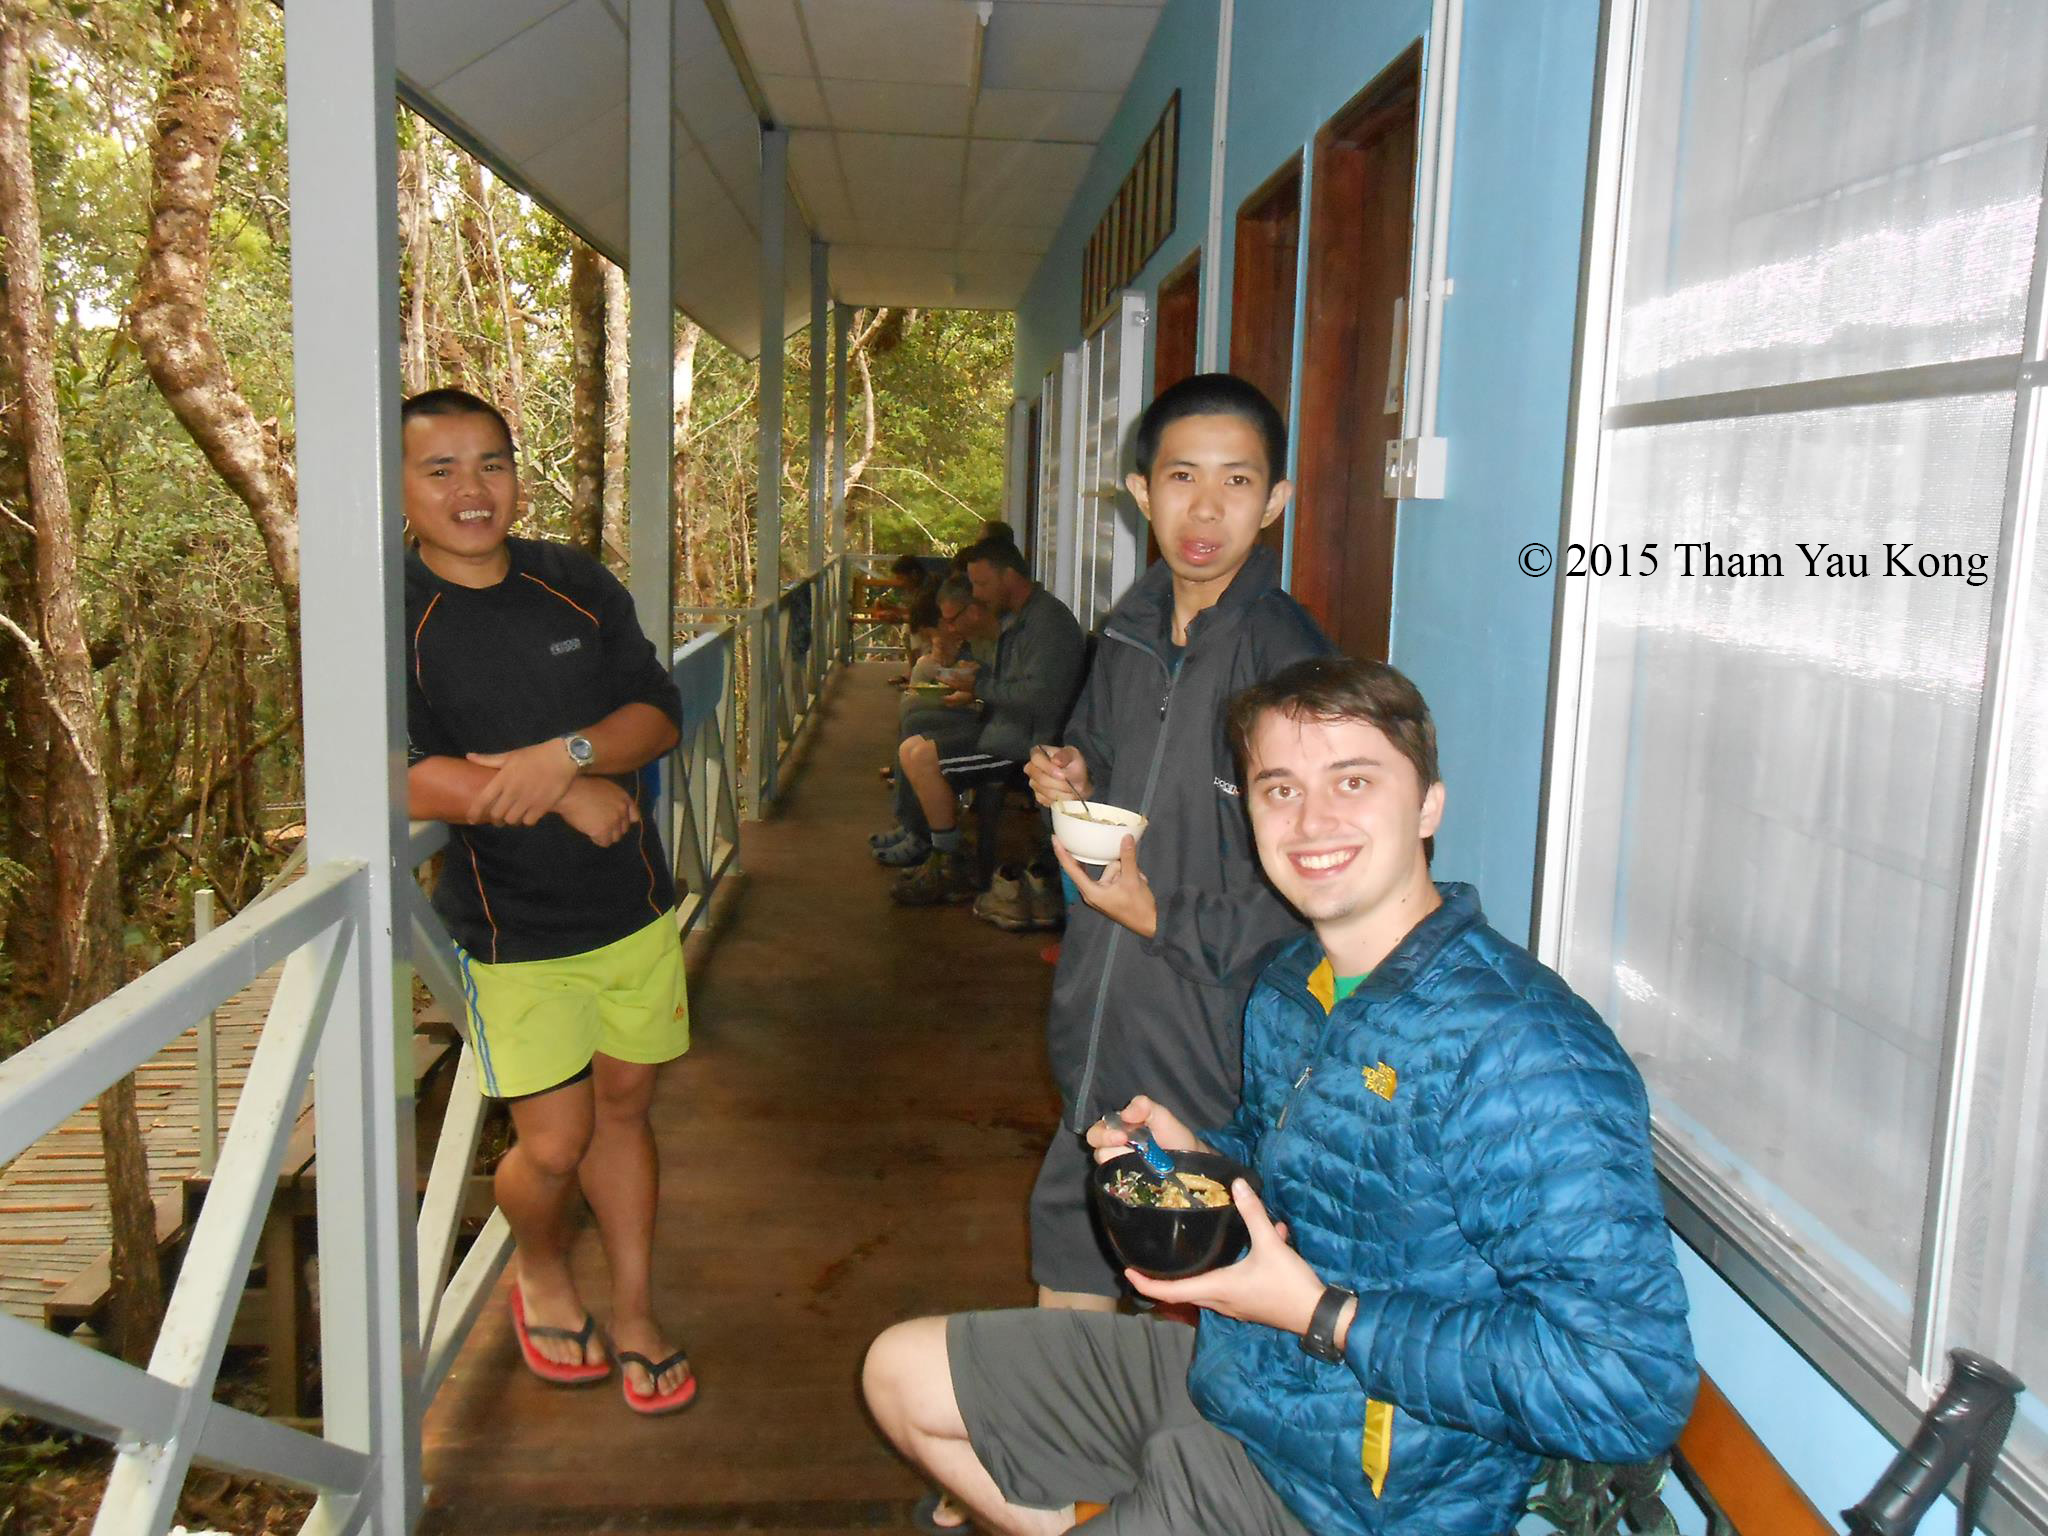
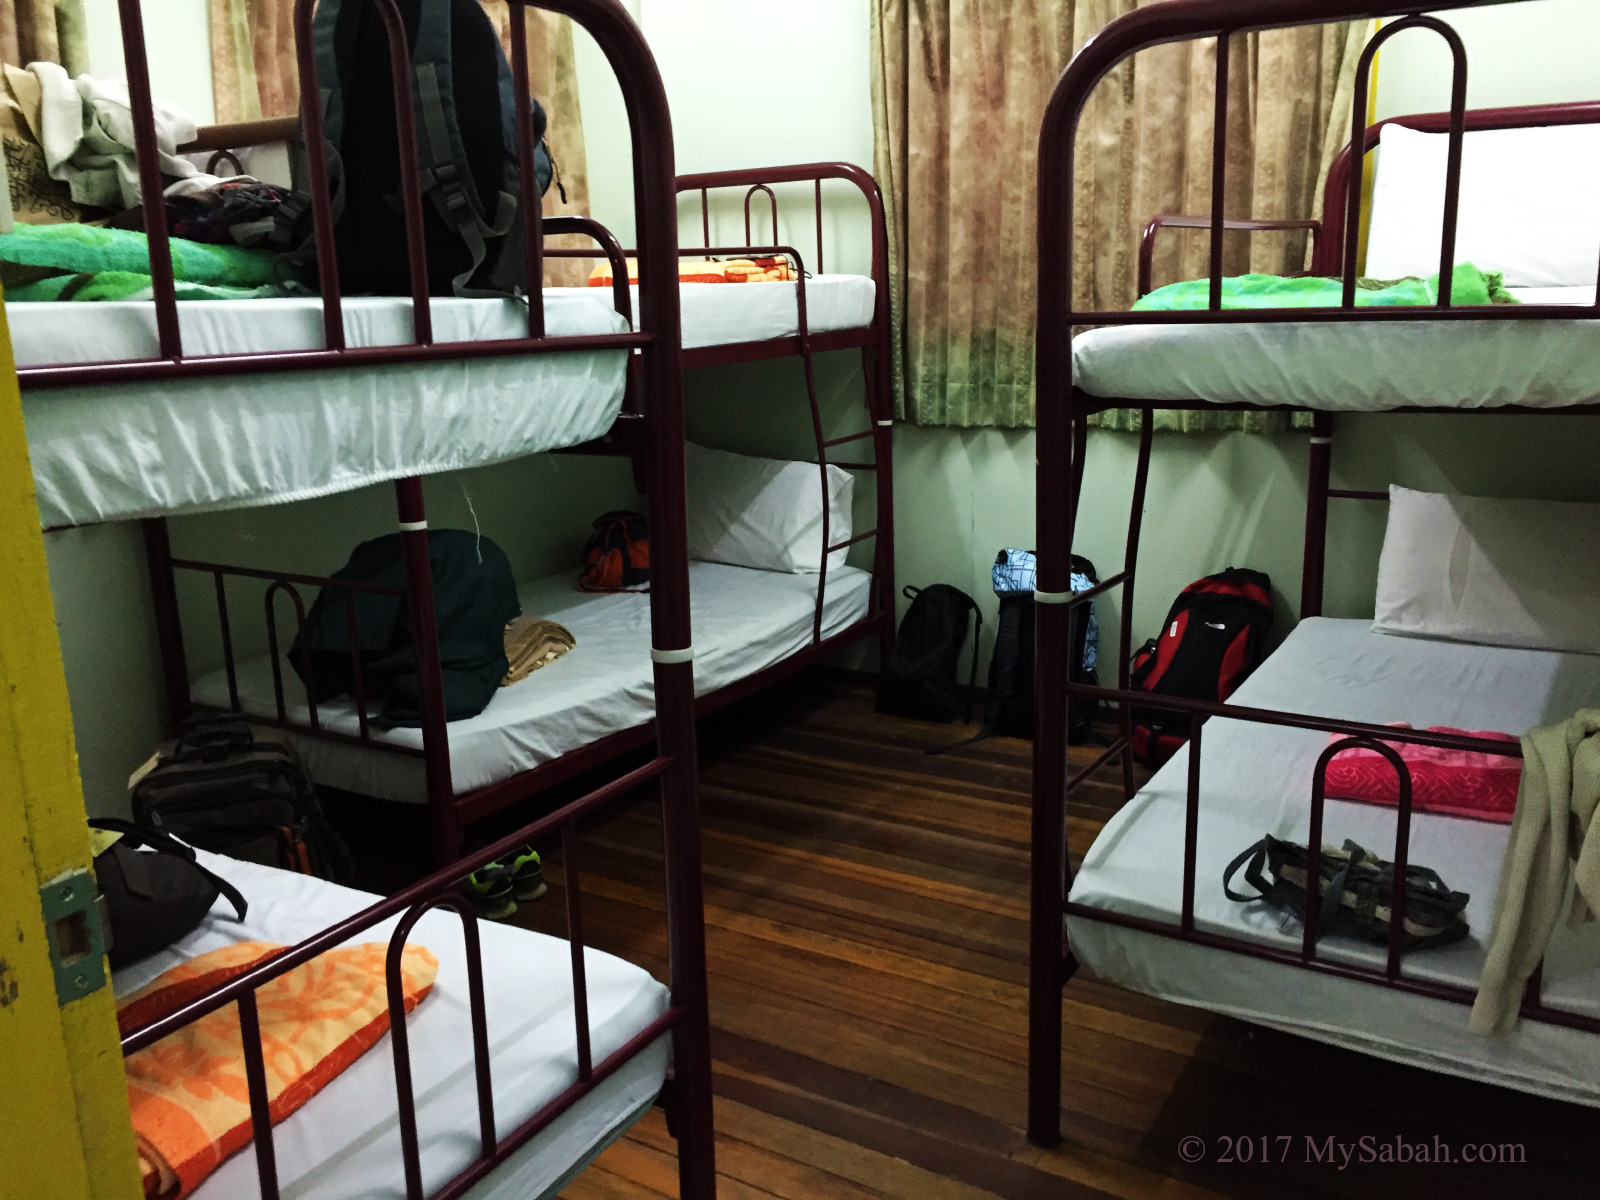
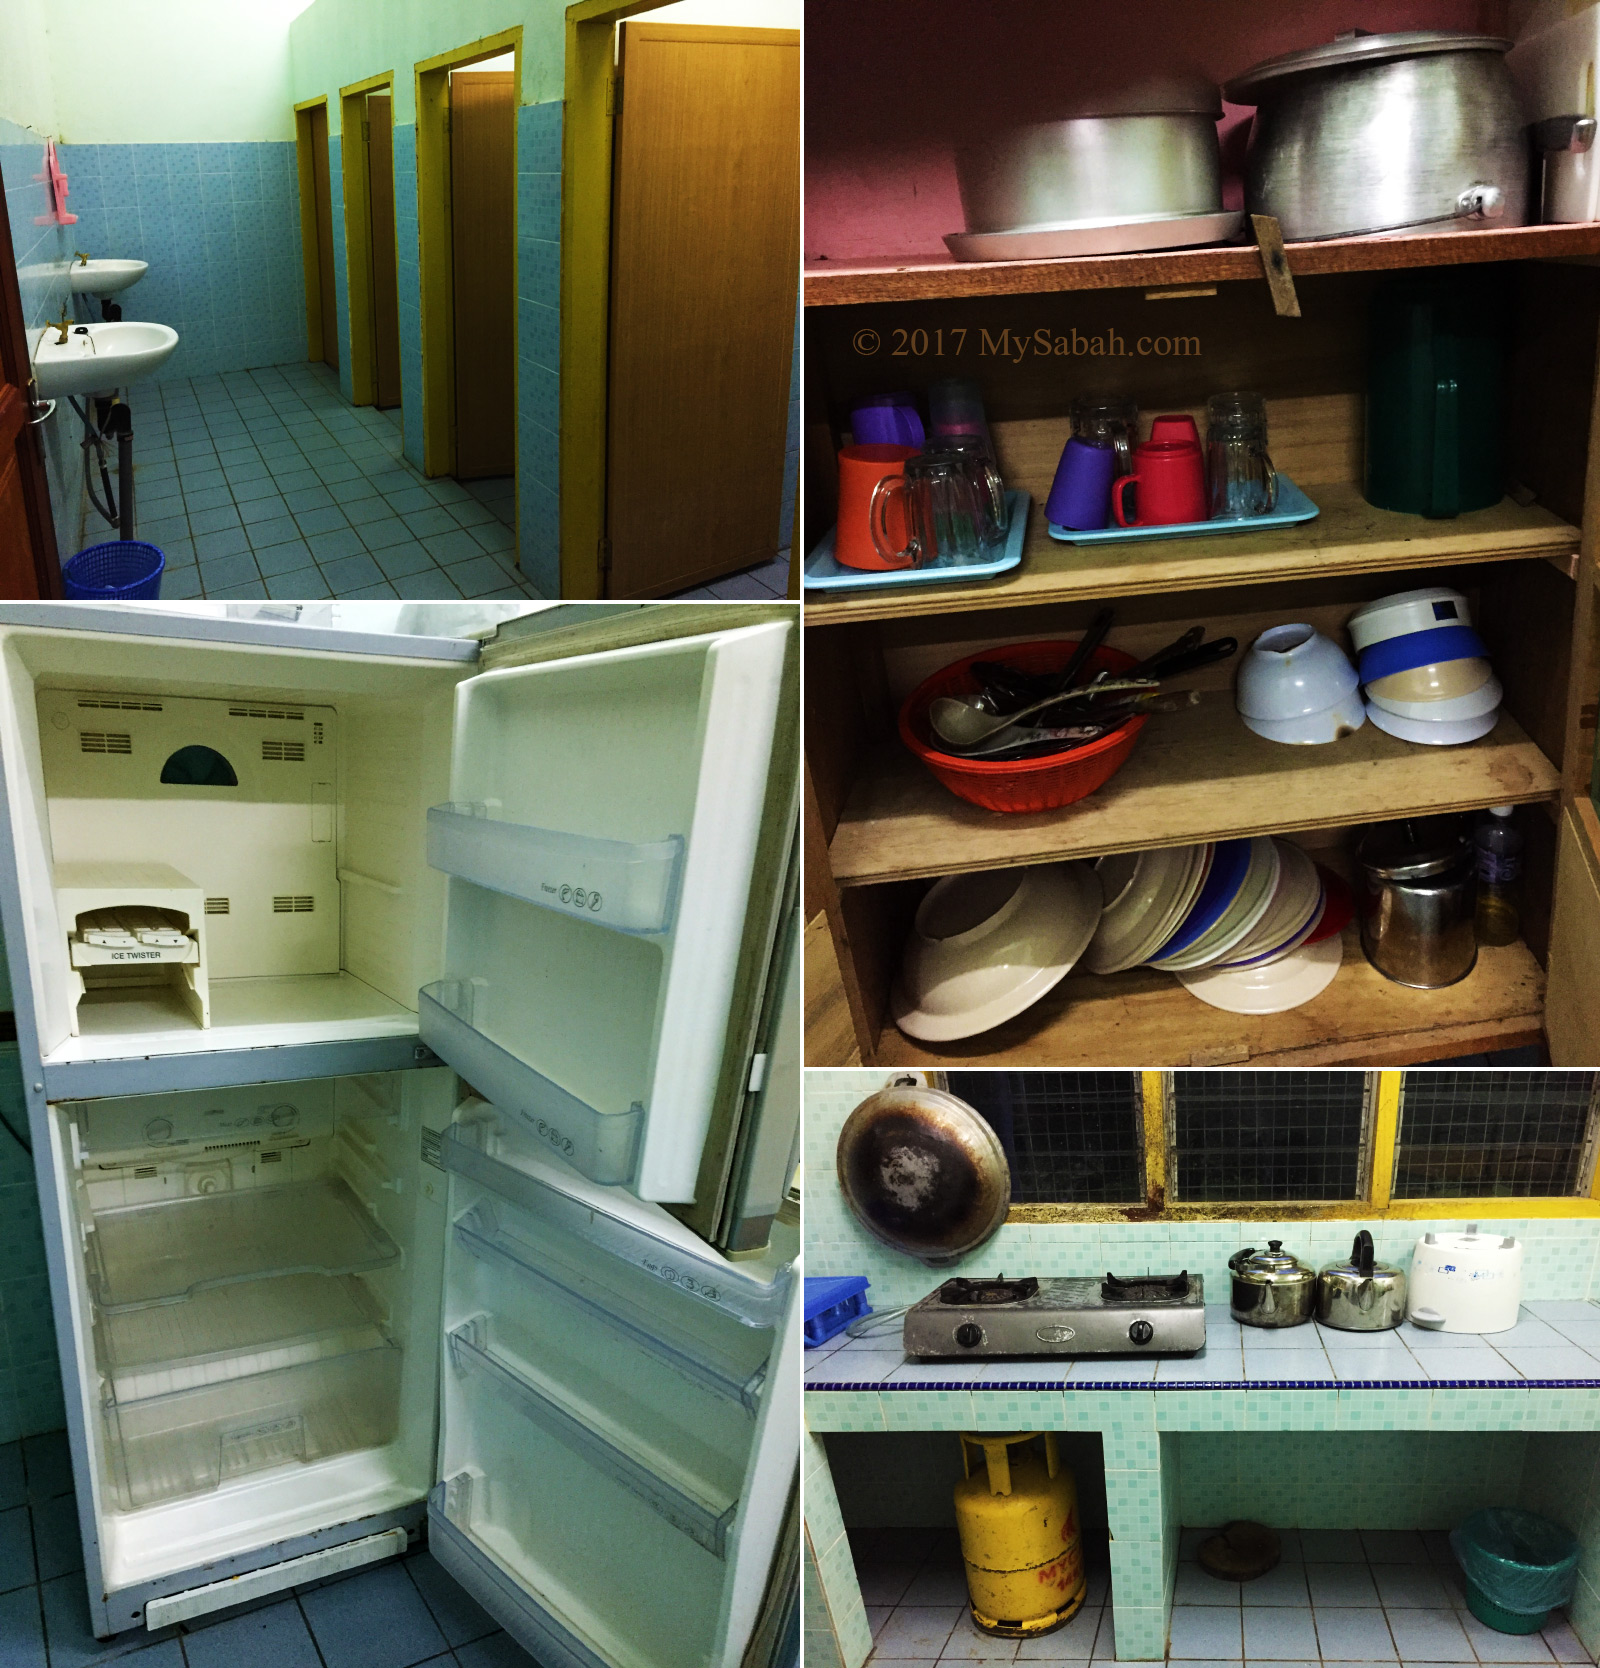
Asrama Kanarom Hostel is a dormitory-style one storey building which has four bedrooms, common toilet + bathroom and kitchen. Each room has 6 bunk beds, so this hostel can host about 24 people.

The fee for each bunk bed in hostel is MYR42.40 for adult and MYR31.80 for kid (below 18 years old). The room has air-conditioner, and pillow and blanket are provided. It’s an economic choice for budget travelers and student group who don’t mind to share room.
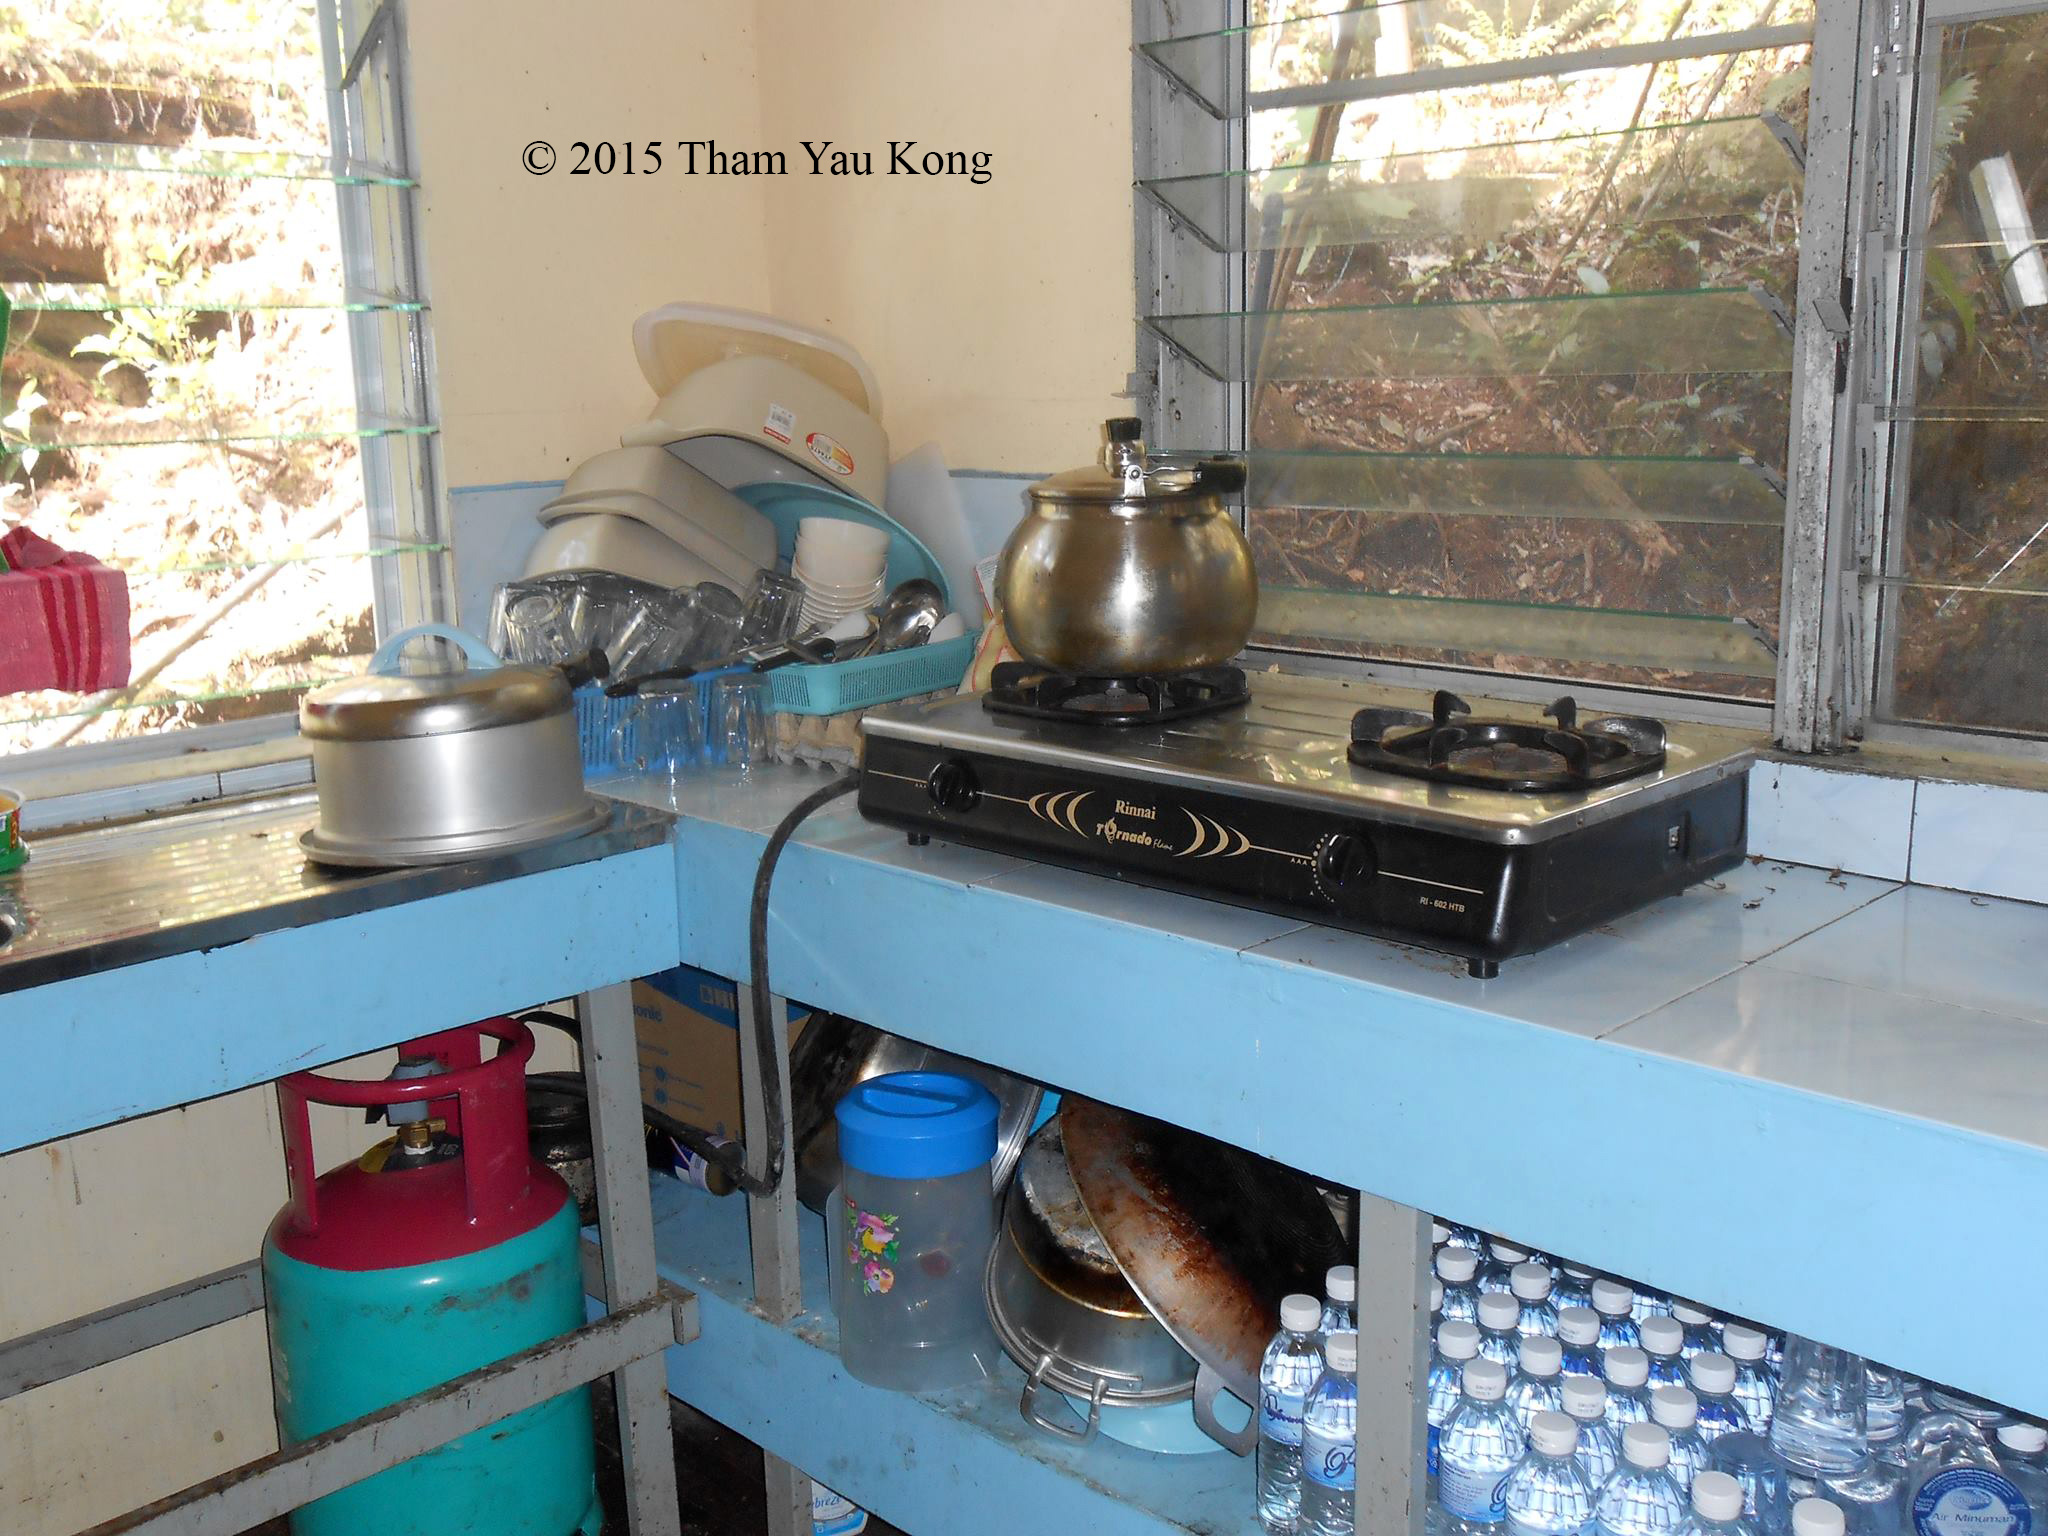
The kitchen has gas stove, cooking and dining utensils for use by the guests. Electricity and water supply are available all time.
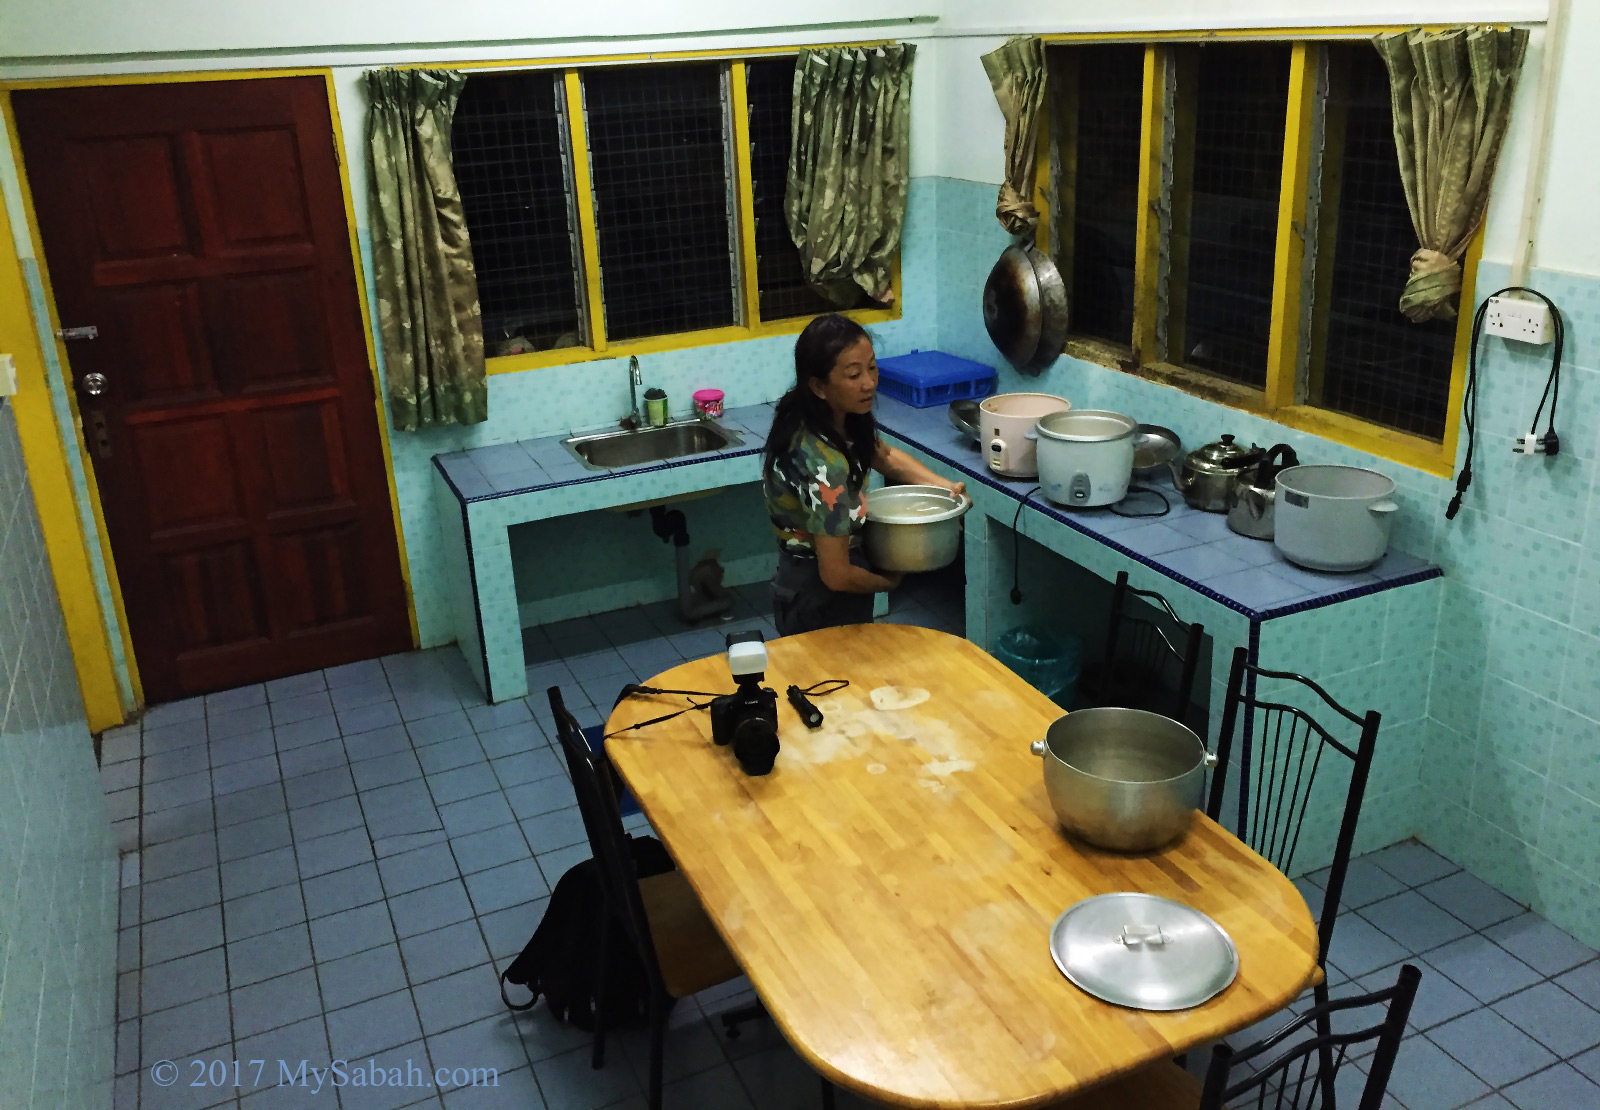
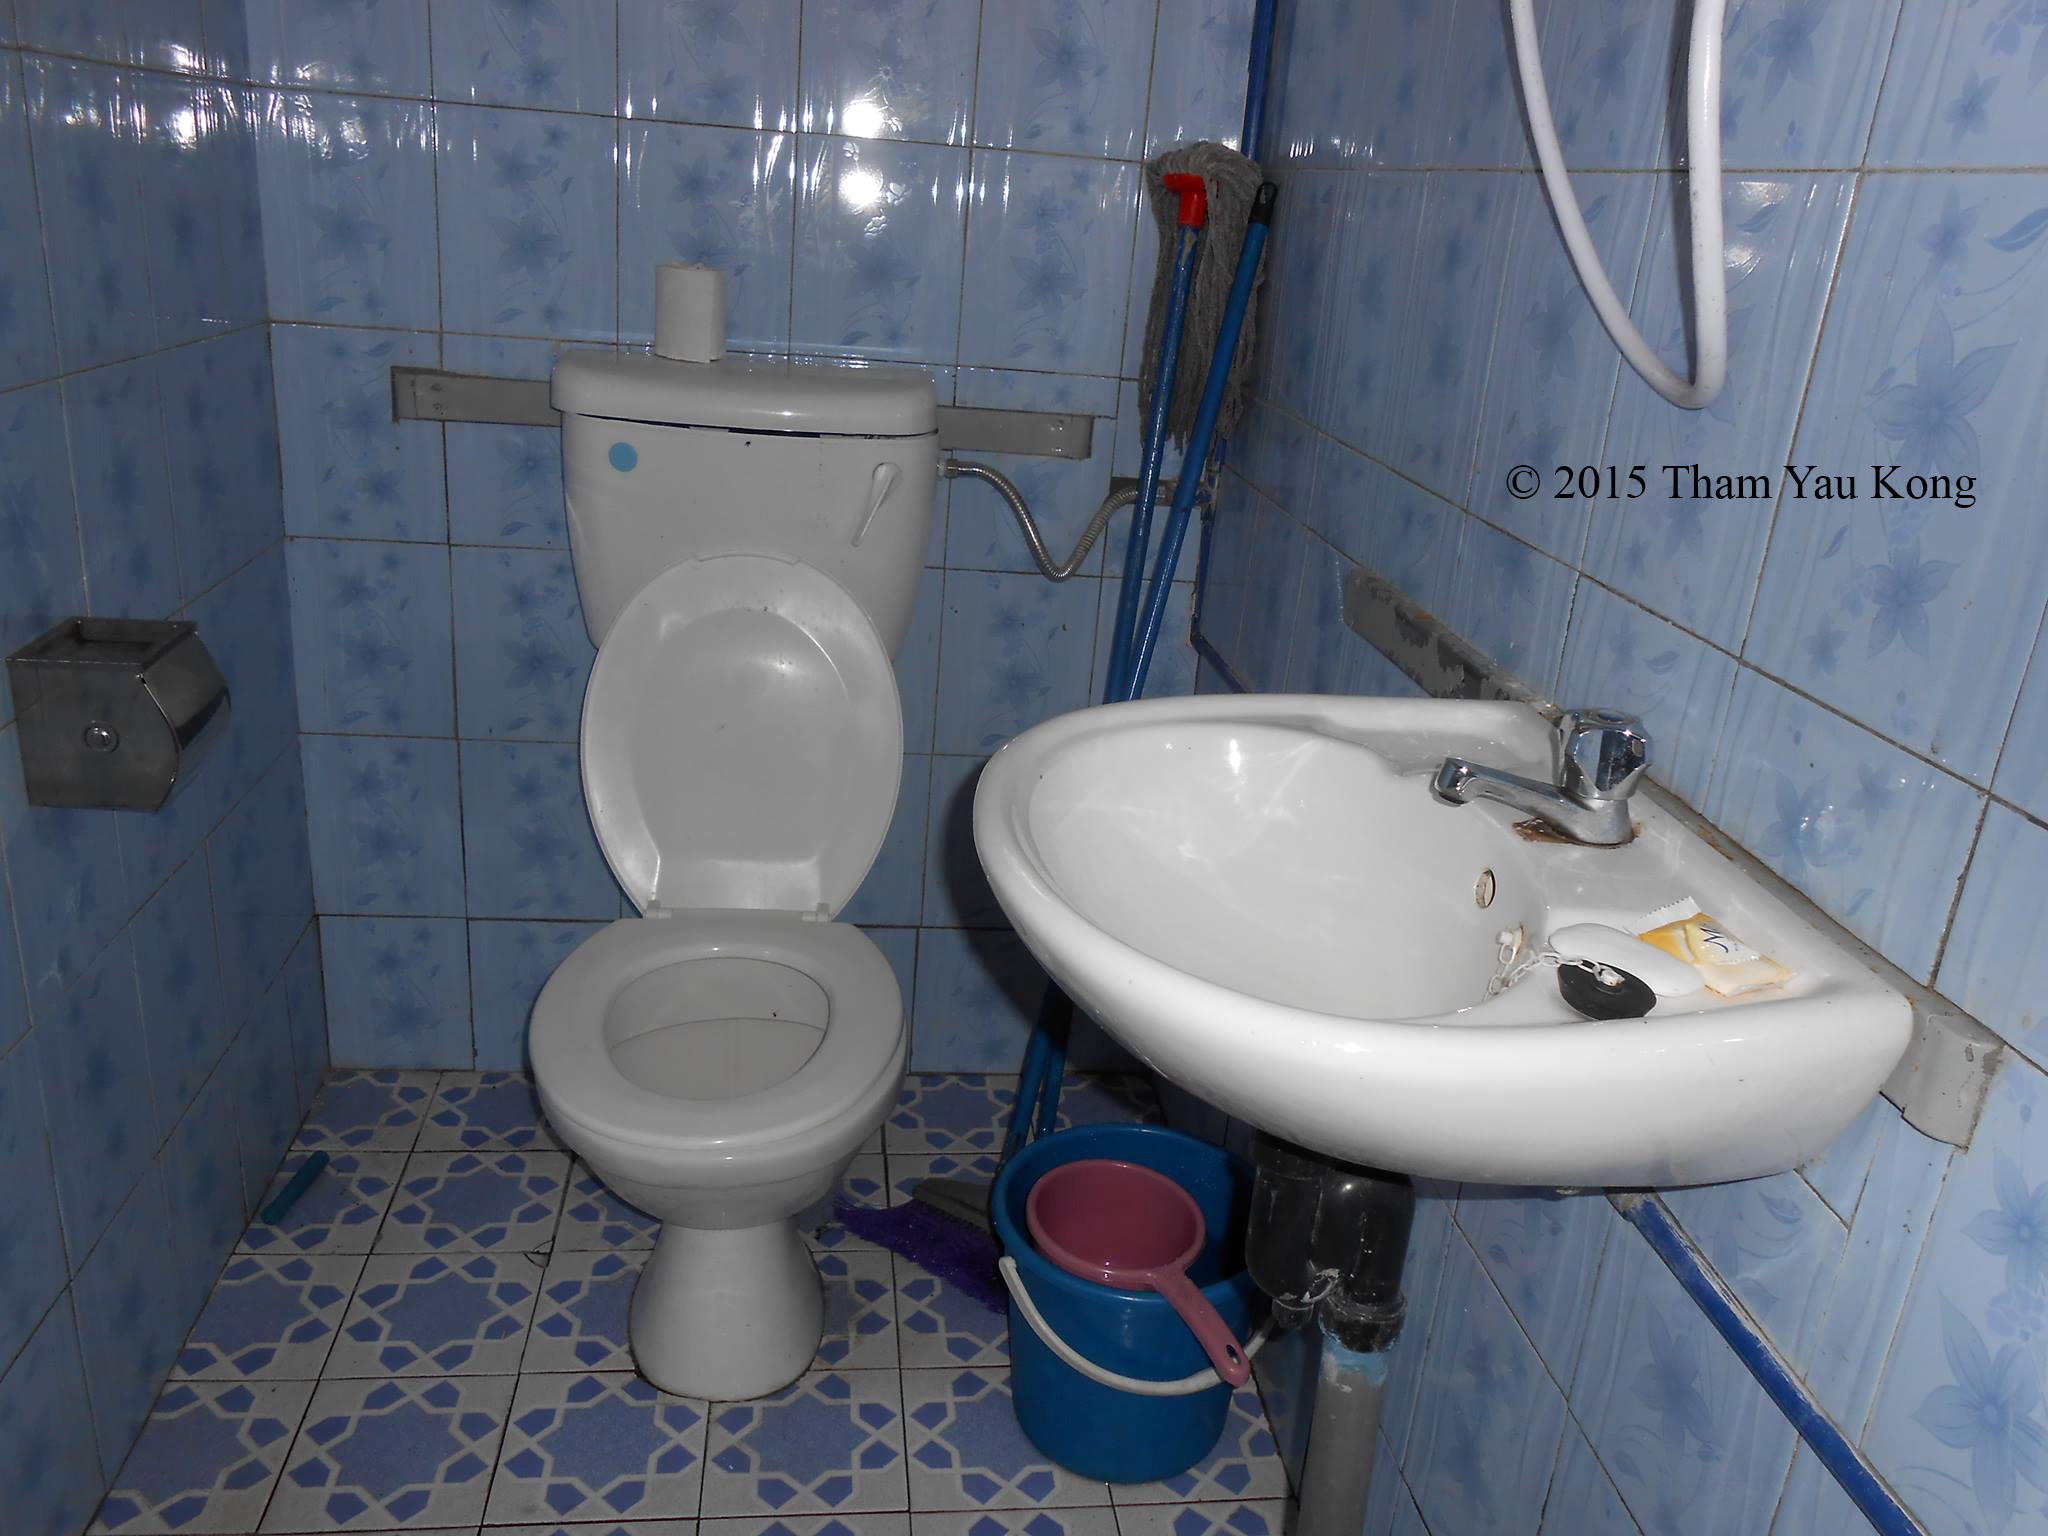
However, there is no private bathroom. Guests can share the common unisex toilet and bathroom. Sorry, no water heater for a hot shower, but you can boil hot water in kitchen like what I did.
One nice thing about this hostel is that it’s located next to the starting point of trail to all nature attractions.
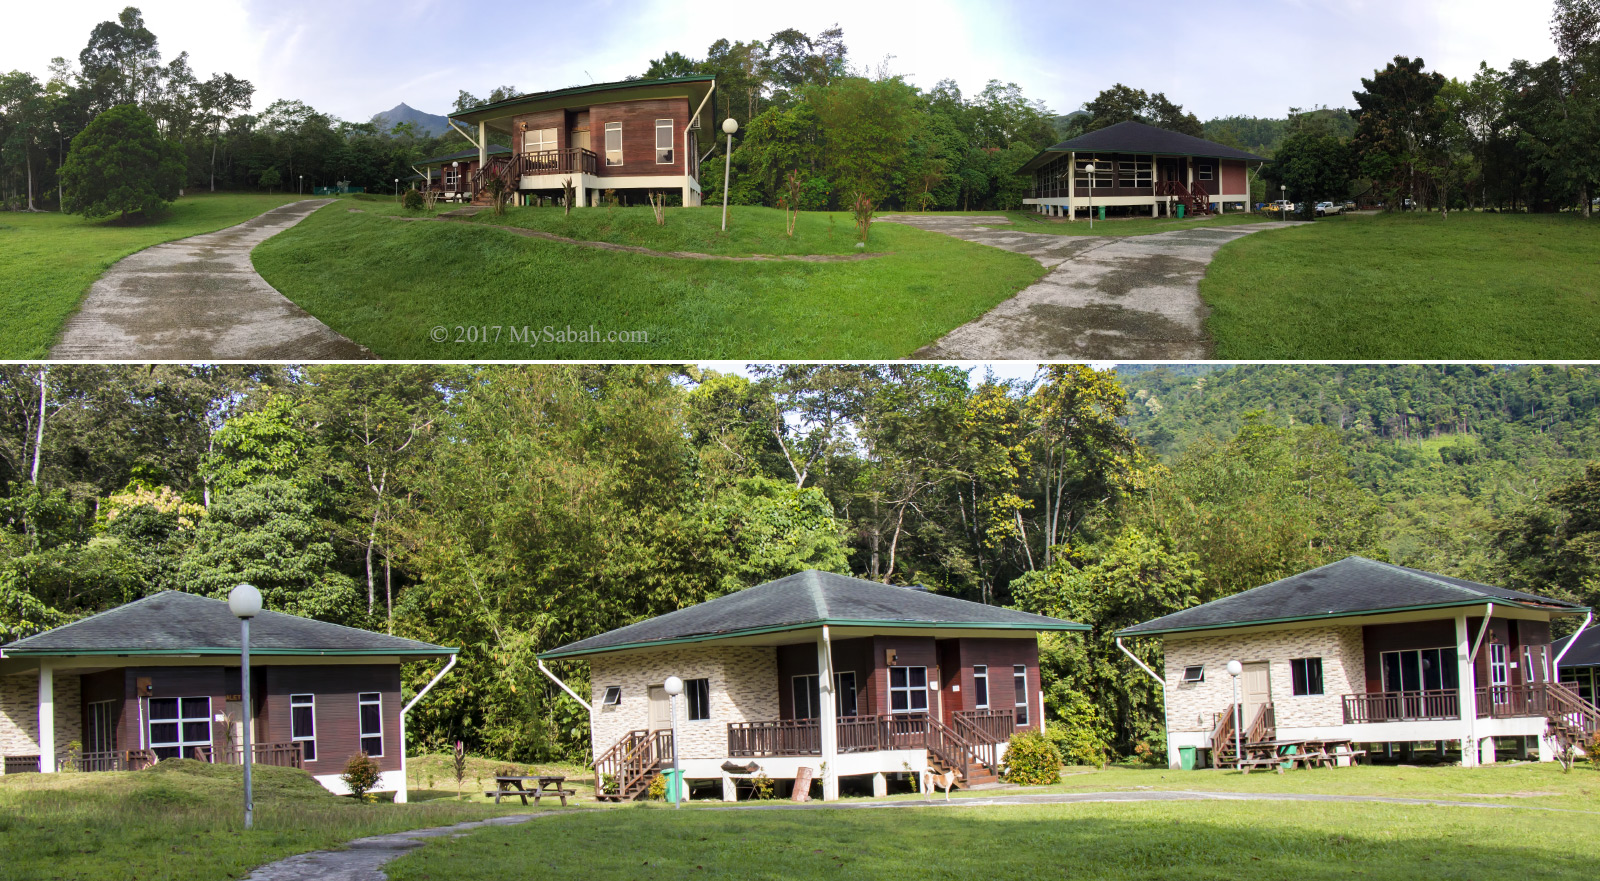
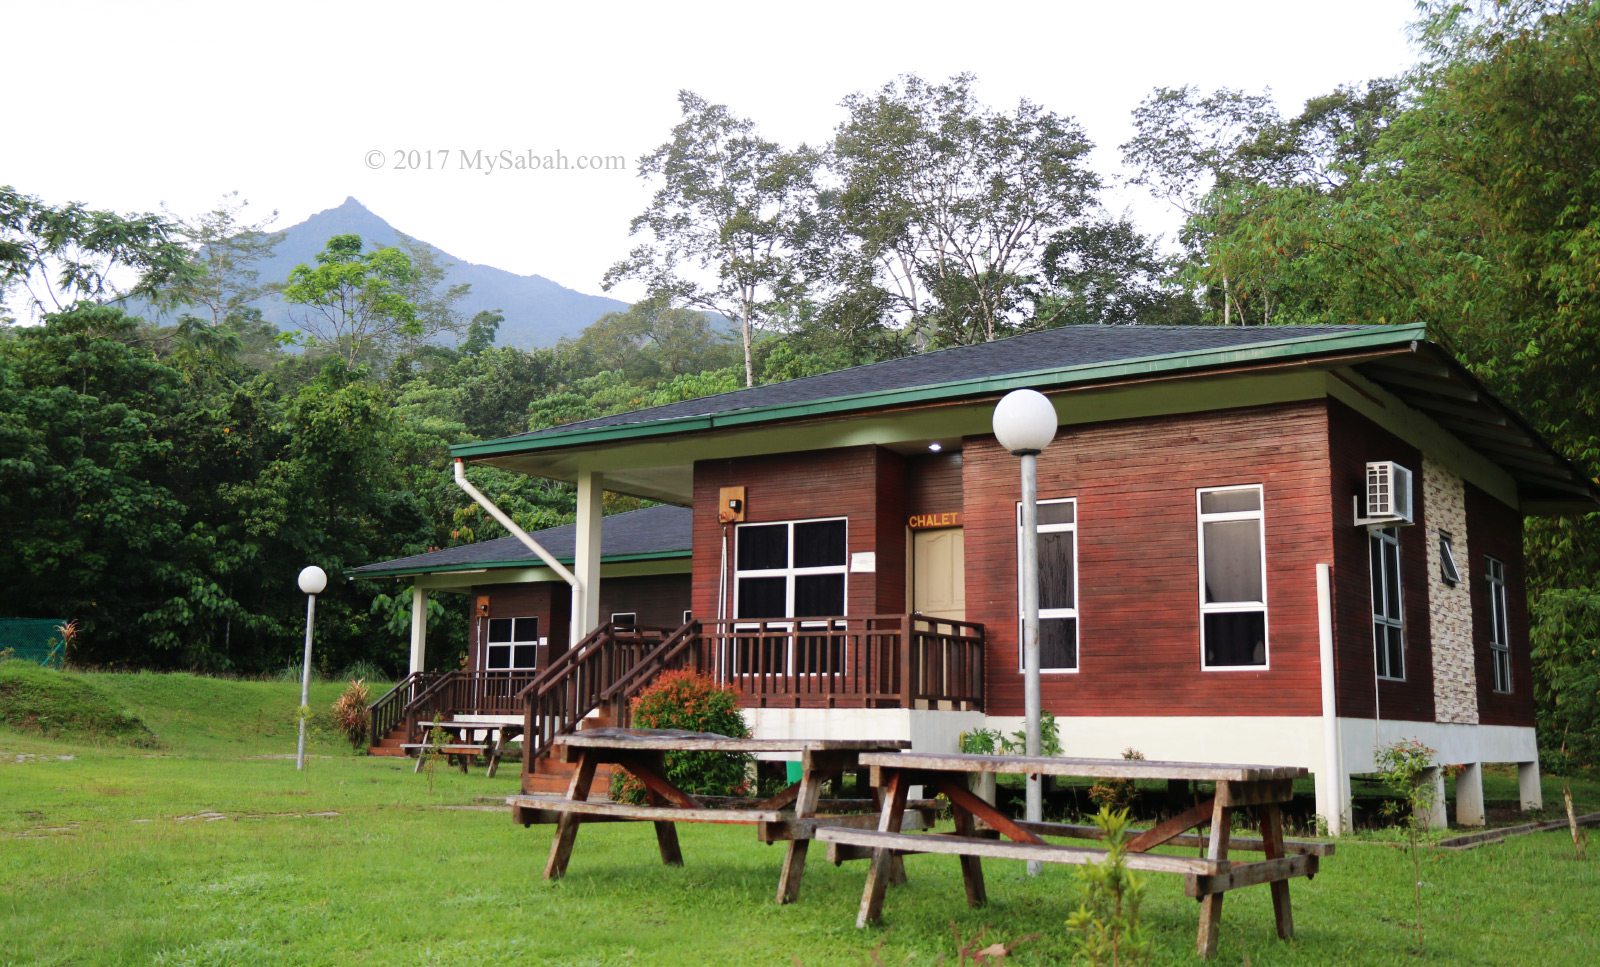
Chalets
There are three chalets in the Park. You can book the whole chalet for MYR318 per night, or rent a room for MYR106. Each chalet has three rooms (two of them are single bed). Each chalet is limited for 6 people. For additional guests, you need to pay extra MYR30 per person.
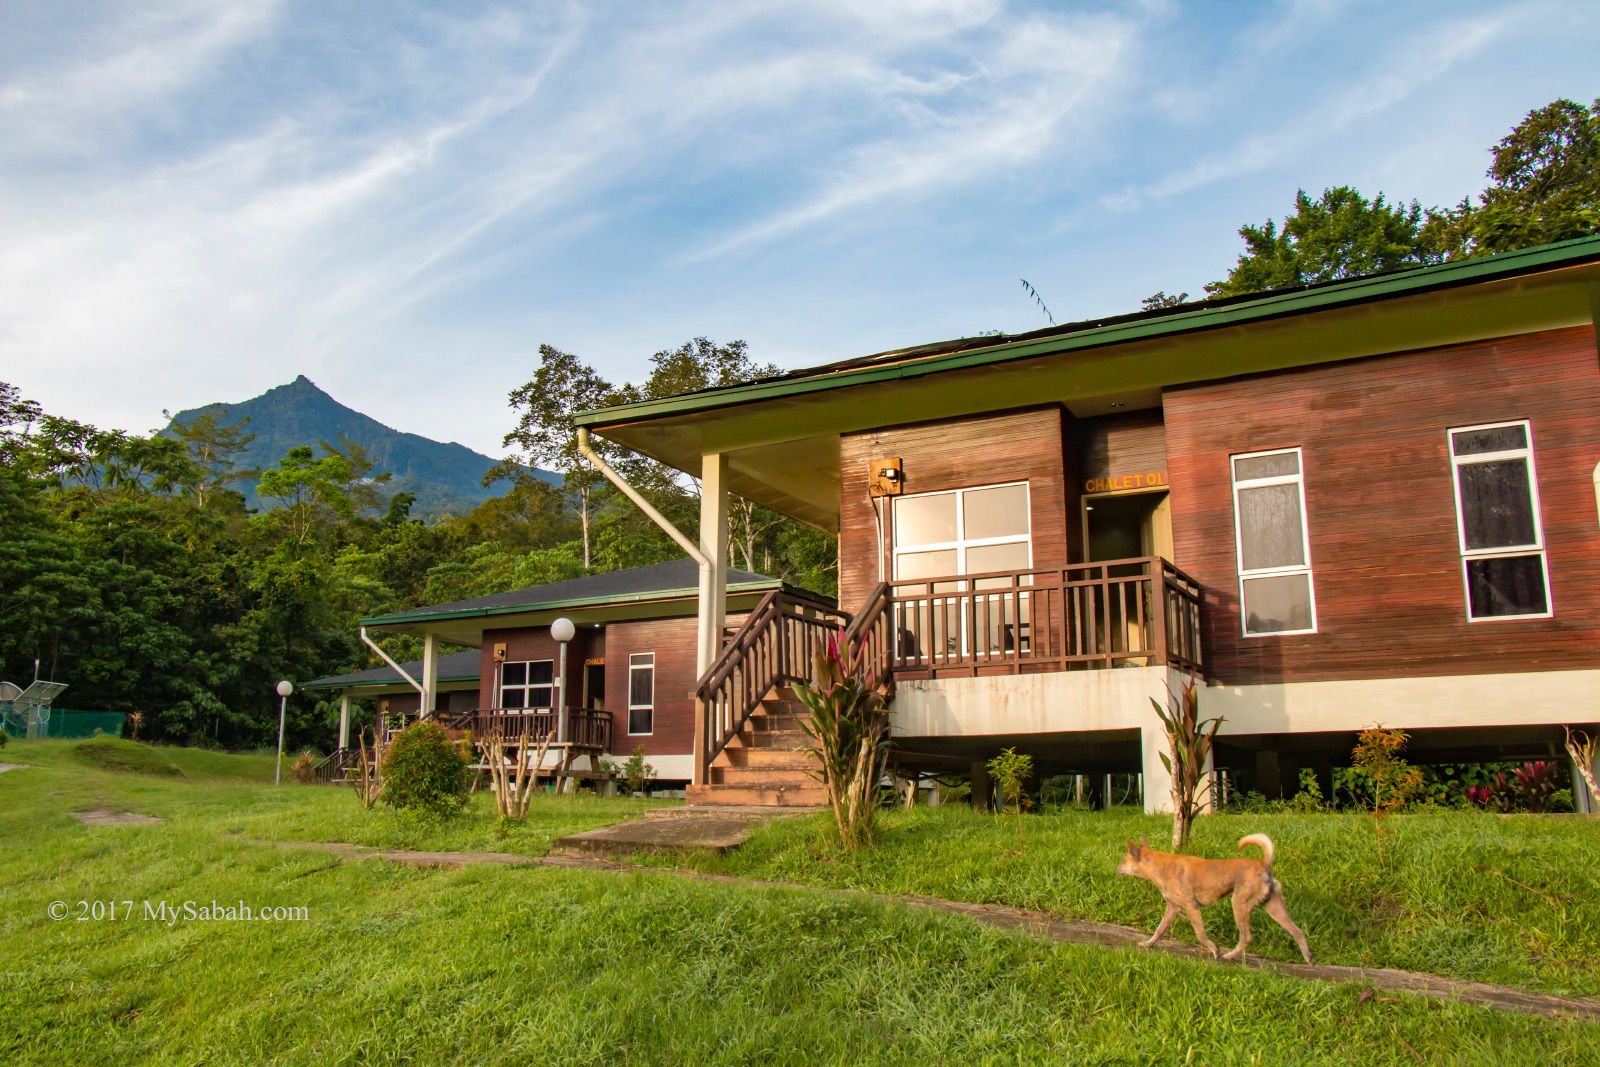
Each room has an attached bathroom cum toilet. Heater for hot shower is not available. Soap and towel are provided for the guest. Every room has air-conditioning.
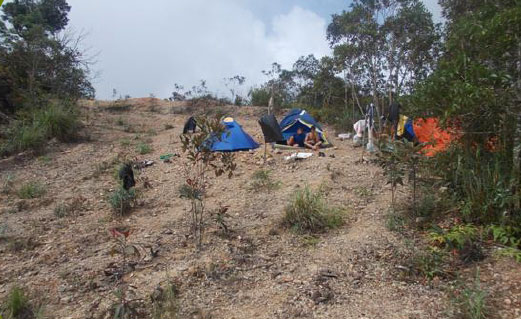
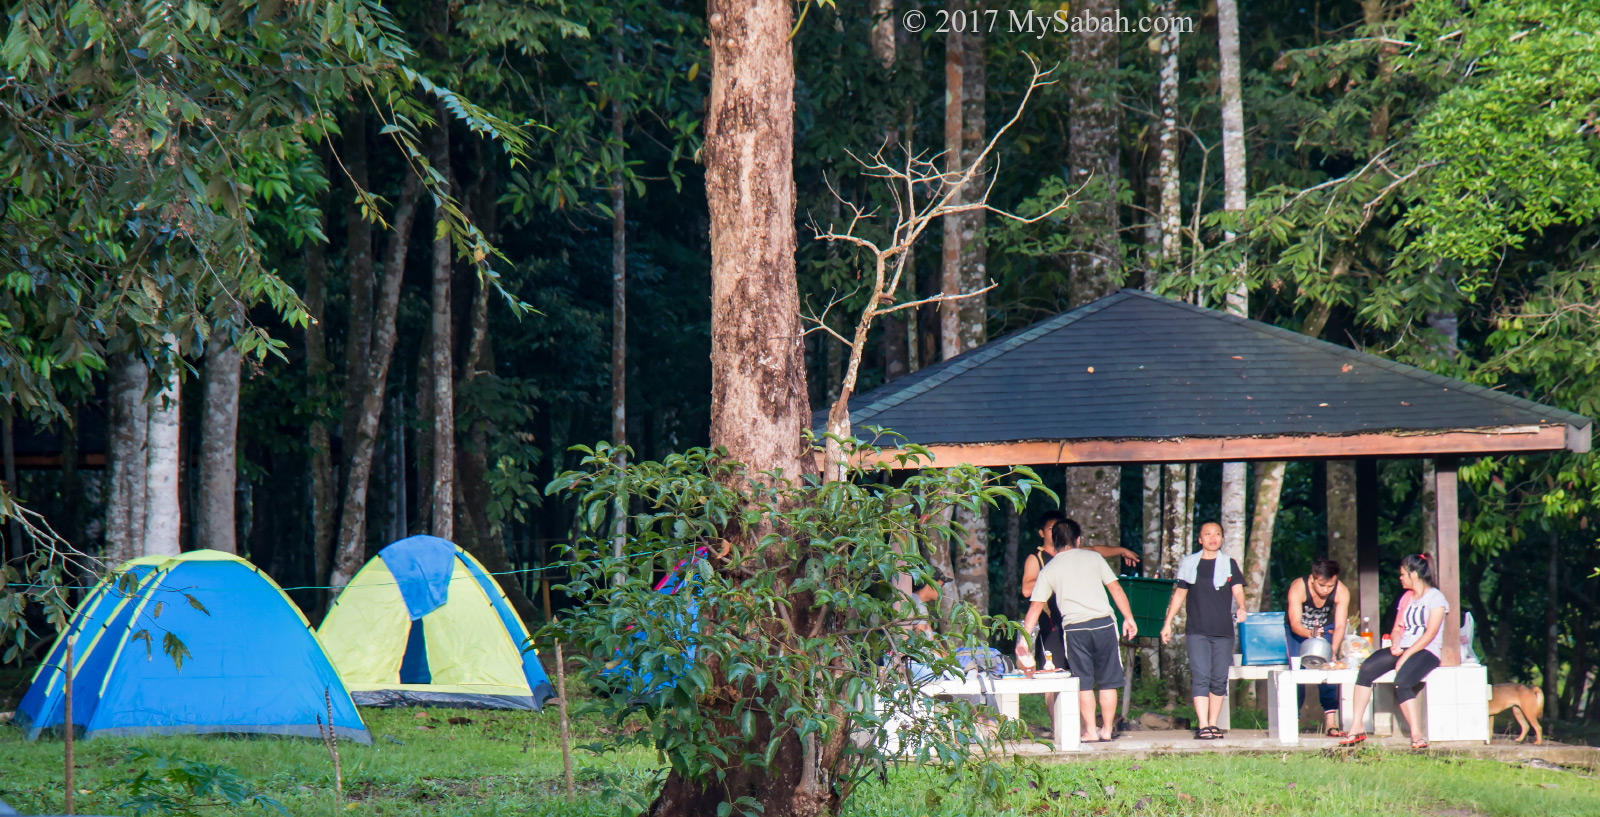
Camping
Camping ground is also available to those who desire a more nature experience. For adult, the camping fee per night is MYR5.30 and MYR2.15 for child below 12. You can rent a camping tent for MYR30/day at Sabah Parks office, or bring your own.
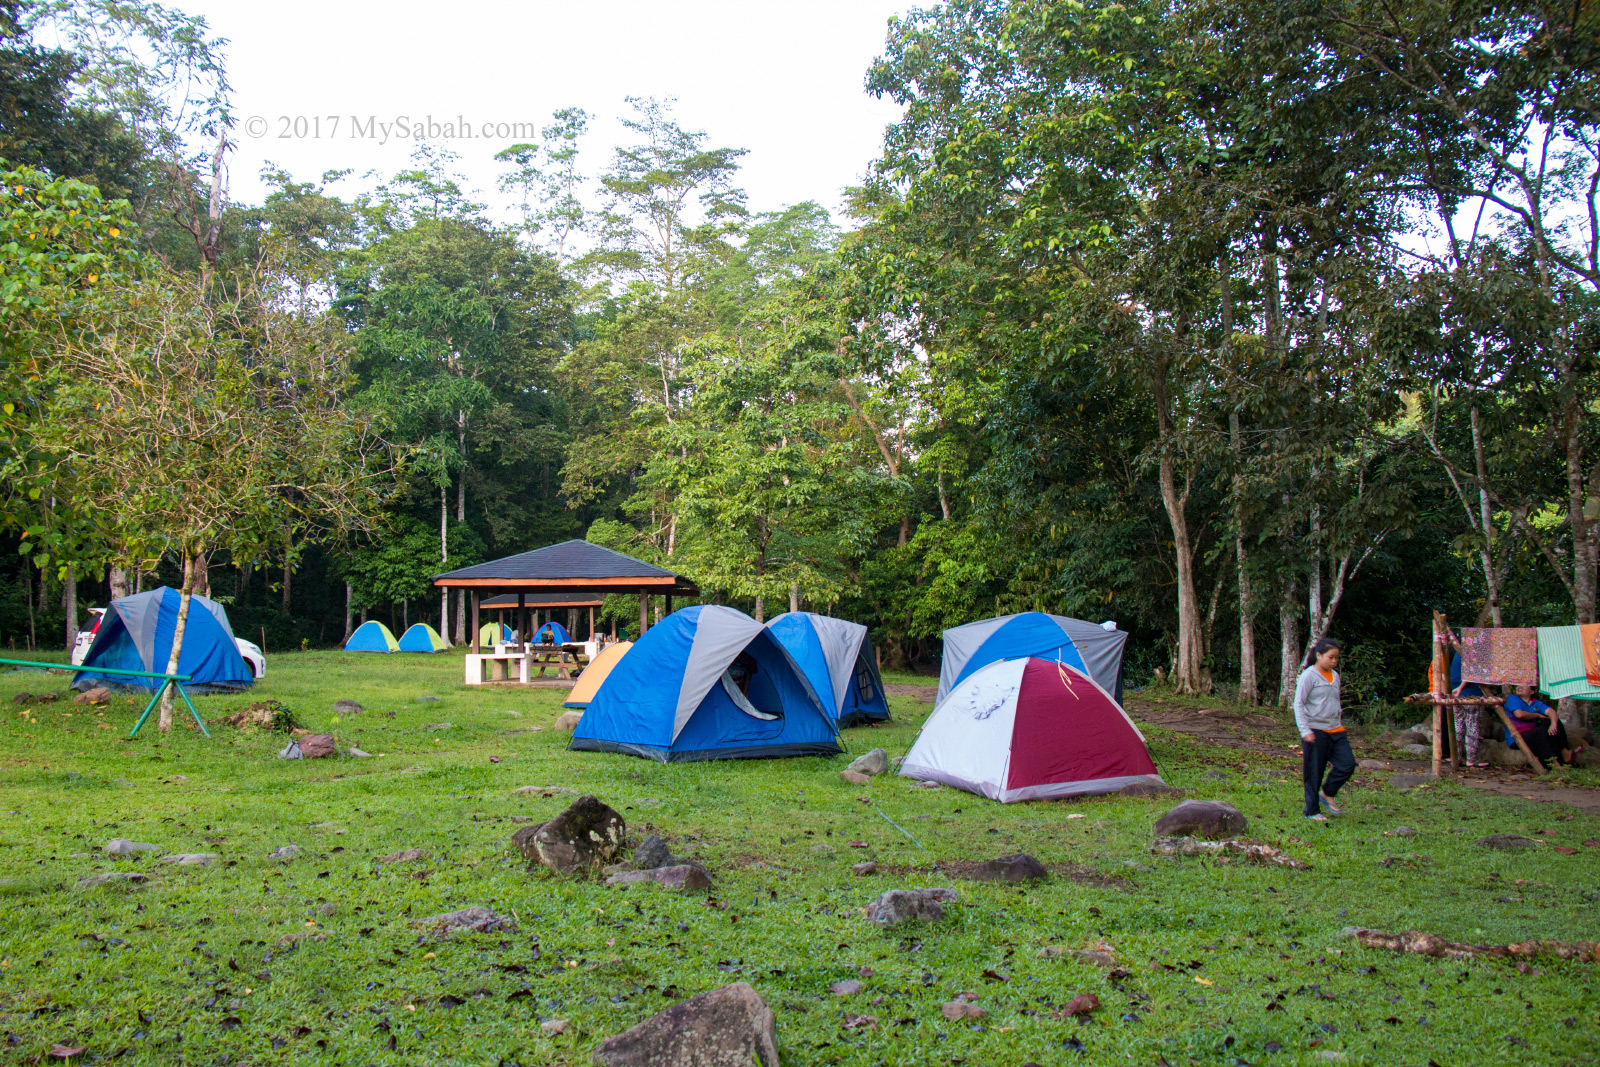
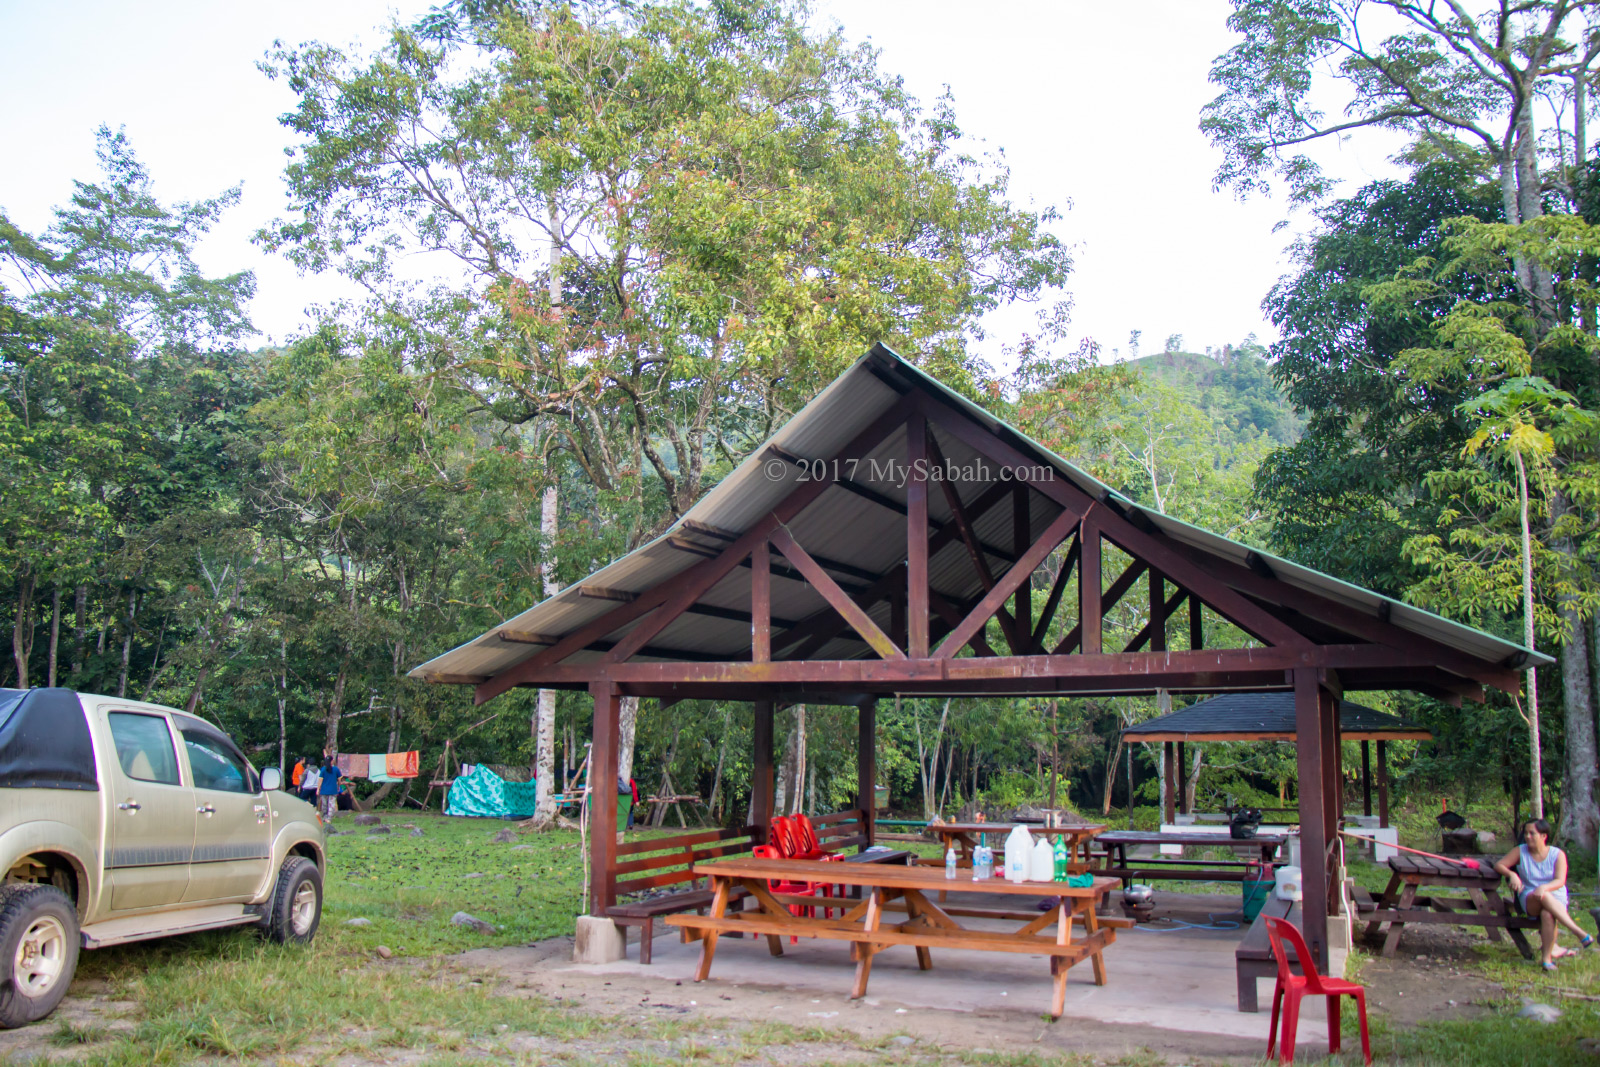
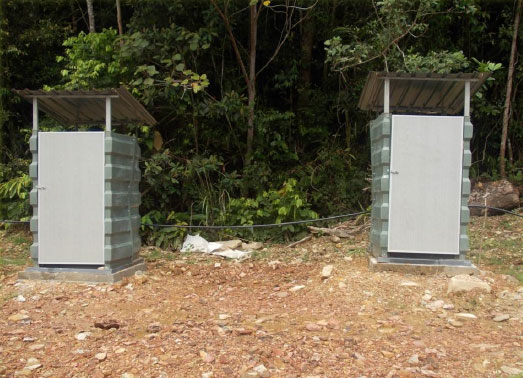
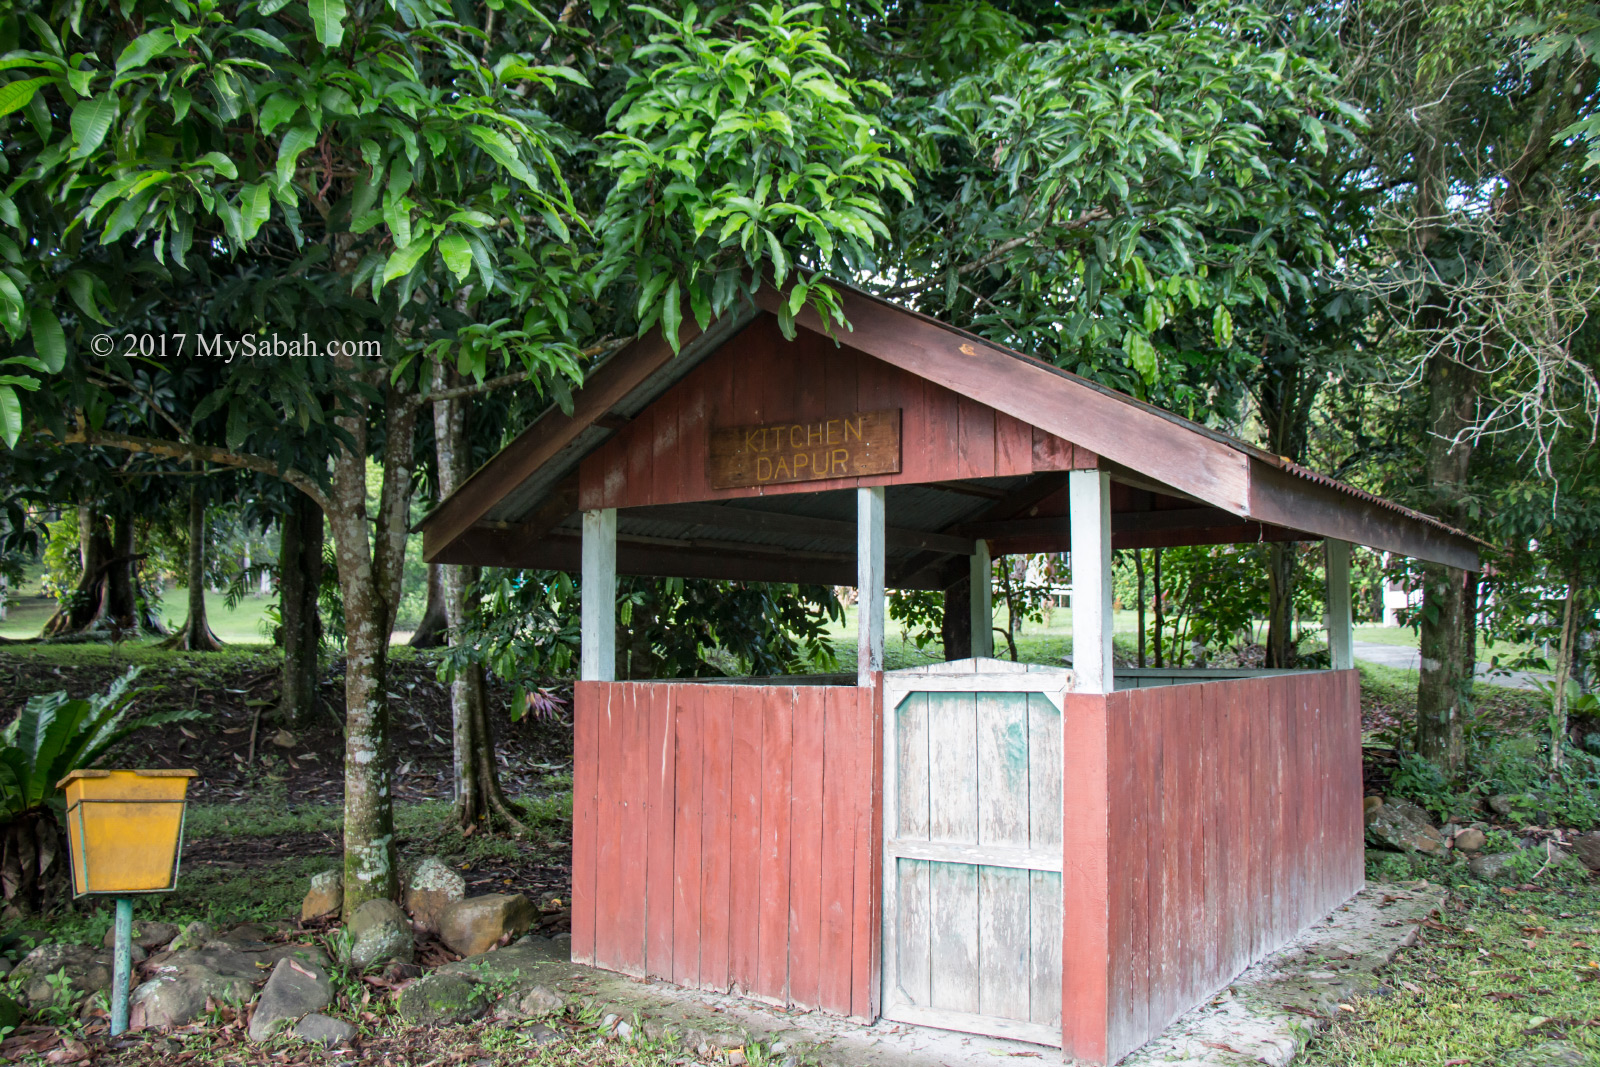
The campsite is just next to the river. There are gazebos, benches, public toilet and kitchen nearby that area.
There is no lighting at night, so you better bring your camping light and torchlight.
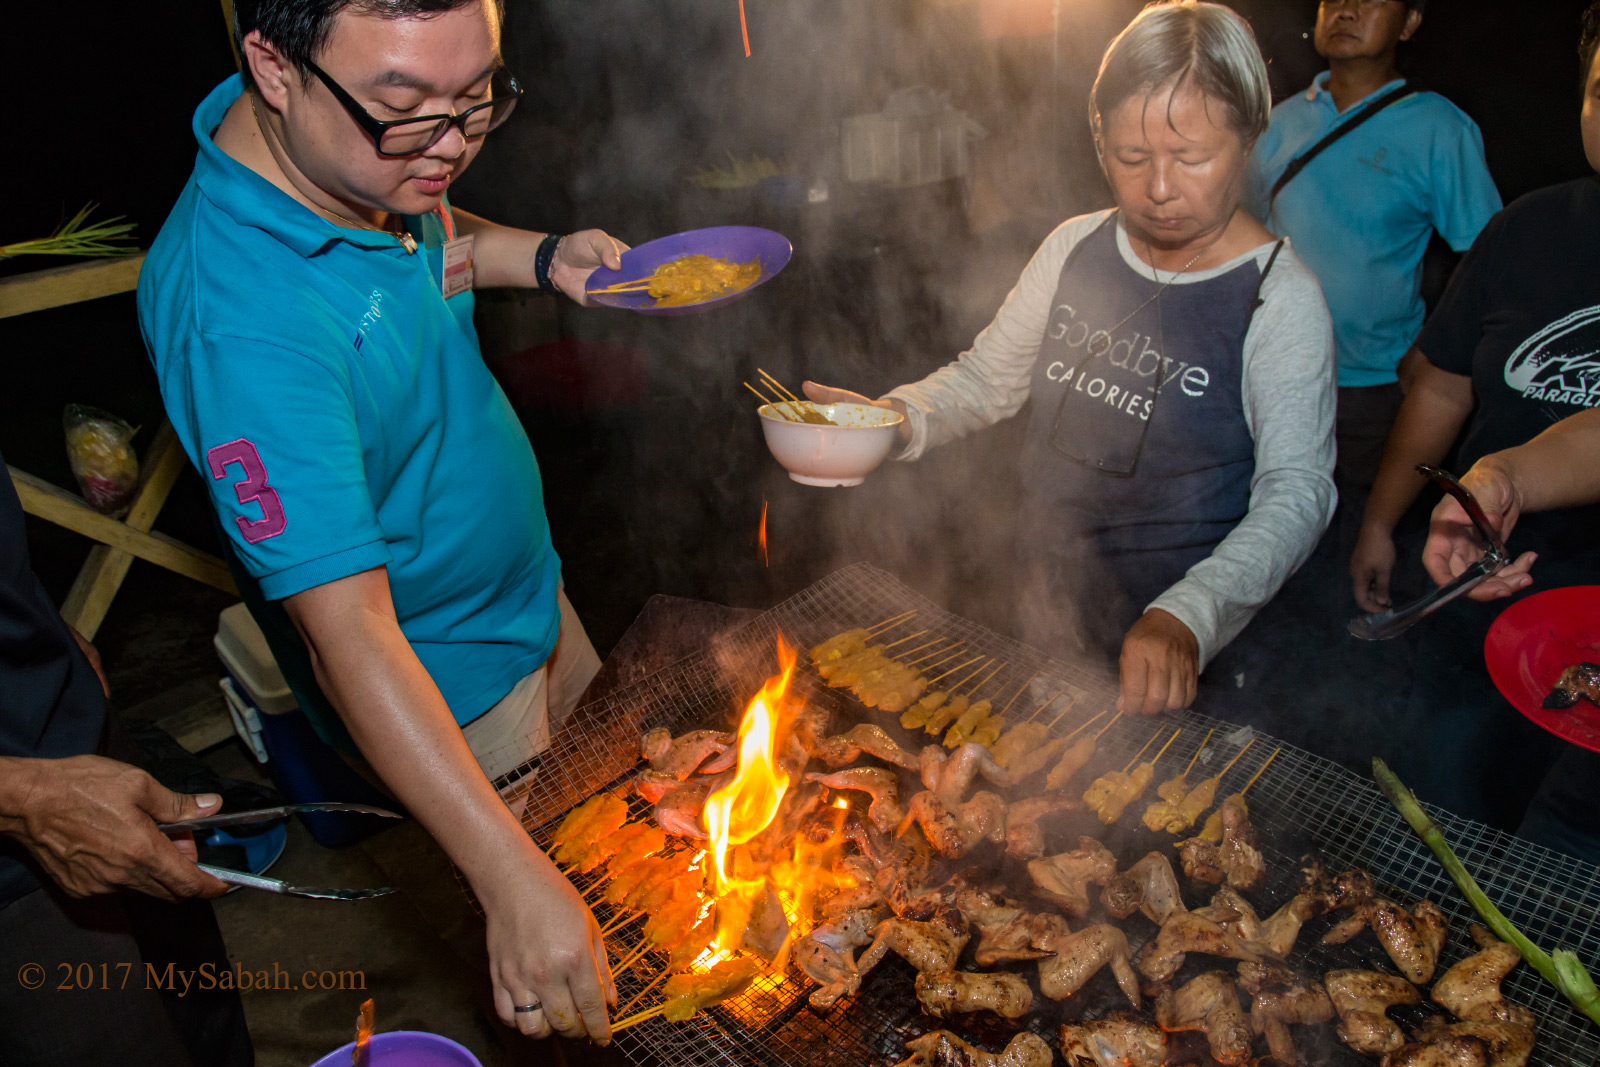
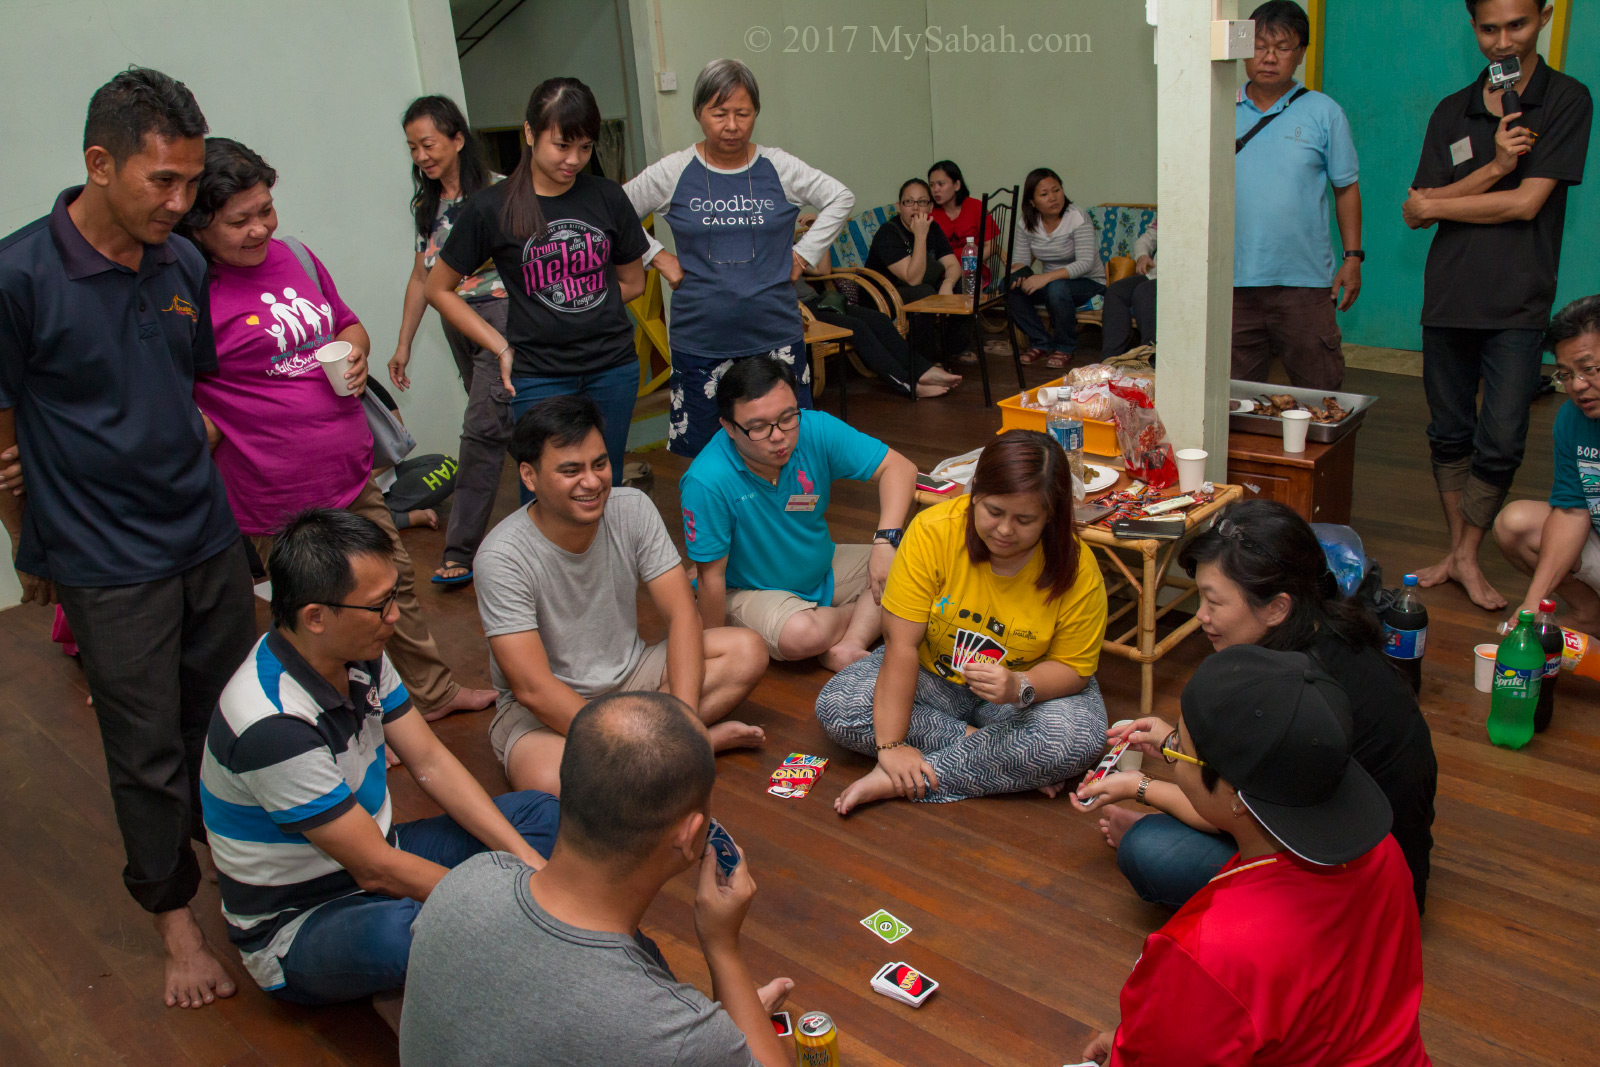
There is no TV, karaoke and night life in the park, so you will get bored in the evening. Do plan some fun activities for the night, for example, board games, BBQ party, strip poker, watch movies on laptop.
By the way, Kota Marudu is famous for its maize. You can buy some along the way and grill it, it’s delicious.
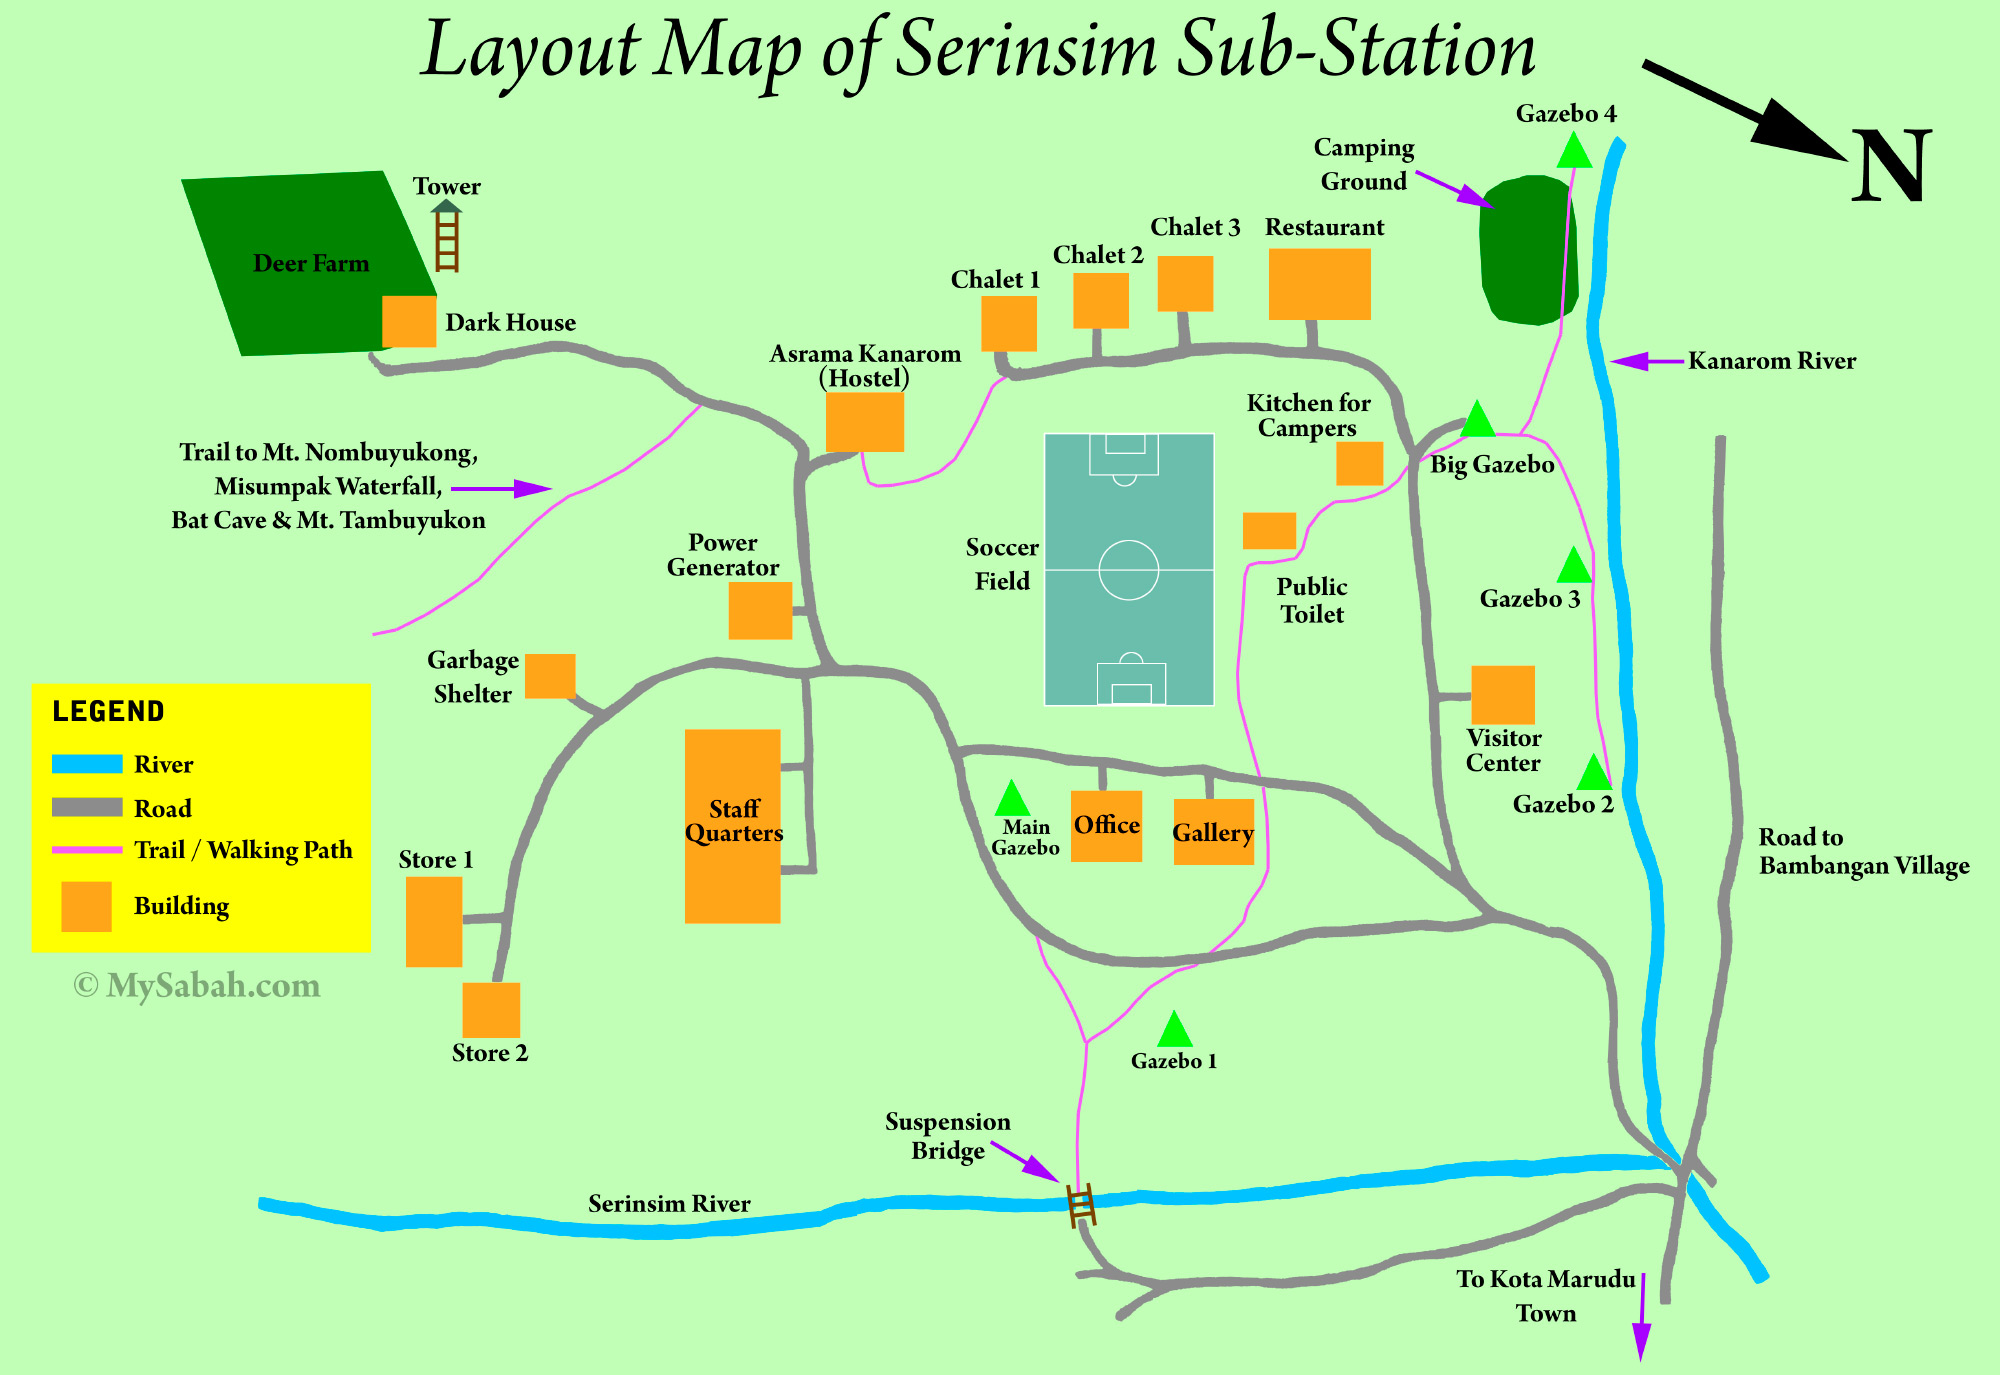
Don’t be impressed by the facilities listed in the map above. Everything in Serinsim is basic, nothing 5-star. For example, the so called soccer field is just a grassland. The restaurant never opens and there is no gallery.
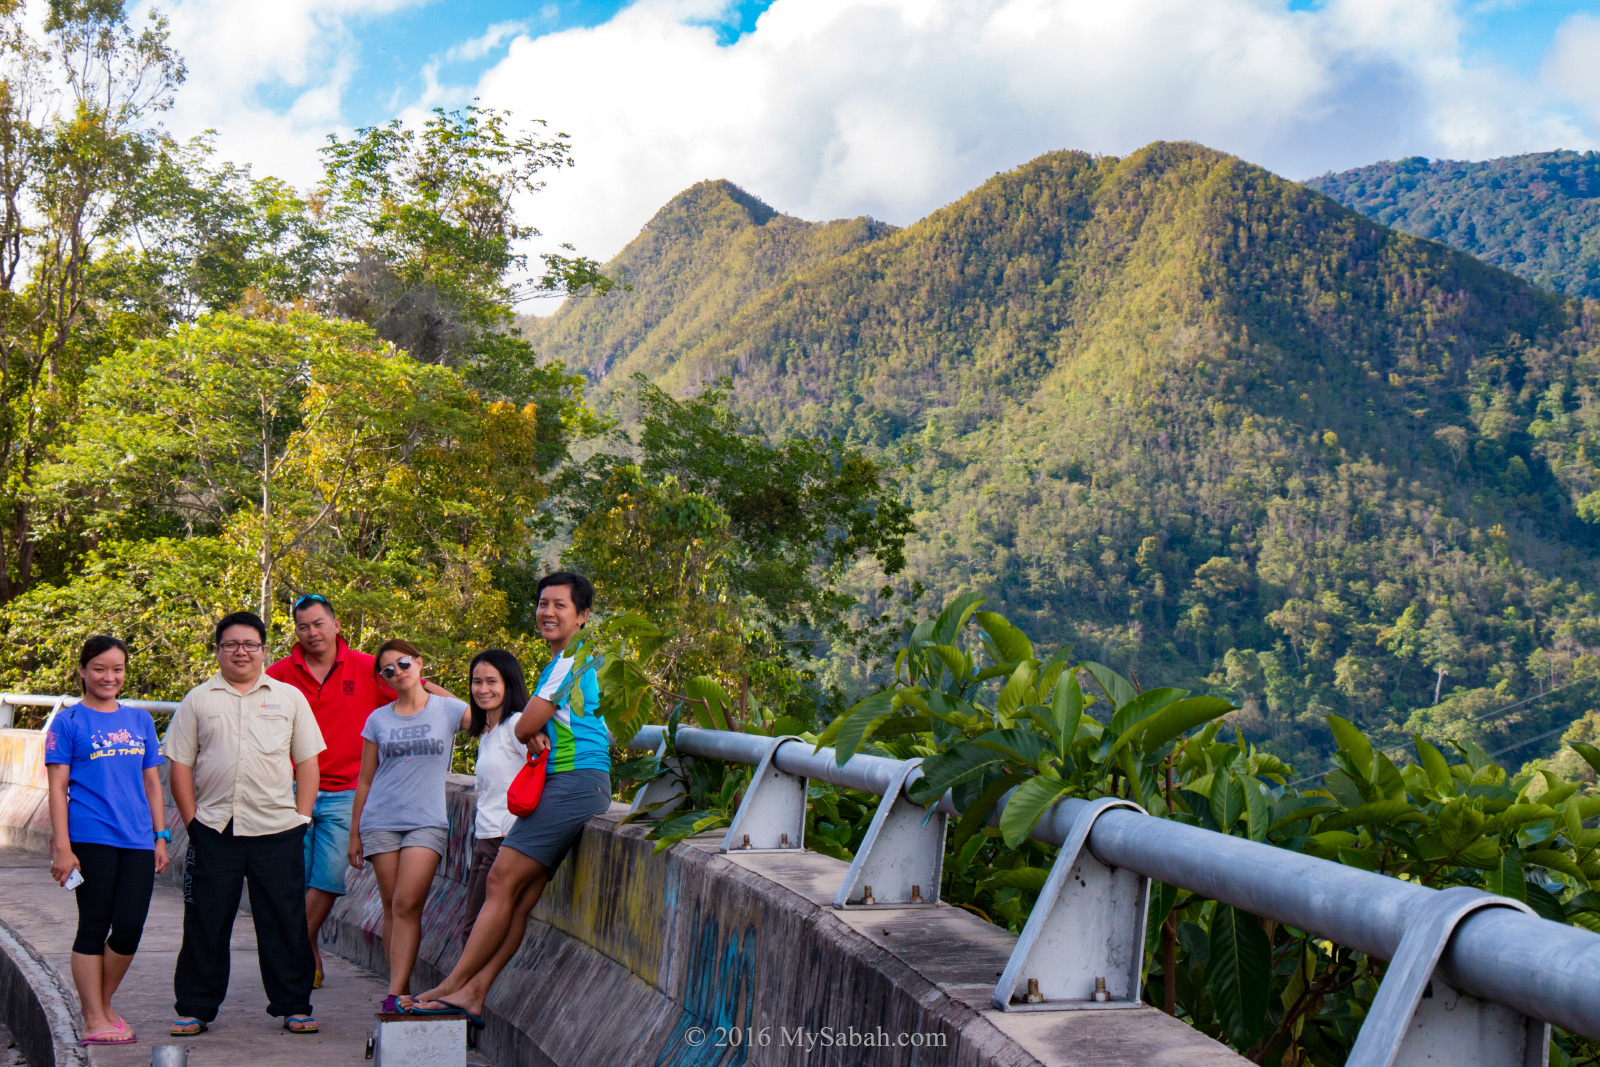
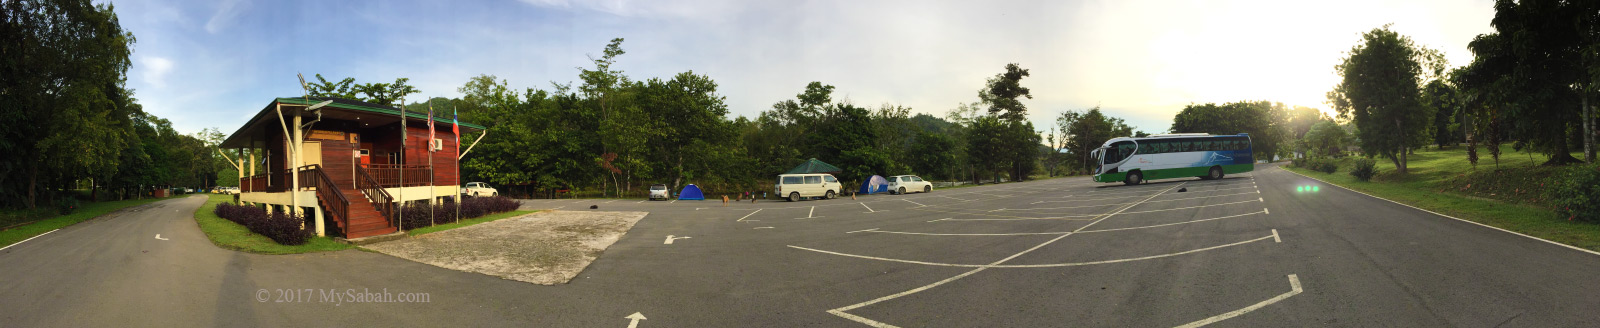
How to get there
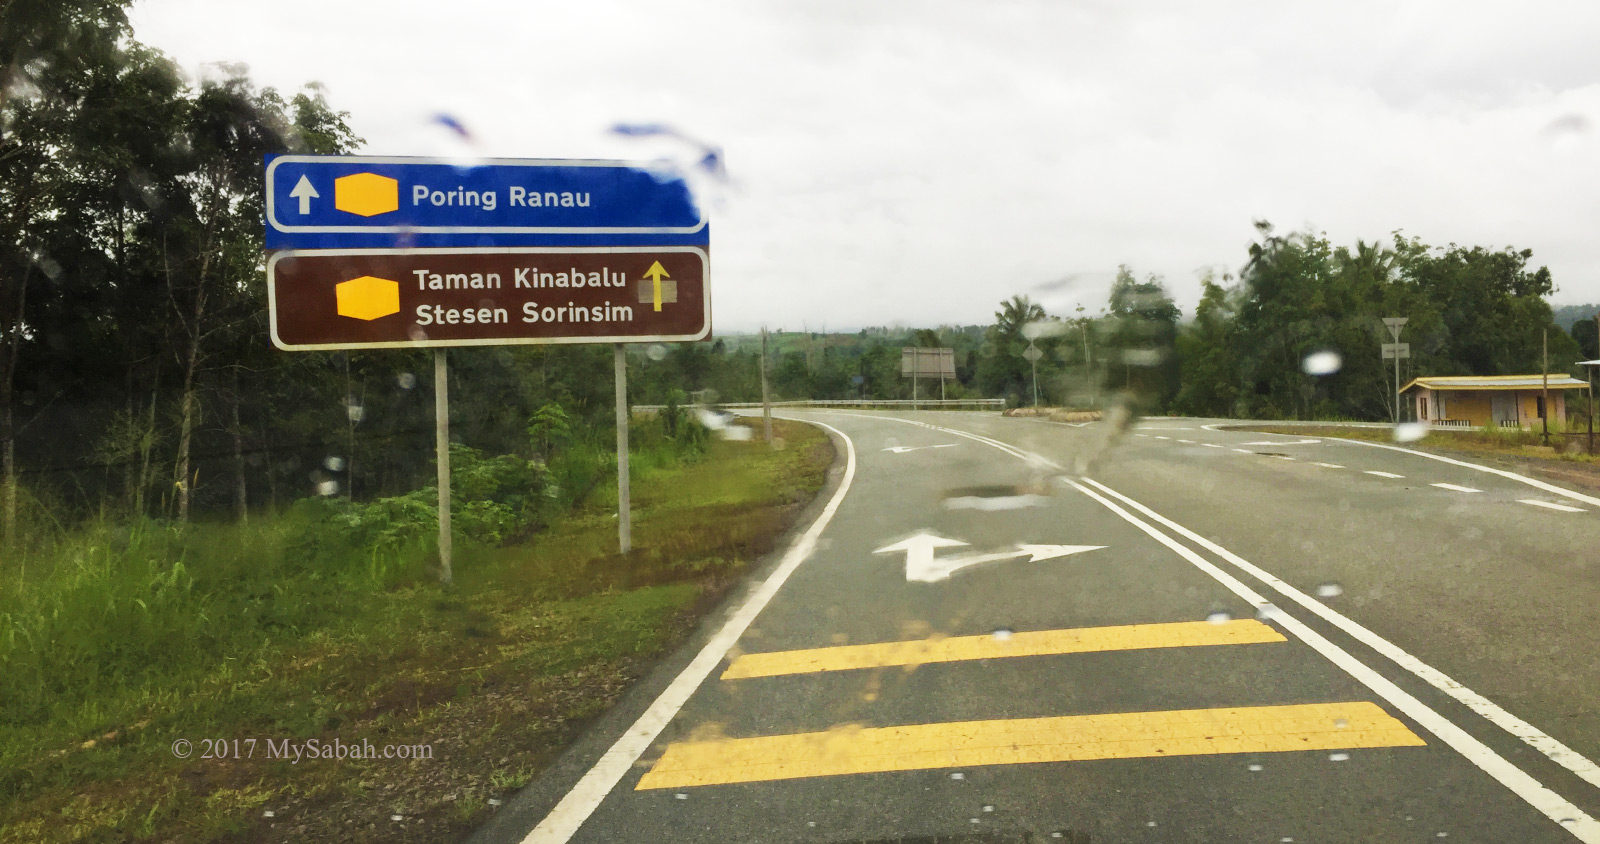
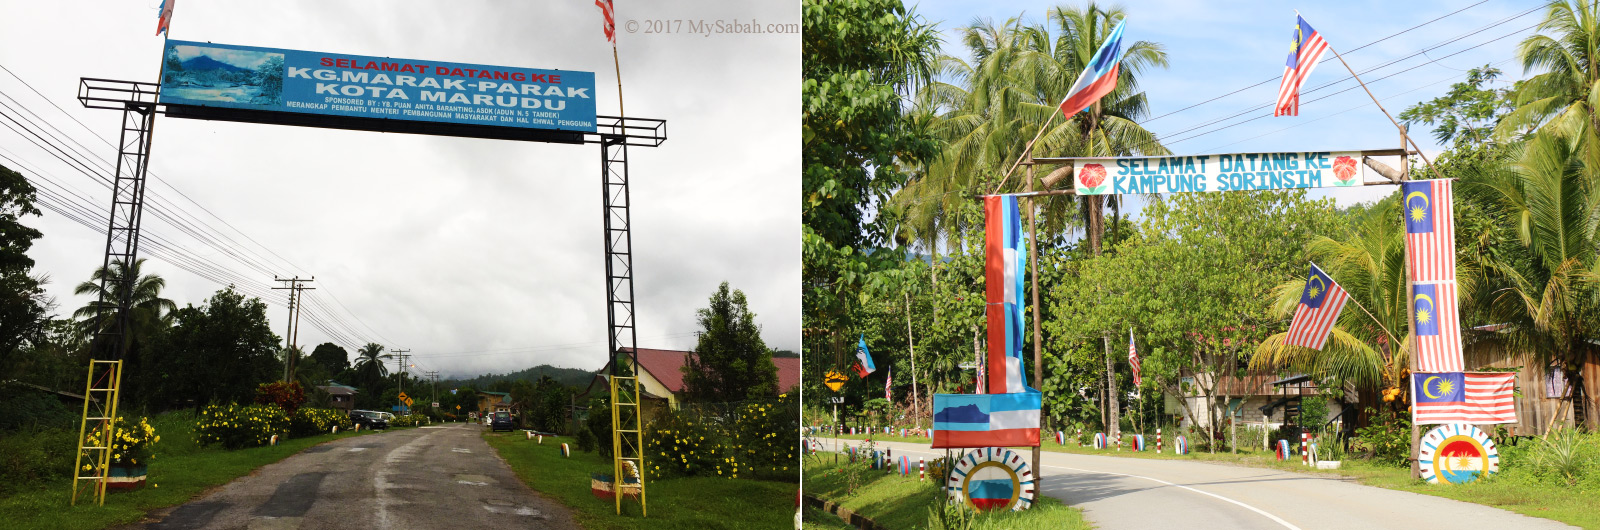
Serinsim is about 32 KM from Kota Marudu town and 130 KM away from Kota Kinabalu City (capital of Sabah). This substation is now highly accessible after asphalt highway is complete in 2013. The GPS coordinate is 6.293915, 116.707986 (see Location Map).
In the past you needed a 4-wheel drive to get in. That might be the reason why Serinsim is one of the least explored parks in Sabah. There is no bus goes directly to Serinsim.
You also can go to Serinsim from Poring Hot Springs, the 46-KM road is in good condition.
Things to Note
For a better travel experience at Serinsim, please take note of the following:
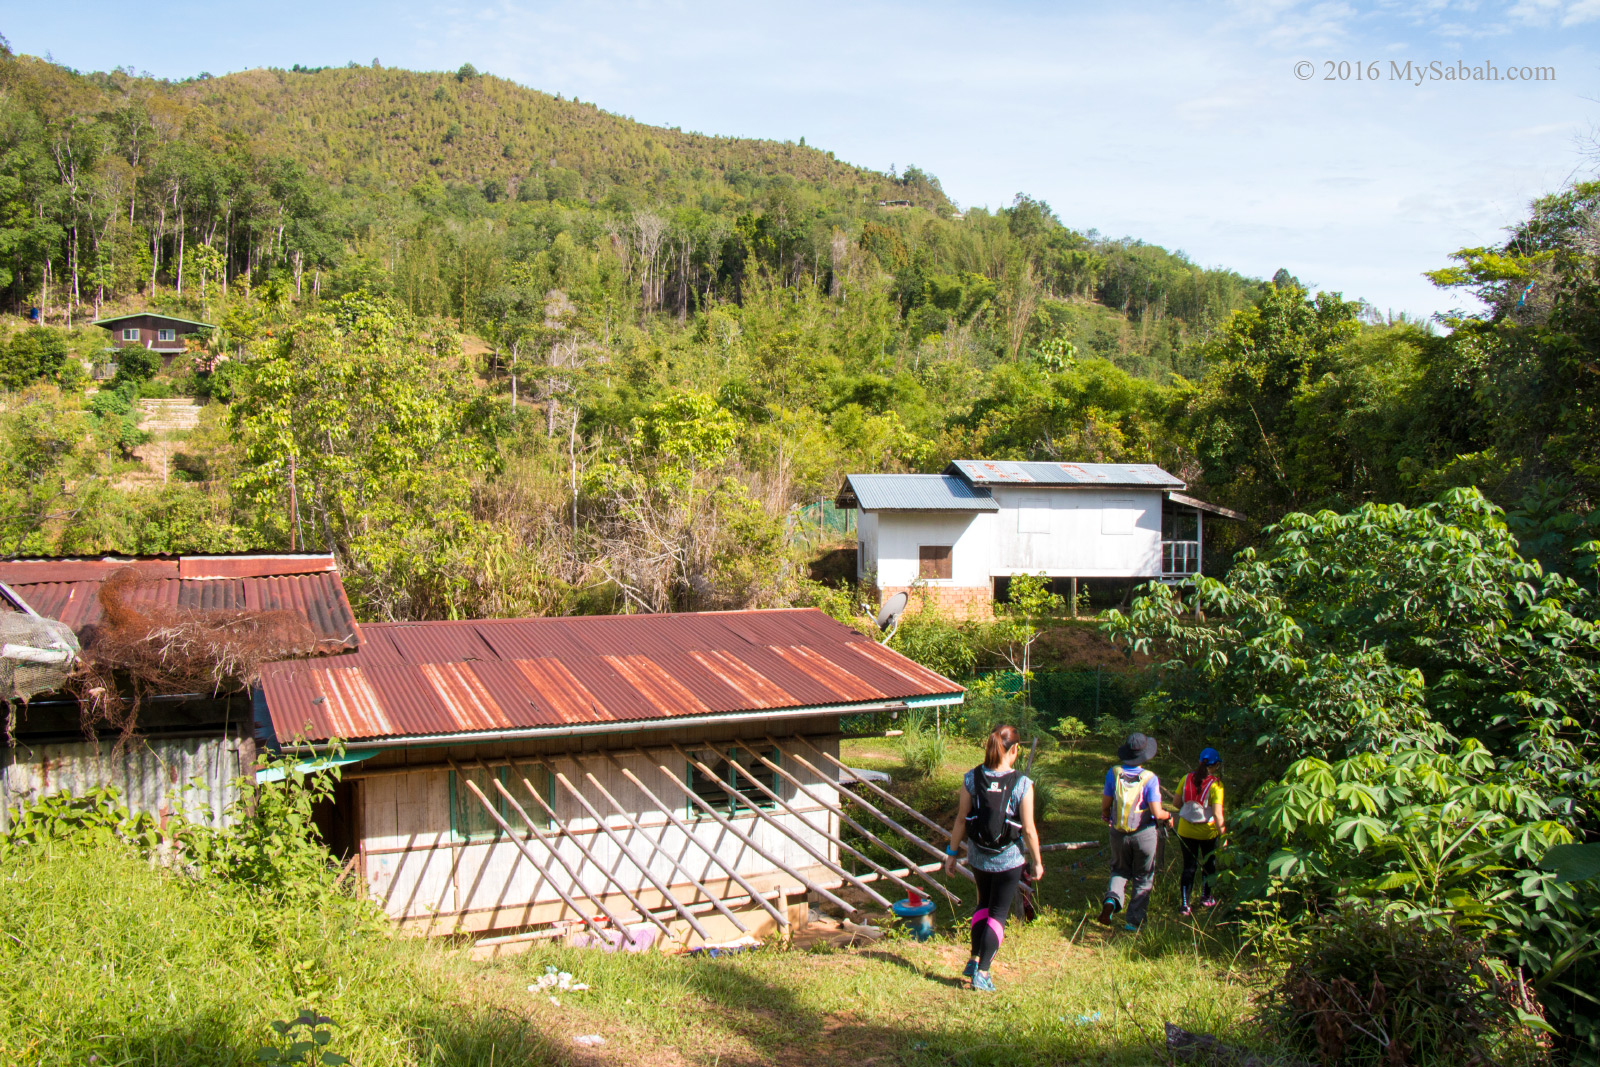
- There is no restaurant in the Park. You can prepare your own food in their kitchen, buy food from villages nearby (The shops are usually roadside residential run by villagers with signage such as Gerai Makan (Food Stall) or Kedai Runcit (Grocery Store)), or drive 30 minutes to Kota Marudu town looking for restaurant.
- The mobile line coverage is none or poor in the Park. My Maxis line got 0 bar. Celcom may work. Anyway, let’s prepare to be offline there.
- Bring insect repellent. There are mosquitoes in shaded area during dusk and dawn.
- There is a grocery shop and cafe outside the park entrance.
- Most area in Park has no light. Bring a torchlight if you would move around in the Park at night, especially campers.
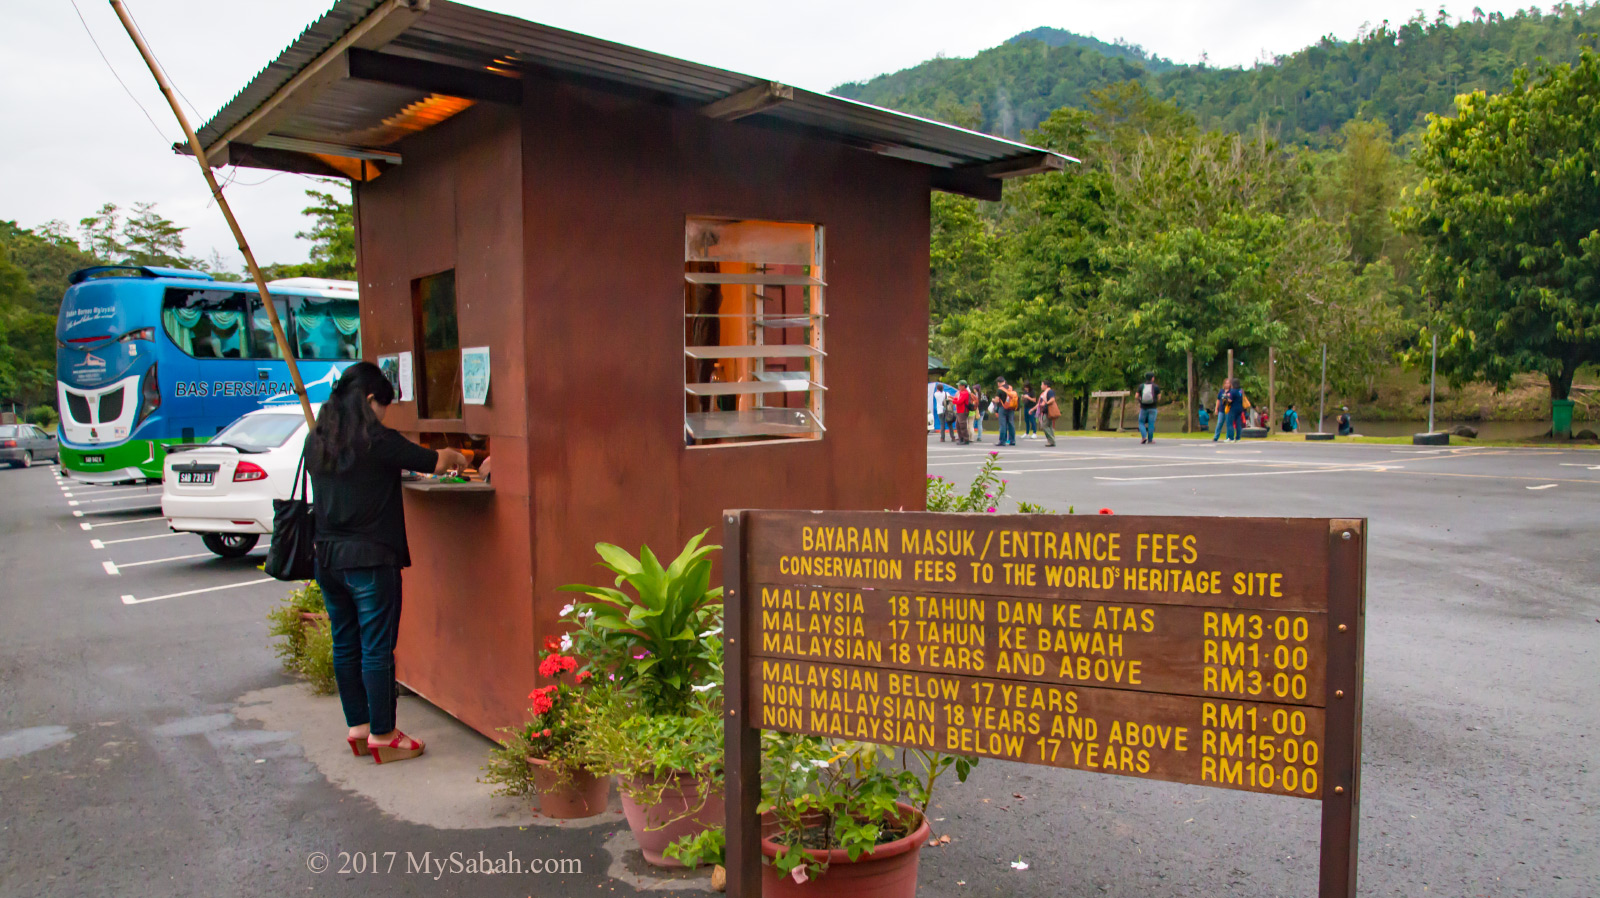
Entrance Fee
The following is the ticket fee to enter the park. They only accept cash in Ringgit Malaysia (MYR).
| Item | Fee / Rate |
|---|---|
| Conservation Fee | Malaysian: MYR10.00 Foreigner: MYR50.00 Below 18 years old: MYR5.00 and MYR25.00 respectively |
Serinsim is managed by Sabah Parks. For more information about Serinsim, you may browse www.sabahparks.org.my or call the head office of Sabah Parks in Kota Kinabalu at +60 88-523500.
Photos taken in Kota Marudu, Sabah, Malaysia Borneo