Continued from Part 3…
(You may start reading from Part 1)
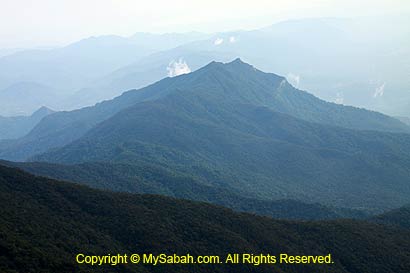
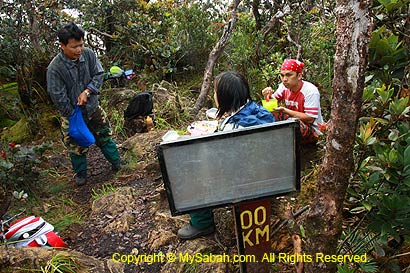
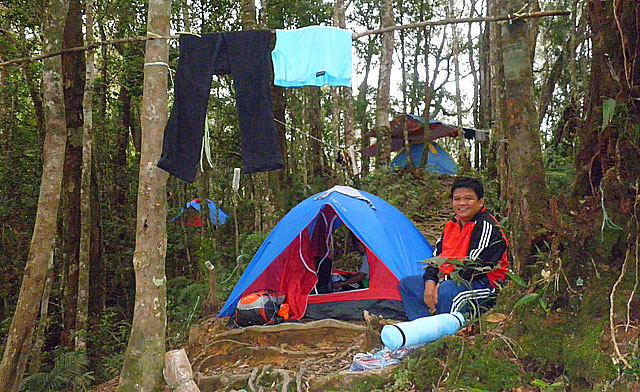
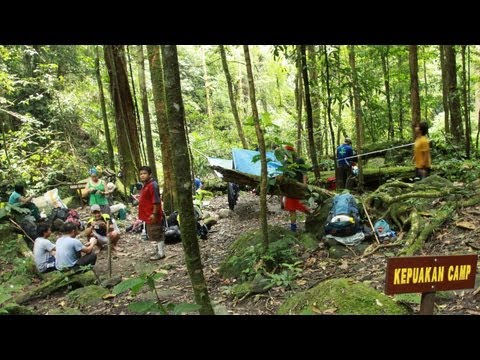
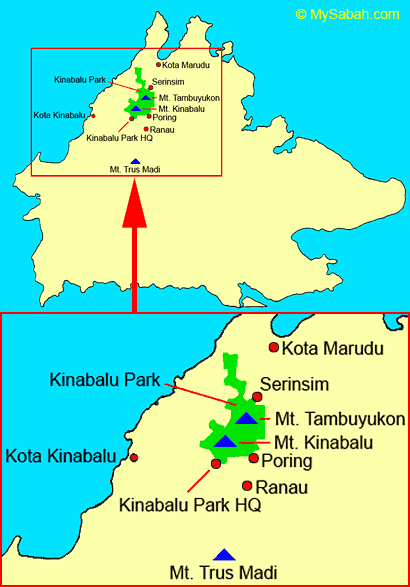
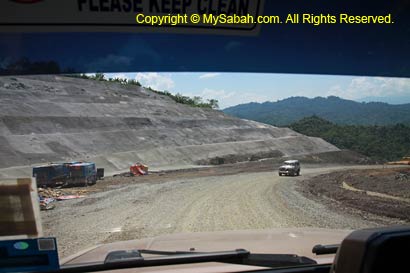
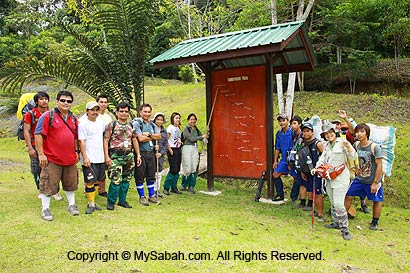
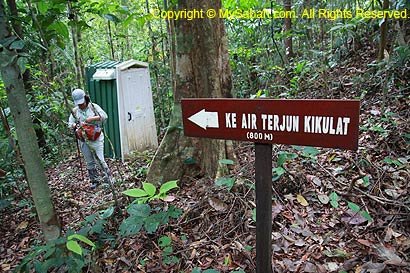
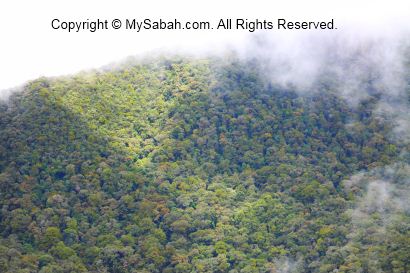
After spending 3 days of camping inside the forest, we go back to Monggis Substation (starting point of the climb) today. Please refer to trail map for the location.
DAY 4. Back to Starting Point
Descending to Monggis Substation
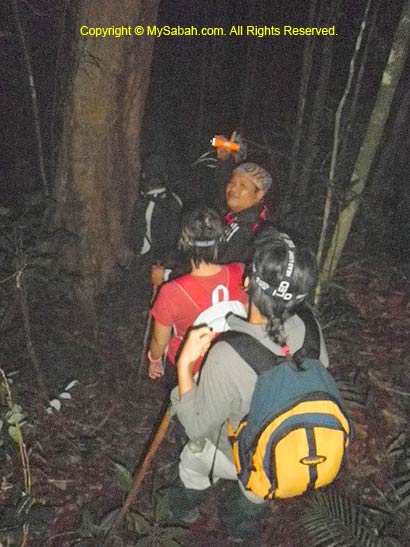
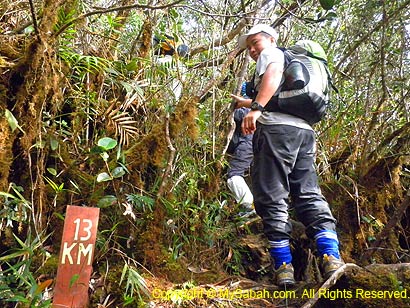
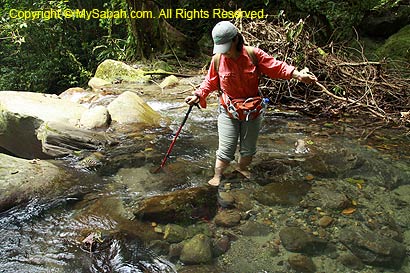
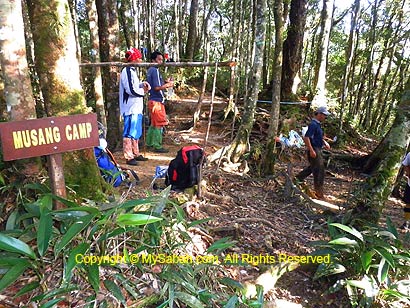
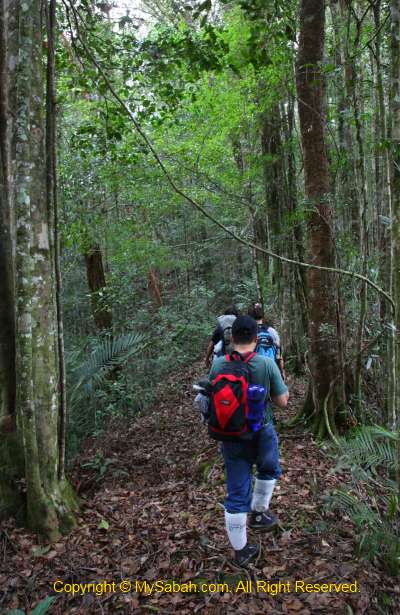
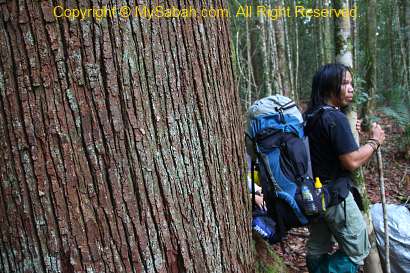
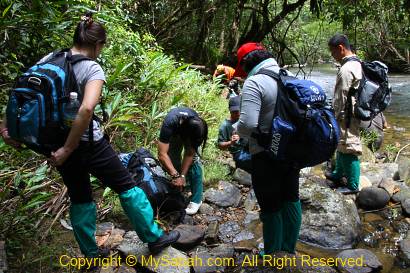
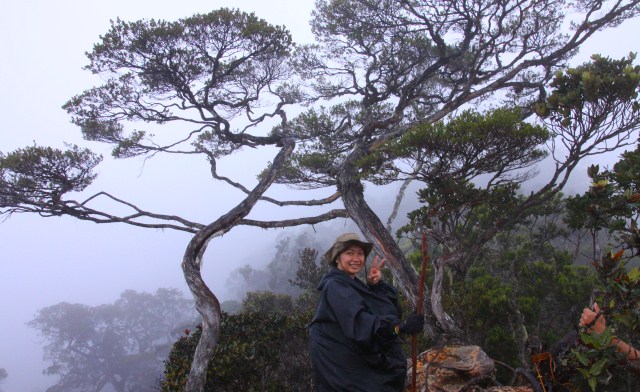
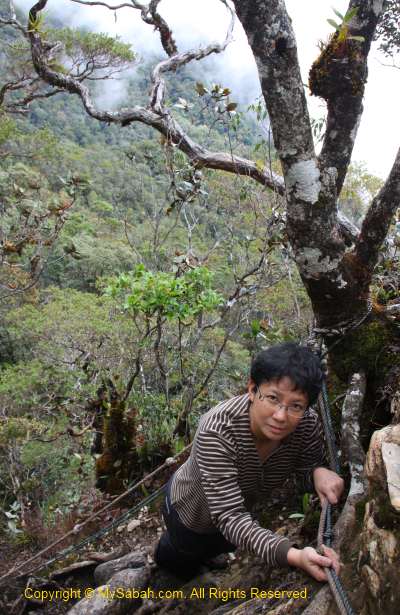
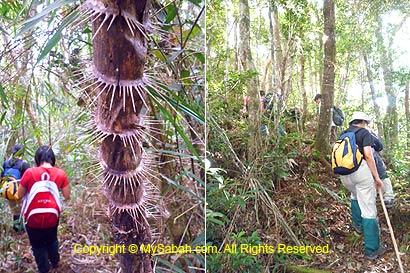
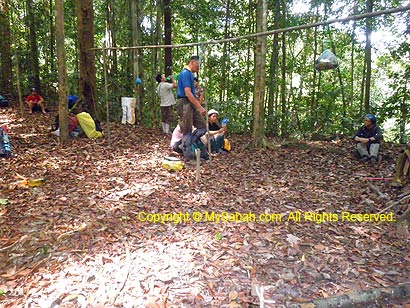
We are going home. When we worried that we needed to go through the same dreadful 10KM undulating trail again, Maik said we would use the old 13KM trail (some says 15KM), which is longer but mostly flat and descending route. We packed our stuffs and left Musang Campsite at 7:30am.
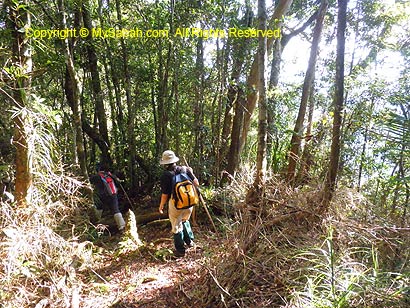

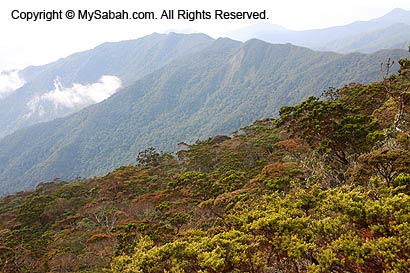
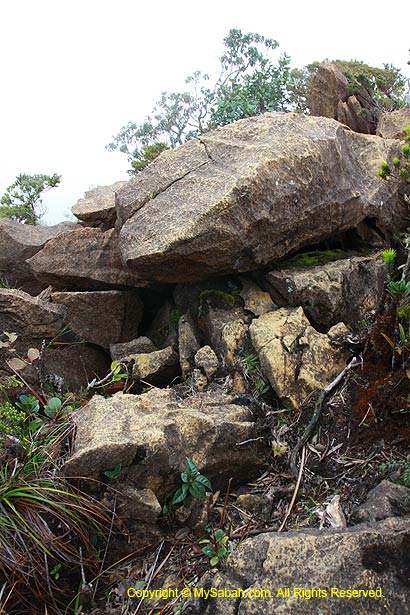
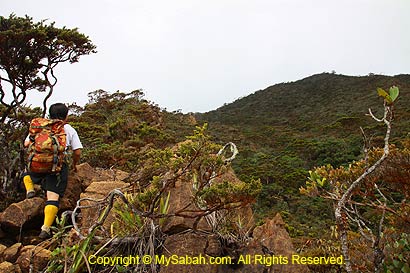
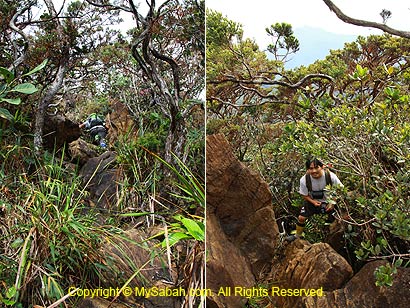
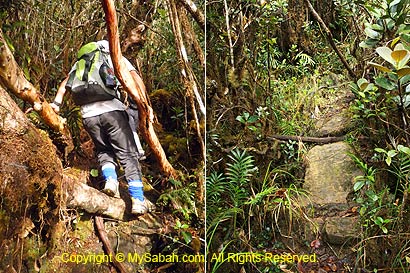
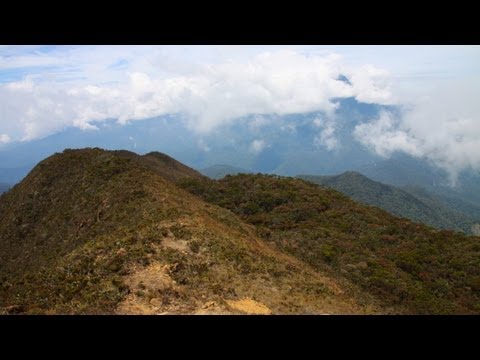
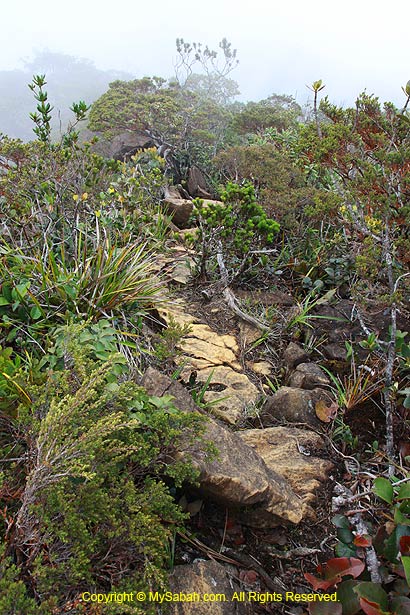
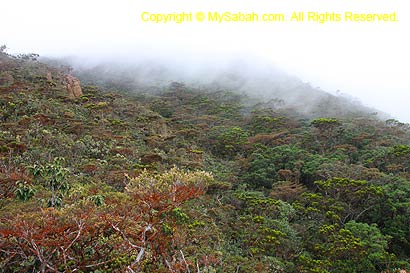
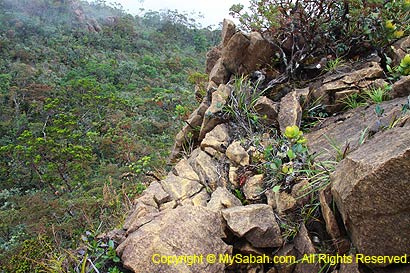
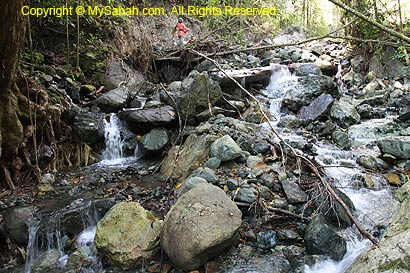
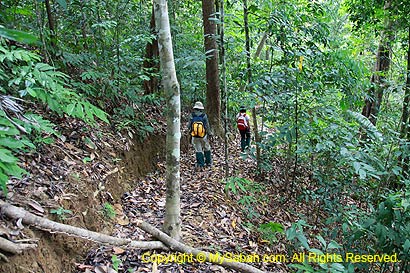
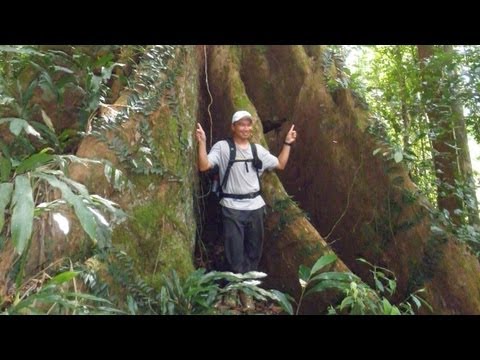
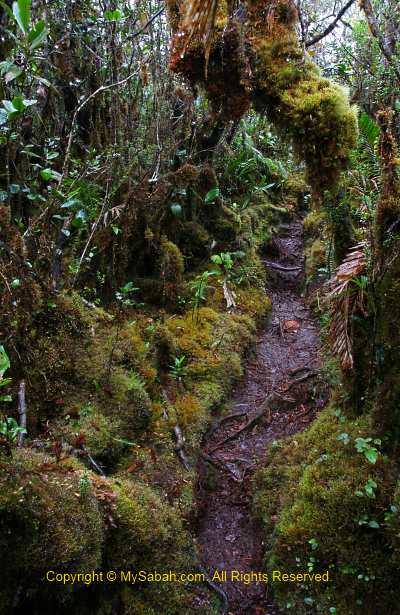
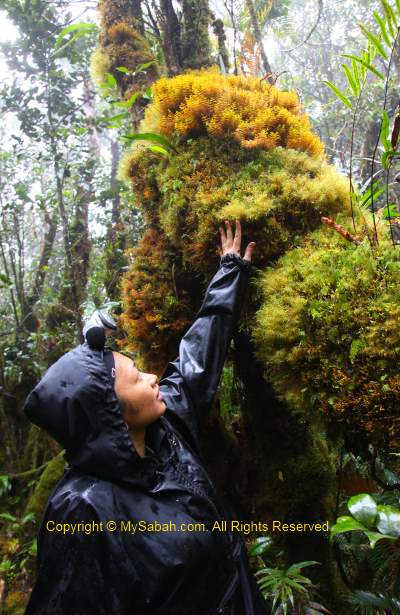
Maik was right, the walk on old trail is a heaven compared to previous 3 days. We only climbed over a few mildly steep slopes and hardly called these a challenge.
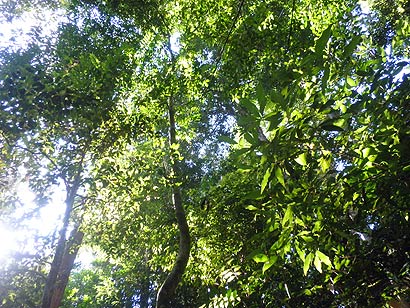
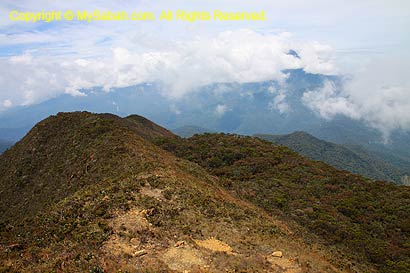
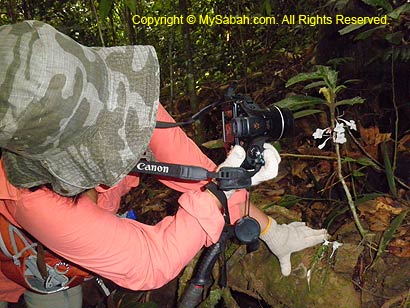
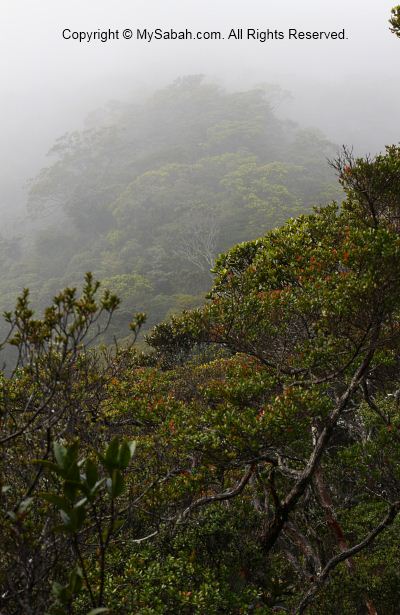
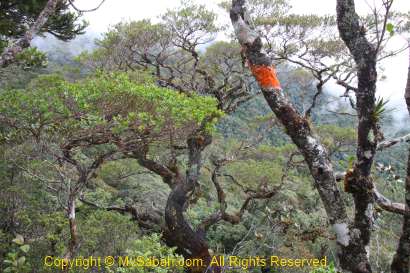
In contrast to the dim new trail, there are more sunlight came in from the open canopy.

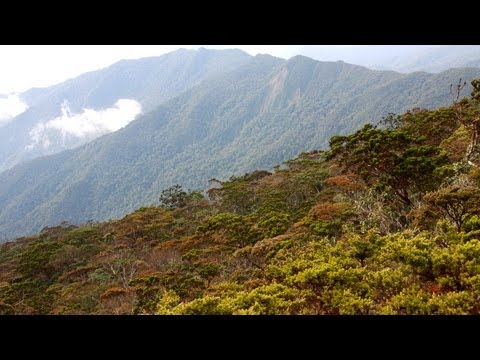
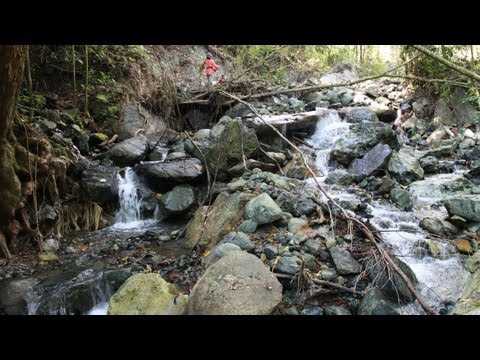
You may watch the 2.5-min video below to see the jungle trekking via old trail:

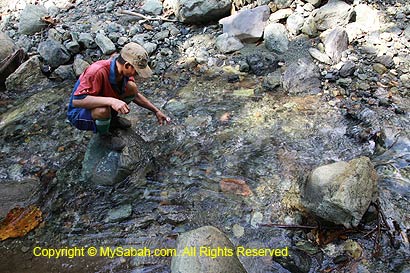
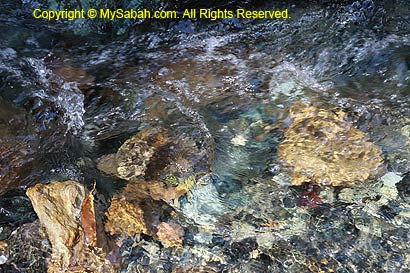
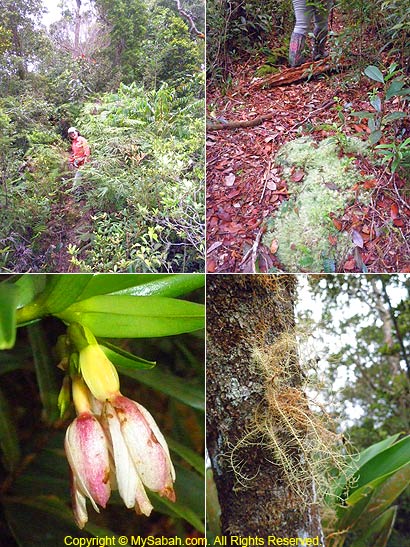
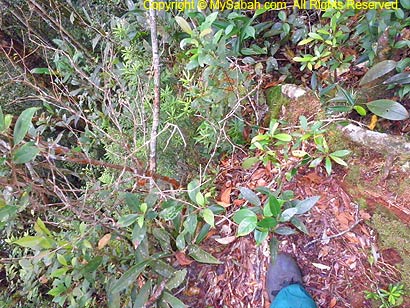
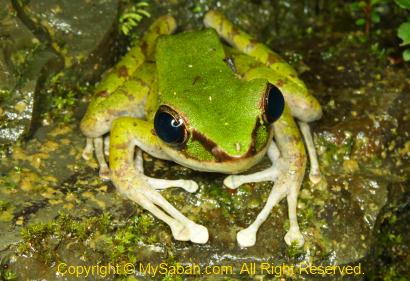
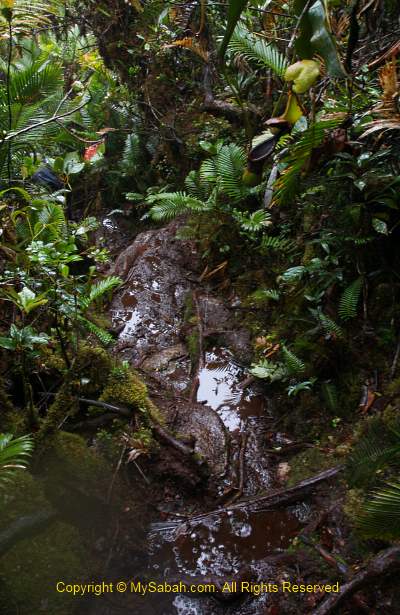
Track marks and footprints of wild boars and deers are found along the way. I could hear hornbills flied over the canopy too.

Above: hole dug by wild boar
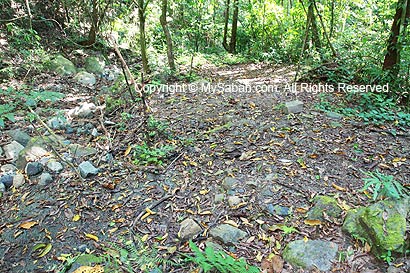
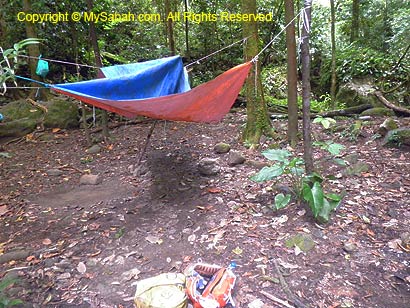
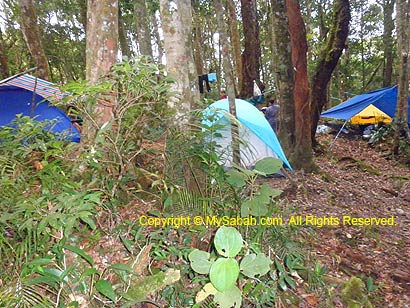
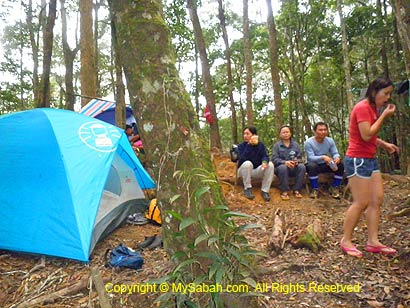
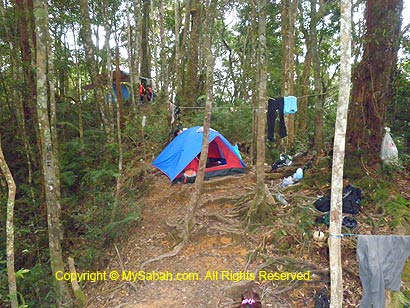
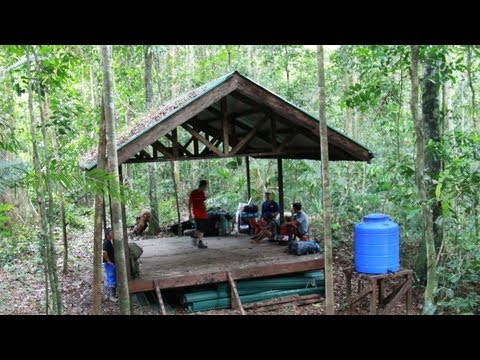
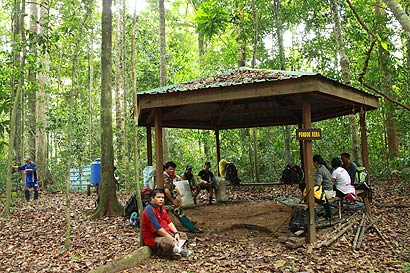
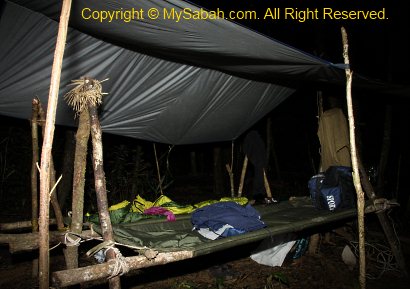
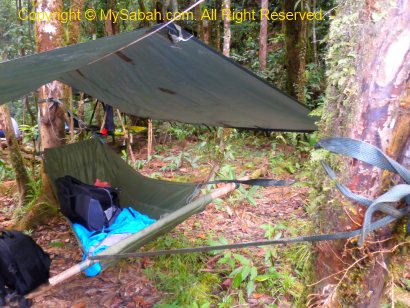
Camp 1
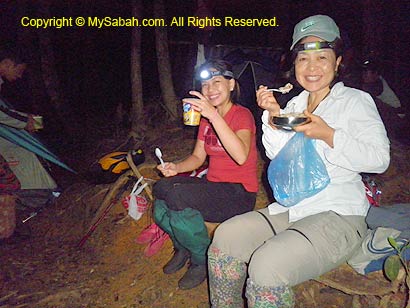
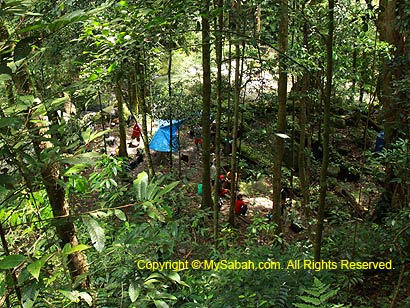
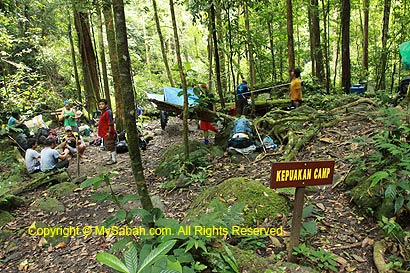
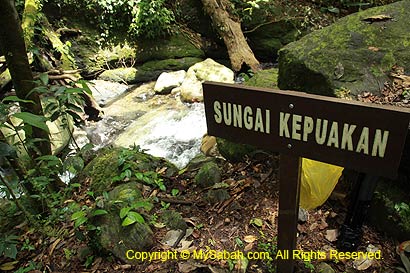
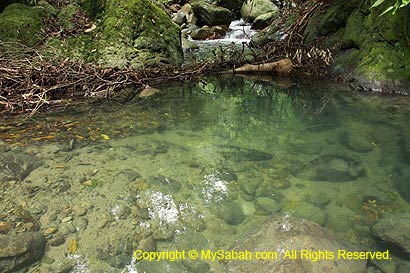
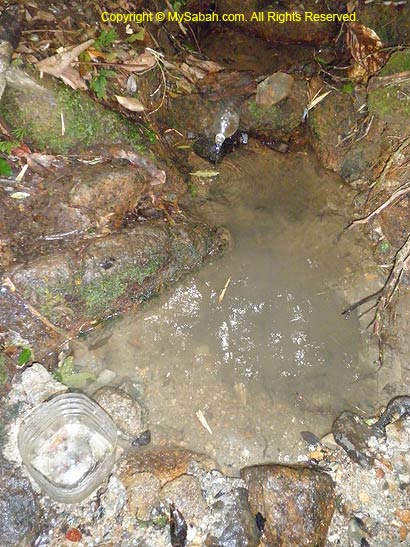
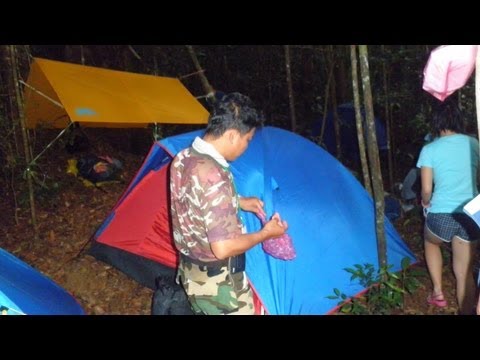
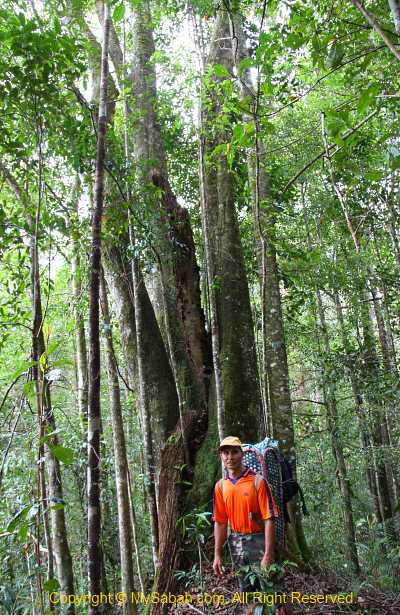
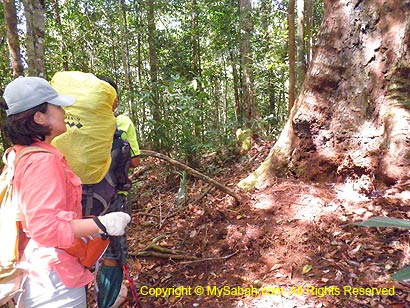
By 11:30am, we arrived Camp 1 (altitude 578M), a large flat ground that can accommodate 6 camping tents and under a canopy of tall oak trees. There is a stream nearby for refilling our water. We had some fried rice as lunch there, rest a while then moving again.
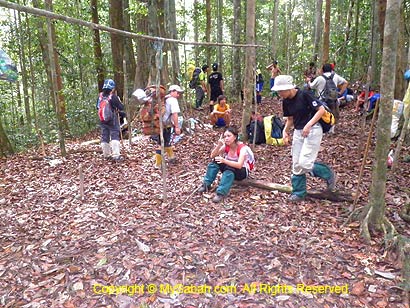
Above: Camp 1 on old trail

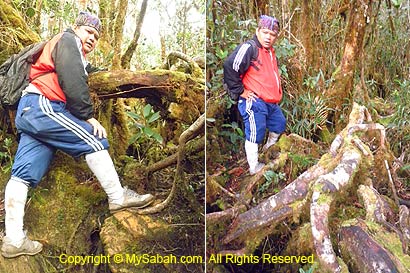
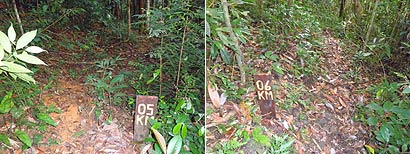
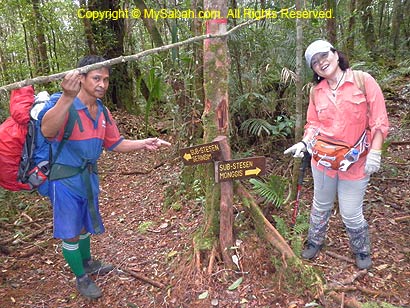
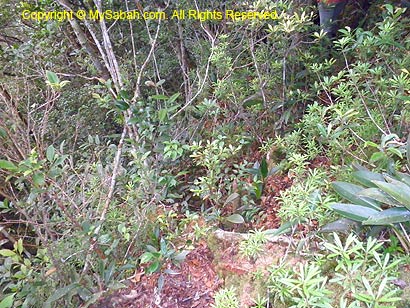
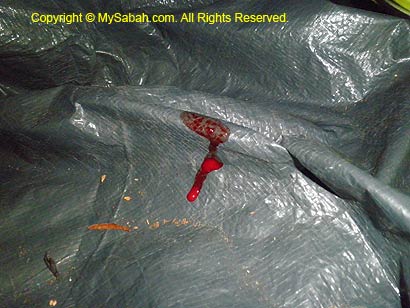
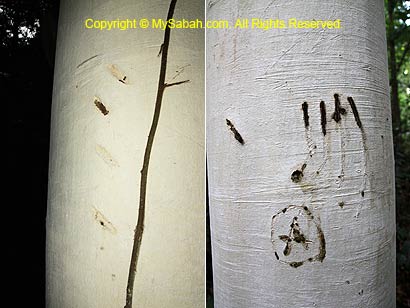
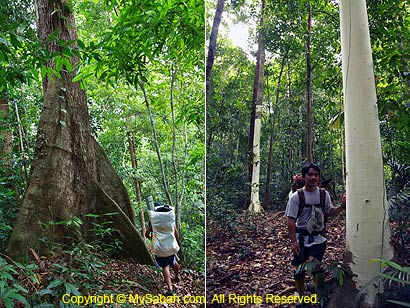
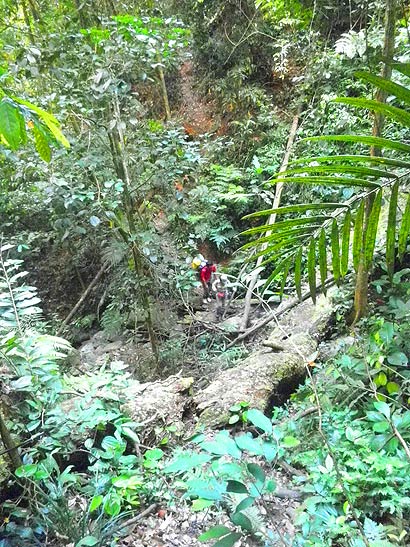
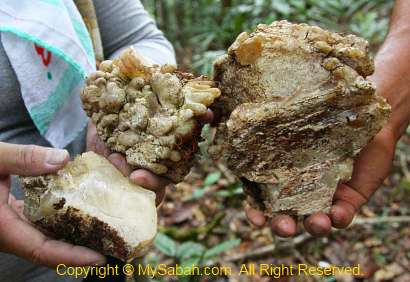
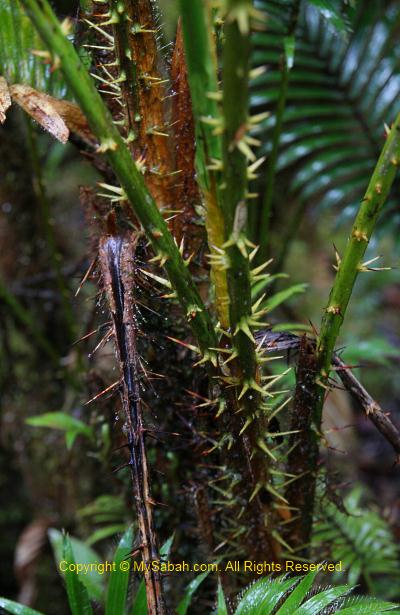
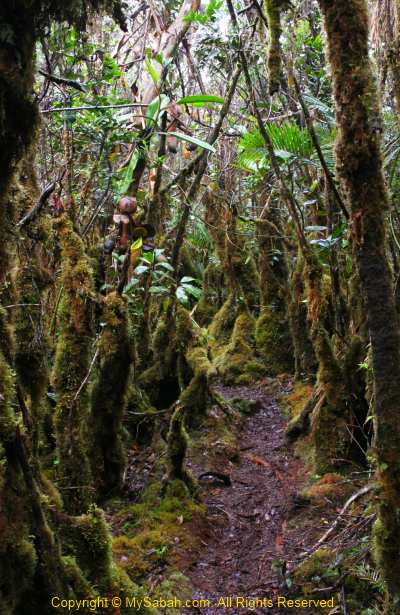
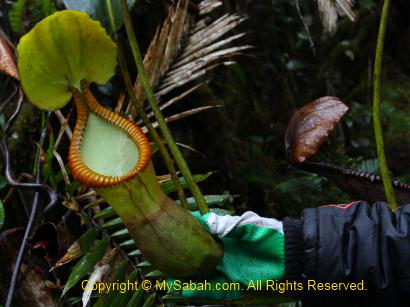
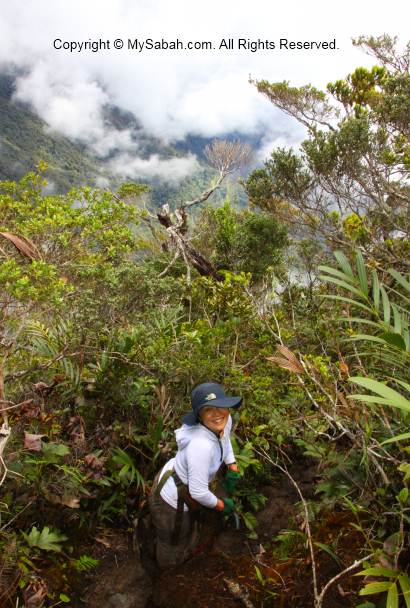
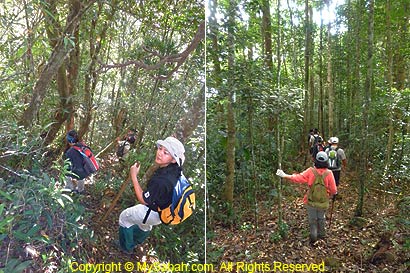
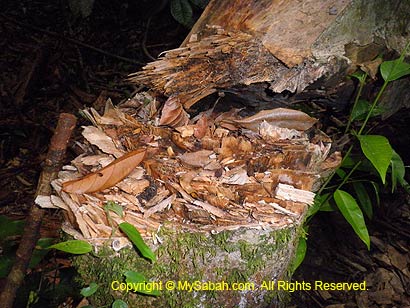
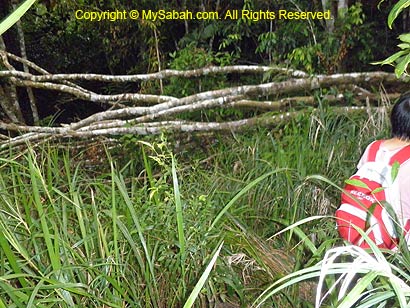
Not a single signage is found along this 13KM old trail, so we had no idea how far we went. After Camp 1, the trail is narrower and nearly unrecognizable. The old trail is poorly maintained and flanked by dense undergrowth. During rainy season, the climbers will harvest dozens of leeches while walking and brushing through the dense shrubs. On the way, we saw a wild Agarwood (gaharu) has been cut and left to dry by thief. Gaharu is a highly precious fragrant wood, which can fetch for RM5,000 per Kg.
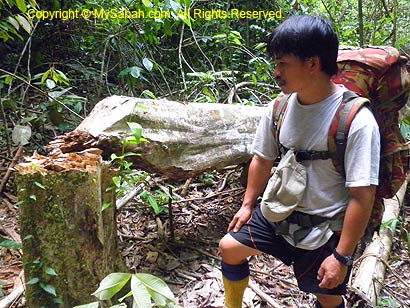
Above: Agarwood cut down by thief
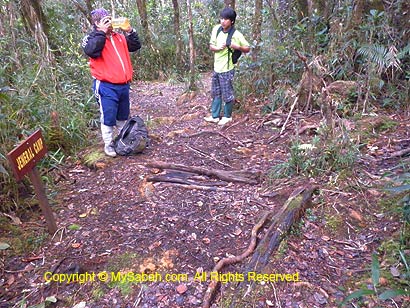
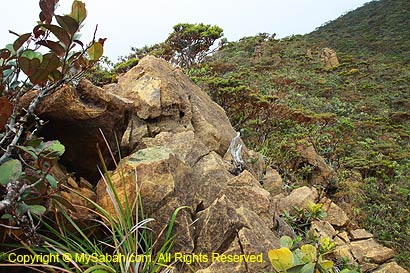
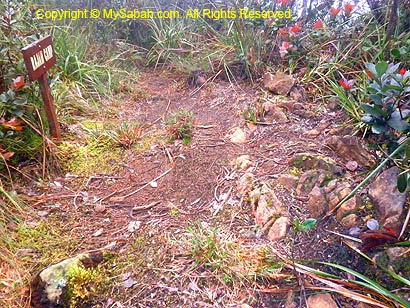
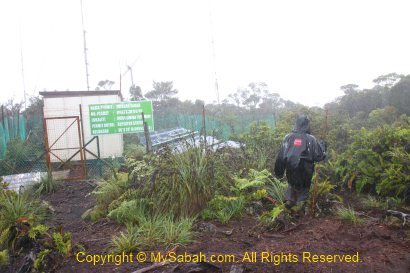
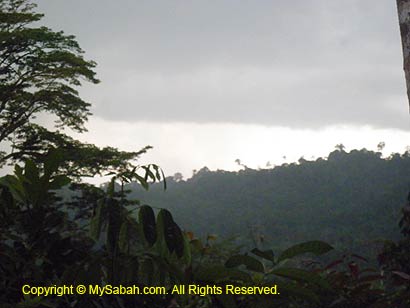
By 2:30pm, we reached the Kinabalu Park boundary which means we are only 2-hour away from Monggis Substation.
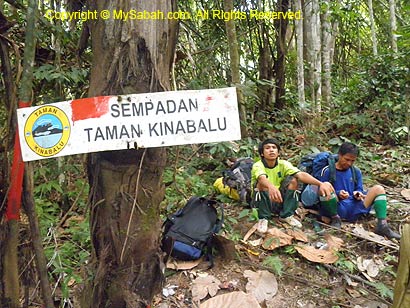
Above: Boundary of Kinabalu Park
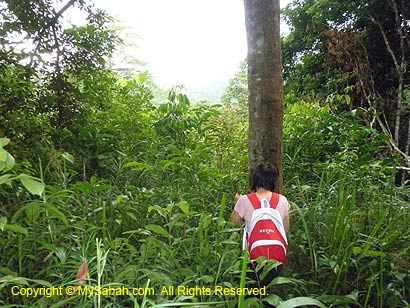
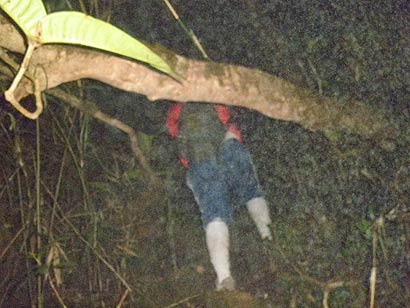
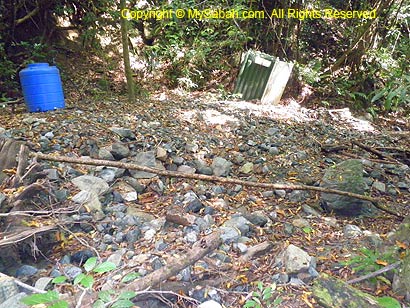
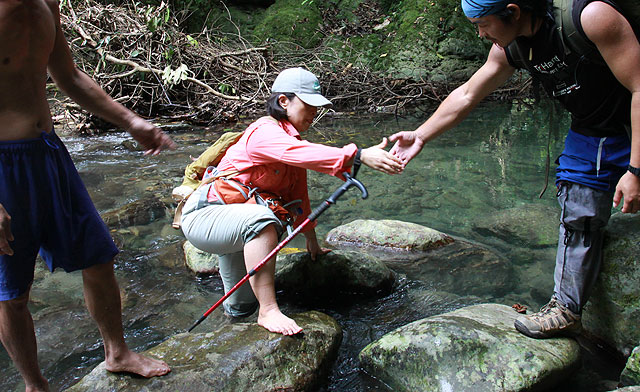
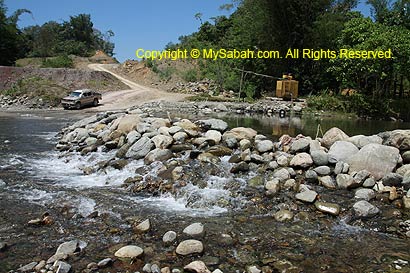
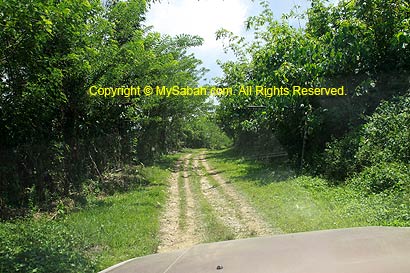
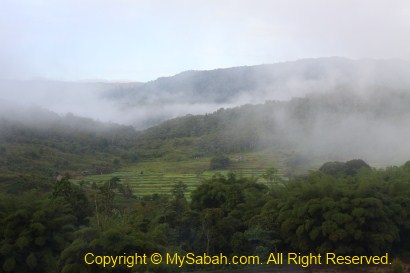
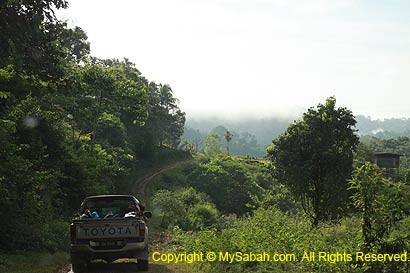
After this point, we were walking on private land and passed through rubber plantation, farm land and orchards. The trail is inside private land and not maintained at all. We trekked inside bushes and occasionally moved around the fallen trees that blocked our way. All of us made it to Monggis Substation around 4:30pm, right before the pouring heavy rain.
Above: heavy rain coming
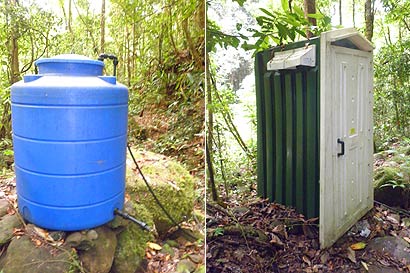
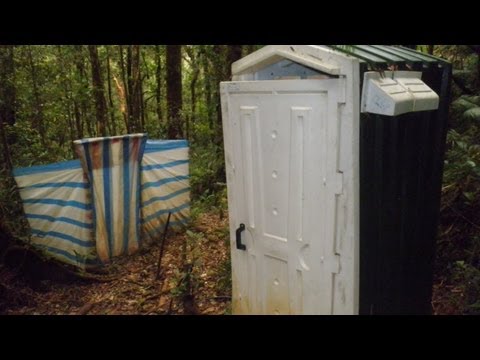
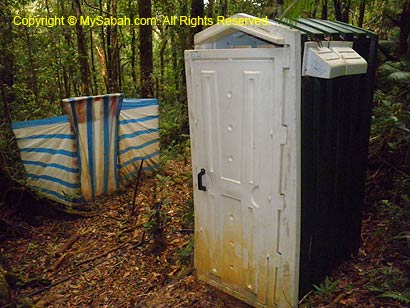
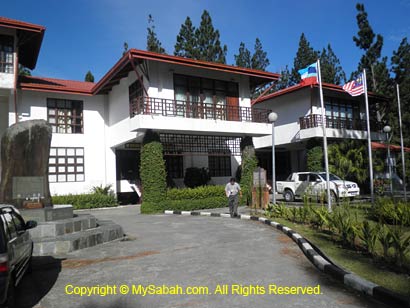
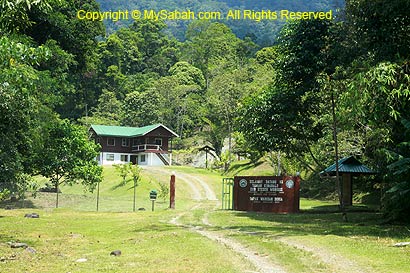
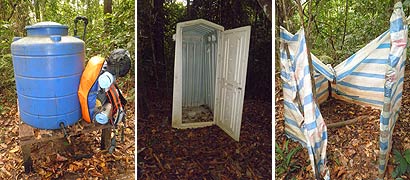
Overnight in Monggis Substation
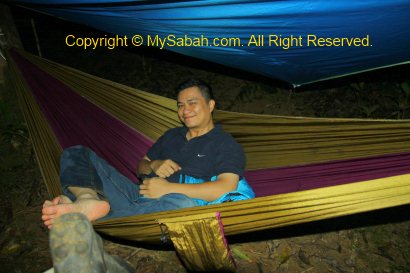
Most of us have been wearing the same trekking outfit since day 1 and didn’t take shower, so everyone smells funny. We took a shower in Monggis Substation and put on clean clothing.
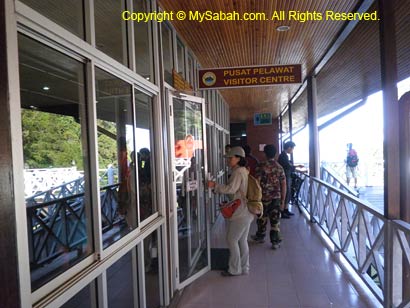
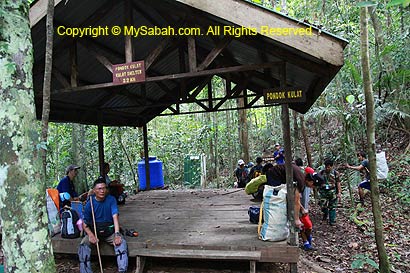
We are also glad that we can sit on a proper chair to rest our exhausted legs and bodies. After I settled the payment for porters and guides, I submitted the name list of climbers to Justin, manager of substation, for printing of certificates.
You may watch the 40-sec video below to see Monggis Substation:

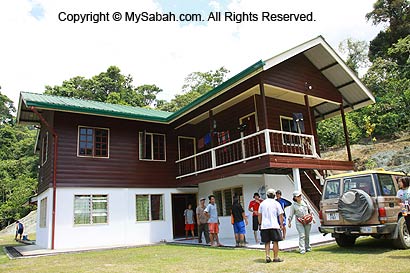
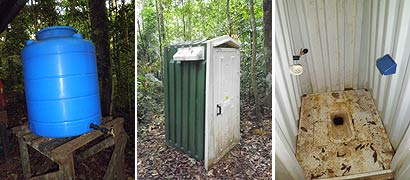
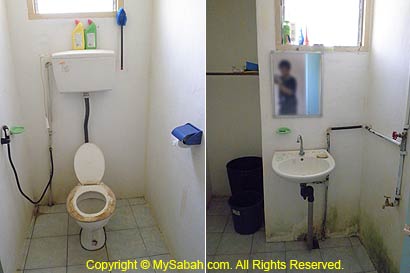
Monggis Substation is a two-storey administration building and accommodation of Sabah Parks. In ground floor, there is a bathroom, toilet, park office, kitchen, living room (with TV) and a bedroom.
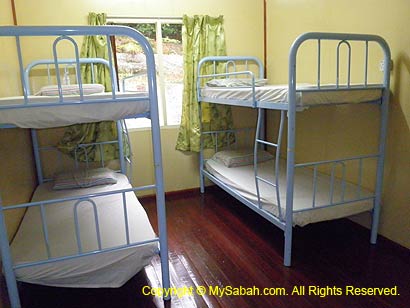
Above: standard room with bunk beds
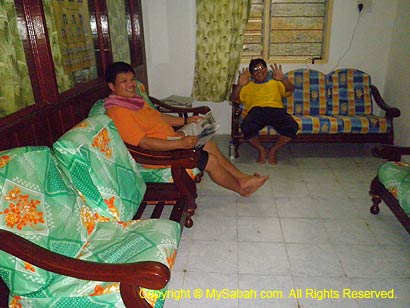
In first floor, there is a living room (with TV), 3 bedrooms with bunk beds and one VIP room with two beds. Electricity is only available from 6pm to 11pm and powered by generator. The accommodation can accommodate up to 20 visitors for a small fee. My room has a ceiling fan, wardrobe and bunk beds come with pillow. To us, this is a 5-star accommodation compared to camping. By the way, you better close the windows, otherwise your room will be full with hundreds of insects attracted by the room light.
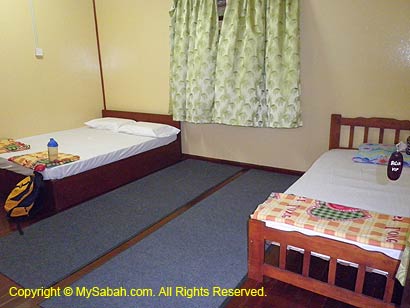
Above: VIP room of Monggis Substation
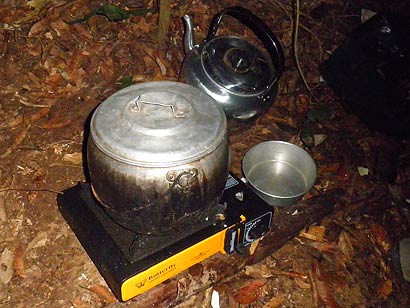
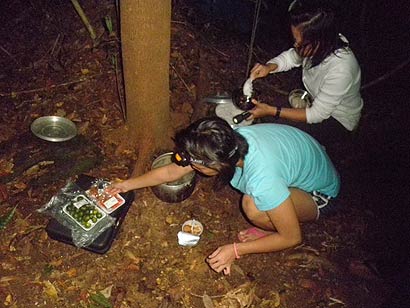
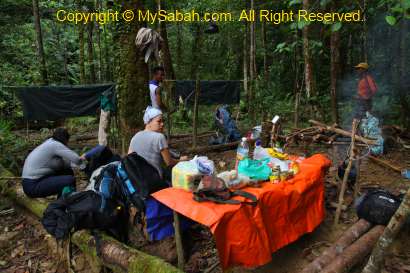
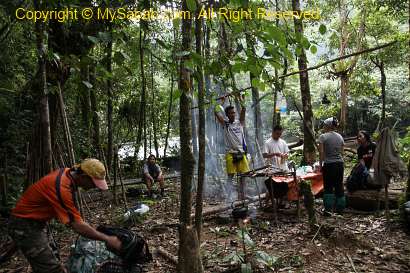
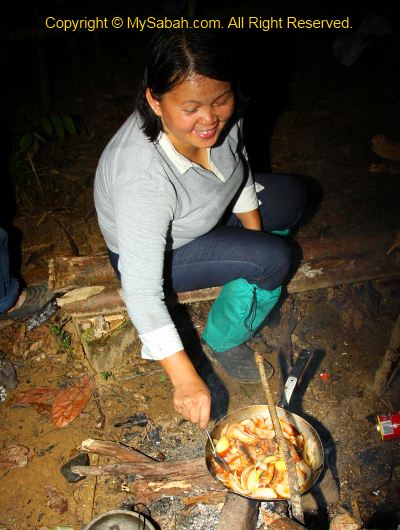
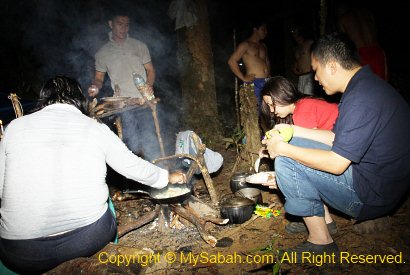
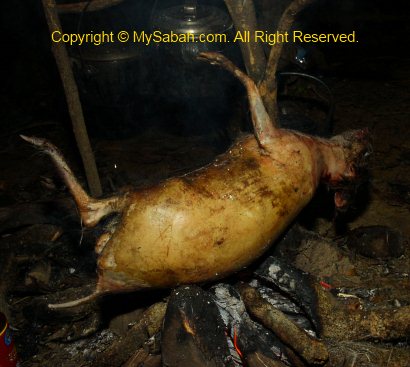
No, there is no restaurant here and neighborhood, so you need to prepare your own meals. The kitchen in substation is quite well-equipped, common items such as refrigerator, cooking stove, gas, cooking utensils, dining table and tableware are available. Visitor is required to pay a fee of RM50 for using the gas and cooking facilities. We had rice, chicken, curry, sardine and mixed vegetables as dinner, reminisced about our experience, then crawled to our beds.
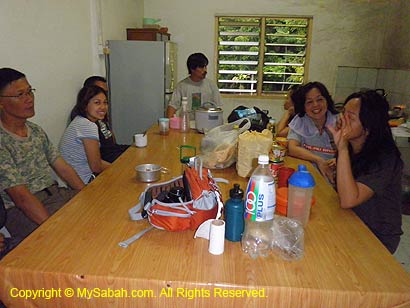
Above: kitchen
DAY 5. Going Home
Back to Kota Kinabalu
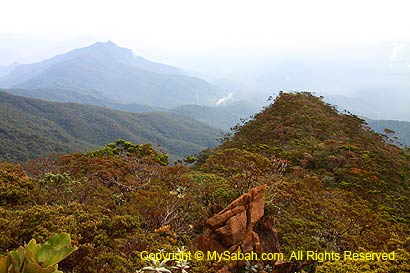
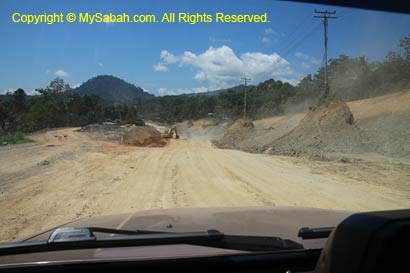
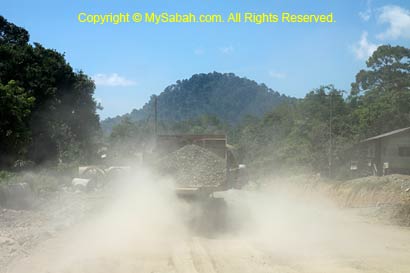
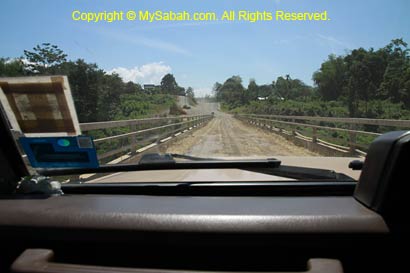
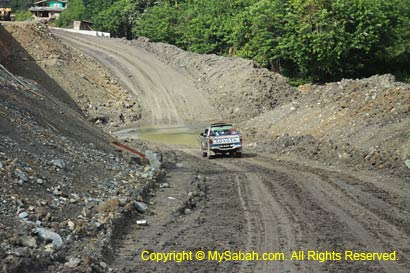
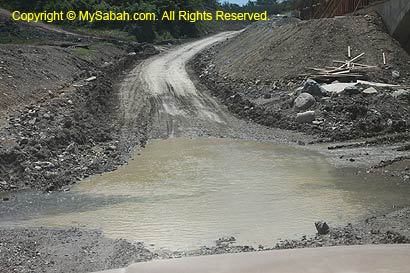
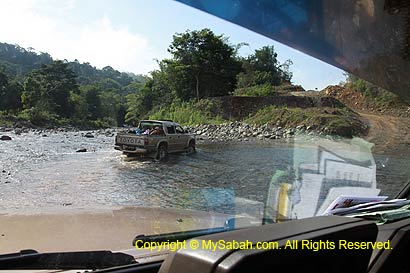
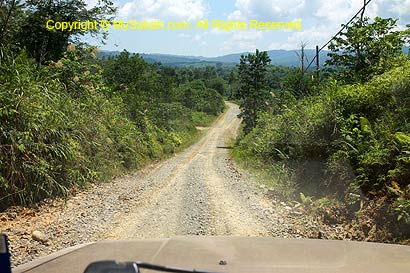
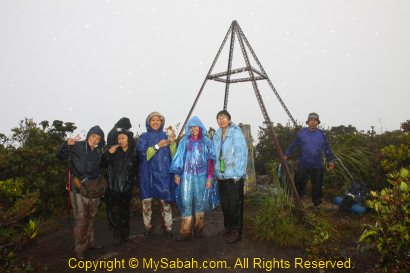
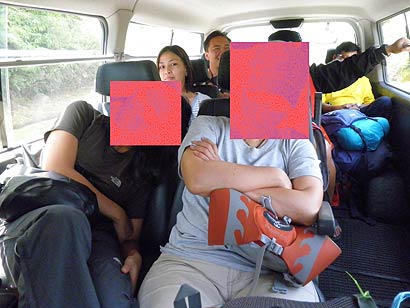
Last day is a happy day for everyone. Climbers are happy that they will be back to civilization soon; guides and porters are happy to receive their tips. After a few rounds of photo sessions, we say good bye to Monggis and Mt. Tambuyukon. Despite the muddy road caused by heavy rain last night, it was a smooth ride to head back home.
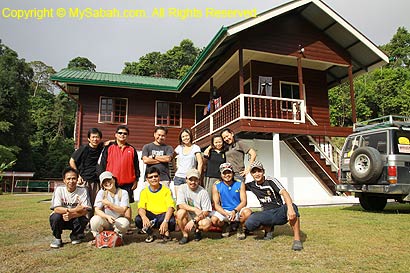
Bye bye Mt. Tambuyukon!!!
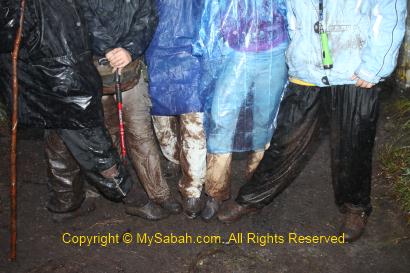
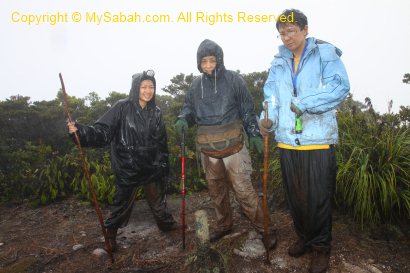
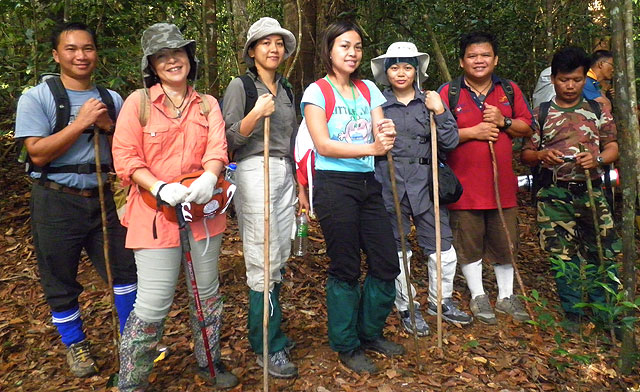
Above: Exhausted climbers. Better not showing their faces or I’ll be skinned alive. :p
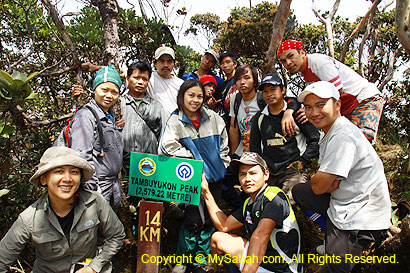
Mt. Tambuyukon Vs. Mt. Kinabalu
Many ask me, “Mt. Kinabalu and Mt. Tambuyukon, which one is harder to climb?”
I can tell you, though Mt. Tambuyukon is about half the height of Mt. Kinabalu, it’s 3 times harder (multiply 2 if the weather is bad) to climb. IMHO, “Mt. Kinabalu is for kids, Mt. Tambuyukon is for men.” After the climb, whenever I see online travelogue that says climbing Mt. Kinabalu is “extremely challenging”, I laugh my ass off. One advice – do not try Mt. Tambuyukon if you think climbing Mt. Kinabalu is hard!
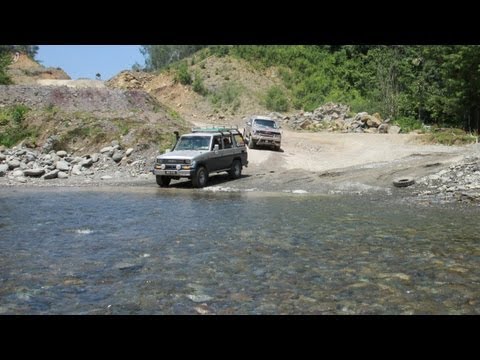
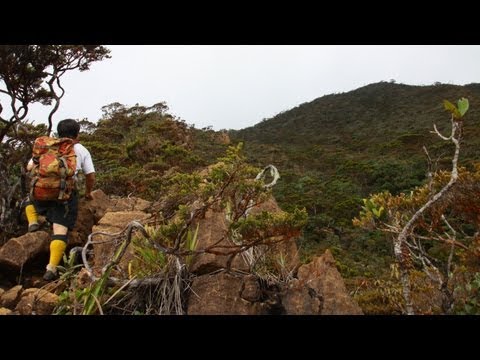
You may watch the 5-min video below to see our climb from the start to the summit:
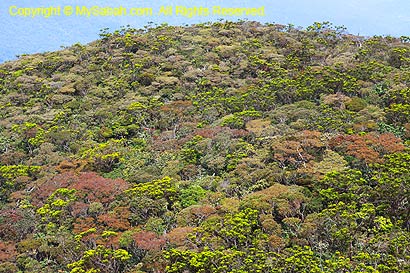
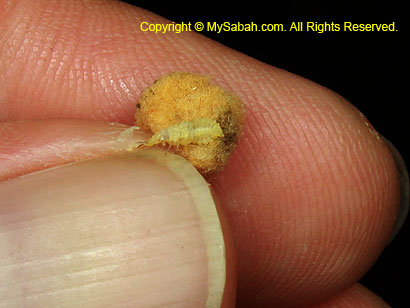
In contrast to Mt. Kinabalu, Mt. Tambuyukon is a forested mountain. The climbing route is pure nature trail, full of leeches and no boardwalk, rope, hand rail and other support. In our team, one member stung by wasp, two got swollen finger/arm caused by poisonous plant, one suffered altitude sickness, and one got sore knees. Overall, it’s impossible to came back from Mt. Tambuyukon without any cut, wound, bruise, pain and leech / sandfly bites on our bodies.
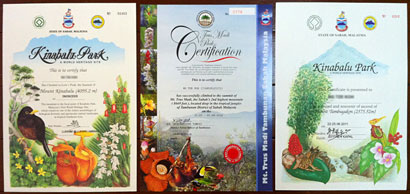
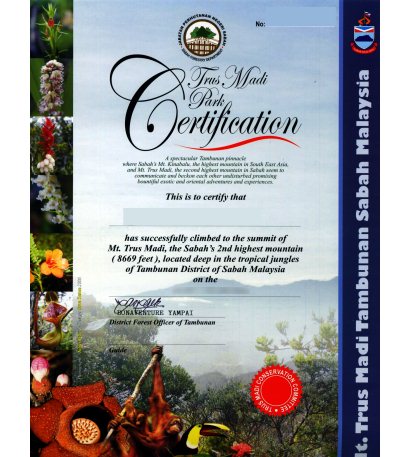
Above: Now I have climbing certificates of Malaysia’s top 3 mountains. From left to right: Mt. Kinabalu, Mt. Trus Madi & Mt. Tambuyukon.

Click Here to read Next article…
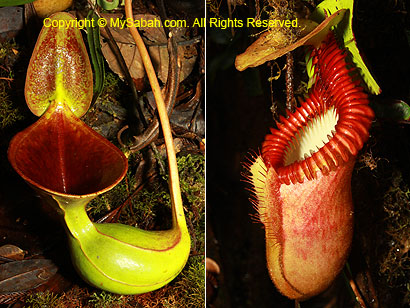
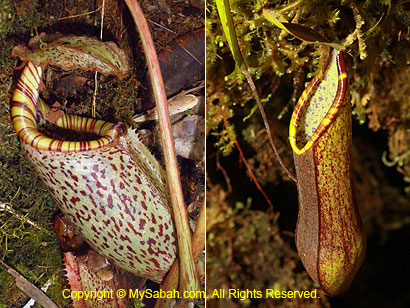
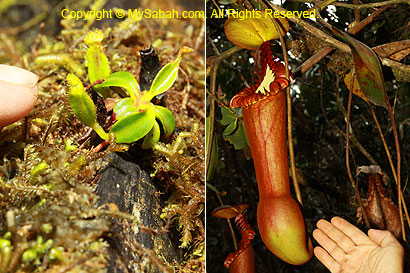
More Photos
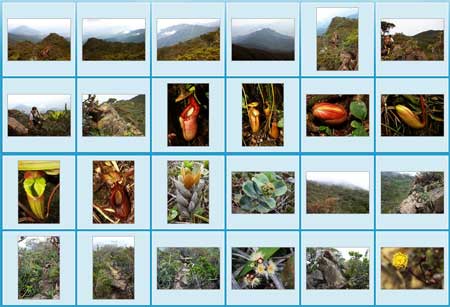
You may check out the photo album of Mt. Tambuyukon trip for more nice pictures:

All Articles:
- Part 1: Day 1. From Starting Point to KM5
- Part 2: Day 2. From KM5 to Musang Camp (KM10.8)
- Part 3: Day 3. To the Summit!
- Part 4: Day 4 & 5. Going Home (this article)
- Part 5: Planning & Preparation
Related Posts:
- Mt. Kinabalu (highest mountain in Malaysia)
- Mt. Trus Madi (second highest in Malaysia)
Photos taken in Ranau, Sabah, Malaysia Borneo