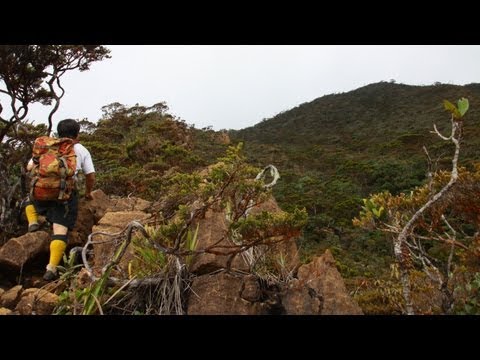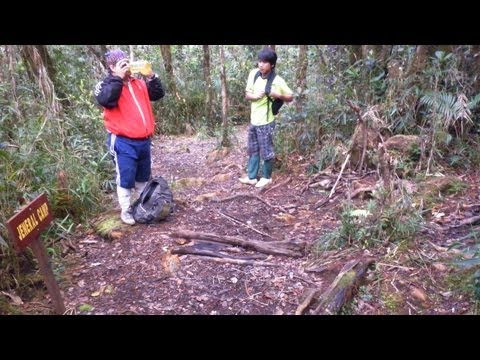
Continued from Part 4…
(You may start reading from Part 1)
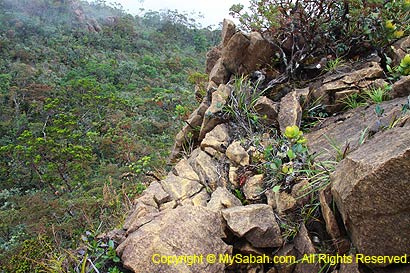
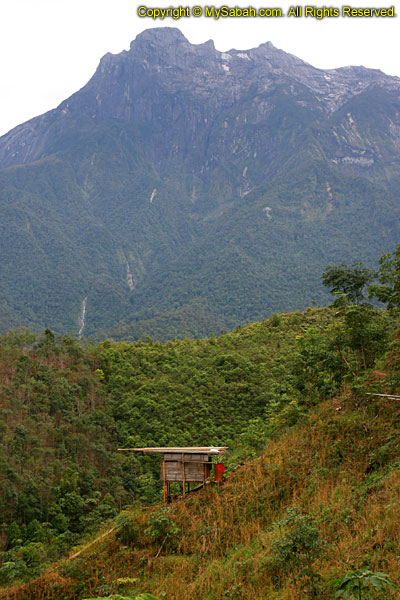
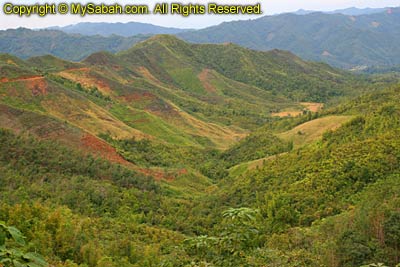
This article tells you how to organize a climbing trip to Mt. Tambuyukon. You may skip this if you don’t plan to climb the mountain. Please note that planning and preparation for Mt. Tambuyukon trip is tedious and time-consuming. If you have little spare time, getting a tour operator to arrange everything is a good option, but the cost will double or even triple.
Planning & Preparation for the Climb
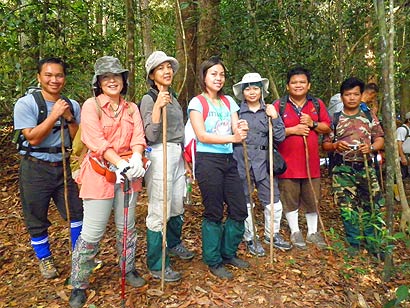
Step 1. Gather the Climbers
First, you need to decide the number of climbers and the climbing date. Prepare a name list (with Full Name, MyKad/Passport No. and Phone contact) and confirm a date with all the climbers. Usually May to July are dry months and best time to climb. However, the global climate has gone haywire, for example, the La Nina or El Nino phenomenon would change weather pattern. Nobody can predict the weather, so you better be prepared for the worst. But try to avoid Dec and Jan, which are the wettest months.
Normally, you need 5-day-4-night to complete the climb. For experienced and fit climbers, 4-day-3-night is possible. If you are unsure, just plan for a 5-day climb.
Step 2. Book the Date with Sabah Parks
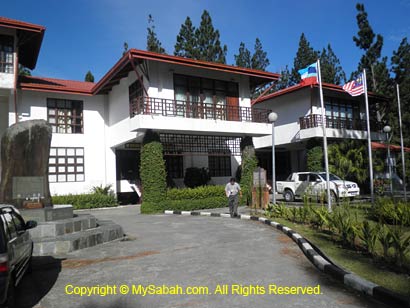
You need to book the climb with Sabah Parks at least 1 month in advance. All the paperwork and registration are done with Sabah Parks office in Kinabalu Park (Tel: +60 88-889888). Later, you will still need to communicate with Sabah Parks back and forth on various arrangement, more on this later.
Under Sabah Parks policy, only a maximum of 9 climbers (exclude Sabah Park rangers and porters) are permitted in one trip. Inform Sabah Parks your climbing date and submit your name list. They will mark the date for you if no other group climbing.
Step 3. Plan the Itinerary
Once the climbing date is confirmed, you may plan your itinerary.
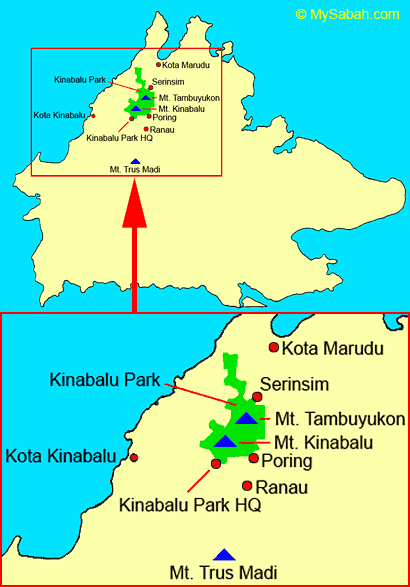
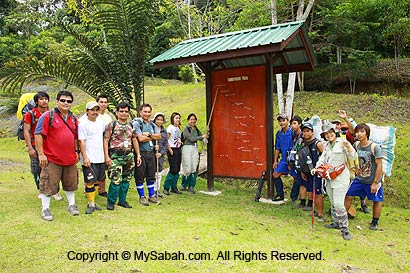
Below is the summit trail map of Mt. Tambuyukon. Click it for bigger picture:

Below is a standard 5-day schedule (for reference only. You may adjust it):
| Day 1 | |
| 6:00am | Depart from Kota Kinabalu to Kinabalu Park |
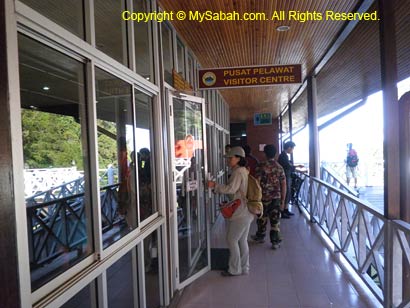
| 8:00am | Register at Kinabalu Park. Fill up climber & Indemnity forms. Pay for climb permit & insurance. Collect climber tags. |
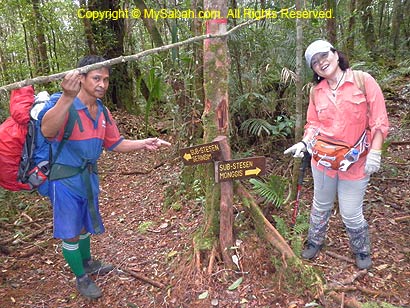
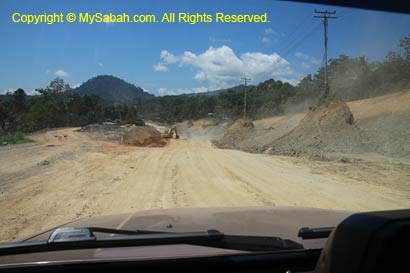
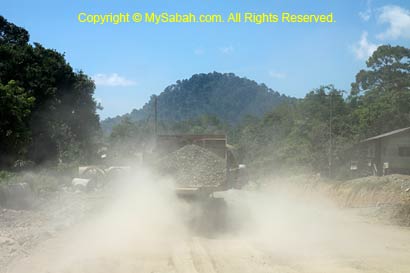
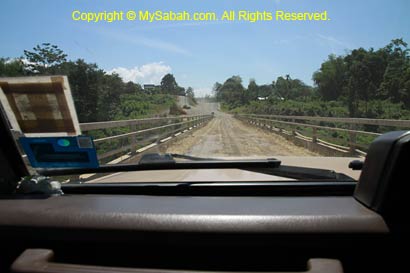
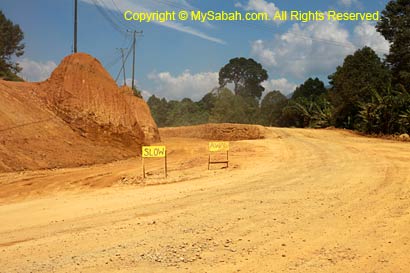
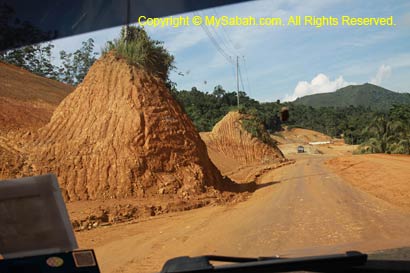
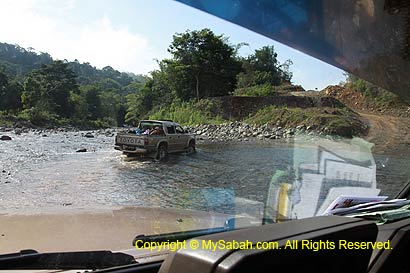
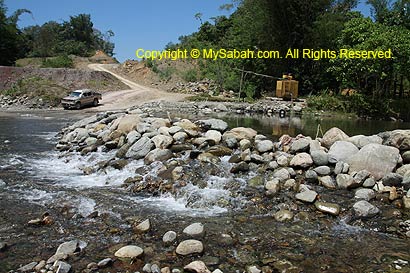
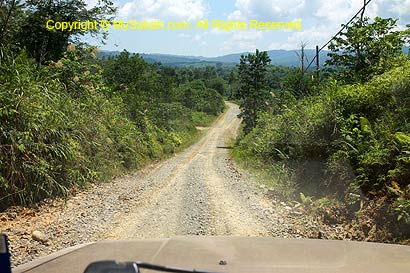
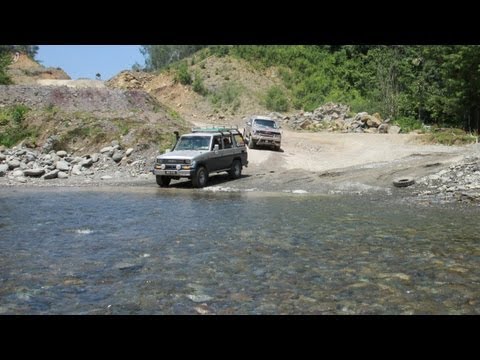
| 9:00am | Transfer into 4WD to Monggis Substation |
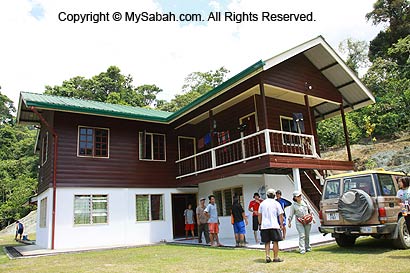
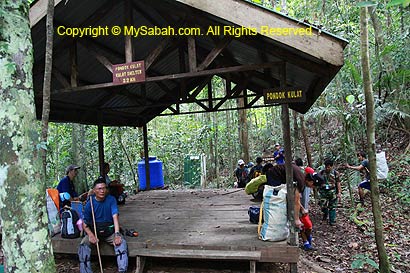
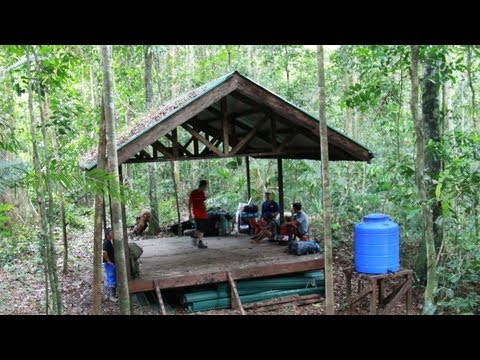
| 10:30am | Register at Monggis Substation. Meet porters & Briefing by guide. |
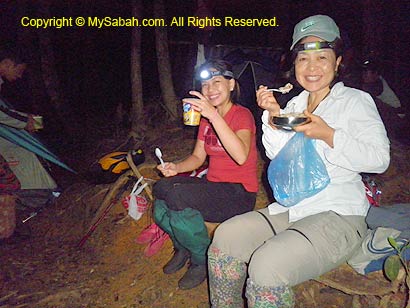
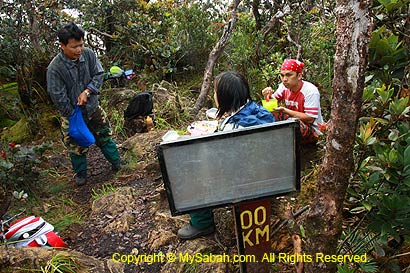
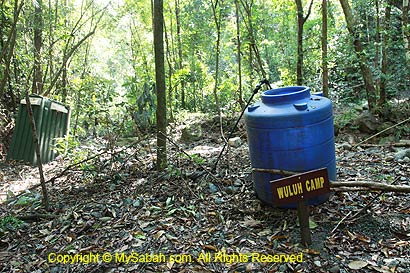
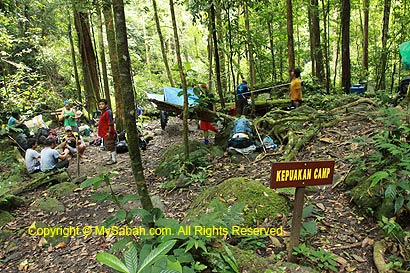
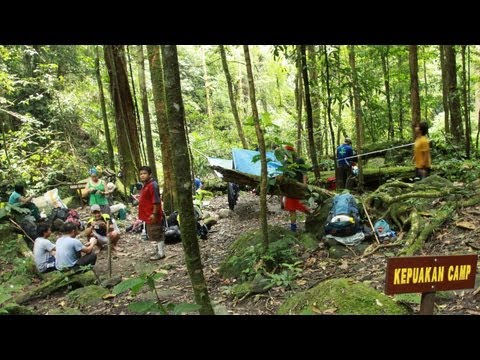
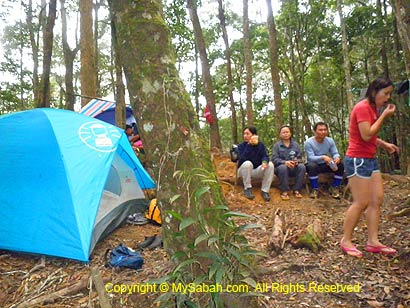
| 11:00am | Start trekking to Wuluh Camp (KM6) |
| 4:00pm | Arrive Wuluh Campsite for camping overnight |
| Day 2 | |
| 7:00am | Breakfast |
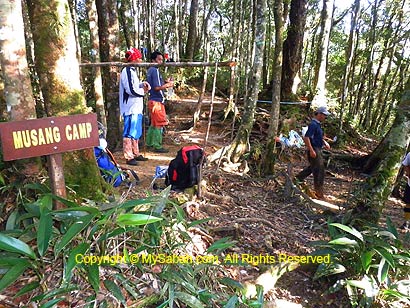
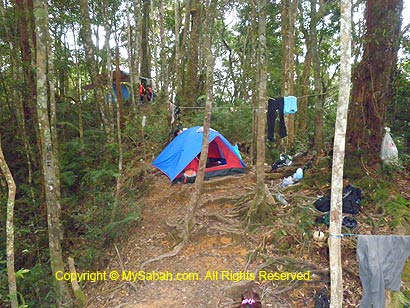
| 8:00am | Trekking 4.8KM to Musang Camp (KM10.8) for camping overnight |
| 3:00pm | Arrive Musang Campsite |
| Day 3 | |
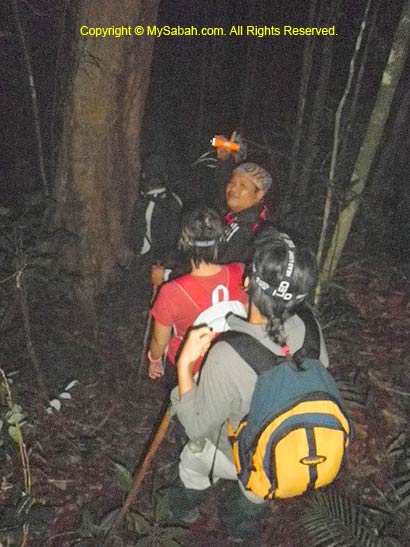
| 3:30am | Breakfast |
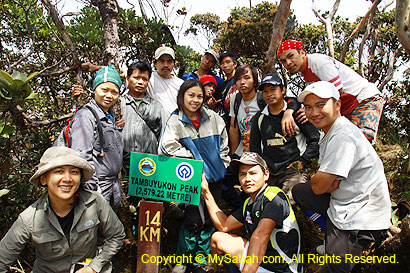
| 4:00am | Trek up to summit of Mt. Tambuyukon |
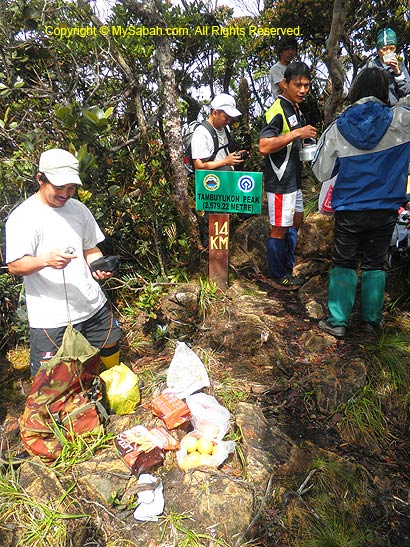
| 10:00am | Reach the Summit (KM14) |
| 5:00pm | Back to Musang Campsite for dinner & overnight |
| Day 4 | |
| 7:30am | Breakfast |
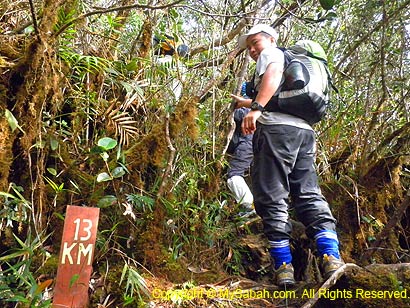
| 8:30am | Descend 13 KM (via old trail) to Monggis sub station. Overnight in Monggis Sub Station |
| Day 5 | |
| 8:00am | Breakfast |
| 9:00am | 4WD transfer back to Kota Kinabalu |
| 1:00pm | Arrive KK |
Below is a 4-day itinerary (for very tough climbers only):
| Day 1 |
| Depart to Kinabalu Park |
| Register at Kinabalu Park. |
| Go to Monggis substation by 4WD |
| Overnight in Monggis |
| Day 2 |
| 8am: Breakfast |
| Start climbing to Musang Camp (13KM old trail recommended) |
| Overnight in Musang Camp |
| Day 3 |
| Breakfast |
| Climb to the Summit (KM14) |
| Back to Musang Camp for overnight |
| Day 4 |
| Breakfast |
| Back to Monggis via 13KM old trail |
| Go to Ranau (by 4WD) |
| Back to Kota Kinabalu |
Of course there are other variations of itinerary, depends on your needs.
Step 4. Working out the Budget
This part is not easy… You only know the exact amount spent after the trip.
Mandatory Expenses
- Climb Permit: RM100 for Malaysian, RM200 for foreigner
- 4-Wheel-Drive (4WD) Transport (Ranau-Monggis Substation return trip): RM400-500 per car
- Sabah Parks Ranger Guide Fee: RM70/day (Policy: 1 ranger is required for every 3 climbers)
- Conservation Levy: RM3 for Malaysian, RM10 for foreigner
- Insurance: RM7 per day (you must insure the porters & rangers too)
- Camping Fee: RM10 per pax
- Food: estimated RM20/day per pax
Optional Expenses
- Tour Guide: RM100-150 per day. Besides guiding, they can cook & setup camp for you.
- Porter: RM70/day (carry up to 20Kg)
- Cooking service: extra charge if you also want tour guide to cook for you
- Accommodation (Monggis Substation): RM10/pax per night (not so sure the rate)
- Use of cooking facilities (e.g. gas) in Monggis Substation: RM50
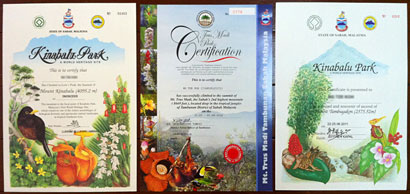
- Certificate: RM5
Misc. Expenses
Individual / group may purchase the items below:
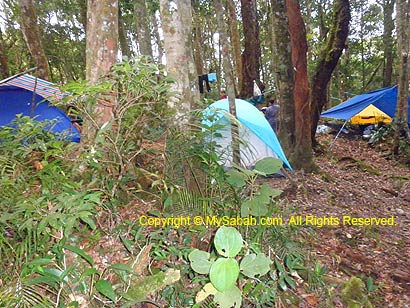
- Camping tent
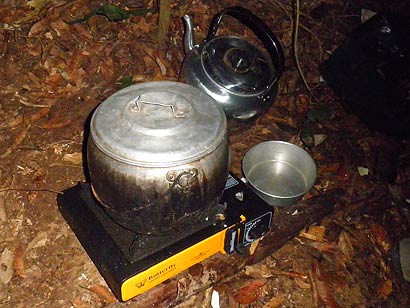
- Portable cooking stove & utensils
- Cooking gas cylinder, RM5 each (for portable cooking stove)
- Personal medication (e.g pain-killer, anti-septic cream) & 1st Aid Kit (for minor cut & injury)
- Insect repellent, mosquito coils (anti-sandfly)
For example, there are 3 Malaysian climbers who would like to hire one 4WD and two porters for a 5-day trip. The budget will look like table below (all fees in Malaysian Ringgit (RM), USD1 = RM3.3):
| Item | Price | Qty. | Total (RM) |
| Climber Permit* | 100 | 3 | 300 |
| 4WD Transport | 500 | 1 | 500 |
| Sabah Parks guide fee (RM70 x 4 day) | 280 | 1 | 280 |
| Camping Fee | 10 | 3 | 30 |
| Conservation Levy* | 3 | 3 | 9 |
| Porter (RM70 x 4 day) | 280 | 2 | 560 |
| Insurance (RM7 x 4 days x 6 pax) | 28 | 6 | 168 |
| Food (RM20 x 5 day) | 100 | 3 | 300 |
| Accommodation (Monggis) | 10 | 3 | 30 |
| Certificate | 5 | 3 | 15 |
| GRAND TOTAL: | 2,192 | ||
*Malaysian rate
So the basic fee is about RM731 (=RM2,192/3 pax) per climber. Please note that optional, individual and misc expenses are not included in this calculation, so the final cost will be more than this.
Step 5. Physical Training
Very Important! Ask your climbers to start physical training. Climbing Mt. Tambuyukon is a few times harder than Mt. Kinabalu, and it is no joking matter. Climbers who never exercise regularly is almost guaranteed failure. You just can’t hide your weakness from Mt. Tambuyukon. The climber must jog at least 15KM per week for consecutive 3 months, the more the merrier. The more pain you get in training, the more relaxing your climb will be. The most suitable training track is the hilly trail. Do exercise the muscles of arm and waist, because the extra strength will help you a lot on carrying bag and free climbing.
For elder climbers, you may advise them to take glucosamine daily supplement before the climb. That can help preventing serious knee pain after climb.
Step 6. Briefing & Discussion with Climbers
Have at least one meeting with all the climbers and do the following:
- Briefing: Tell them what they should prepare (see “Things to Bring” below) and what to expect (better if you can show them my blog about Mt. Tambuyukon, haha).
- Give them a copy of the itinerary and trail map.
- You may start collecting money from all climbers, so you can start purchasing food & supplies for the group, also as a non-refundable “deposit” to avoid inconsiderate people withdraw in last minute.
- Get the mobile phone number of everyone to keep in touch.
- Assign one or more members to help you on food preparation.
Step 7. Booking Porters & 4WD Transport
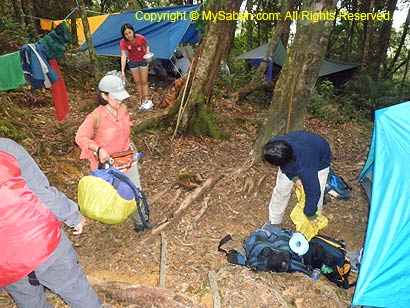
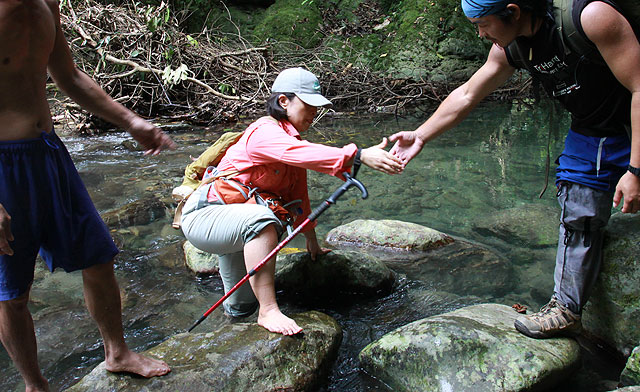
Though it’s possible to carry the bags and supplies yourselves during the climb, hiring porters will greatly reduce your burden and the climbers will have better chance of reaching the summit. During emergency situation, porters will be the extra hands that save life. Besides your personal backpack, do not forget you also need someone to carry your camping tents, food & supplies, portable cooking stove, cooking utensils, etc.
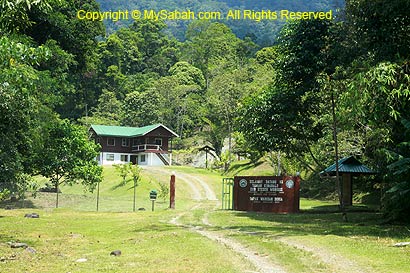
You can contact Kinabalu Park to arrange for the porters and 4WD transport. Each porter can carry up to 20Kg of stuffs. Just call Kinabalu Park about 1 week before the climb and tell them how many porters you need. Most of them are villagers from Monggis Village near to the Substation. Usually they will wait for your group at Monggis Substation.
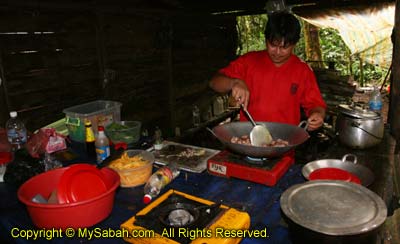
Step 8. Guidelines for Food
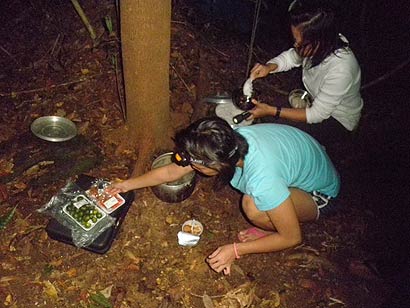
You may start buying food 1 or 2 weeks before the climb. Below are some tips:
- Light & dry food is preferred: e.g. noodle, creamy soup pack, dry vegetables, cabbage, cucumber, onion, dried anchovy fishes (ikan bilis), salted fishes, dried shrimps, salt, pepper, sugar, instant oat meal, sausage, dried meat, chocolate bars, 3-in-1 drink (Tea/Coffee/Milo)
- Our warm and humid climate causes food to spoil quickly and you can get food poisoning. Avoid bringing “wet” food (e.g. fresh meat & fish), which is prone to growth of bacteria.
- Avoid food that needs a long time to cook coz it will consume more cooking gas.
- You don’t need to prepare food for porters and rangers.
- Instant noodle is a poor choice for breakfast (before the climb) coz the excessive salt dehydrates you. Personally I highly recommend Oat meal coz it releases energy for many hours. You may mix oat meal with sugar & milk powder to make it tastes better.
- Avoid heavy or canned food. You also can’t dump the empty can in the camp. No, you can’t bury them.
- You may bring frozen meat so you can have meat in day 1.
- Remove food packing to reduce weight & size.
- Every day the climb starts from morning and ends at evening, so you can’t stop to cook lunch. You need to prepare packed lunch in the morning.
- Ration, organize, pack and label the food nicely in plastic bags (prevent getting wet).
- Store all the food in a proper backpack for porter to carry.
- Hang the food on air to prevent rats and civets having a buffet.
- Prepare food menu list so you knows what to cook each day. It is taxing if you only start sorting out what to cook, after a long tiring climb.
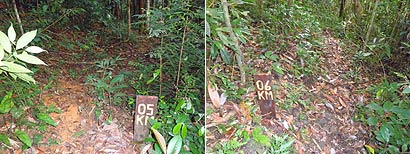
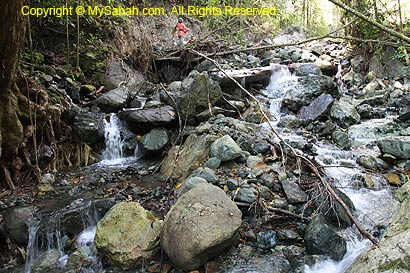
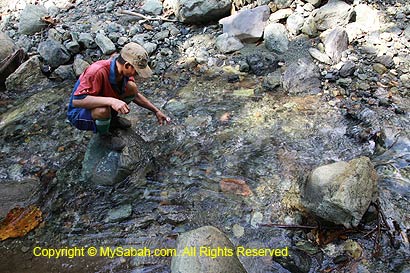
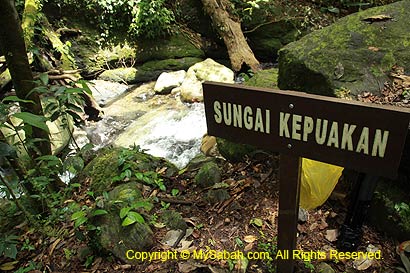
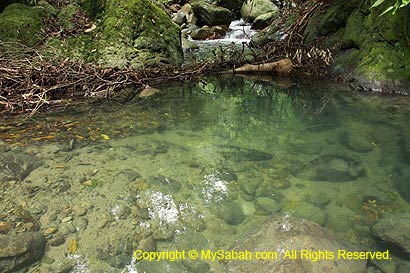
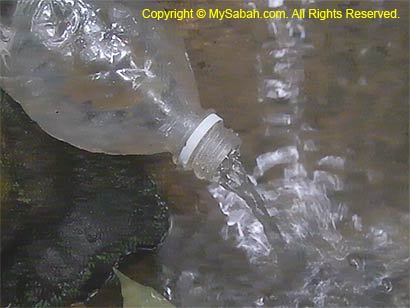
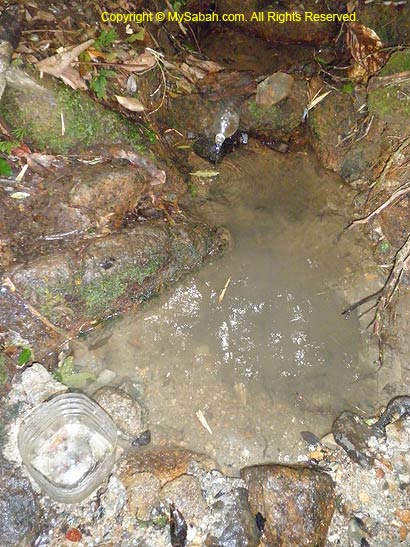
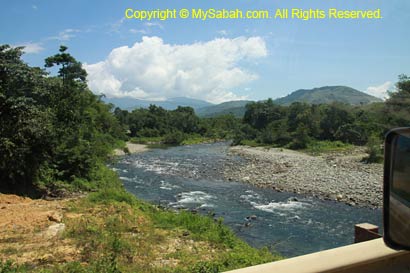
- You can refill water at the rivers / streams (KM5, KM6, KM8 & KM10.8), but bring a few bottles just in case.
- Bring a few garbage bags for disposal of leftover food.
- Please find out if anyone has any food preference (allergy, vegetarian and religion).
- Control the weight of your food. Don’t bring tons of food!
Step 9. Final Check
To make sure everything is in place, you should do the following a few days before your climb:
- Pack and weight your food to check if you have hired enough porters to carry it.
- Remind Kinabalu Park again on the climbing date and number of porters you need.
- Sabah Parks may send their Ranger from Poring. Confirm with them if the ranger will wait for you at Poring or Monggis.
- Confirm with 4WD driver on the pick-up date & time.
- Send a friendly reminder to all the climbers (e.g. date of departure & gathering time).
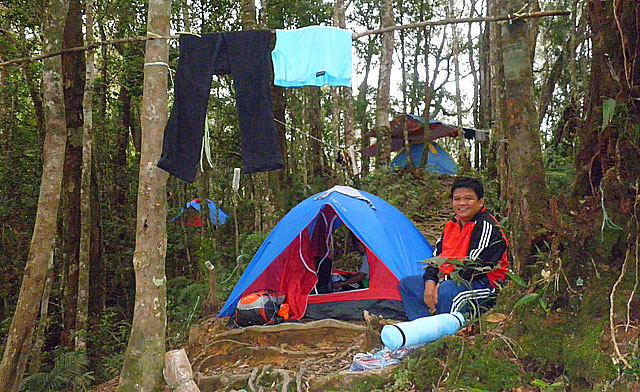
Things to Bring
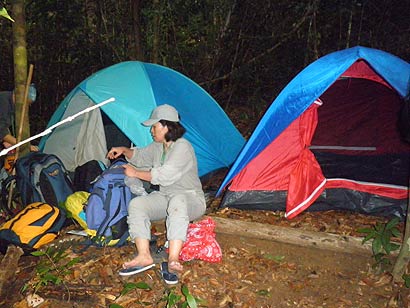
- MyKad/Passport: required for registration at Kinabalu Park
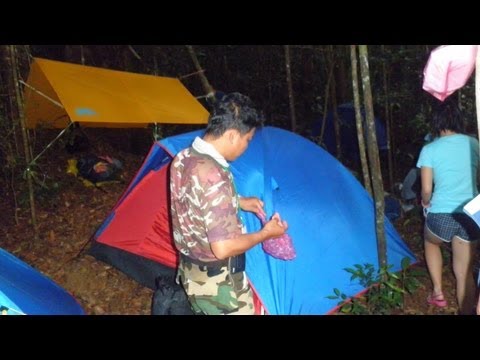
- Camping tent
- Sleeping bag (the temperature can drop to 10°C at night)
- Floor mat / ground sheet
- Clothing (jean, shirt, underwear, fleece/jacket, pant, socks)
- Leech Socks
- Raincoat / Poncho
- Lunch box, spoon & cup
- Backpack (with rain cover)
- Toiletries (e.g. toilet paper, tooth brush & paste, soap)
- LED Head Lamp & extra batteries
- Camera & spare batteries
- Water bottle
- Personal medicines (e.g. allergy, pain killer)
- Cash
- Walking stick: some swears by it
- Optional: energy bars, hand glove, pen & notepad, lighter, camping light
Tips & Advices
- Keep your backpack light. I repeat, keep it LIGHT!
- The temperature of Mt. Tambuyukon ranges from 6°C – 30°C (43°F – 86°F). of course, the higher the altitude, the colder. It’s quite windy near the summit.
- If you hire a porter to carry your bag. Don’t let him carry everything. He might be very far ahead. Bring raincoat and water with you in a small bag.
- If you plan to overnight in Monggis Substation in last day, you may leave a set of clean clothing (and some food) in their storeroom. Pointless to bring unused stuffs up and down the mountain.
- Don’t bring too many clothing. Keep 1 set of clean clothing for bedtime
- One of the best shoes for trekking in wet tropical forest trail is “Adidas Kampung” rubber shoes, available locally for RM6–7 a pair only and water-proof.
- Hygiene: wash your hands before meal and try to drink only boiled water.
- Drinking unboiled river water is quite unavoidable. Prepare some water purification tablets to sterilize river water. Available in outdoor shops.
- Trim your fingernail & toenail before the climb.
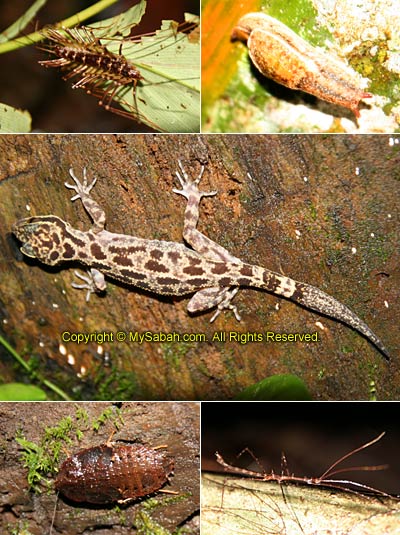
Potential Problems / Dangers
Below are a list of issues you should prepare to prevent/rectify:
- Diarrhea: use handwash sanitizer for cleaning before meal. Bring medicines just in case.
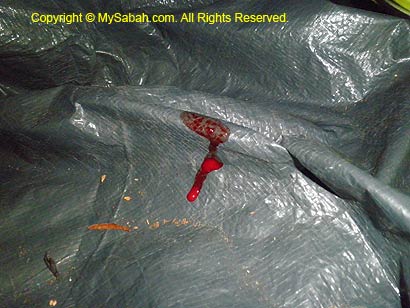
- Leech Bites: wear leech socks
- Wasp / Bee / Hornet: bring medicines if any climber allergy to bee stung
- Deer Fly / Sandfly: apply insect repellent with DEET formula or burn mosquito coils
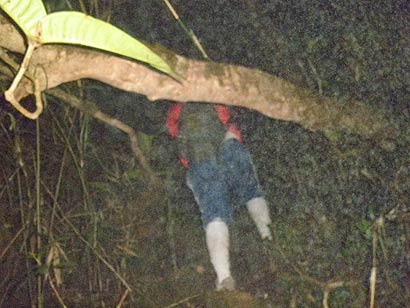
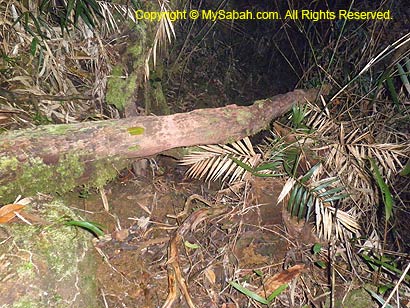
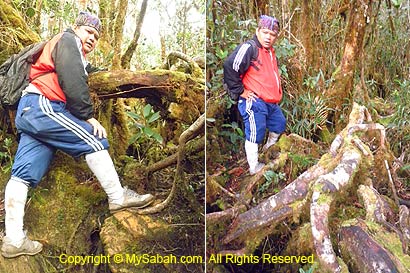
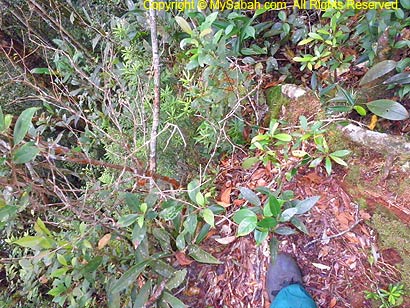
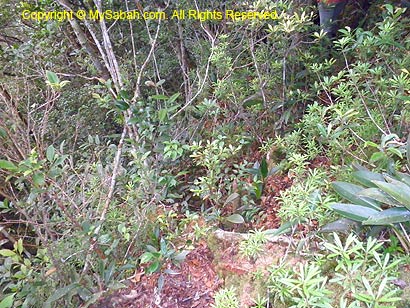
- Thorny rattan & poisonous plant along the trail: look before you grab anything for support
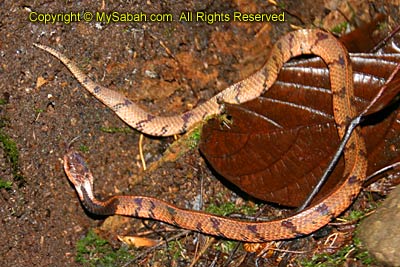
- Snake: just watch out under the rocks / log
- Dehydration: bring enough water. Rehydration salt is useful.
- Fall / Slip: be extra careful at slippery or steep trail
- Sprained ankle: watch your steps
- Blister & small cut: use anti-septic cream
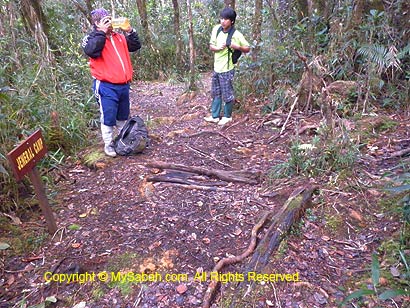
- Losing way: stick with the group
- Falling tree branches: pray!
Tour Packages
Now you can see that it’s a lot of work and preparation. If you don’t want to do the tedious planning, you may hire TYK Adventure Tours (Tel: (6088) 232821, 238702 Email: tykadto@gmail.com) to arrange everything for you, from transport, meals, registration, porters, guides to camping tents. Of course it’ll be more costly.
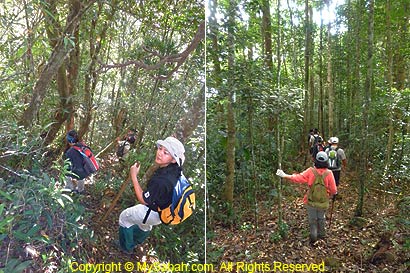
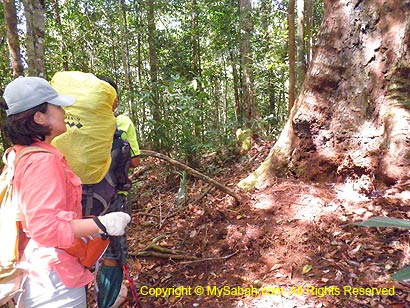
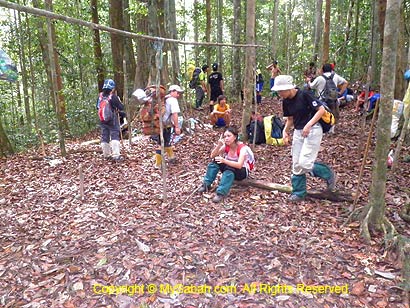
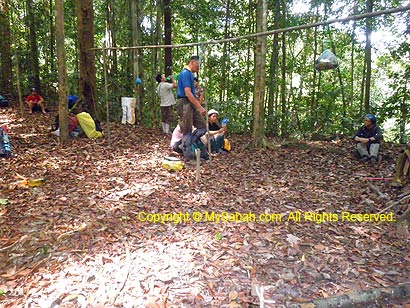
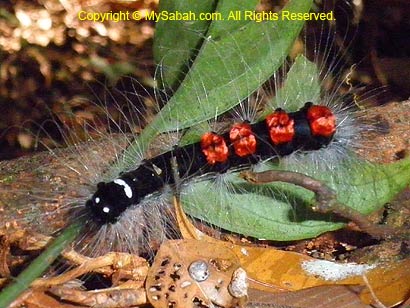
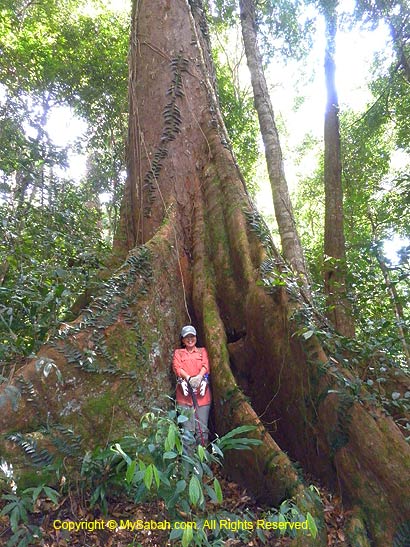
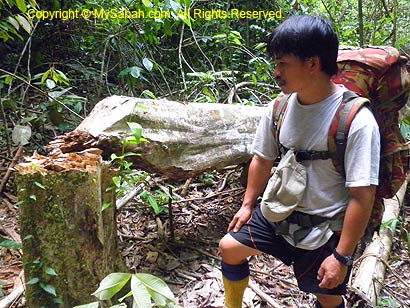
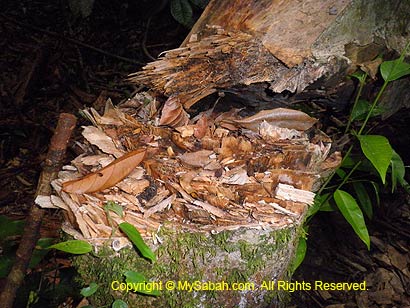
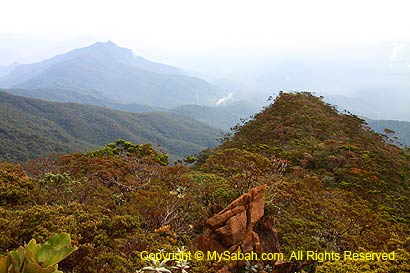
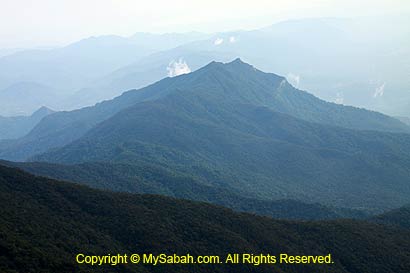
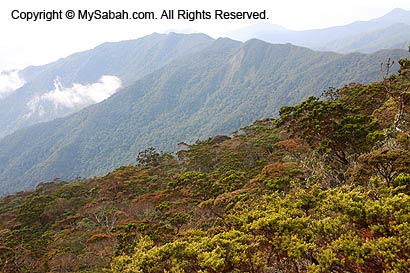
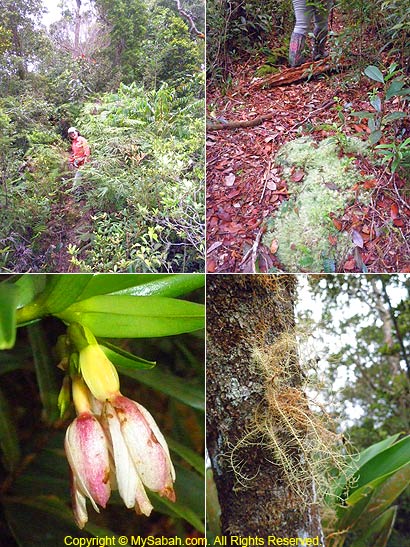
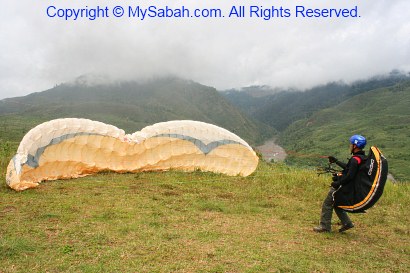
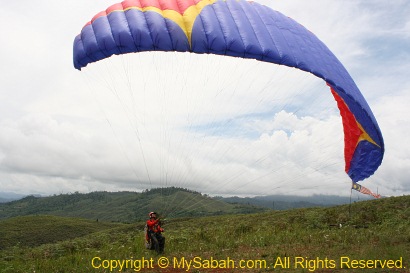
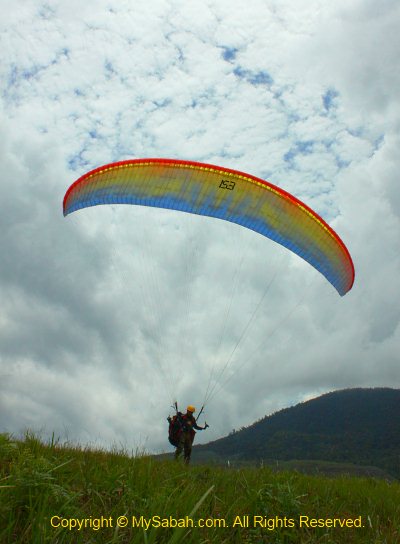
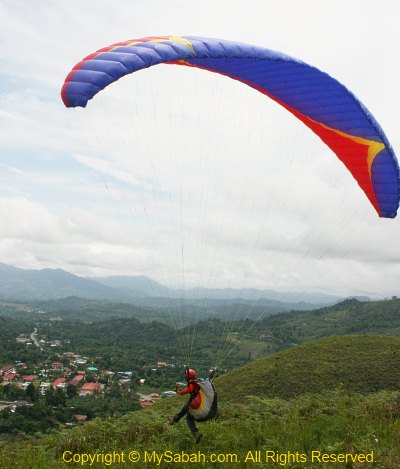
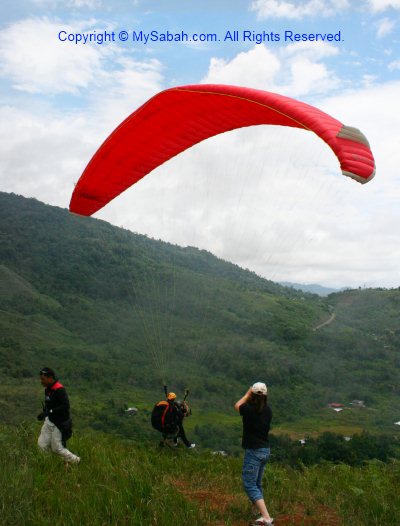
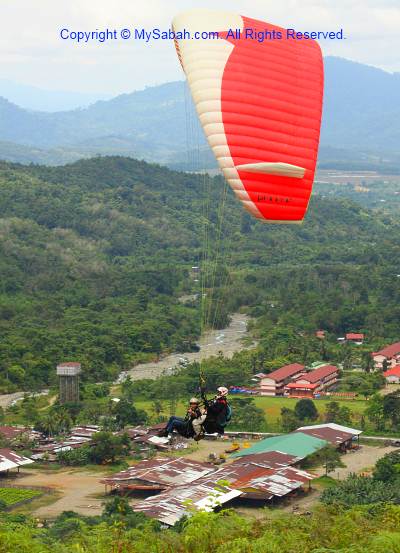
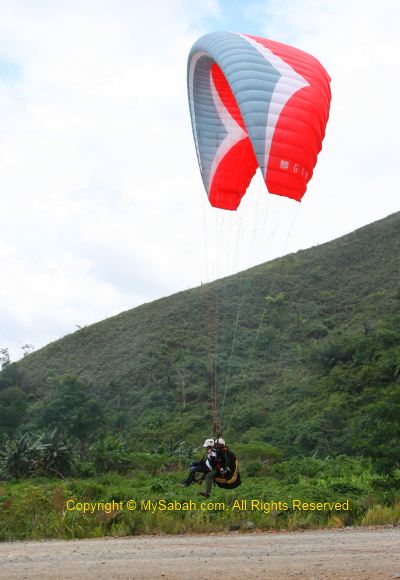
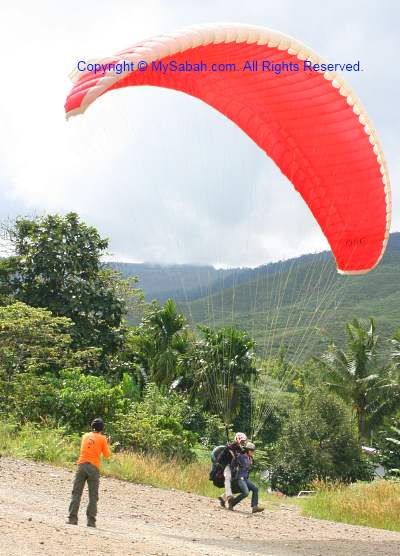
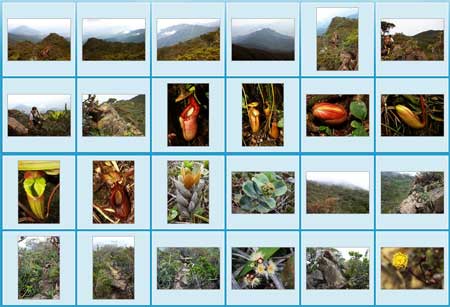
More Photos
You may check out the photo album of Mt. Tambuyukon trip for more nice pictures:

References
- Mandalam, Ravi, “Mount Tambuyukon – Sabah’s Mystery Mountain”, Sabah Society Journal, 2002, Vol. 19, 65-77
- Clarke, Charles M., “The Nepenthes of Mount Tambuyukon, Kinabalu Park”, Sabah Parks Nature Journal, Jan 1998, Vol.1, ISSN 1511-1121
- All Articles:
- Part 1: Day 1. From Starting Point to KM5
- Part 2: Day 2. From KM5 to Musang Camp (KM10.8)
- Part 3: Day 3. To the Summit!
- Part 4: Day 4 & 5. Going Home
- Part 5: Planning & Preparation (this article)
- Related Posts:
- Mt. Kinabalu (highest mountain in Malaysia)
- Mt. Trus Madi (second highest in Malaysia)
Photos taken in Ranau, Sabah, Malaysia Borneo